
After getting the dovecote constructed (although not yet painted) I decided the next building would be a bit more substantial, and that a farmhouse would be the obvious counterpart to the dovecote.
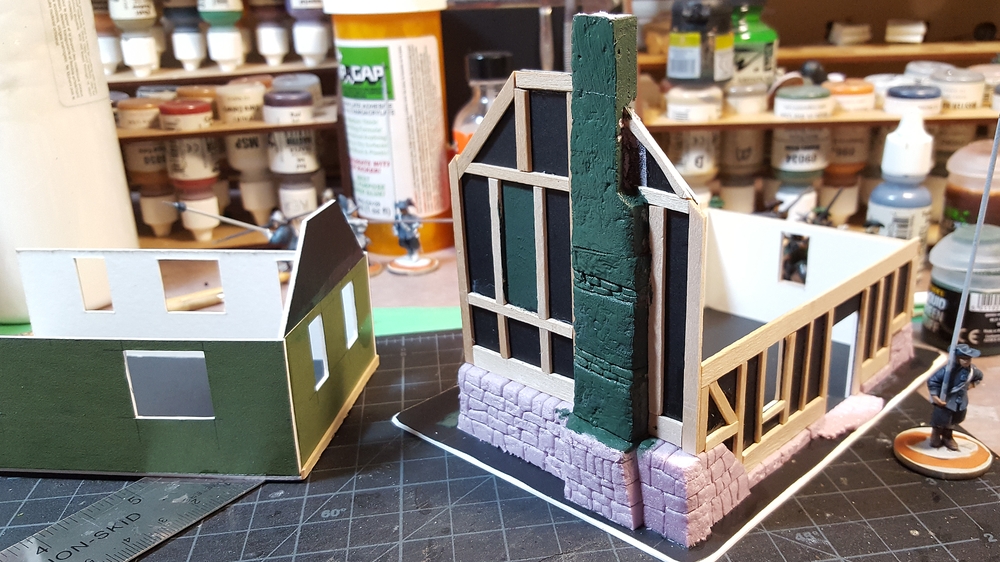
It’s not quite a manor house, except maybe in some rather backwoods shire, but it’s a substantial two storey building with a big chimney rambling up one end. The main structure is all 1/16th matt board, the stonework is pink styrofoam insulation, and the timbering is thin wooden coffee stir sticks, mostly split lengthwise into thinner pieces.
The dimensions, roughly, are 5″ long, 3″ wide, and about 5″ tall to the top of the chimney, which is about where the roof peak will fall too once that’s done. The walls are 40mm high; the total base is about 7″ long and 5″ wide or so.
For the cobblestone patches outside each door and the bricks up the chimney, I used two different old paintbrushes that I yanked the worn-out bristles from and then re-shaped the metal ferrule with a pair of needle nose pliers and a small file. The smallest brush became the brick press tool, and a slightly larger round one became the cobblestone tool. There’s also a larger rectangular one that doesn’t appear on this project but will at some point in the near future. I’ll get a photo of the press tools for a future post, they’re a great easy way to do bricks, cobbles, and other semi-regular or regular masonry patterns.
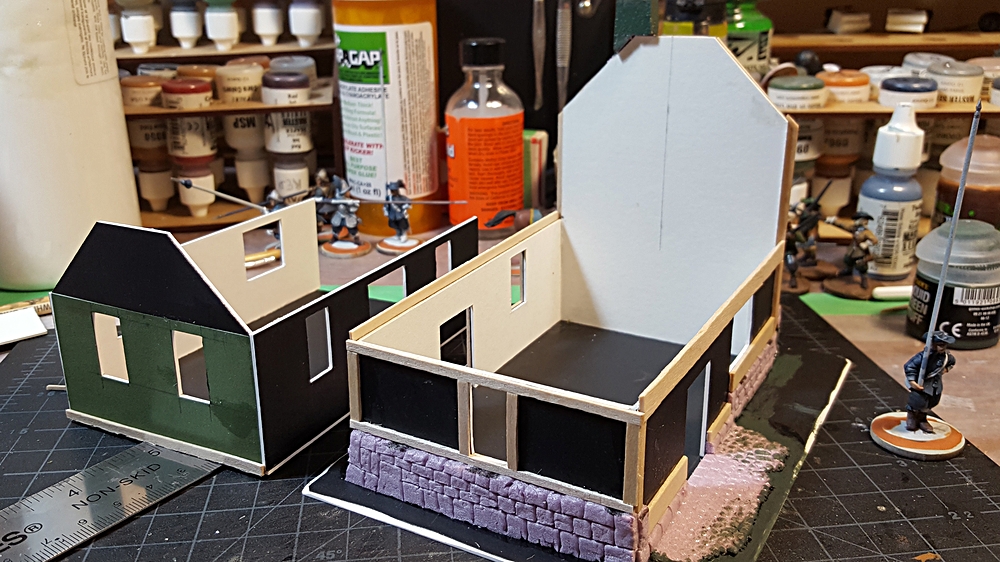
The second floor is three-sided to make building the big chimney down the back wall easier, rather than splitting the chimney into two or three pieces. The second floor is held in place by the half-timbering horizontal beams along the two long sides of the house, and the beams overlap at the back corners so the join between the floors and walls is nearly invisible when the house is all assembled.
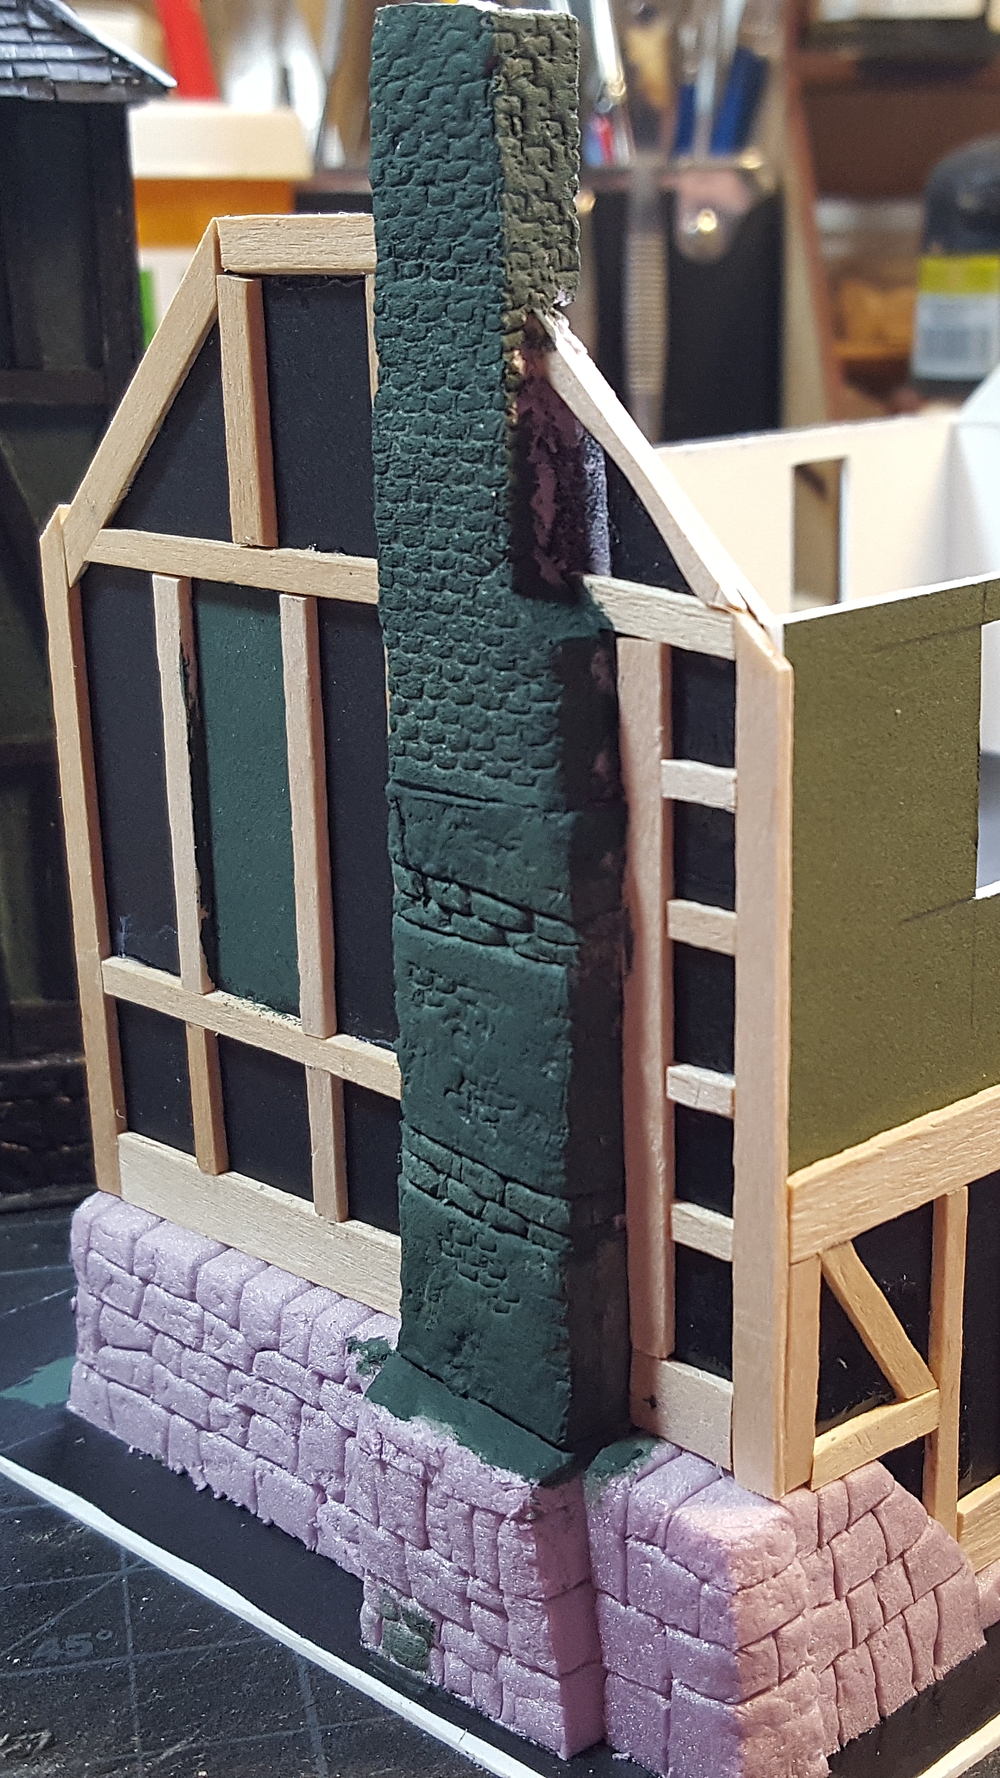
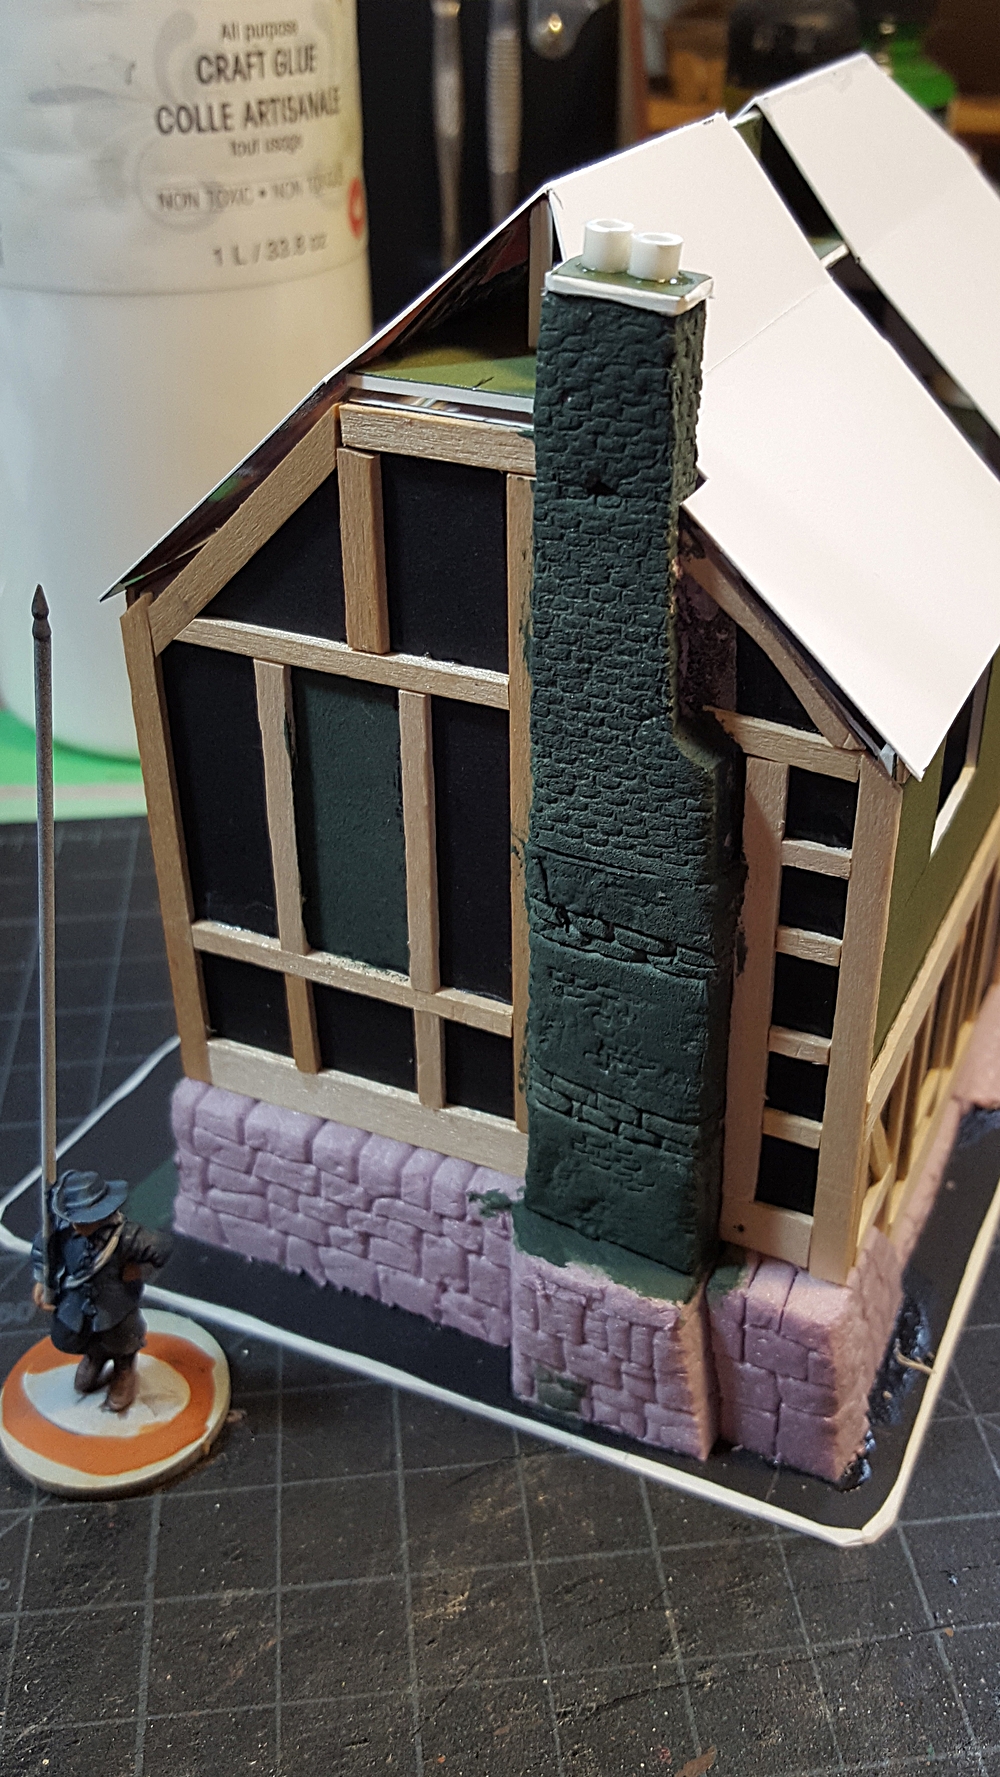
The top cap of the chimney is a scrap of matt board and two little segments of styrene tube, all coated in more GW Liquid Greenstuff for texture.
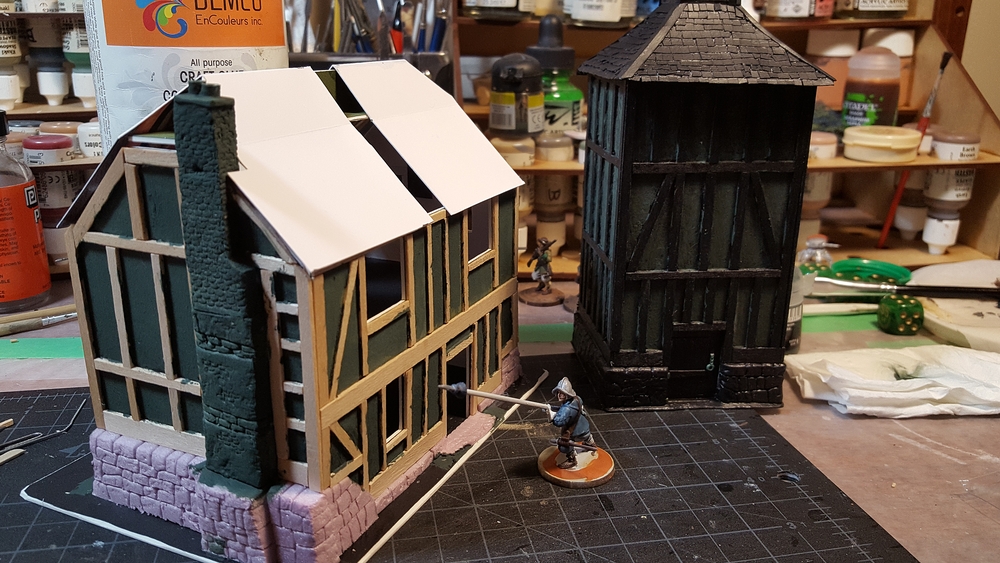
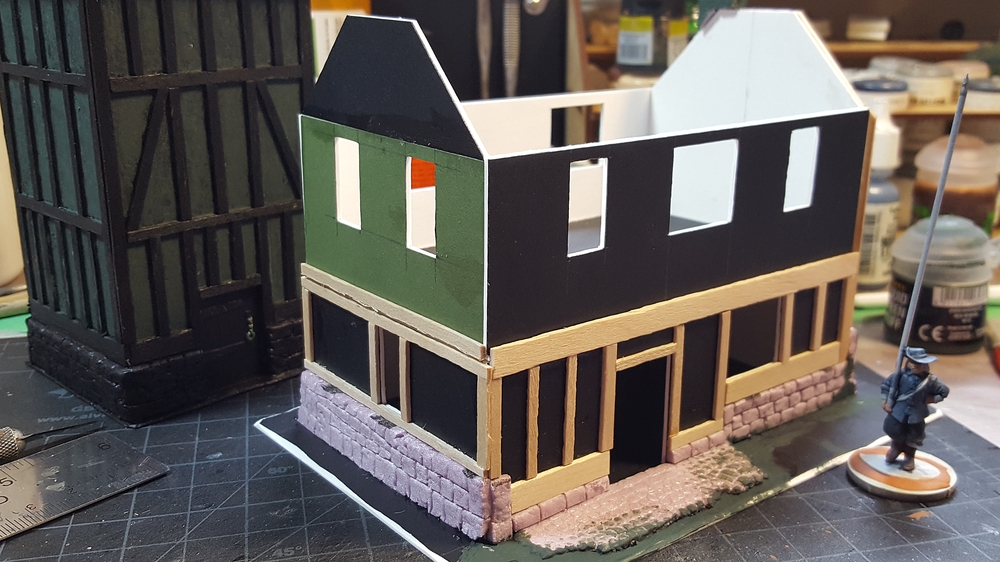
The roof will be thatch, once I get around to picking up another cheap handtowel to chop up for thatching. The understructure is a mix of 1/16th matt board and lighter card, and will all be buried under towel in due course.
In the background of the last photo you can see the current state of the dovecote, all black primered with yet more GW Liquid Greenstuff to add texture to the wattle & daub panels between the timbering.
I’ll probably paint both buildings together, now that they’re both at the primered stage. More on that soon!