The Sunday gaming club was pretty much at capacity today! We meet up at the University of Victoria and have a classroom reserved every Sunday, and this Sunday we had Corey and I playing Russian Civil War, three of the regulars playing 1879 Anglo-Zulu War with Two Hour Wargames’ colonial rules, and a game each of WHFB & 40K to round it out.
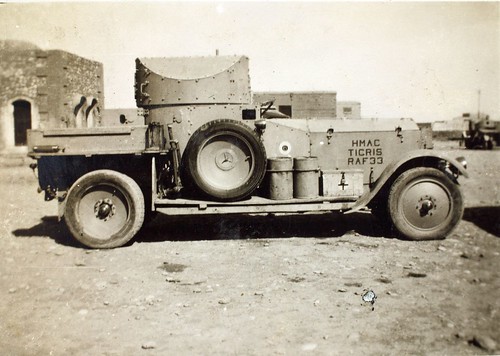
Our RCW game was intentionally light and quick; we had both my new armoured car and the half-painted cavalry on the table and wanted to see how these new-to-us forces ran in Through the Mud & the Blood before we got stuck into another larger game. Corey had a White cavalry squadron and a single section of White infantry, intent on rescuing the retired (but widely admired) General Alzheimerski; I took a Red Guard/partisan section, two small sections of Red sailors on trucks, and the armoured car, all under the nominal command of the hapless Commisar Blotski.
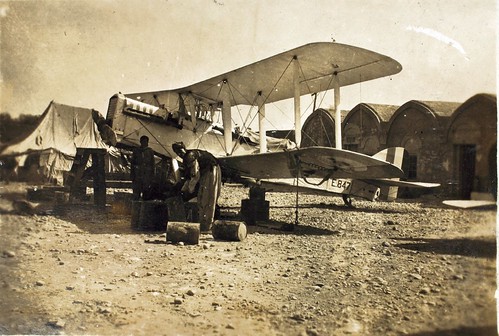
The Whites needed to get Alzheimerski to the nearest open patch of ground a British DH9 could land on, so they could bundle the old general onboard and get him to safety; getting his valuables off the table would be a bonus. The Reds were trying to capture Alzheimerski, as part of some scheme of Blotski’s to help him gain influence in Moscow.
To represent the various Red forces involved not really wanting anything to do with Blotski’s scheme, we threw a Hesitant Troops card into the mix for the Reds. The Whites also had a card for Alzheimerski, such that if his card came up before the actual officers of a unit he was attached to, he had a chance to lead that unit off on a death-or-glory charge — or he might do nothing at all…
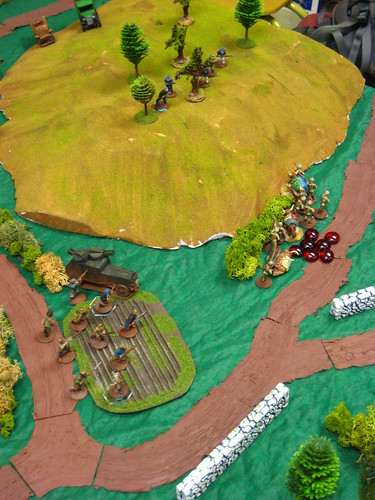
The game started with the White cavalry, having gathered up the old man and gotten him on a horse, taking off cross country on a direct line to the planned landing zone of the British aircraft. This left the Red trucks and armoured cars at a disadvantage, as they move slower offroad than horses do. The armoured car took off to meet up with the local Red Guard, while the sailors pushed their trucks uphill a bit then began to get out, intending to get into the woods to fend off the White cavalry.
Unfortunately, that ended badly when the White horse came through the woods and down the hill much faster than the sailors were expecting. The cavalry didn’t even slow down, sabering half the sailors dead and thundering onward toward the rendezvous with the escape aircraft. (When cav catch infantry in the open in M&B, they get to double their melee dice… this lead to the cavalry having about two dozen dice in melee to the sailor’s ten or so… it was ugly.)
On the other side of the hill, the Red armoured car and Red Guard did manage to catch up to the White infantry guarding the pack train with the old General’s valuables. Two heavy machine guns and some rifle fire drove the White infantry off in short order and scattered the pack animals, who ran up the hill into the waiting arms of the surviving half of the Red sailors, who discovered that General Alzheimerski’s valuables were very valuable indeed!
We had a few questions about vehicles in M&B, which I’ll take up with the very helpful folks on the TooFatLardies mailing list, but it was a good quick game overall. The armoured car is slow, clumsy but deadly (which feels about right) and cavalry are fast and lethal when they’re able to run over unsupported infantry. I’m looking foward to more varied games now that we’ve got something other than just infantry on the table!