All sorts of stuff on the go recently.
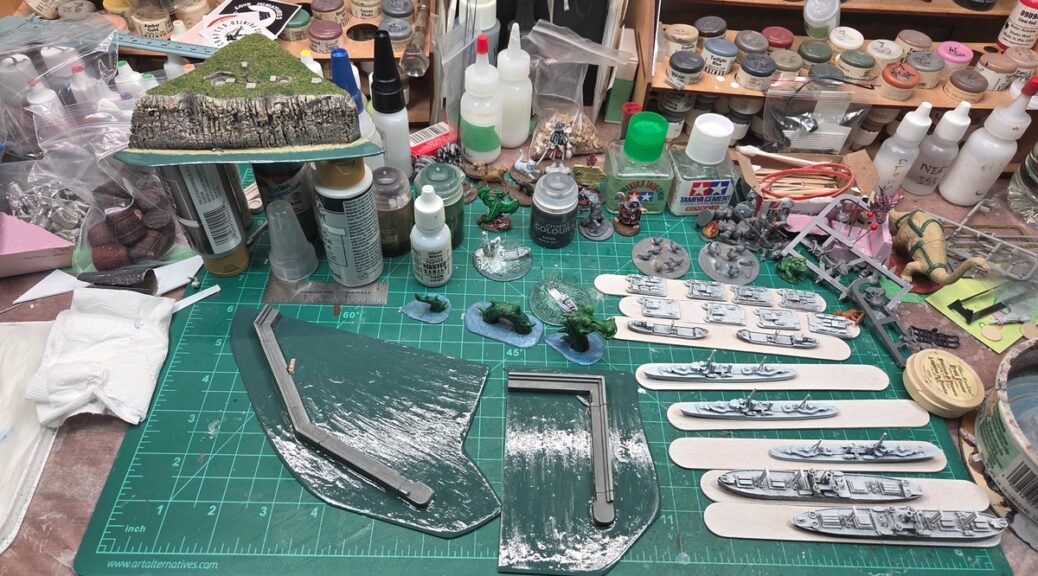
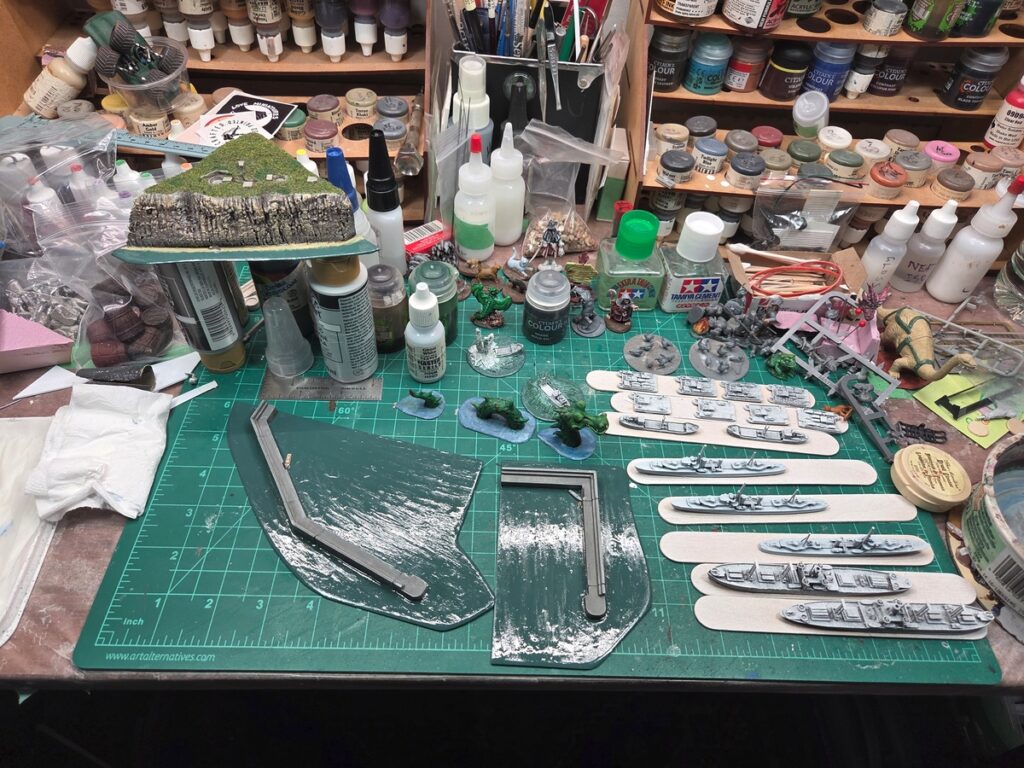
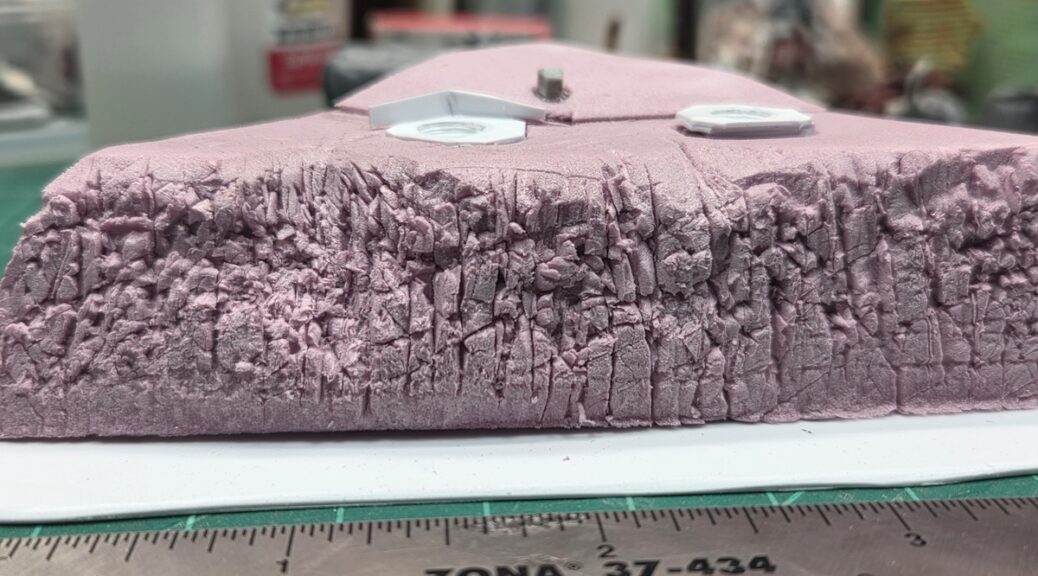
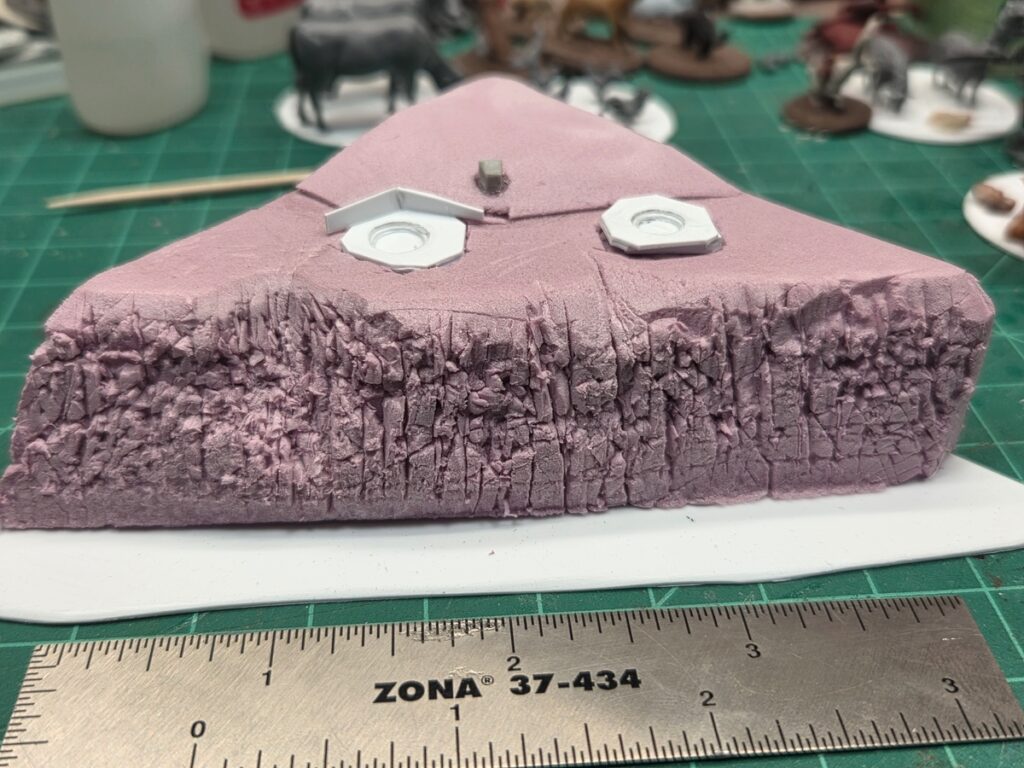
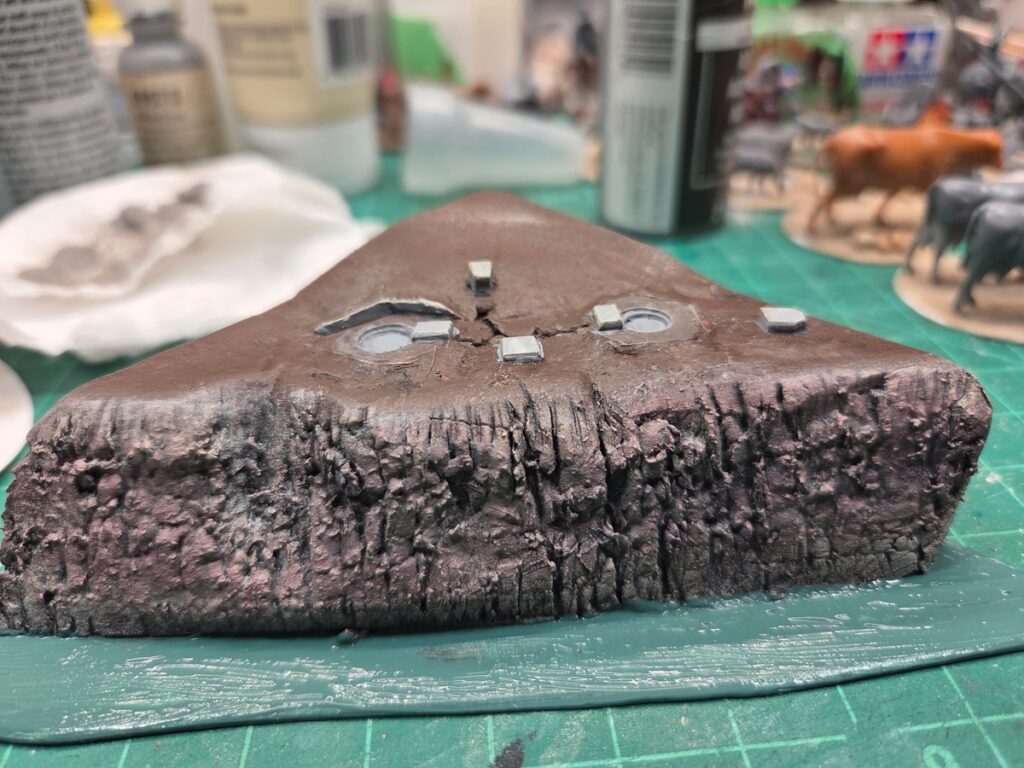
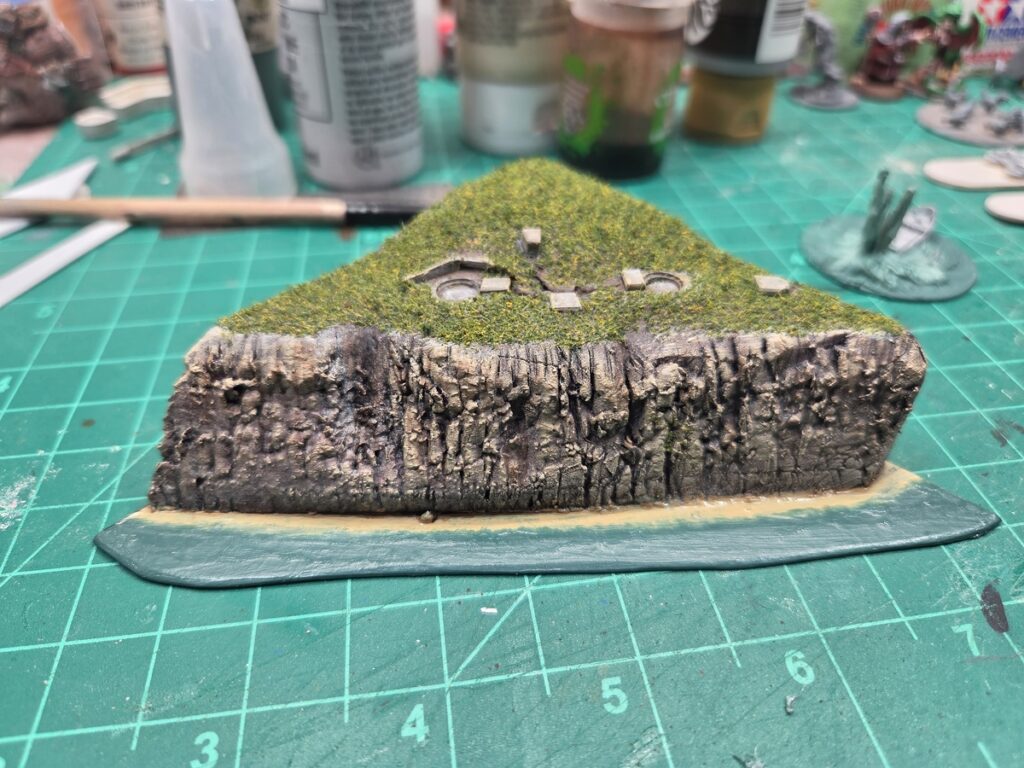
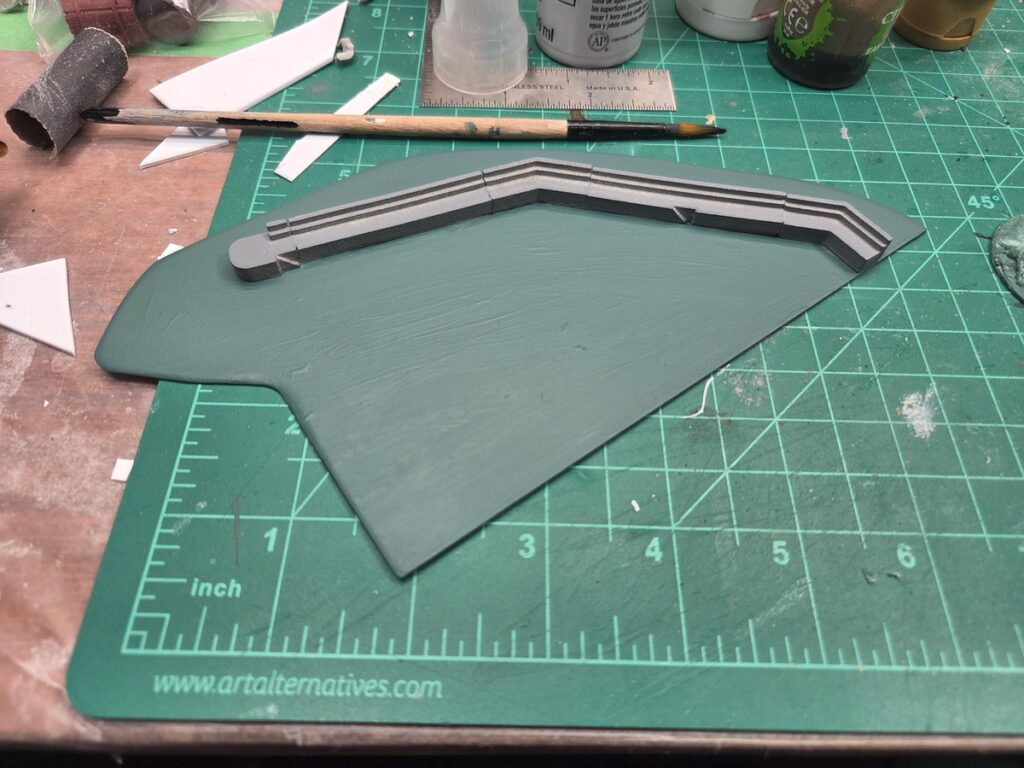
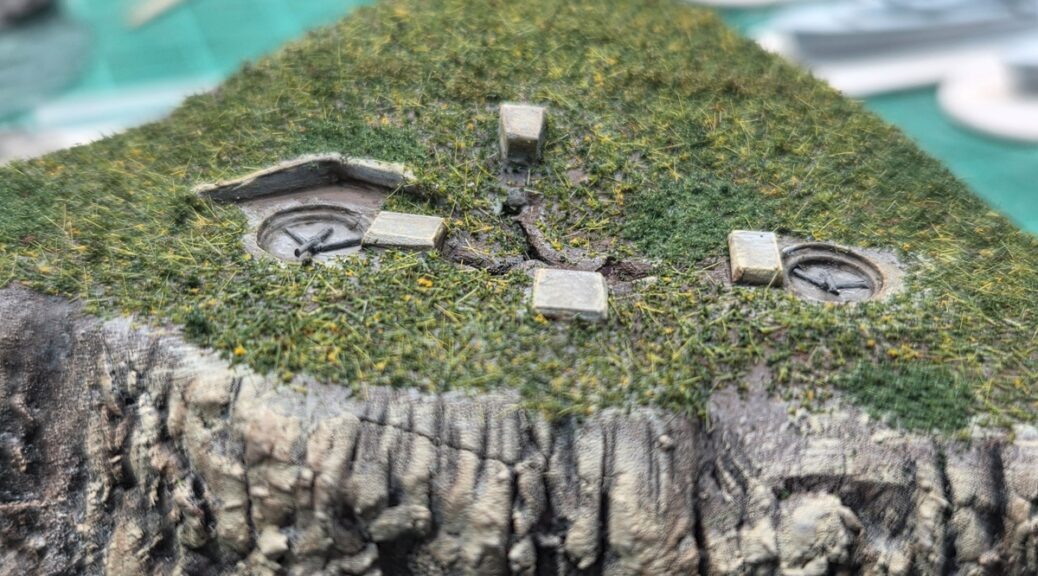
The 1/1200 shore battery has had it’s pair of guns installed. They’re tiny bits of plastic broom bristle installed with superglue and very fine tweezers. Measuring the gun pits and bunkers, the whole thing is probably slightly underscale for 1/1200 (the gun pits are about 1/4″ across, they should probably be more like 1/3″ across) but it all works as an edge-of-table representation of a shore battery!

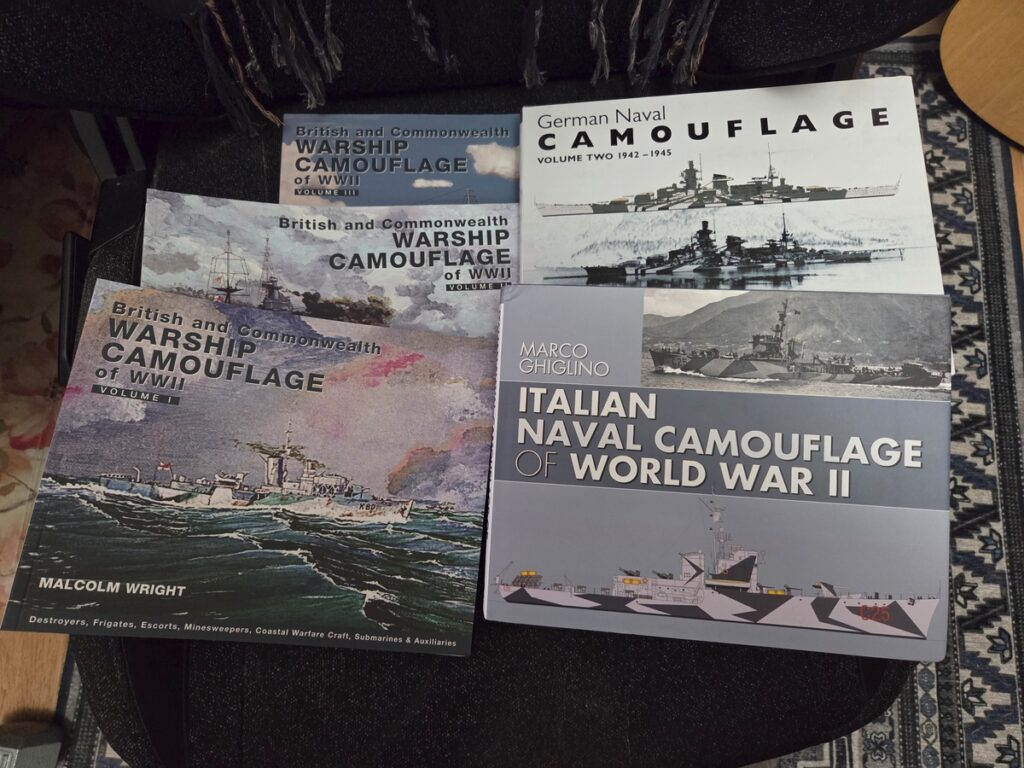
I took advantage of a holiday sale at Pen & Sword Books and got a good solid naval camouflage library in physical form – I already owned a number of these as e-books but the real thing is nice when it’s affordable!
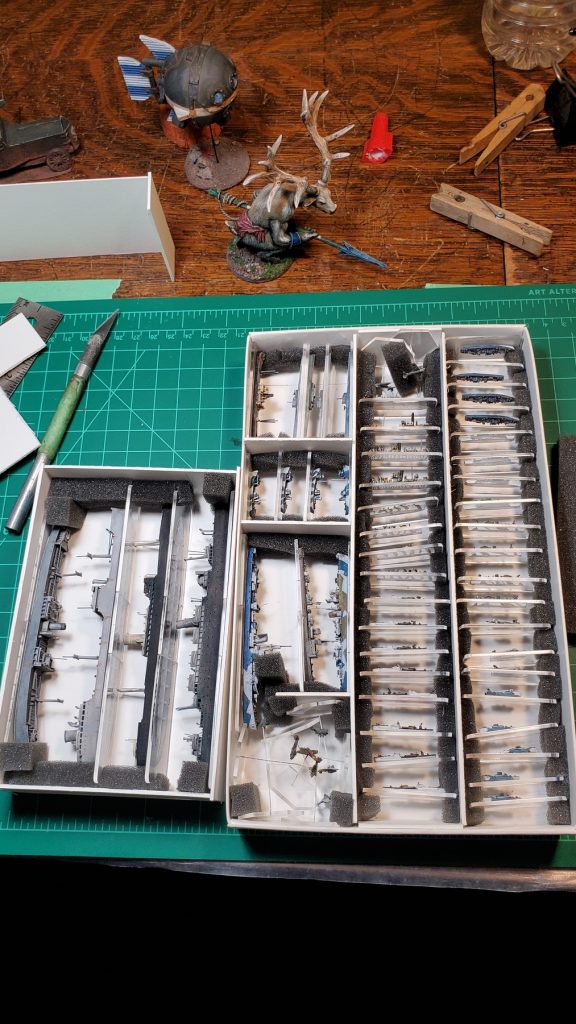
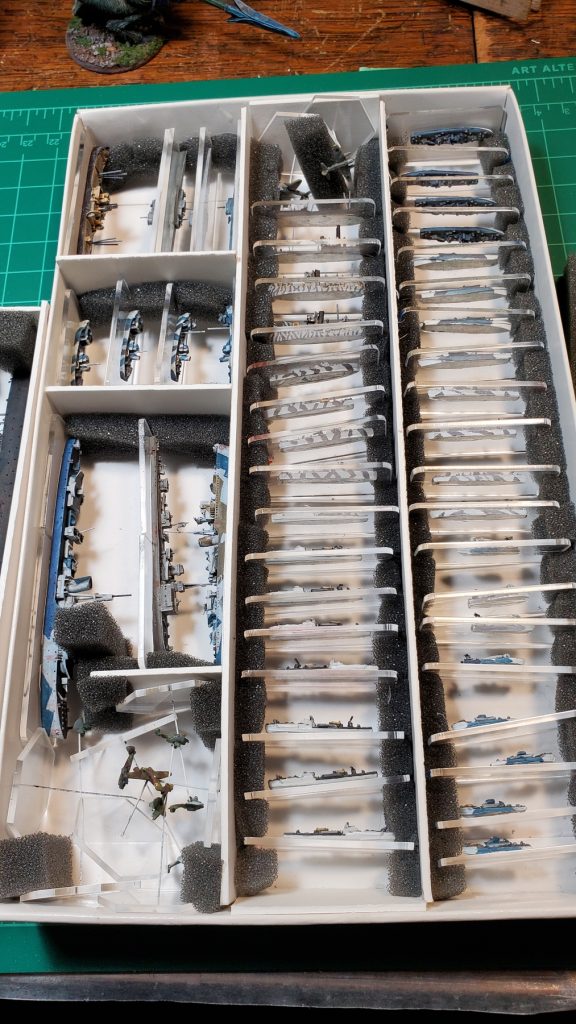
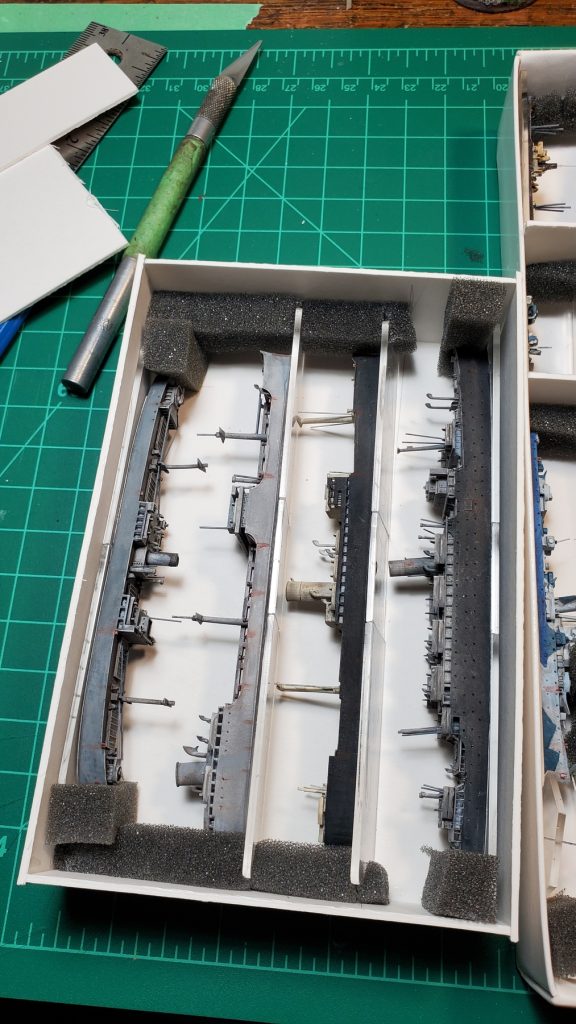
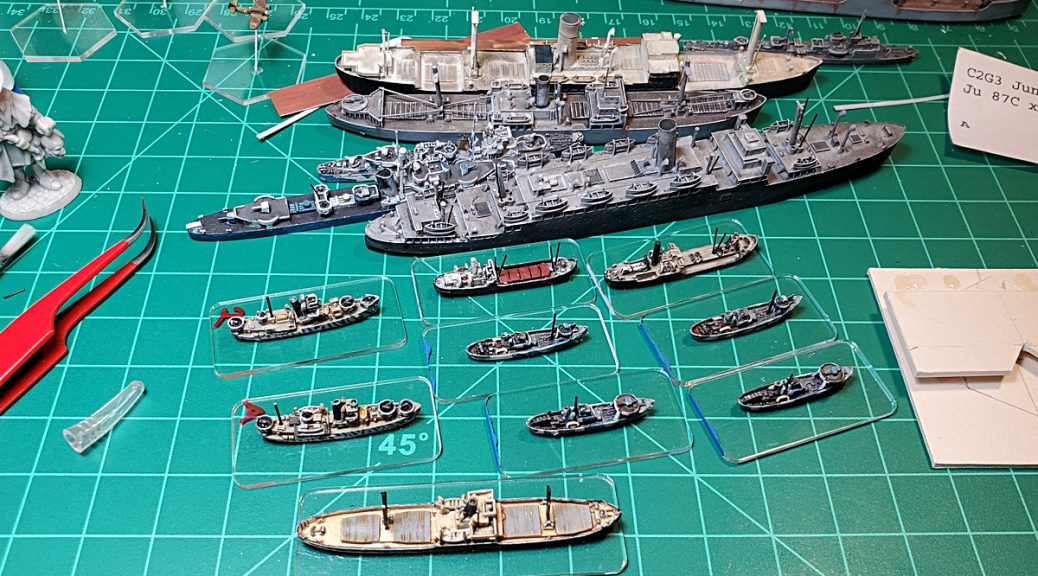
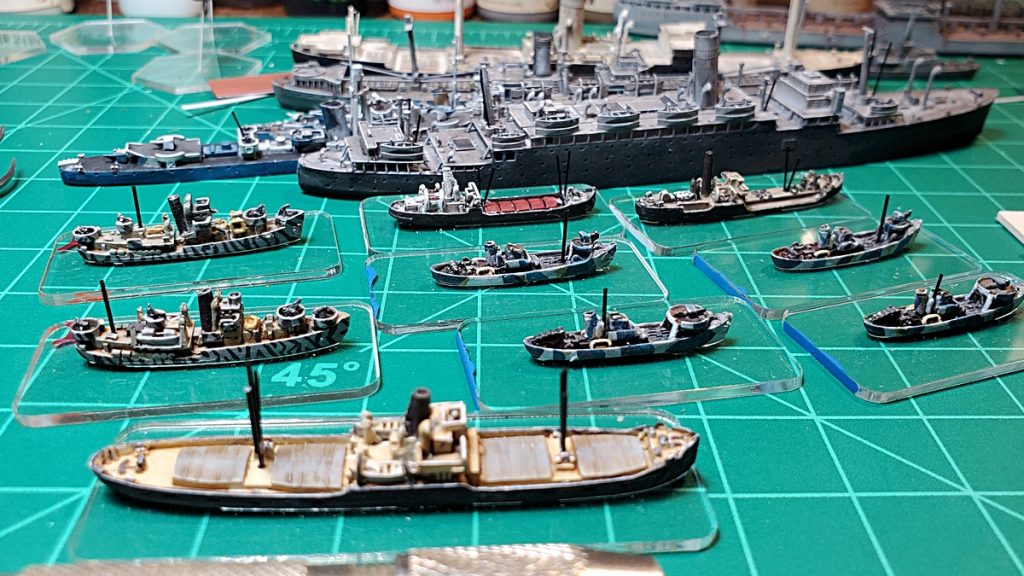
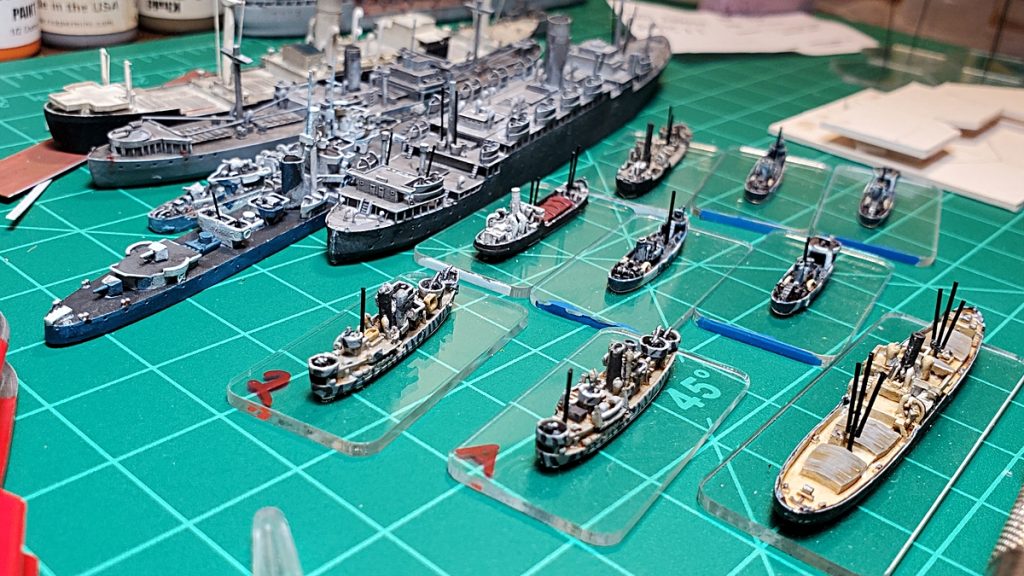
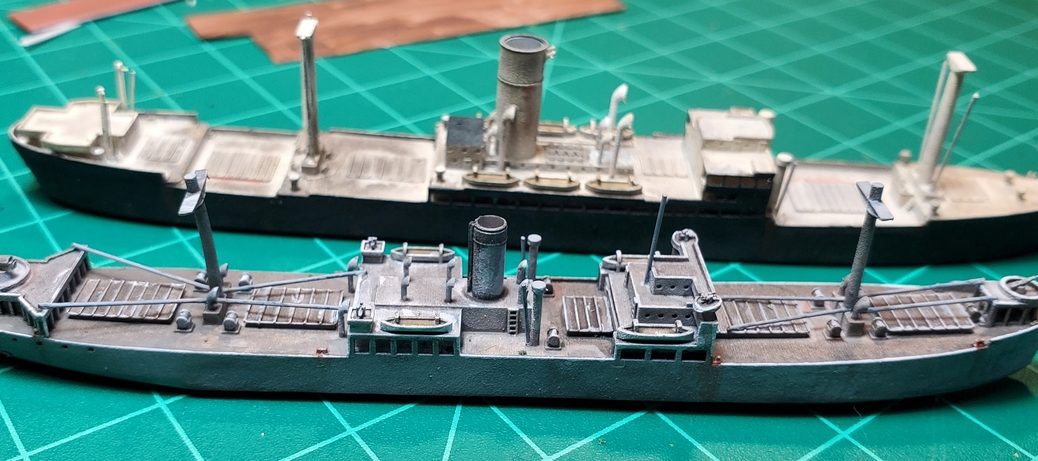
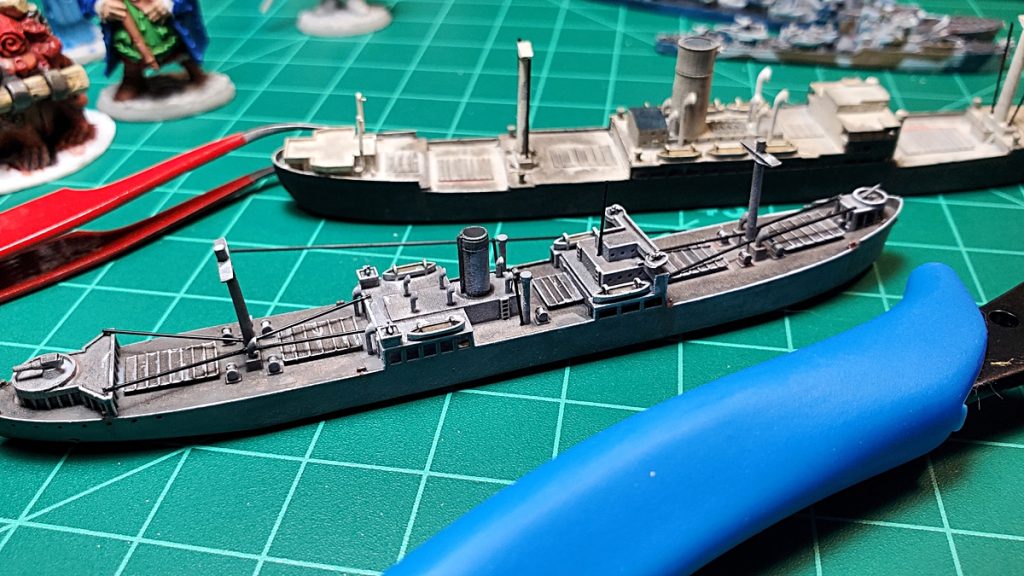
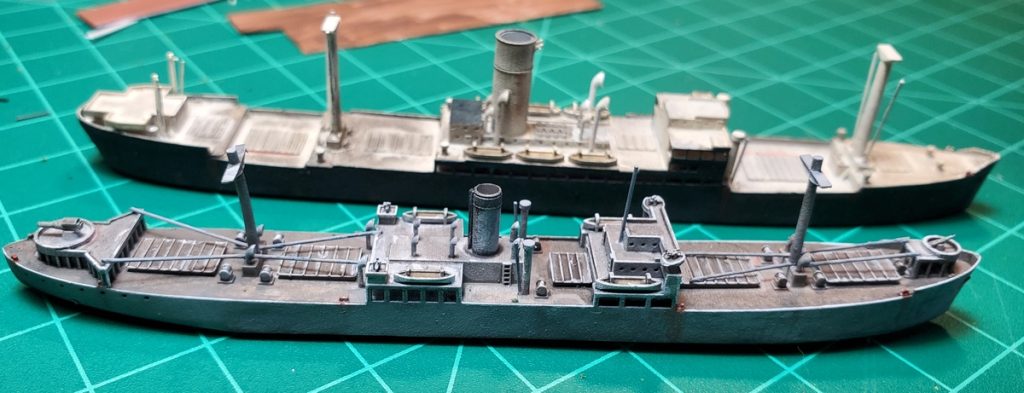
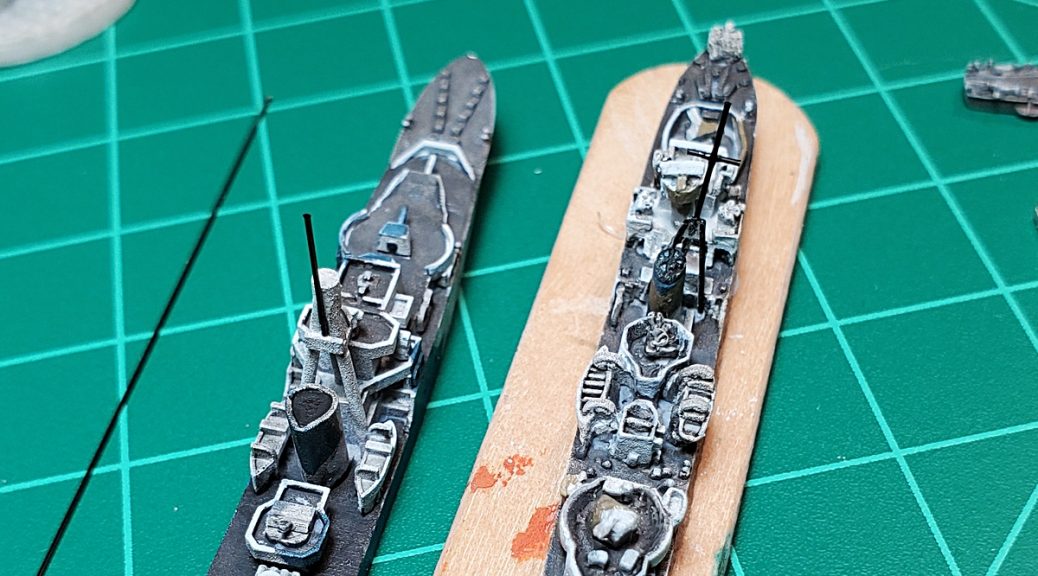
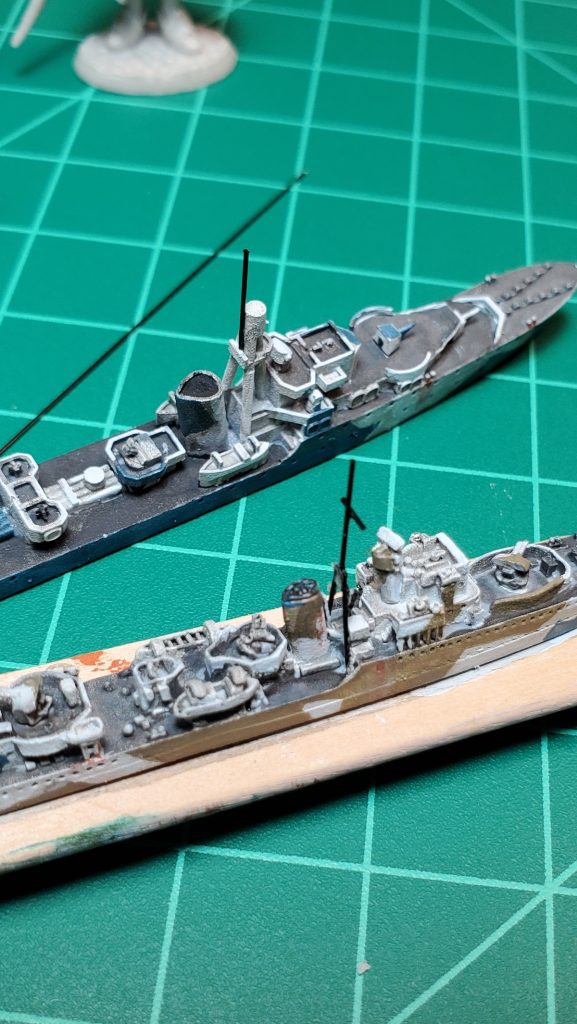
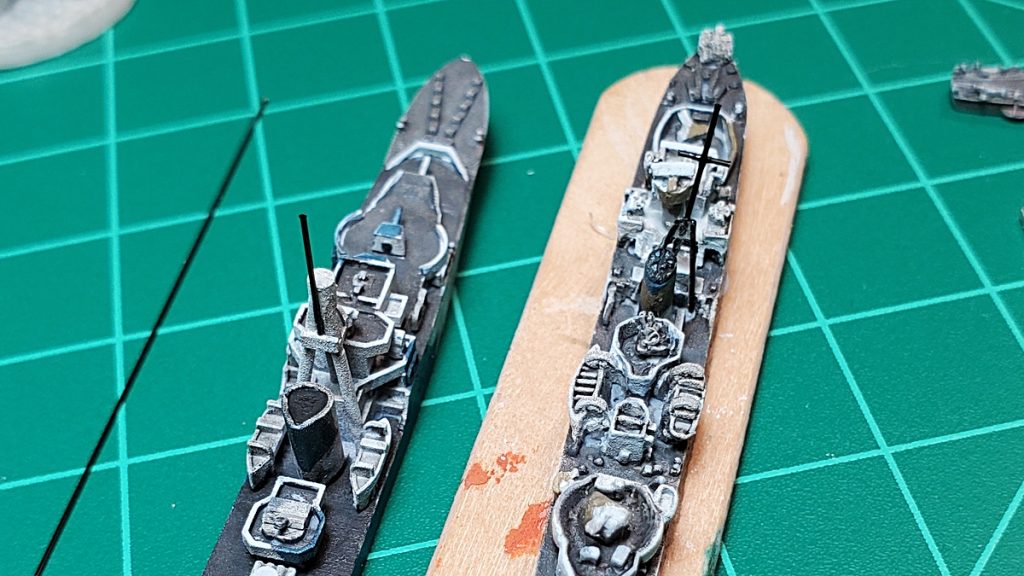
On the actual workbench, some of the 1/1200 3d resin printed vessels mentioned a post or two ago, and a fun pair of halfling pony cavalry from Wargames Atlantic. The chap on the left is intended for Harfoot Jousting mostly and is built straight from the WA halfling cav sprue; the trooper on the right is converted with Warlord Games 17th C pistols and such to be a halfling pistoleer medium cavalry chap.
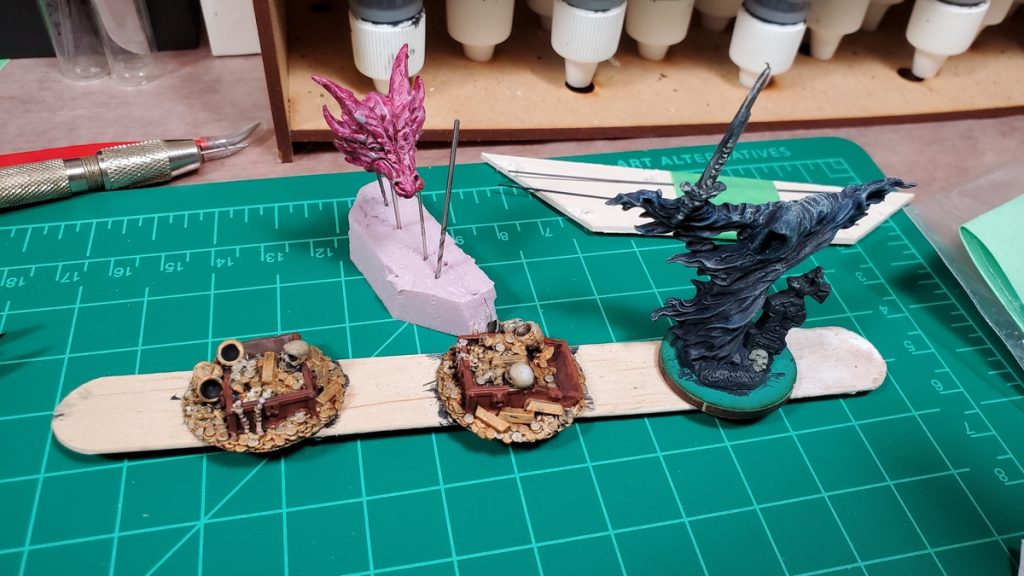
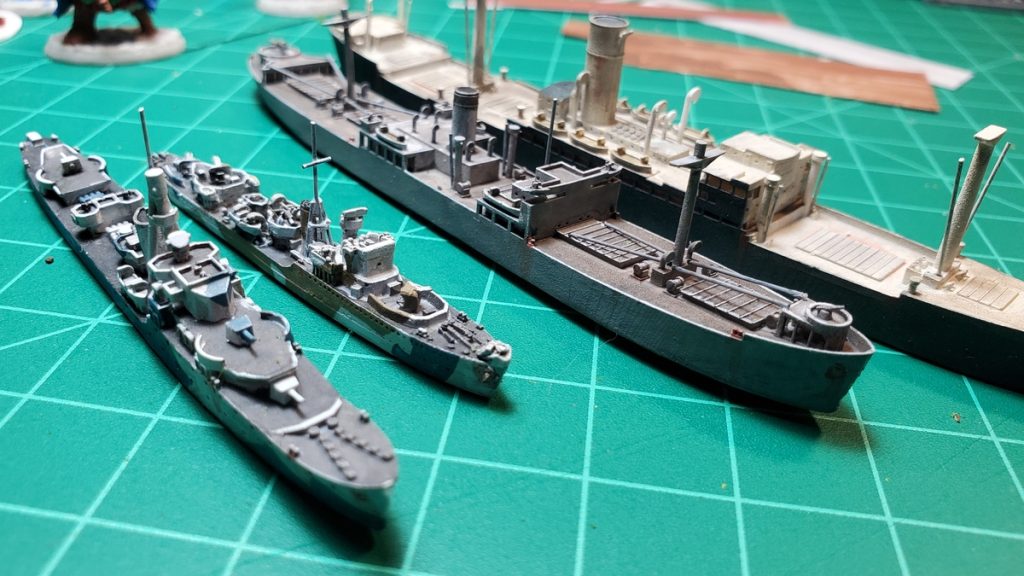
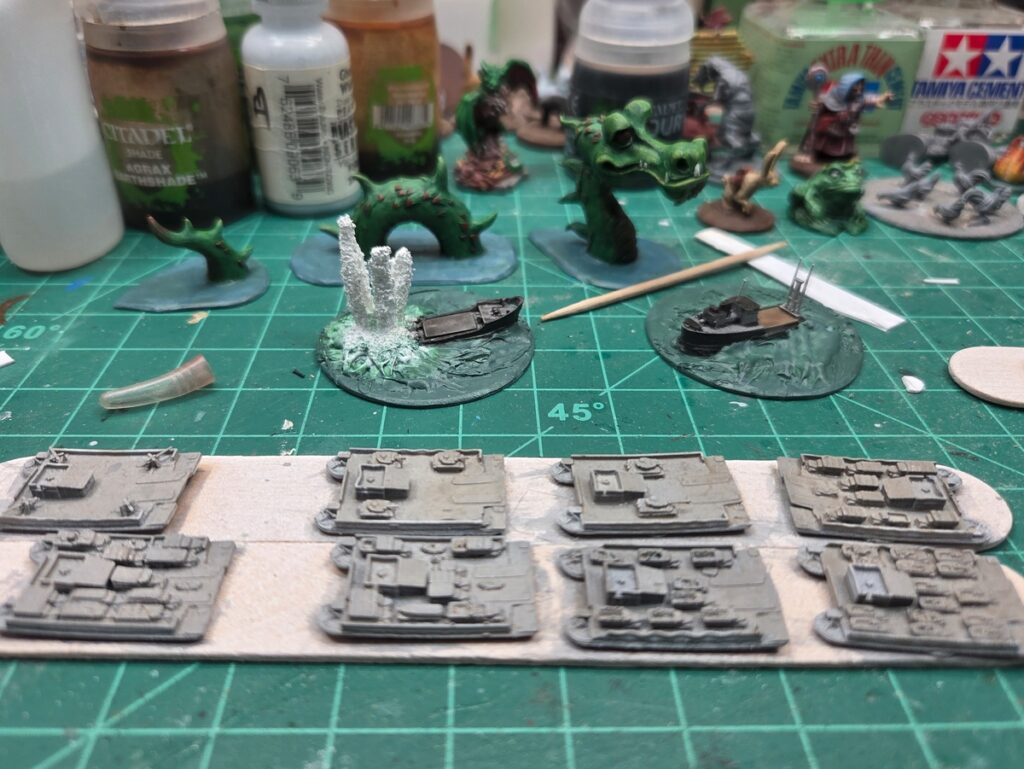
The square vessels are Kreigsmarine Siebelfähre, seven of them with various vehicles as payload and the eighth with four 88mm as an artillery barge. In the background, a pair of sinking/exploding coastal freighters as wreck markers, and that lovely serpent hanging around…
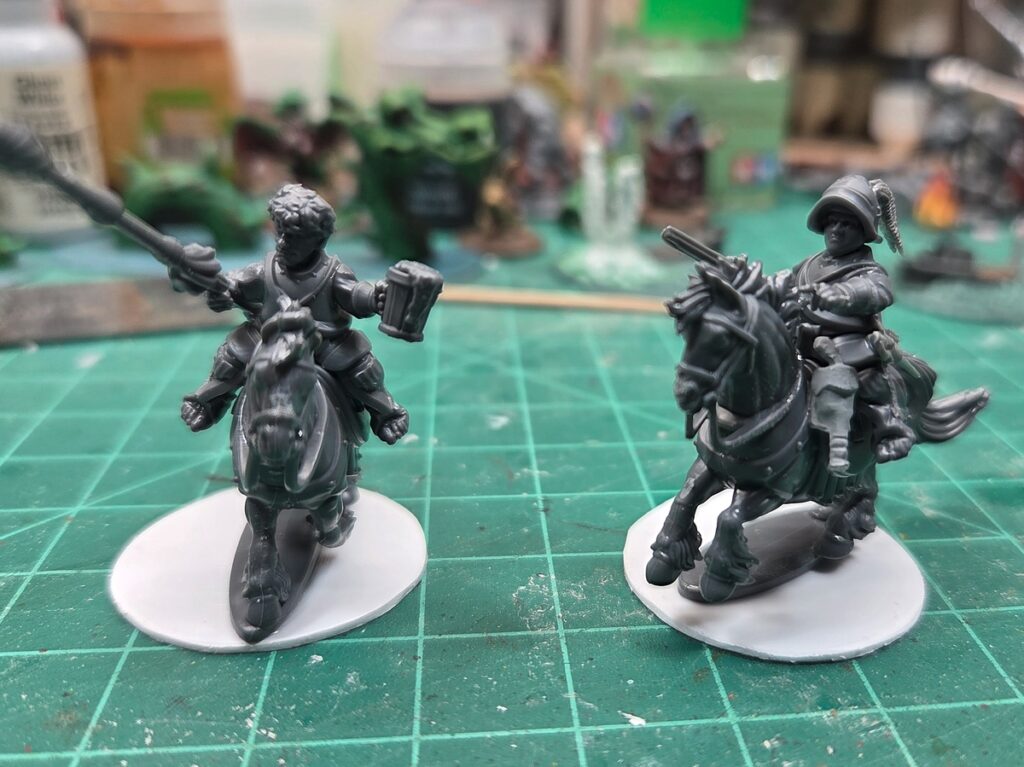
Going to try to get the halflings based, cleaned up, and primed this weekend, possibly alongside some other very random fantasy figures I found while cleaning my desk up earlier this week…