Sculpting In Exile III: Hands, Faces & Skulls

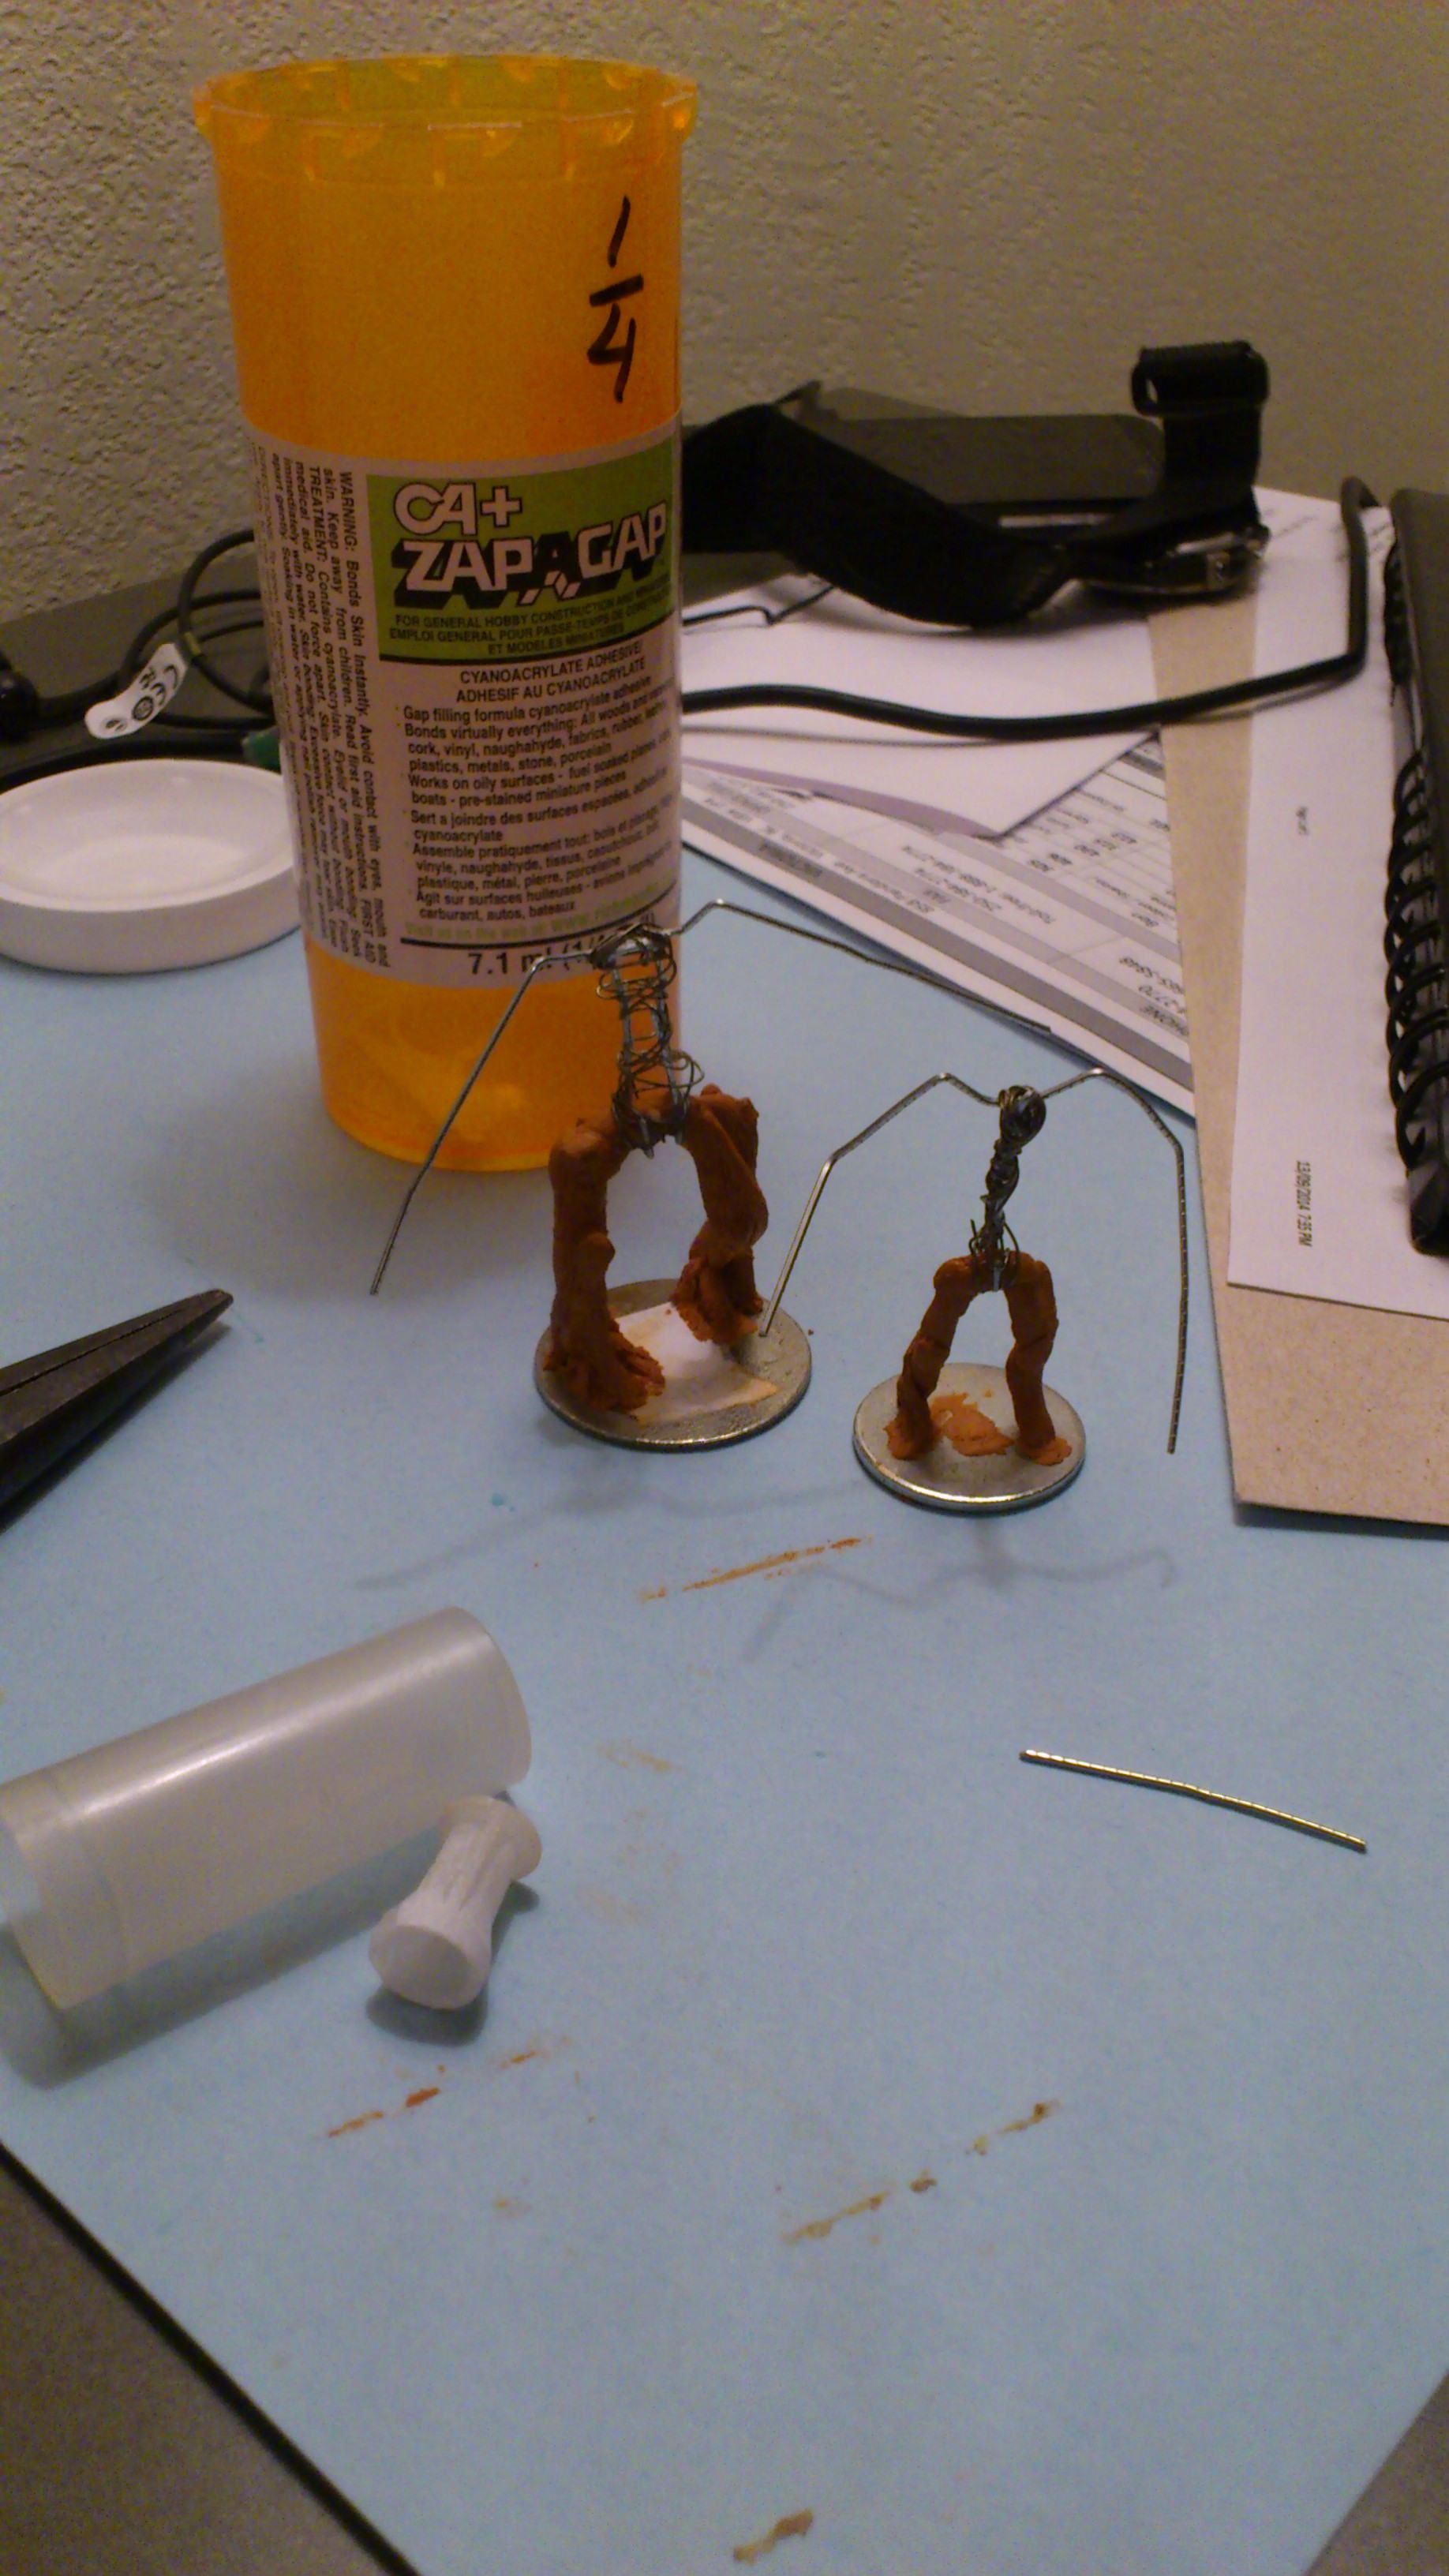
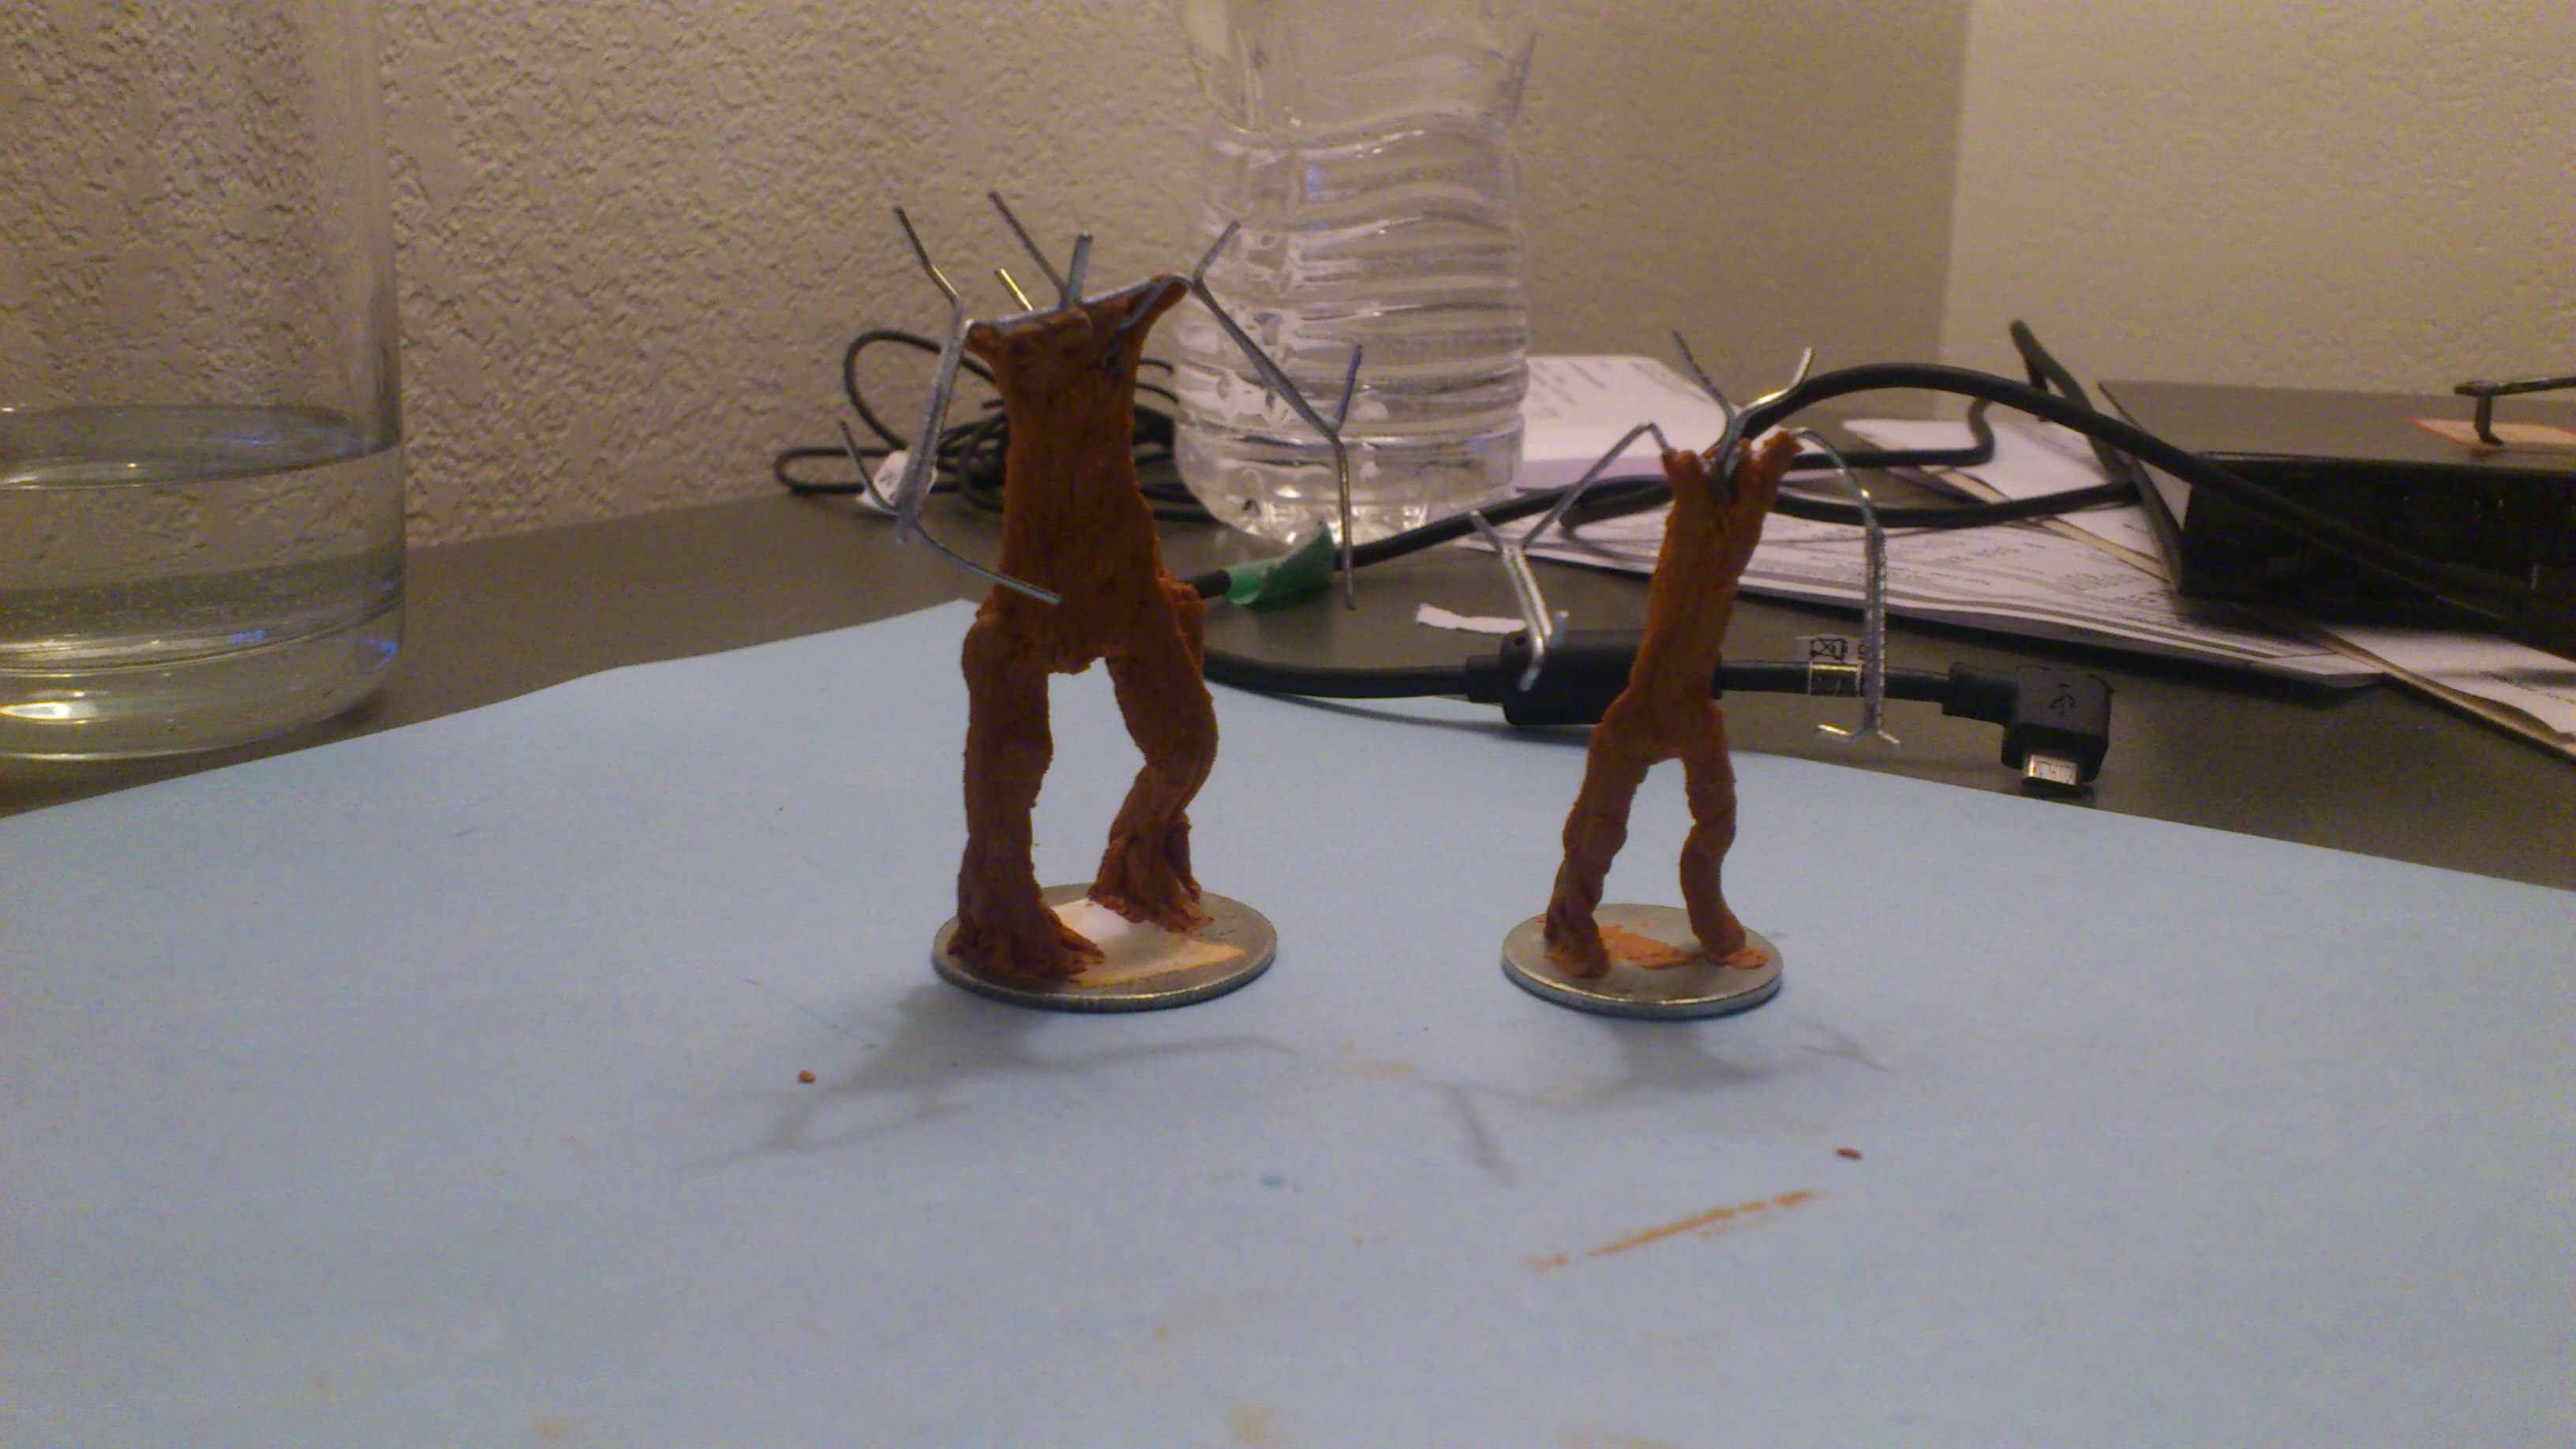
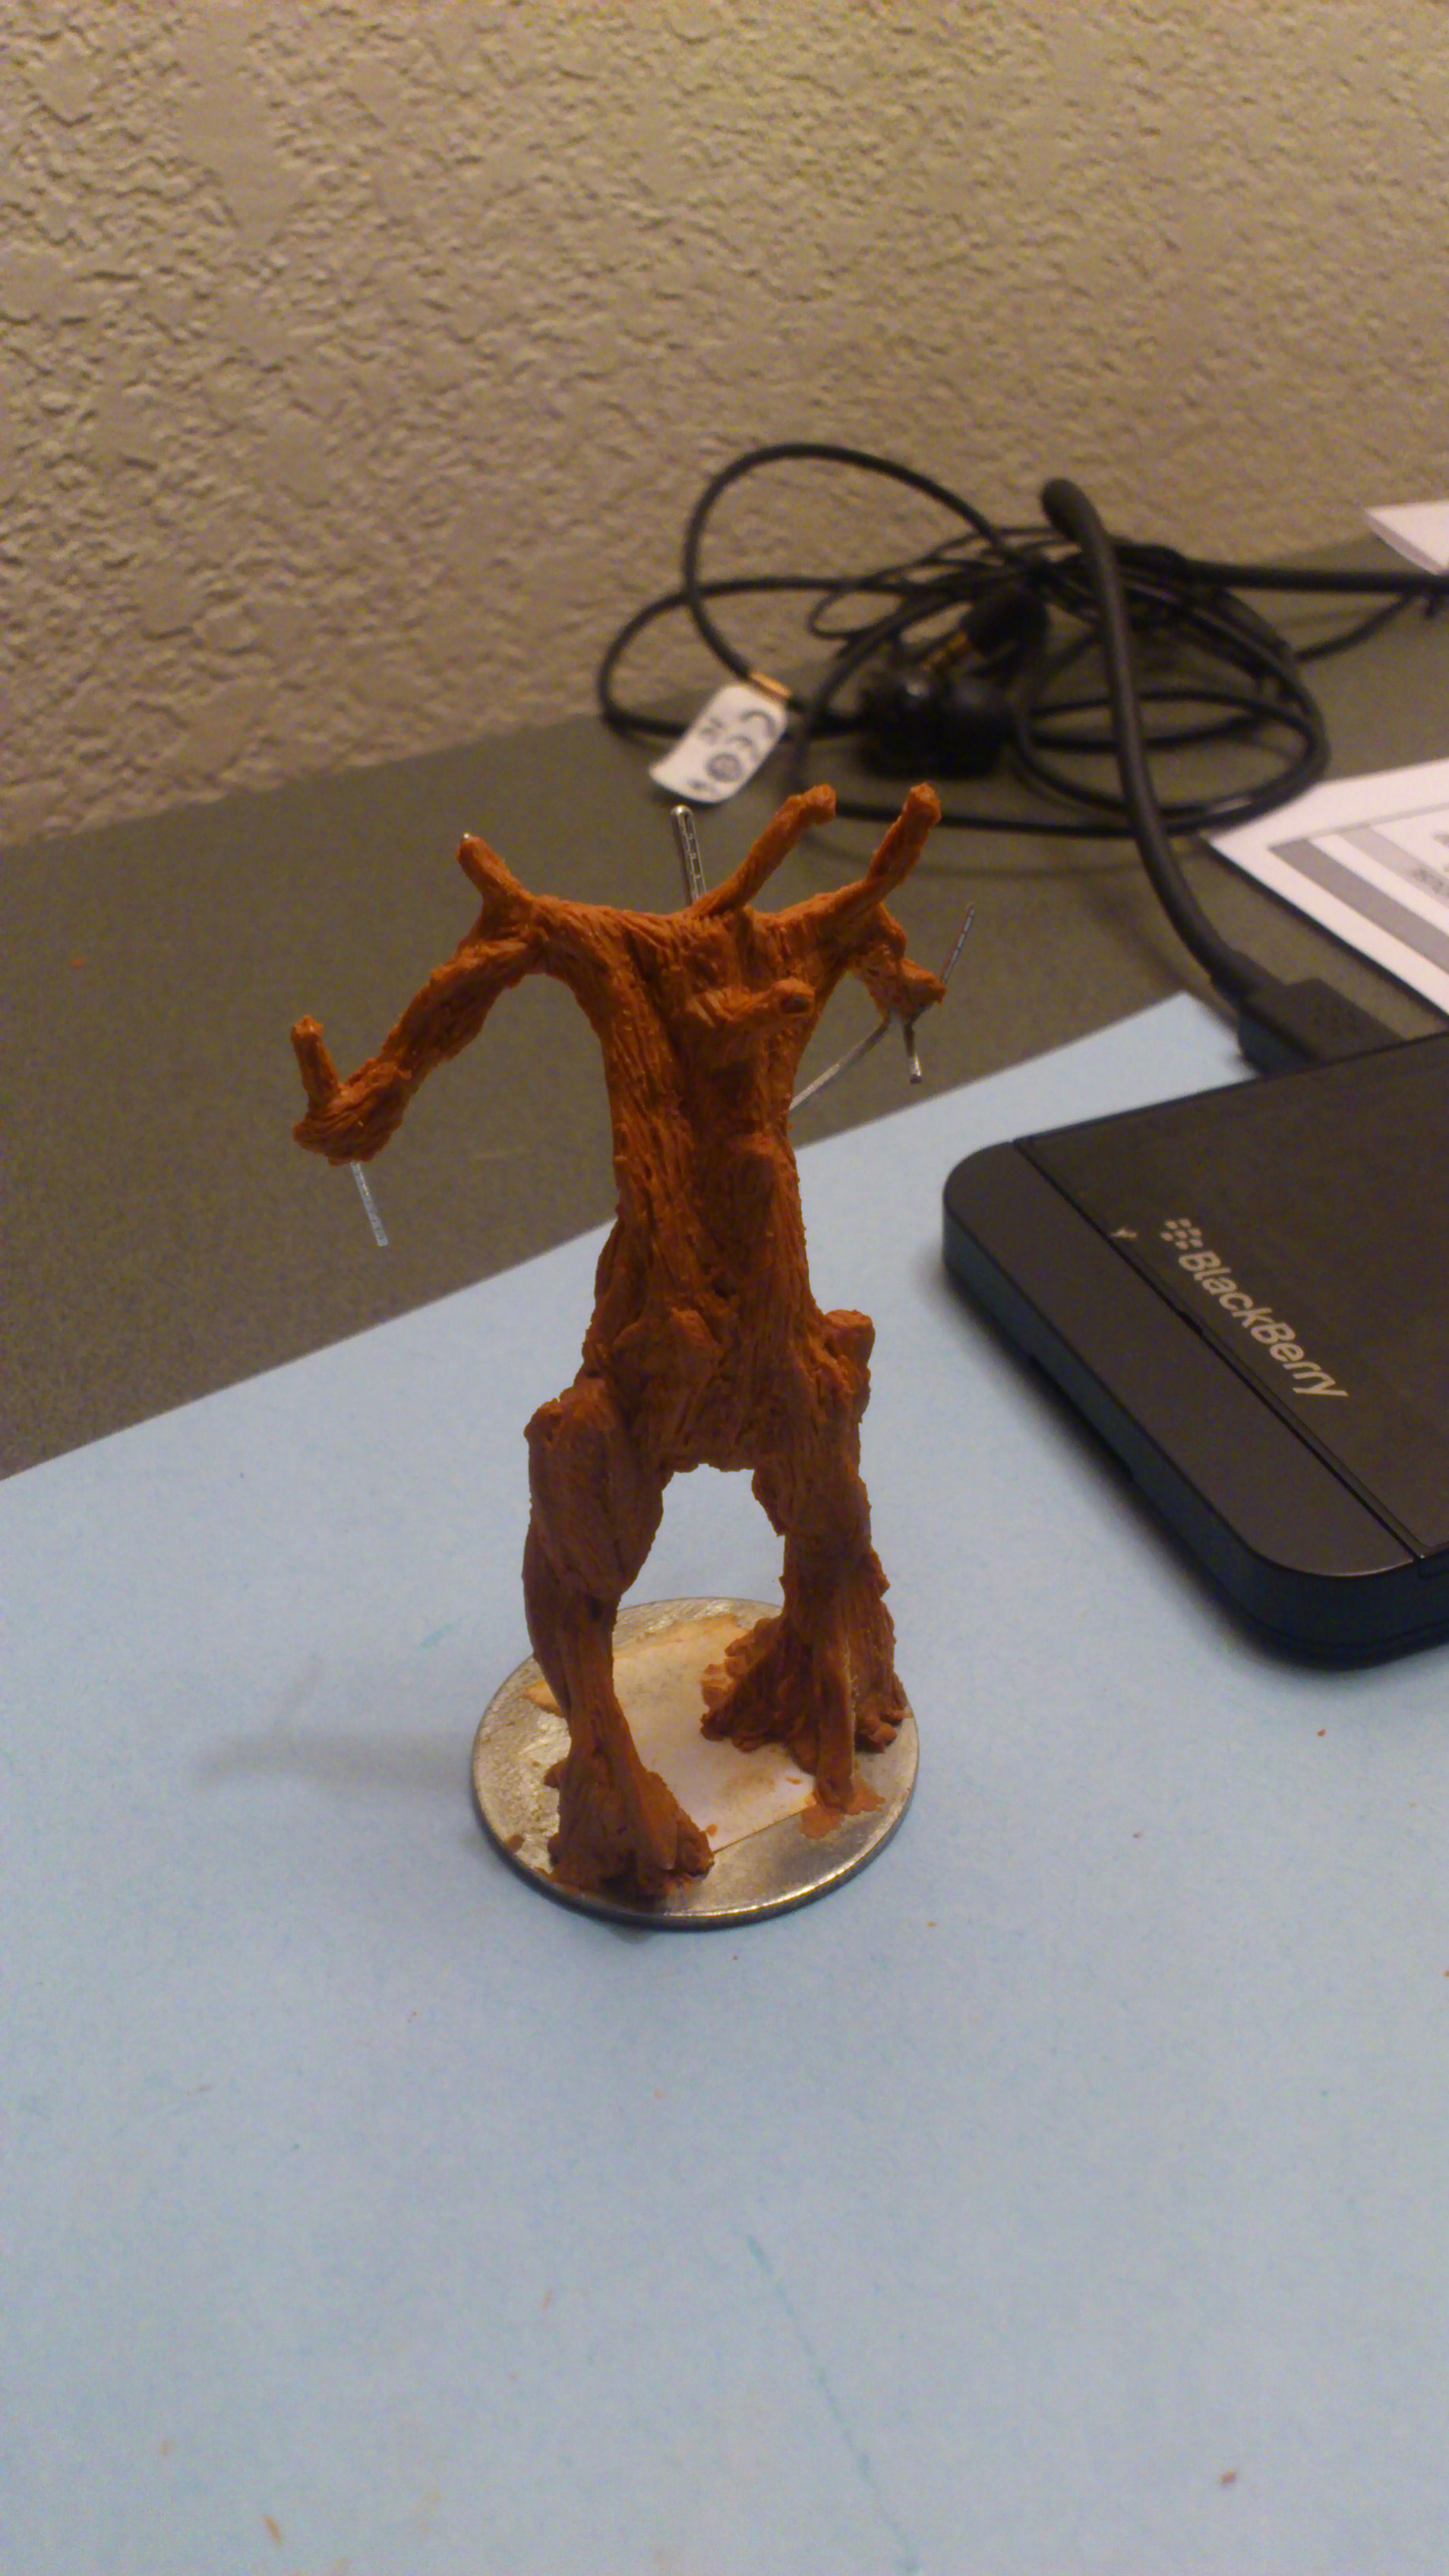
They have hands! Well, hands are in progress, in any rate. I used thin wire superglued to the forearm or wrist of each figure, then built the fingers and wrists up by looping and folding the wire. Very thin strips of greenstuff after that, then some detailing and additional very thin bits of greenstuff.

Hands in progress. See text for details, and click for larger.

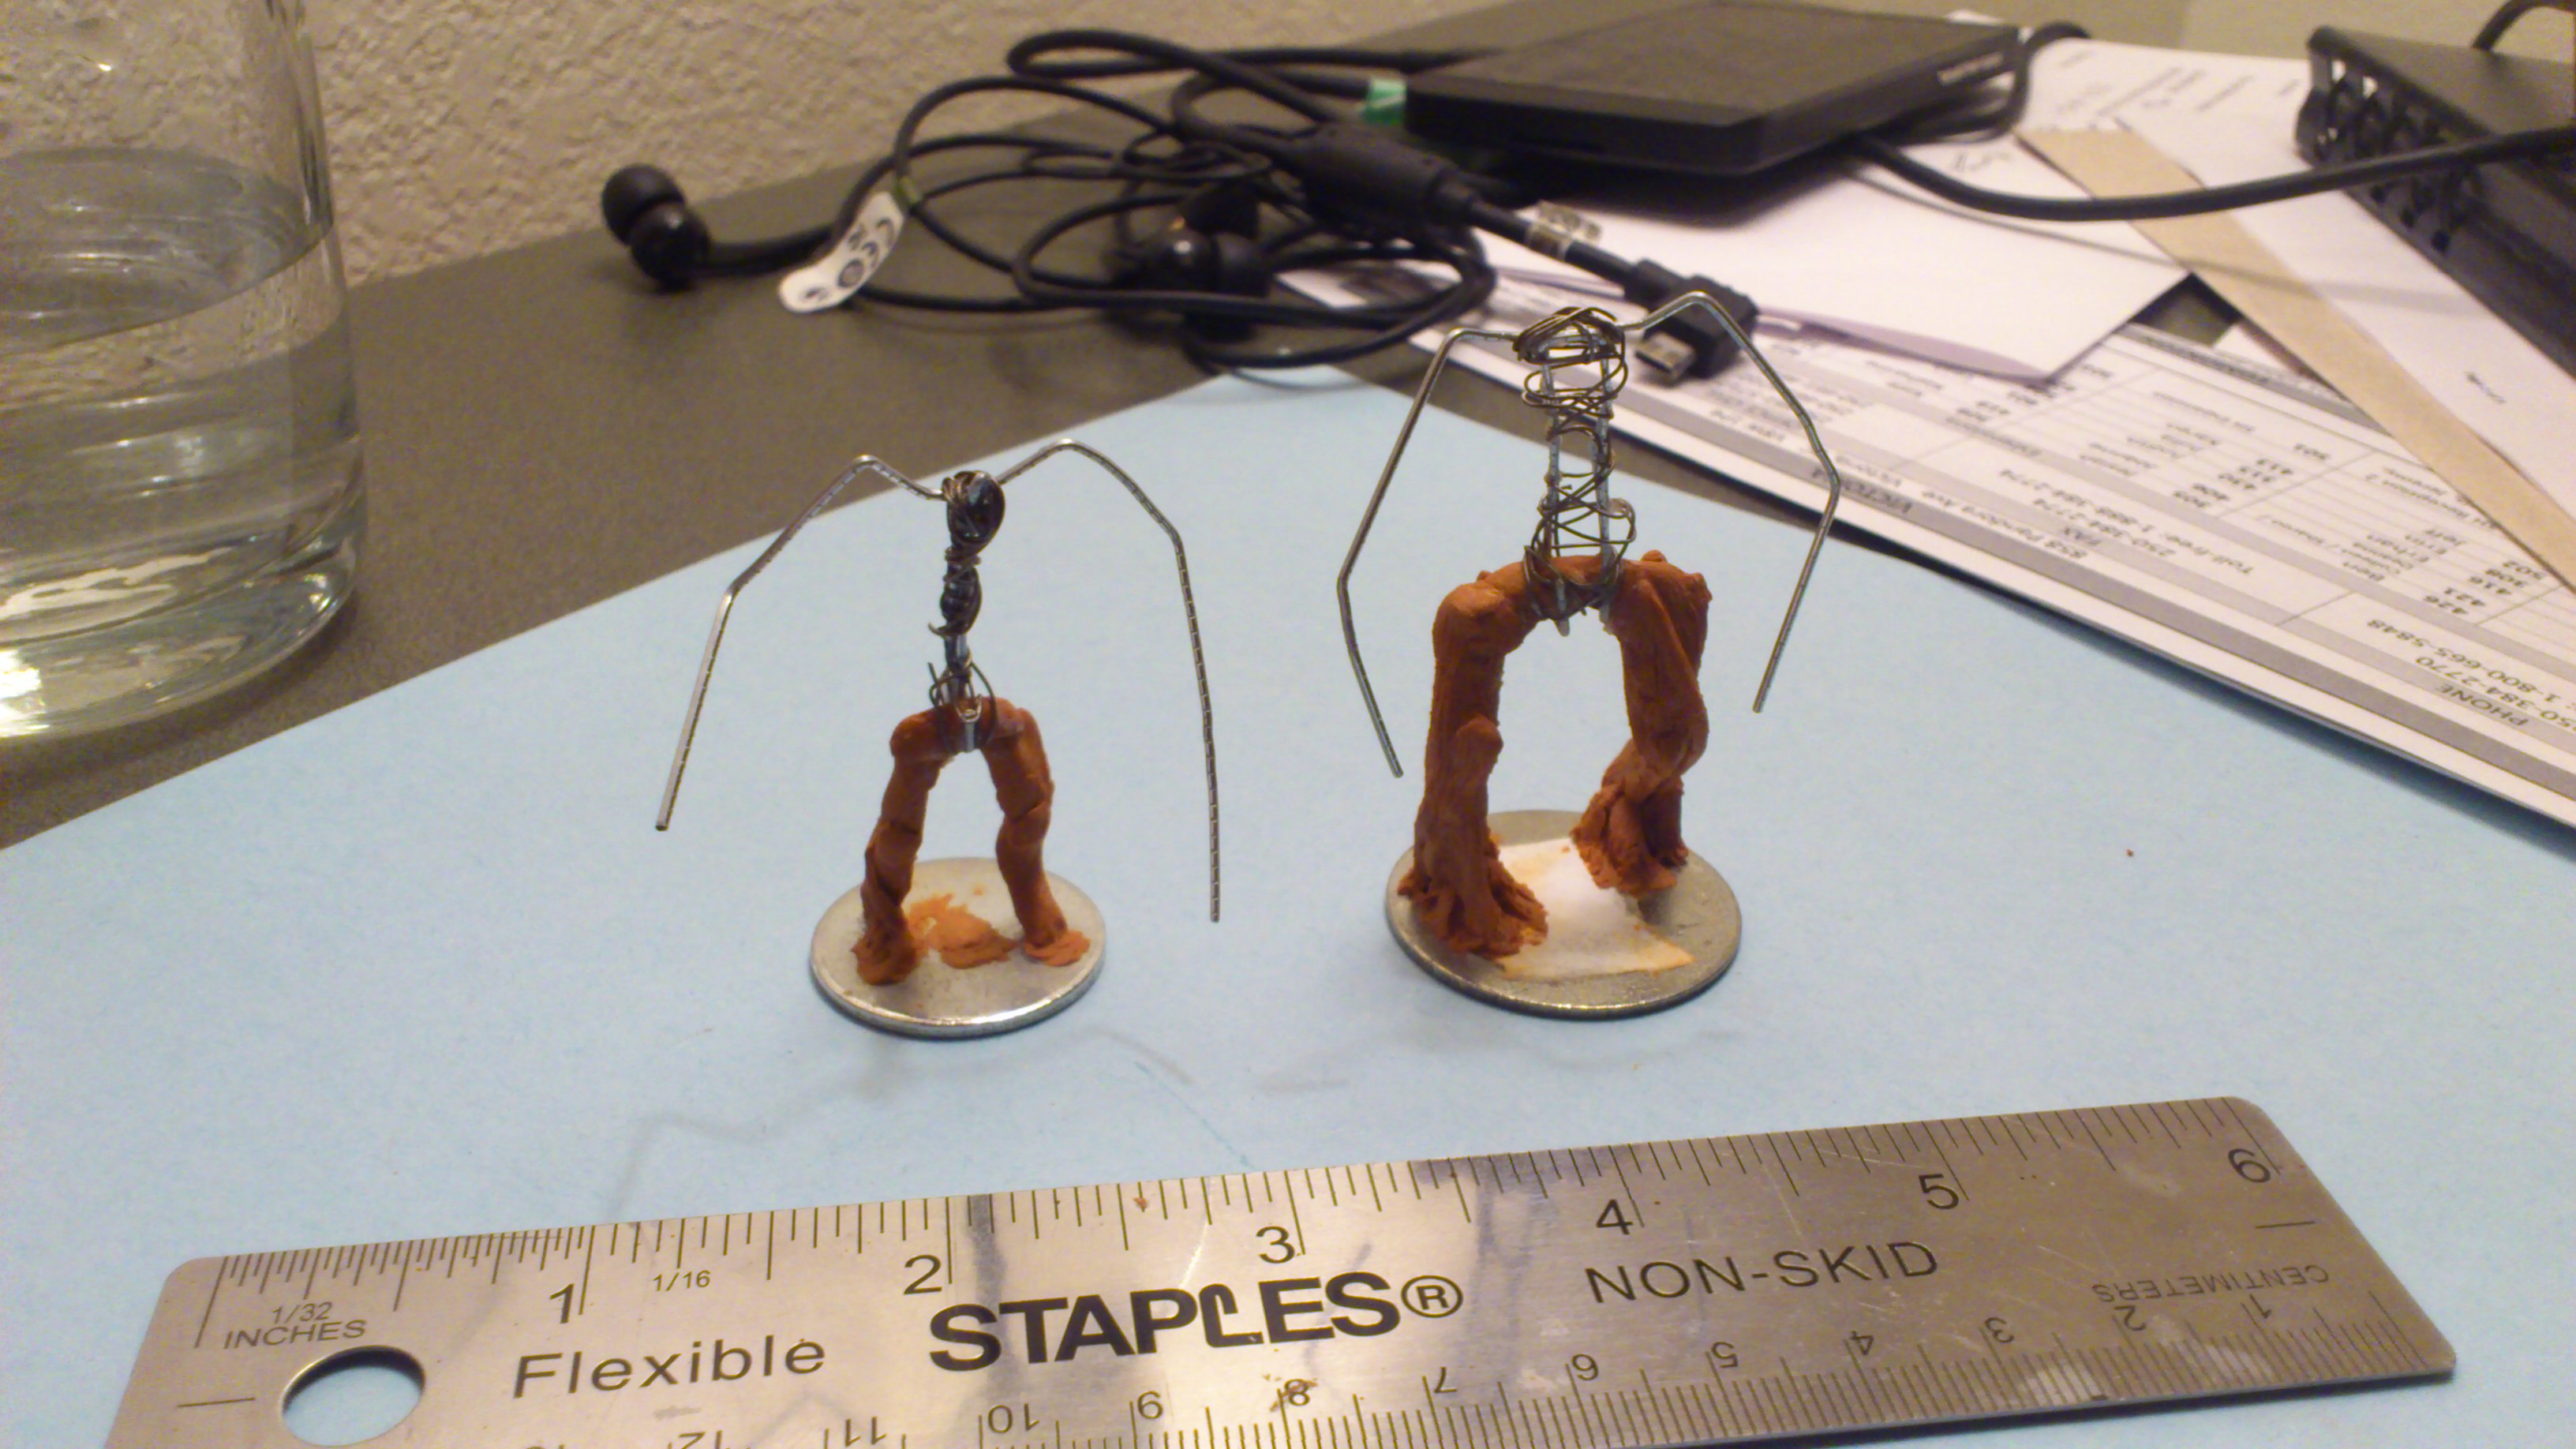
Above, the larger treeman has the first coat of putty on his hands, while the shorter one has wires glued to his wrists waiting to be formed into hands.

Dread Altar (now with skulls!)

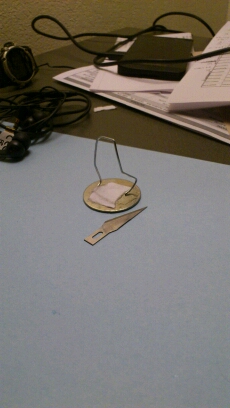
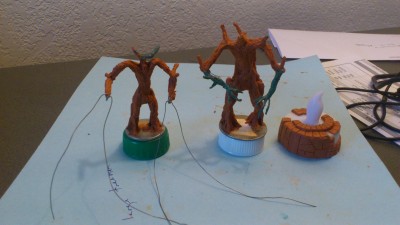
The altar that started life as a way to use up leftover putty has taken on a life of it’s own, as projects tend to. I’ve been practicing the fine art of sculpting skulls on it.

Hands and the start of faces. Also, sculpting tools.

I’ve started doing the heads and faces on both treemen, in Milliput because I’m still happier working in that than in greenstuff. Shorter treeman has also had his fingers and hands formed from wire, but no greenstuff yet.

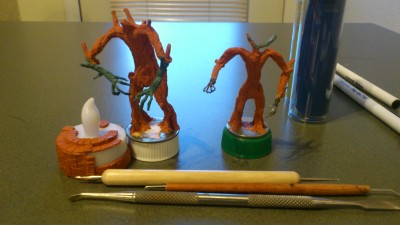
You can also see my three primary sculpting tools here. The all-metal one is from the Army Painter sculpting tools set; it has a bent paddle sort of shape on one end and a spear blade sort of thing on the other. The pale wood handle is an embossing tool, usually used by scrapbookers and other crafty sorts but very useful for sculpting. It has a small round knob on each end, perfect for eye sockets in skulls, rounded grooves in things and similar shaping. The final tool is a homemade one, using the handle of a dead paintbrush and two bits of paperclip wire. One end is bent into a sort of hook, the other just has a gentle bend in it.

Heads and faces progressing, and yet more skulls on the altar! Click for larger, as always.

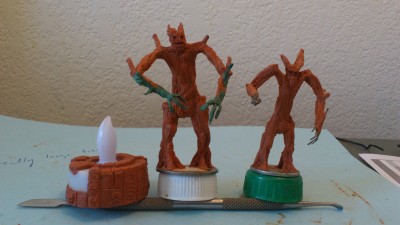
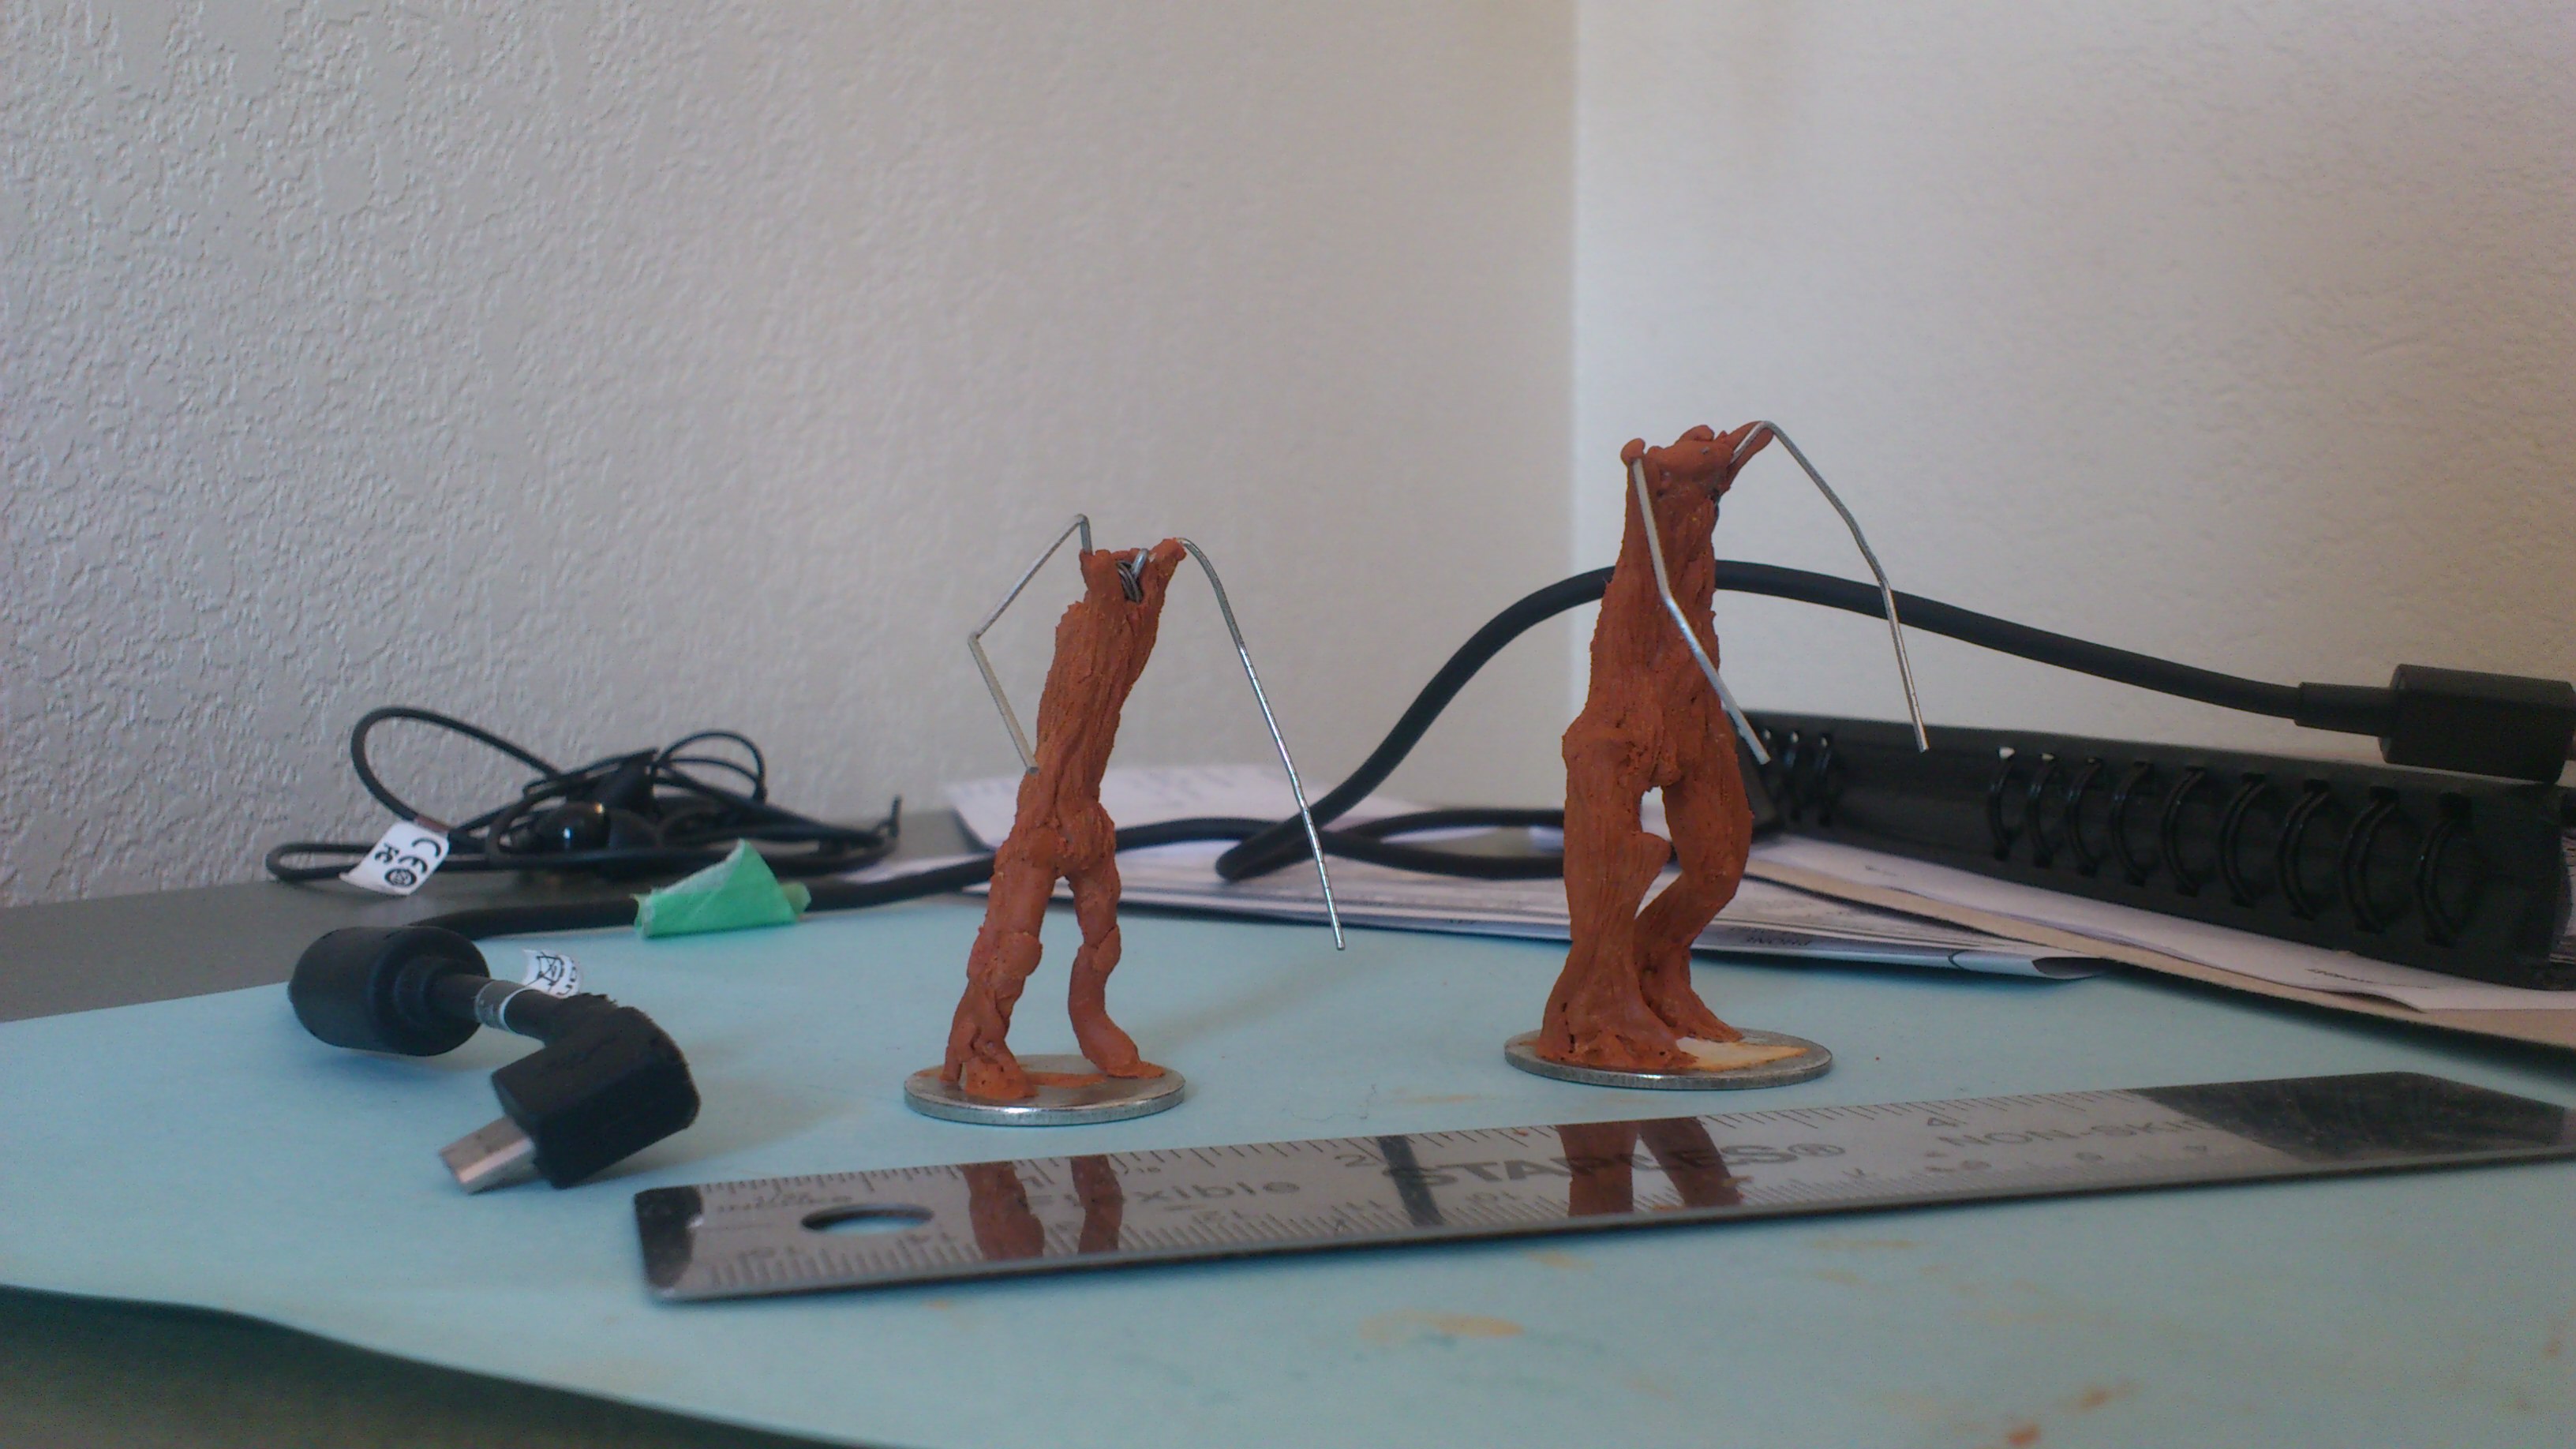
Final photo for now from just this morning. The heads and faces on both treemen are progressing, although they both have a fair way to go before I’ll consider them complete. The amusement of sculpting skulls has taken over the altar. I haven’t counted yet but there have to be at least a dozen+ skulls on the thing now…

Sculpting in Exile

I’m away from home in northern Alberta for four to six weeks helping run a field project for the company I work for. It’s hard but fascinating work with long hours and we’re living in a hotel suite for the duration.

I’ve brought figures and paint on previous field assignments, but the lighting in most hotel rooms is terrible so I’ve never painted much.

I couldn’t take the thought of not having some creative outlet, though, so this time I packed putty, sculpting tools and some other supplies and resolved to use the time to practice the dark art of converting putty, wire, and bad language into usable figures. Specifically, I decided to start with a couple of treemen to use on the Bloodbowl pitch.

Why treemen? I’ve seen a lot of treeman figures out there I didn’t like for various reasons, so I wanted to try my hand at a treeman that satisfied me, and also because the exact details and proportions of something like a treeman are less fixed than a human or similar humanoid would be.

Just by way of a teaser, here’s where Project Hotelroom Treeman started!

image

A washer, paperclip wire, scrap paper, and superglue. Everything has to start somewhere!

LInks of Interest, 5 Sept 2014

Just to prevent this place becoming all-Blood Bowl, all the time, some semi-random interesting links.

Over on Lead Adventure Forum, I found the information on this thread about paint add-ins, matte/gloss mediums and related substances very useful. Going to have to visit on of the good local art stores soon, I think…

I’ve also just bought new greenstuff putty finally, to replace the very, very old strip of the stuff that’s been hanging around my desk for far too long. The old stuff had the consistency of used old chewing gum and was pretty much impossible to work with; the new stuff (along with a couple of new sculpting tools!) has reminded me how much fun messing around with greenstuff is. There’s a pile of YouTube video tutorials showing basic greenstuff sculpting techniques – one I rather like is The Dizmo’s skull tutorial.

Green Stuff Industries host a good mix of basic messing-with-green-stuff tutorials, including this Sculpting Bas-Relief Flames tutorial that I want to try out sometime soon.

One final sculpting-related link, this one from Kings Miniatures on making your own simple sculpting tools from dowel and paperclip wire.

I’m off next week to northern Alberta for three to six weeks of field work, helping run a project up there, so posting might continue to be fairly light but I’m going to take some putty and sculpting stuff with me and practice the art – it should be more forgiving of hotel suite lighting than painting, which I’ve tried in hotel rooms in the past and always quit because even at a hotel room desk the light tends to be lousy…