We love a good coop skirmish game, playing a lot of Sellswords & Spellslingers and dabbling in quite a few other games. And we both love gunpowder fantasy, so the mixture of the two, with a horror twist in Devilry Afoot was too good to pass up.
What is Devilry Afoot? Let’s let the author introduce it:
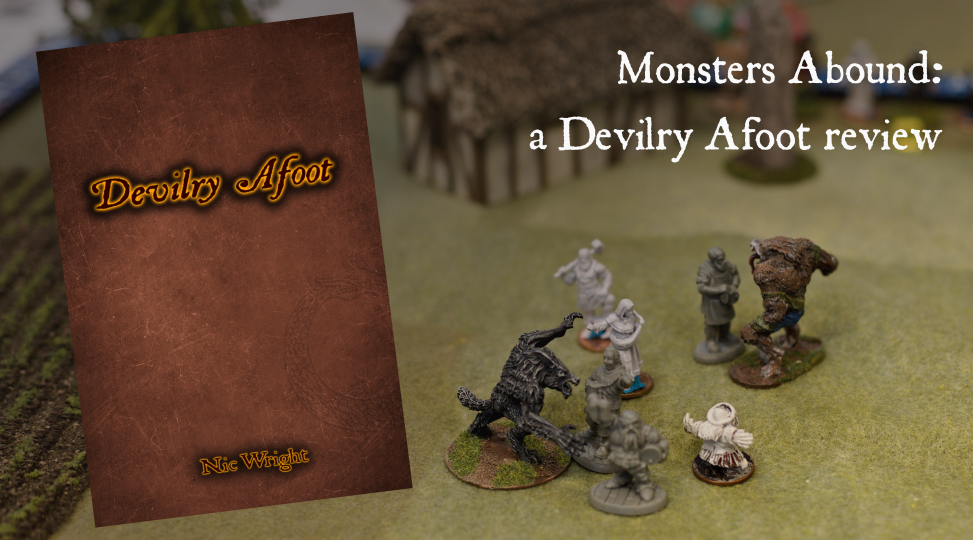
Devilry Afoot (2024) is a folk horror monster-hunting handbook for tabletop skirmishes.
Wargames Vault description
Set during the 16th and 17th century Wars of Religion, Devilry Afoot pits flawed human heroes, controlled by one or more players, against the creatures of the night whose actions are randomly determined by the game’s easy-to-use mechanics.
Designed for solo and co-operative play, the RPG-lite character customisation, scenario driven narratives, and unpredictable monsters combine to ensure that no two games are ever the same.
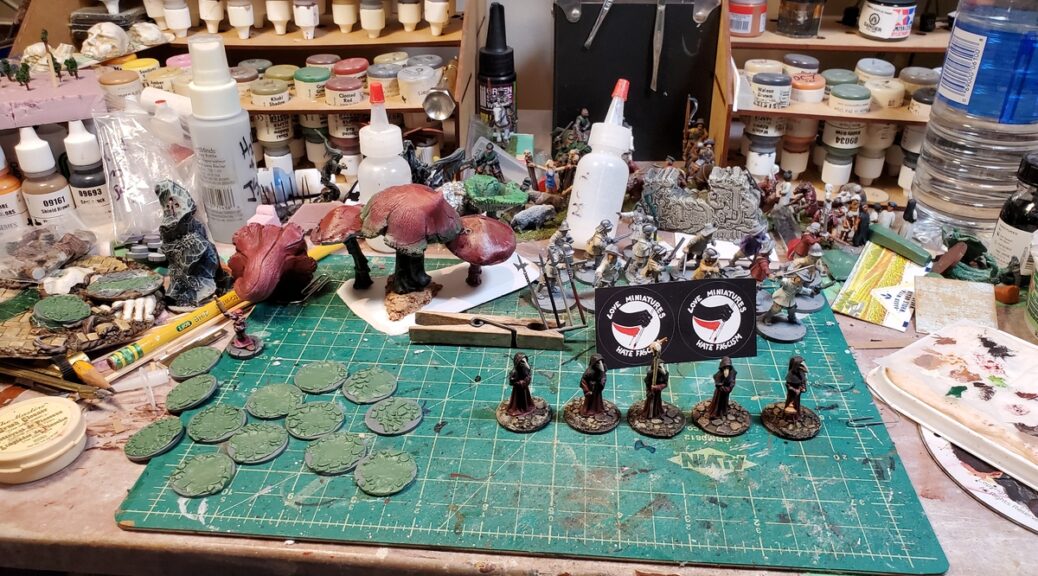
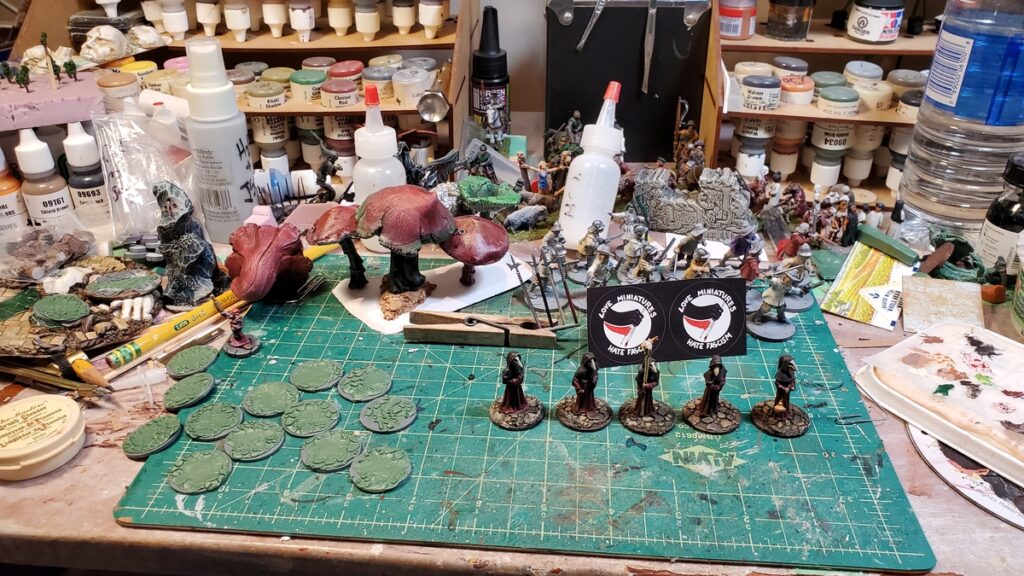
We played two scenarios: The Dance Macabre and Wolves in Sheep’s Clothing. Both were brutally hard, starting off deceptively easy. All in all, the whole two games took about 3 hours, including creating characters.
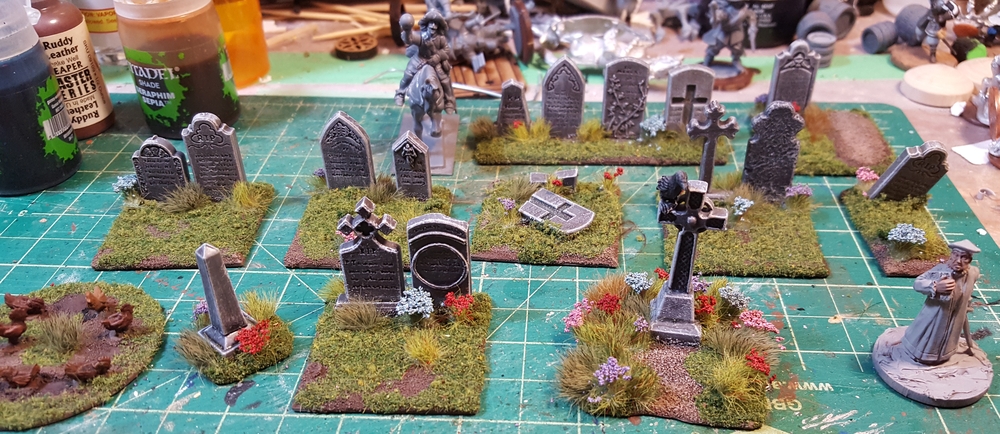
Dance Macabre


Your goal is to stop a graveyard from spawning revenants, of which only a single one starts on the table (but many more spawn in quickly). As this was our first game, we only took 3 characters (1 each).
We quickly learned that although only two monsters started on the board, bad dice luck in 1st turn by Sean had his follower run off from being scared by the spectre & his character does nothing with poor activation rolls.
The objective was simple enough, get a character into the graveyard, say scripture 3 times. But given new revenants spawned on a 1, 2 or 3 on their movement or fight rolls, we were quickly swarmed under. One after another of us went down, until only Sean was standing, and then it was over.
We decided to roll Out of Action rolls anyway, with both Sean and Brian rolling under 3 – dead – and me rolling barely better – a 4 – for Scholar Smthye to acquire a leg injury.
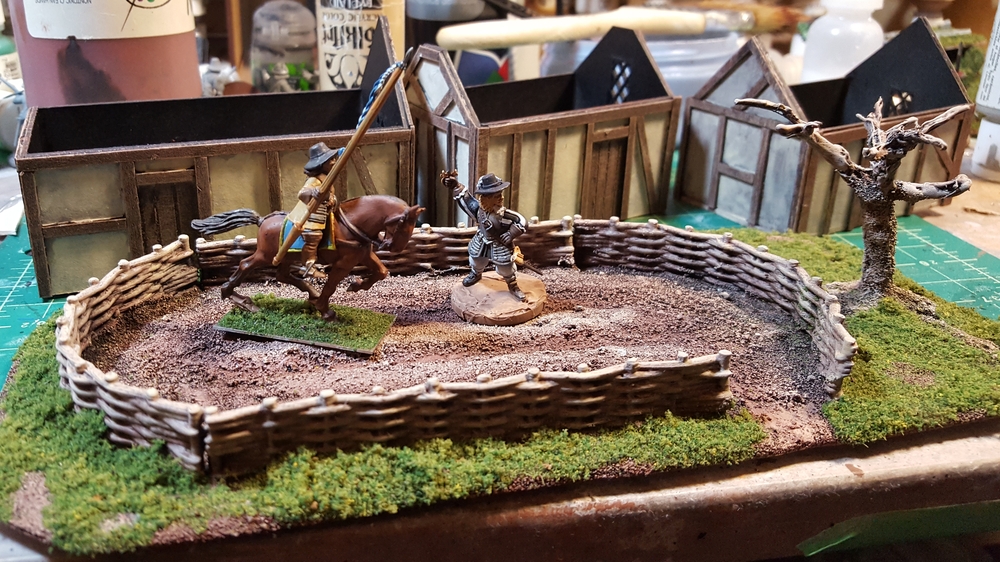
Wolf in Sheep’s Clothing


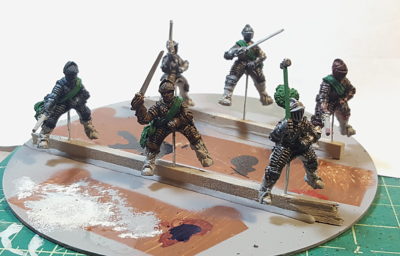
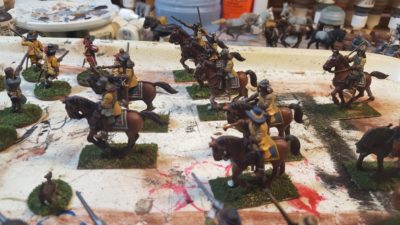
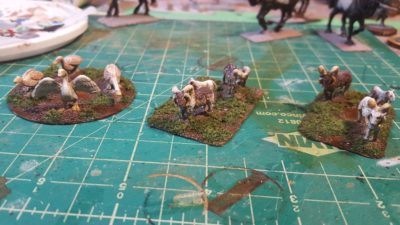
Our second game we took a bit more muscle – 2 character each (for 6 characters), with Sean and Brian both bringing followers. Here the werewolves appear in a pack of innocents on turn one.
Werewolves were a bit counter-intuitive (turn from werewolves to human to attack, etc). We also had a 3rd werewolf join us – each character has a secret and one of Sean’s had bitten by a werewolf. Which activates if you roll double 1s on their activation. Sean dutifully did so, continuing his dice luck and it appeared right in the back, naturally.
We also had a character run off from the monster’s intimidate check, ironically my Goodwife Smthye who had a bonus to not running away.
Overall thoughts
Overall we all quite like it. Definitely will play again – here’s a few more detailed thoughts:
Good
What did we like?
- Activation system was quite fun – randomness as you draw chits out of a bag for monsters, innocents, & PCs, but PCs still require an activation roll like Sellswords or SOBAH to actually do something
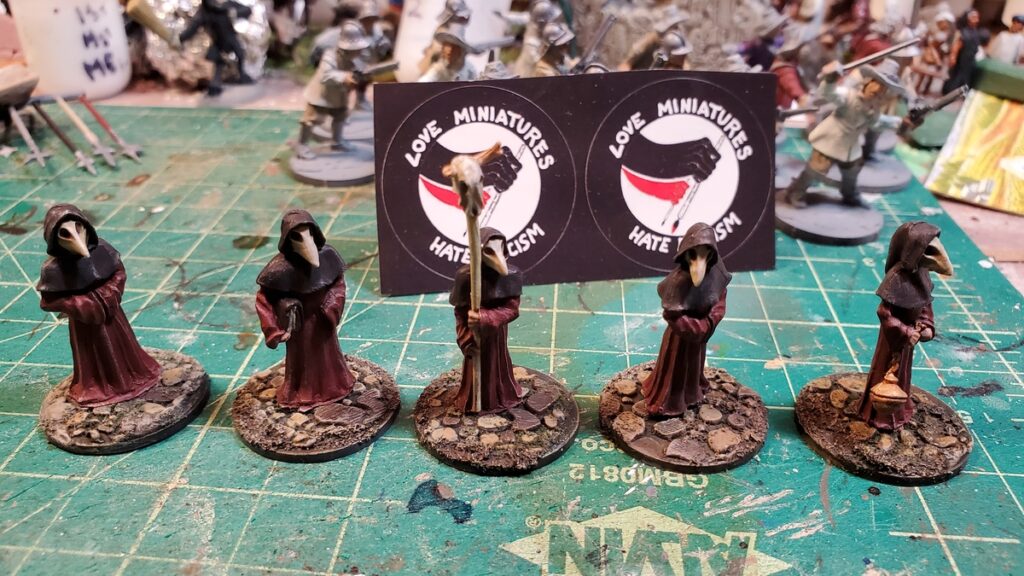
- Monster and game flavour was great – it really captured the feel of the late medieval/early renaissance ignorance of the world and fear of “things that go bump in the night”
- The period flavour of “Cite Scripture” as a PC action, which repels monsters, and the fact that most monsters will (randomly) do things other than mindlessly run forward to attack means that it can be more than just a pure brawl, which is always great.
- A permanent injury table is always fun. We have just started playing Mordheim, which has a similar rule. For us, we had two deaths, but my Scholar Smthye gave me a great roleplaying hook for my 2nd character, as his leg injury meant clearly his wife needed to follow along and make sure he didn’t get up to trouble in his foolishness
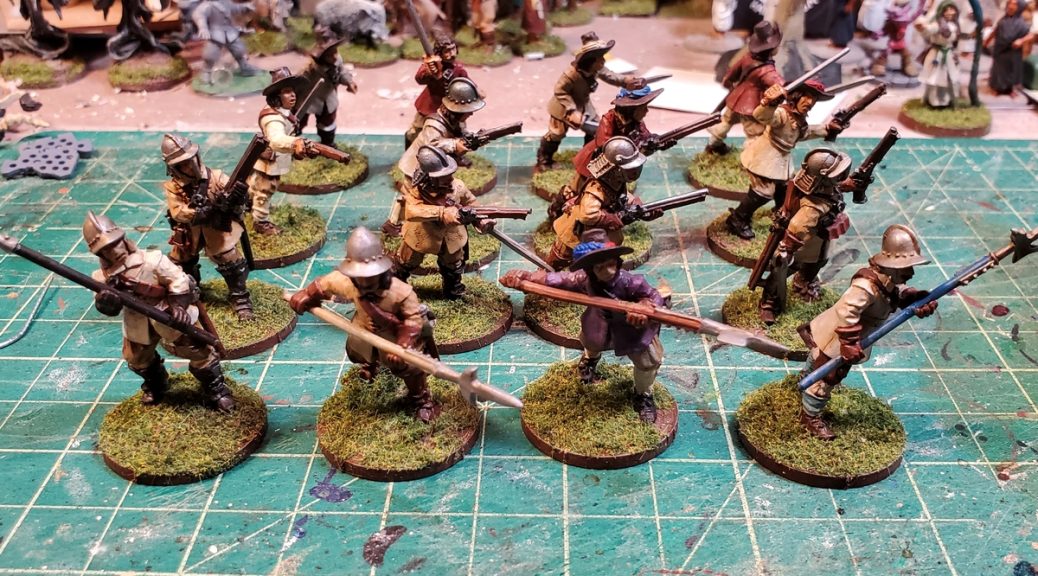
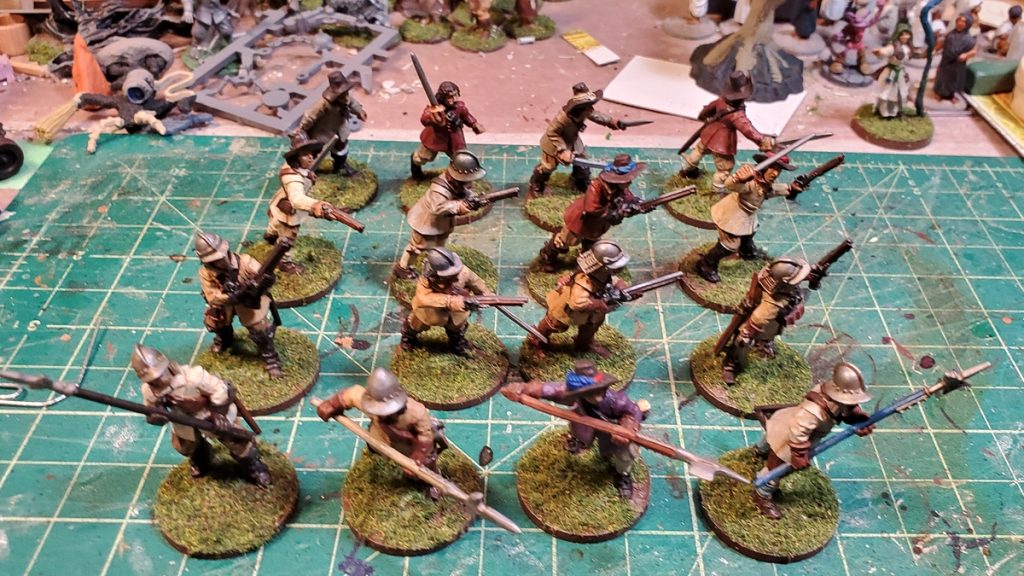
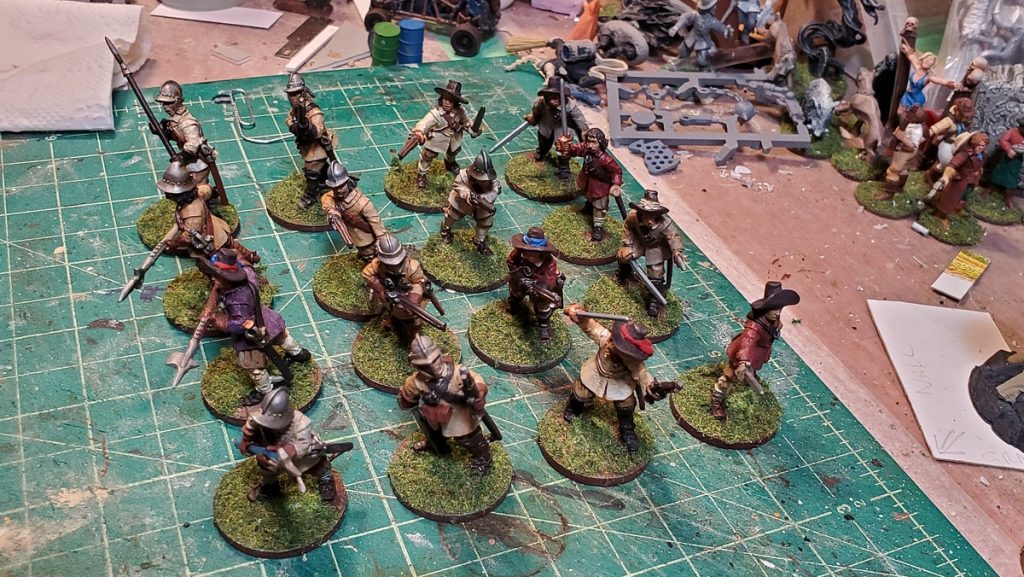
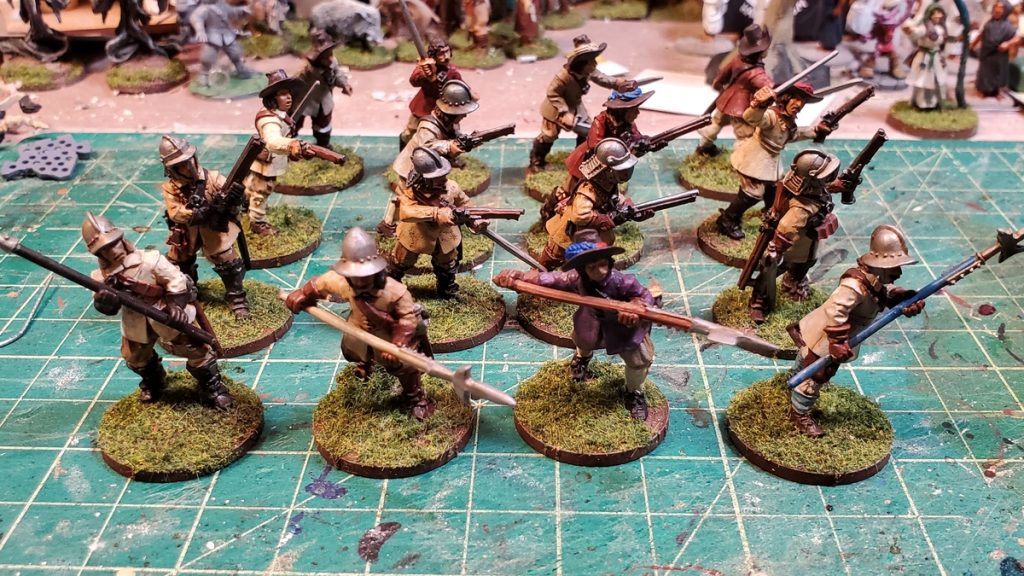
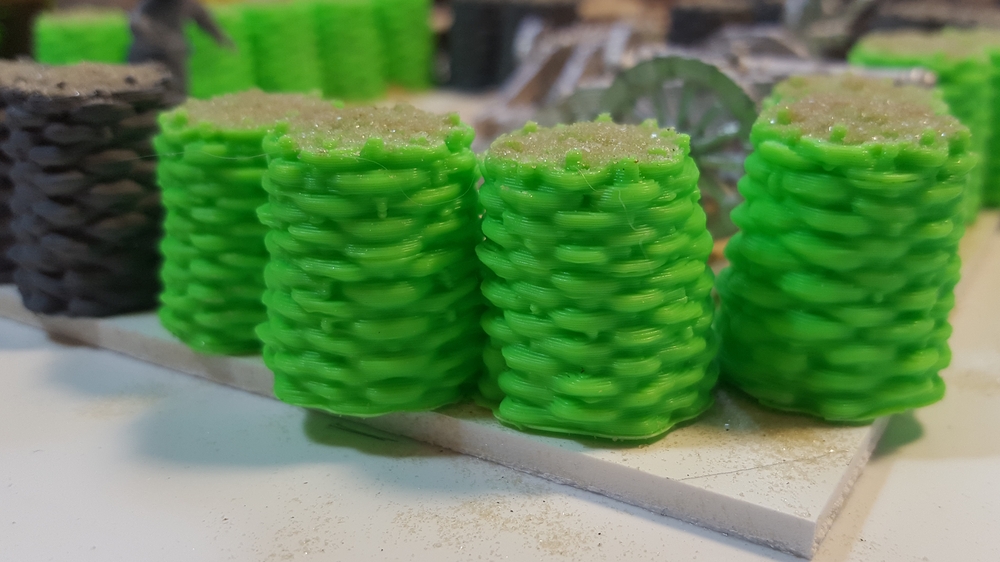
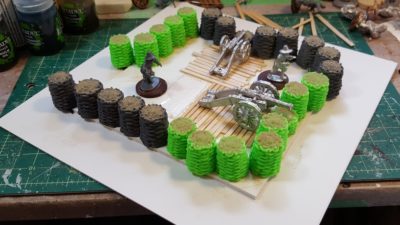
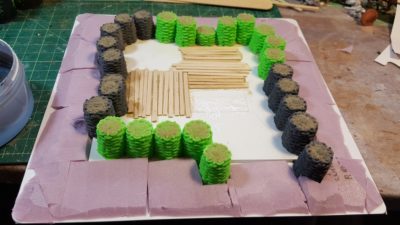
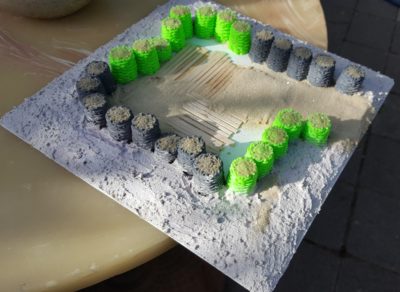
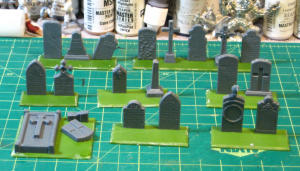
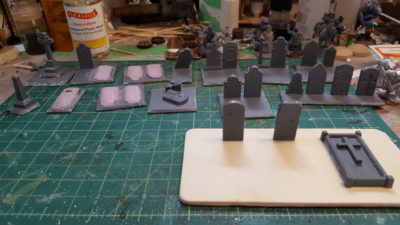
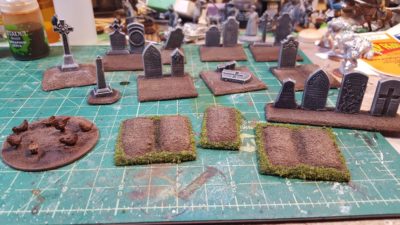
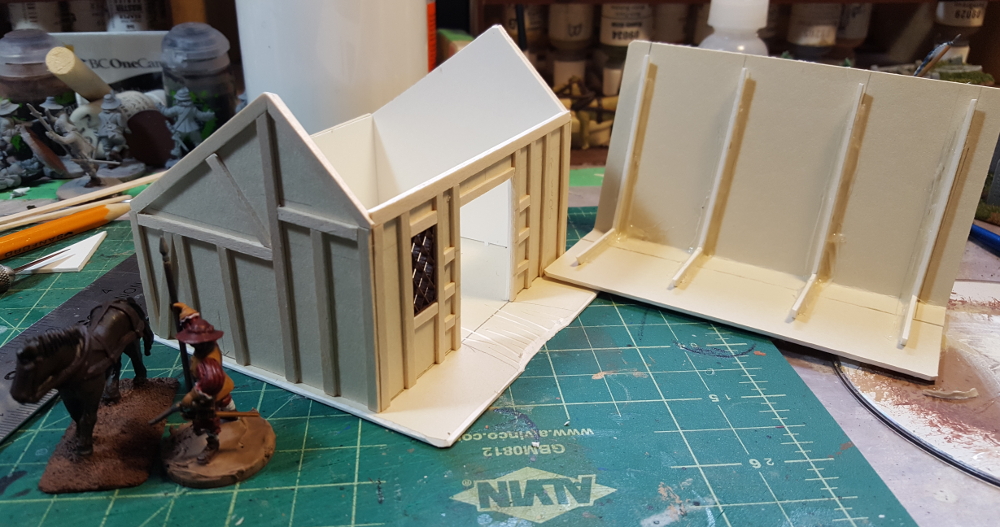
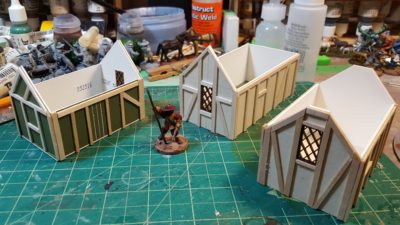
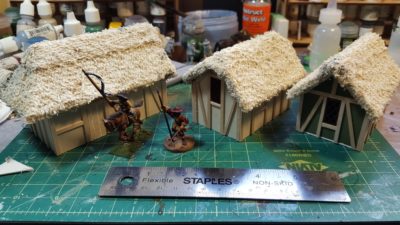
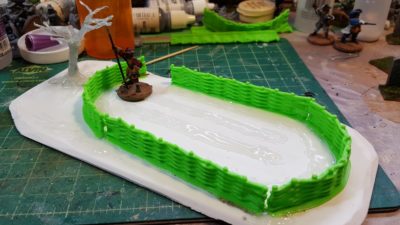
- Small board size – only 2’x2′ allows focused gameplay and means less terrain to build
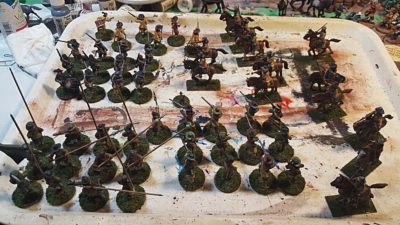
- Small model count – similarly, it had a very small model count. We had less than 10 figures in the first game, and less than 20 in the second. Makes getting into it quite easy.
Change?
- Cards instead of chits – rather than drawing from a bag, flipping over cards is faster. Plus you can do some amazing period-style activation cards with illustrated pictures of the monsters
What about Sellwords & Spellslingers?
Could you retrofit Sellswords to use this? Absolutely – switch secrets to negative traits, double monster stats to create a DL, add monster activation rules. The cards would require more work, but that is doable. I may do this at some point, but let’s see.
Final thoughts
Would we recommend? Yes, 100%. It is a good price (~ $10 CAD). Pick it up today at Wargames Vault.