I’ve always know that hanging paint brushes bristles down to dry was better for them, but never bothered doing anything about it. Recently my selection of brushes has expended as I’m using cheap makeup brushes for drybrushing and, right at the other end of the brush quality spectrum, my wife spoiled me at Christmas with a trio of gorgeous W&N Series 7 brushes, the seriously expensive ones.
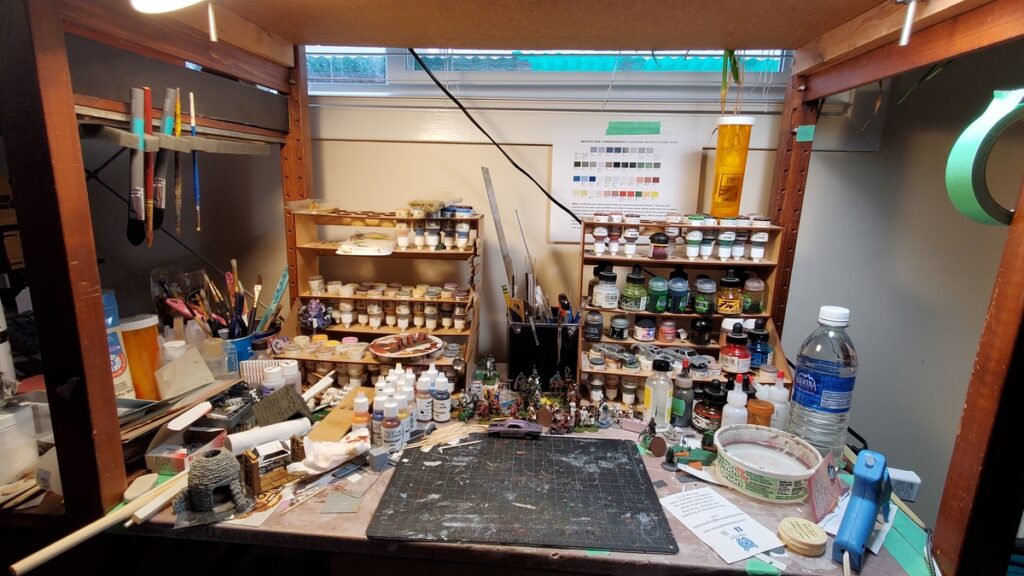
My painting bench is an old Ikea modular shelving unit, and I realized I could add a brush rack to the underside of one of the shelves just off my actual painting area, where it would be out of the way but close at hand for convenience.
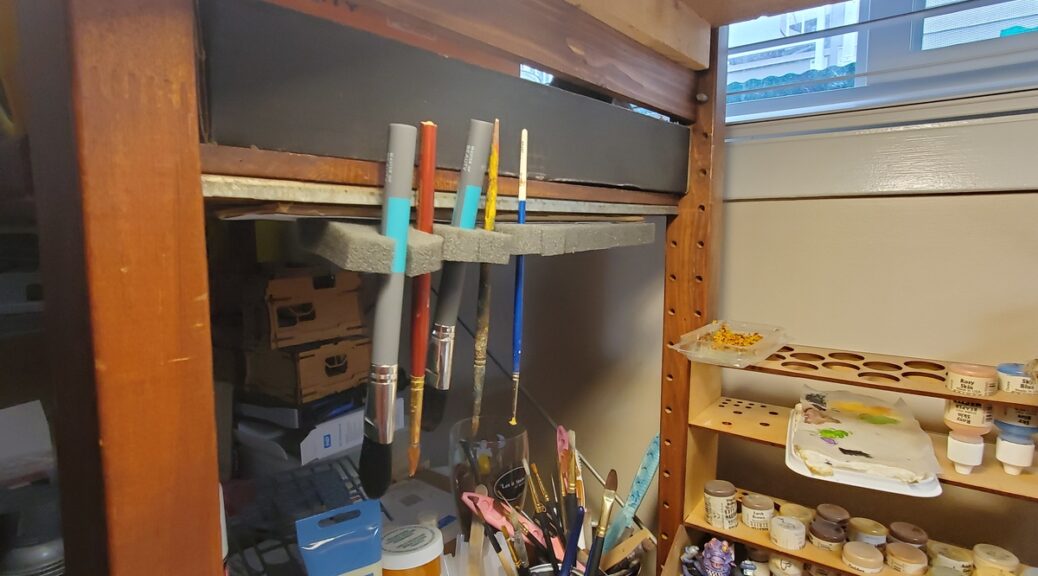
Even better, I realized with a few seconds of experimenting that I could make a functional brush rack from scrap foam and recycled cardboard! The foam happens to be sheets from Infinity box sets, about 4″ by 6″ or so; I took one sheet of that, cut it in half lengthwise, and then cut a series of slits about an inch apart and maybe an inch and a half deep.
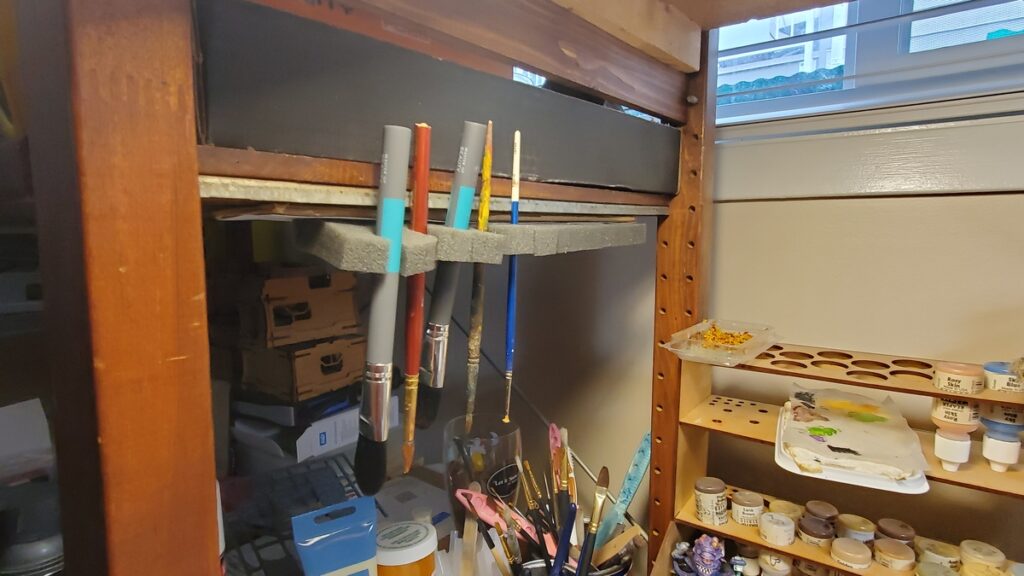
New drying and storage rack in position. The foam will even hold the fat-handled makeup brushes I’ve just started using for drybrushing. Click for larger.
I hot glued the foam to scrap cardboard from the recycling bin, then hot glued the whole assembly into place on the underside of the shelf just on the left hand edge of my painting bench. If I ever decide to replace it or move it, the hot glue can be popped off the wood of the shelf fairly easily.
The slit foam will even hold the wide handles of the cheap makeup brushes I’ve started using recently for drybrushing and the 2.5″ housepainting brush I use on big scenery projects. Given it cost me exactly nothing to make, took just a couple of minutes, and uses a spot on my hobby bench that was previously empty space, I’m very pleased with this little project!
The paint brush rack in context, top left corner of the photo. Yes, I need to de-clutter my bench, move a whole bunch of completed figures into storage, and such. Next weekend. Click for larger.
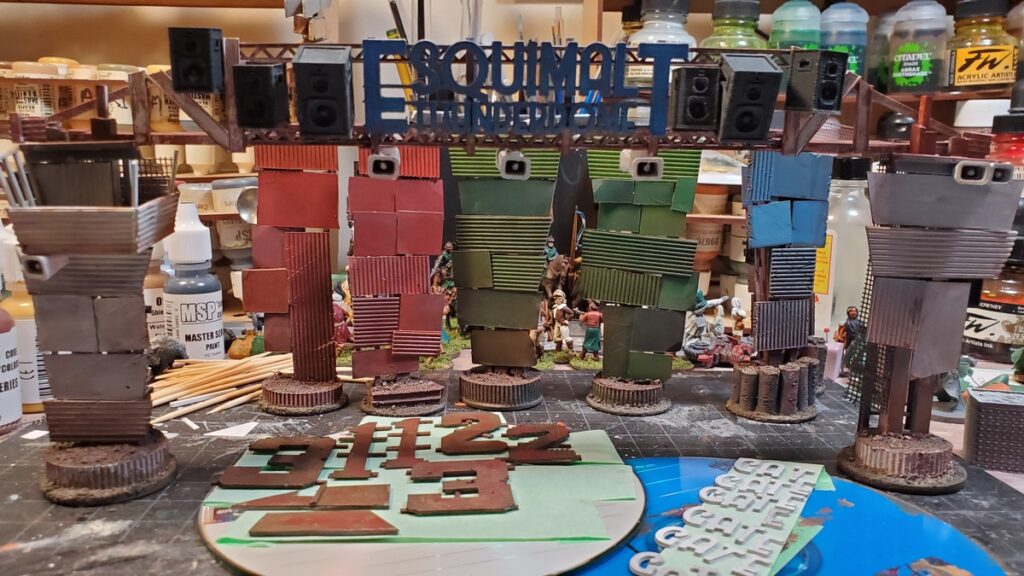
Up next was the “GATE” lettering and giant numbers for the three numbered gates.
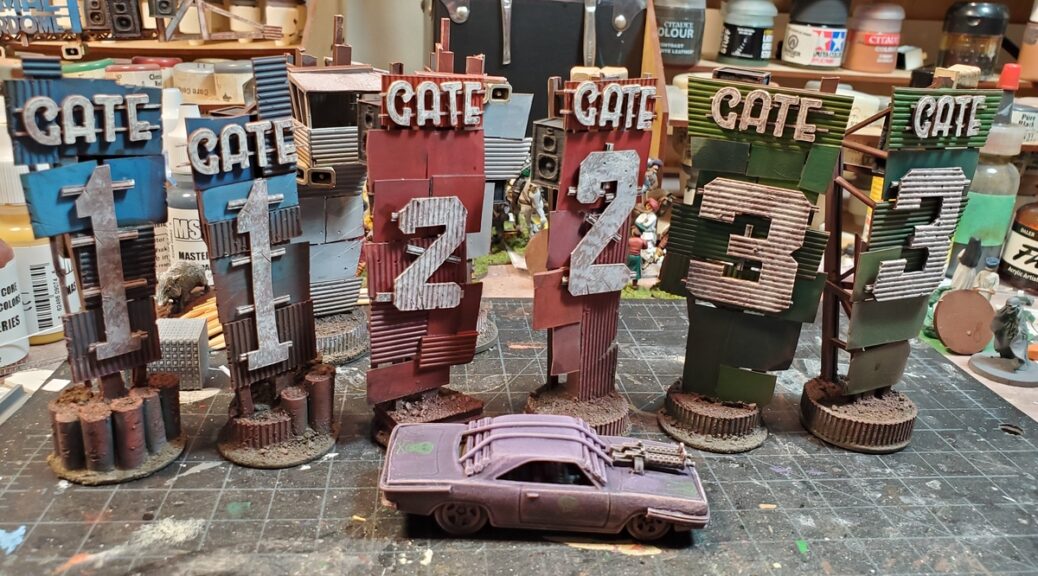
Mid-project roundup. Rust basecoat on the big numbers, front centre; GATE lettering primed on the right, and the gate towers all lined up behind and overhead. Click for larger.
I cut the giant numbers from sheet styrene and mounted them on strips of scrap styrene. The GATE lettering was 3d printed as separate letters and then mounted on very thin square section styrene strip. To make that easy I taped long pieces of the styrene strip down to my cutting mat, glued the letters down, then once the glue had cured cut each word out.
Everything got spray primed grey and then basecoated the same blotchy rust I’d used on the overhead gantry and elsewhere. I stippled and drybrushed everything with a couple of different shades of off-white (Reaper Linen White and Leather White, primarily) before a final drybrush of Reaper Pure White.
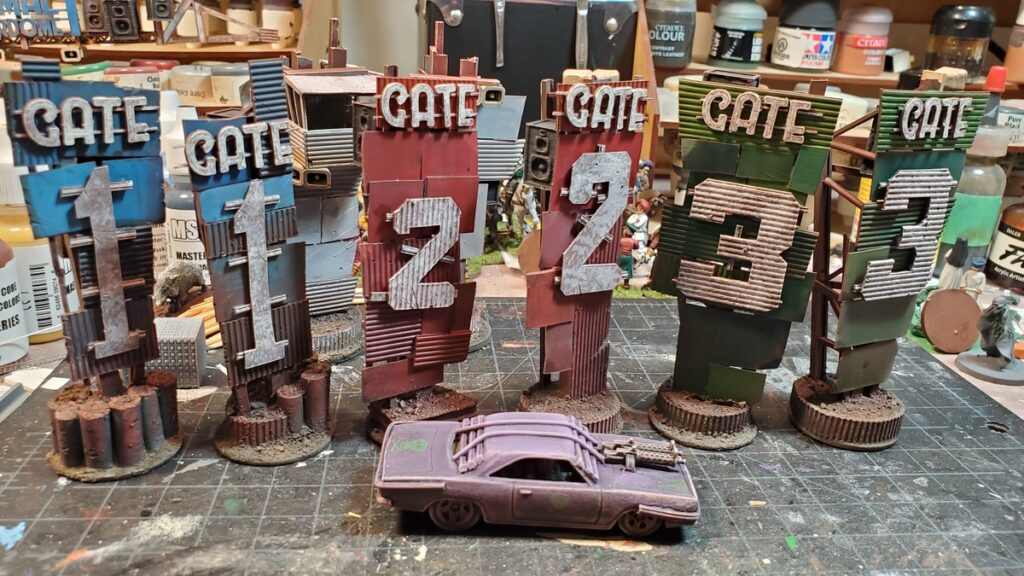
The GATE signs and numbers all mounted and final weathering begun. Click for larger.
After that it was back to the weathering, primarily drybrushing with a big soft makeup brush. I only just picked one of these up, a super cheap dollar store special, and it really is the bomb for drybrushing! I used a fairly random selection of browns, reds, tans, and off-whites for this, going back and forth over all the towers and the gantry as well.
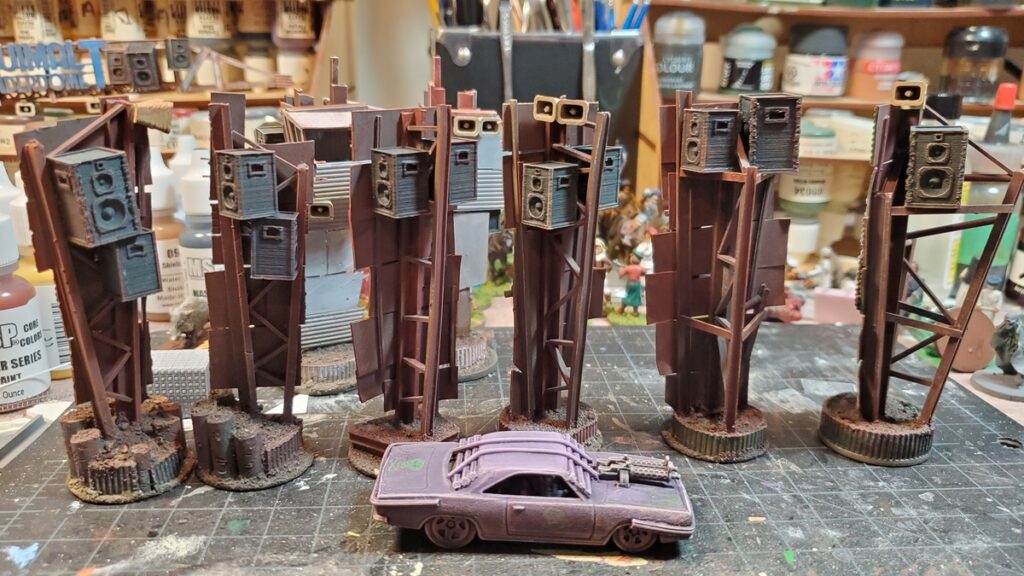
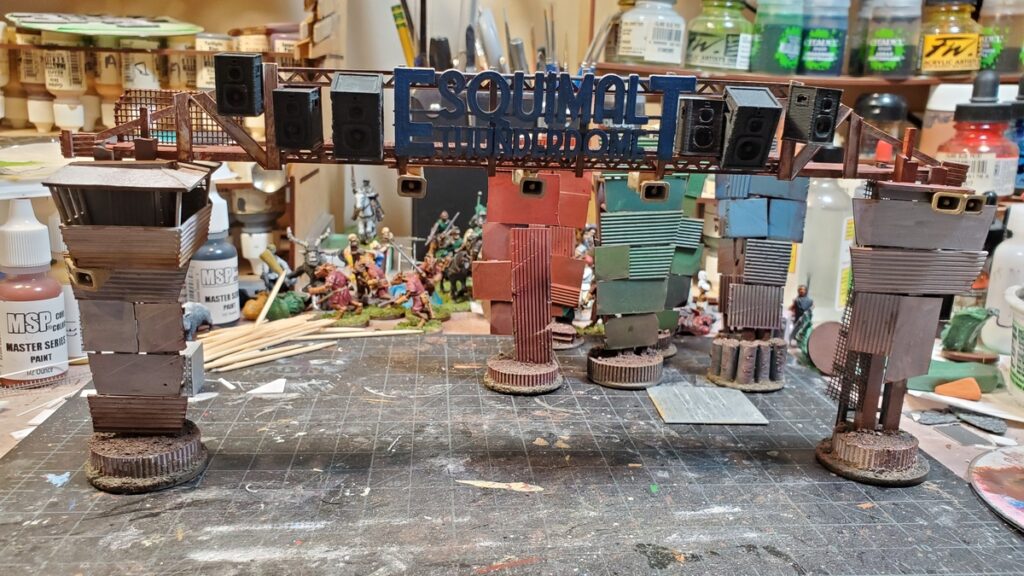
Back view of the six gate towers, with speaker cabinets and loudspeakers mounted. Click for larger.
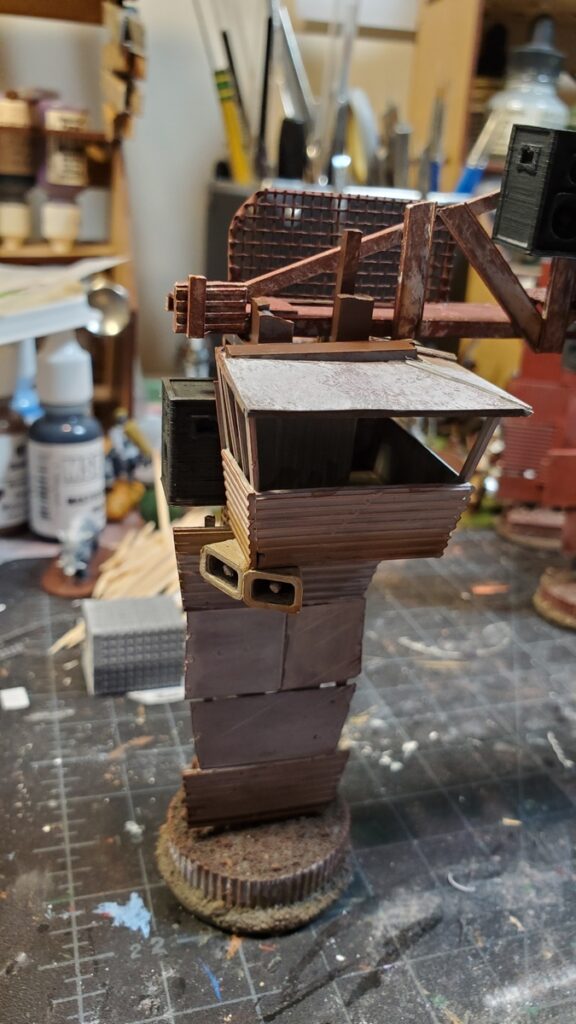
While adding the lettering I had finally primed, painted, and installed the roof on the announcer/race official cab on the lefthand start gate tower. I thought about installing mesh on the windows but decided to leave them open for now; I might go back in and add some additional protection for the folks who wave the chequered flags but the current form will do for now!
Roof installed on the announcer/official cab. It had to be cut to fit around the fairly random structure of the tower itself. Click for larger.
Final touches and some finished shots soon as this project finally wraps up and might actually hit the table sometime soon!
When we last saw our gates they were basecoated but stalled due to missing 3d printed parts. Those arrived, thanks to my brother’s 3d printer, and I was able to move on with the project.
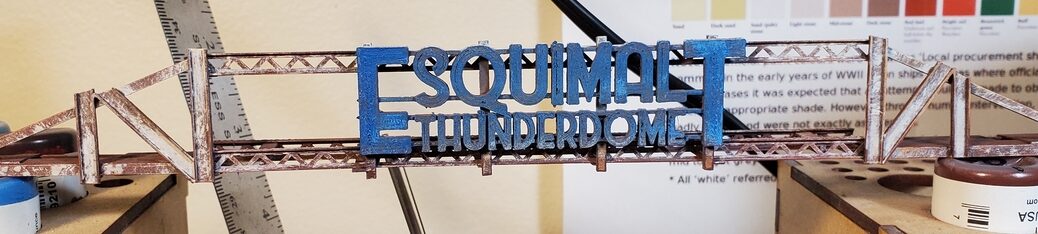
I didn’t want to start the overhead gantry on the Start/Finish gate until I had the 3d printed “Esquimalt Thunderdome” sign in hand, but once I had that the basic construction went together quickly.
The three openwork girders have been in my stash for decades and the packaging is long gone, but they’re from Plastruct – possibly these ones, which seem to be about the right size. You can find all the similar openwork web girders from Plastruct by searching their site for “web”.
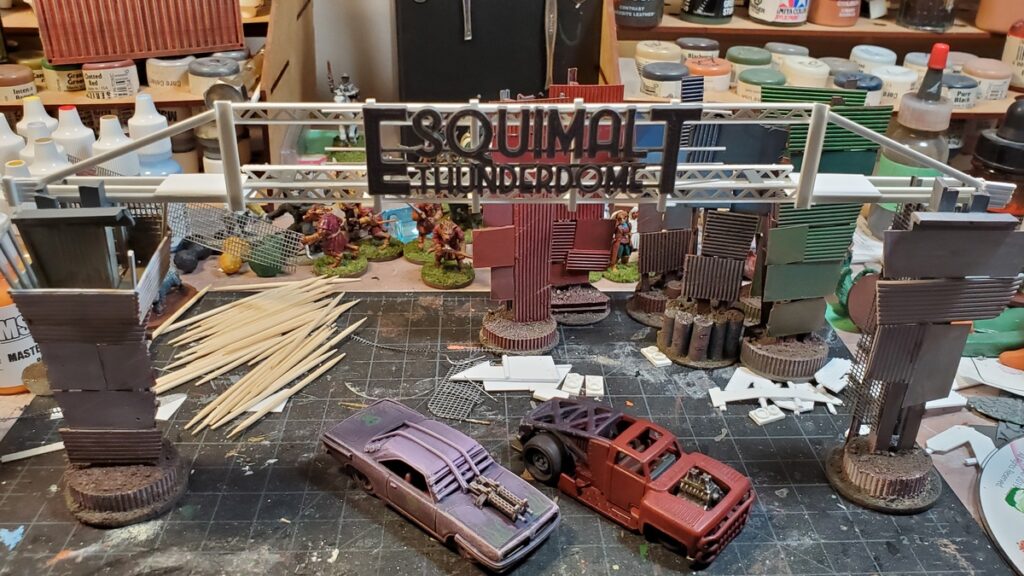
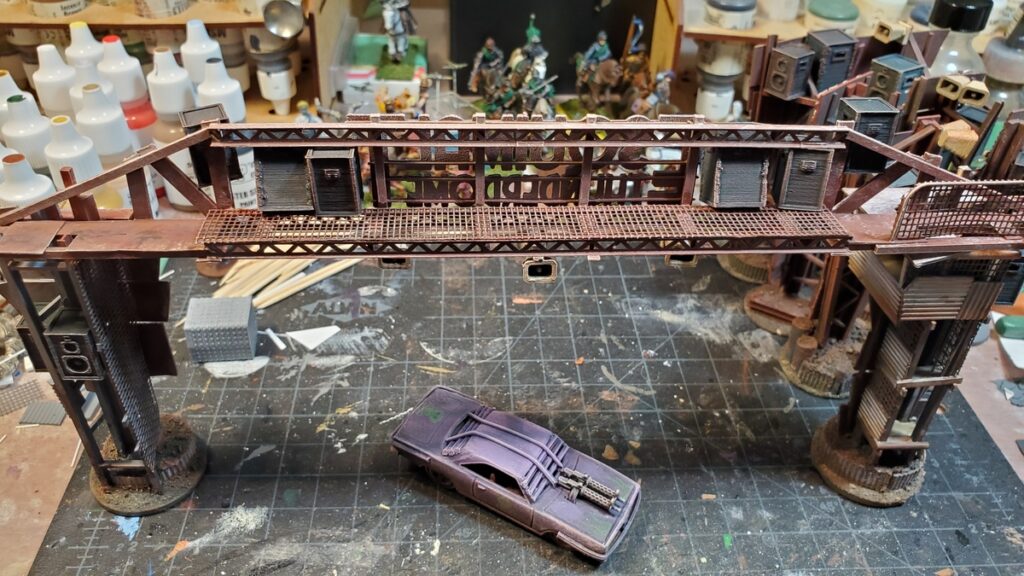
The girders are only six inches long, so I knew I’d need to extend the gantry with other materials as the Gaslands rules call for gates the same width as a Long Straight movement template, which is roughly 7 inches long, and Corey’s Thunderdome racetrack dirt track is roughly 8 inches wide. Fully finished, this gantry is almost 10 inches long, and slots into the roof structure of the two vertical gate towers to hold everything together.
The start of the overhead gantry. I later pulled off the plastic mesh as it was getting in the way of construction and painting, and replaced it much later in the process. Click for larger.
The rest of the gantry was a random scatter of styrene shapes from the stash – there’s some flat C-channel, different T- and H-girder bits, and lots of square or rectangular cross section stuff. It had to both look structurally sound and actually have a certain amount of structural integrity, but the beauty of post-apoc engineering is that it still looks great if you bodge extra bits on to fix earlier problems!
in progress but before priming. You can see here how the gantry’s beams slot into the tops of the two gate towers. Click for larger.
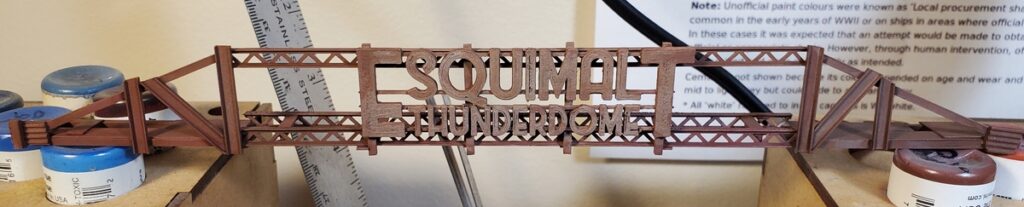
After grey primer I covered the whole thing in a blotchy rust coat using a couple of different shades of browns, reds, and oranges.
Rust coated. Click for larger.
After the rust coat I did a blotchy coat of white, partly drybrushed and partly stippled into place. This came out far better than I’d hoped, and really looks like white paint that’s flaking off as the metal under it rusts and weathers.
Stippled and drybrushed white, and first coats of blue on the sign. Painting of the actual gantry is basically done at this point; the sign got a bunch more weathering and highlighting and touchups. Click for larger.
The speaker cabinets and loudspeaker horns were 3d printed from STLs on Thingiverse, both from a very nice collection of Gaslands parts. The speaker cabinets were printed in two different sizes, which added some visual interest.
Speaker cabinets and loudspeaker horns in place and weathering started. Click for larger.
The speakers got painted a blotchy off-black (Reaper Pure Black with a dot of one of their greys mixed in) and the loudspeakers got one of the many tan off-whites in my collection, I can’t remember which one.
The clutter of speakers and loudspeakers really makes this piece pop, it’s exactly the visual clutter I’d pictured in my head when first thinking these designs up!
I’d like to add some light fixtures, but it seems nobody makes 20mm 3d printable floodlight fixtures, at least not that I can find, and I’d want enough of them that scratchbuilding isn’t really an option unless I can come up with a really simple design…
The back of the gate, with mesh back on the walkway and all the 3d printed stuff getting weathered.
Next up, painting and installing the big “GATE” signs and numbers on the rest of the gates, and loads more weathering. So much weathering…
A scattering of links for our first Links of Interest of 2021!
More possible sources of small scale scenery are always welcome, and over on Wargaming3d Wozname has started a new line of 3d printable STL files for 1/1200 scenery, starting with a few entire islands and some castles. Really neat to see people doing entire pieces in these tiny scales that would be basically impossible to do in any larger scale!
On the small scale naval gaming theme, the Society of Twentieth Century Wargamers has a couple of articles on small boat actions in the Mediterranean in WW2, with one article on mostly focusing on British vs Axis and the second spotlighting American PT boats. They’re framed around Cruel Seas but trivially easy to adapt to other rule sets.
Reaper Minis hosted a Virtual Reaper Con last weekend, and while I’d initially signed up for four classes on various painting topics, the world conspired to only allow me to attend one class, a fantastic discussion of “Additives, Mediums, and Texture Pastes – Oh My!” by Rhonda “Wren” Bender, talking about matt and gloss mediums, flow aids, drying extenders, glaze medium, texture pastes, and various other things as they apply to miniature painting. The class handout is available at the link above, the session was recorded and will eventually show up on Reaper’s YouTube channel, and Rhonda has a great website of her own over at Bird With A Brush that’s well worth checking out.
Incidentally, the anchor chain stock photo being used as a header for these Links of Interest posts is by CastleLight from Pixabay.