Last week’s LPL entry moves from the Lost Worlds of Round Three to the mysterious corners of the Indian subcontinent with some 28mm Thuggee cultists, also from Pulp Figures.
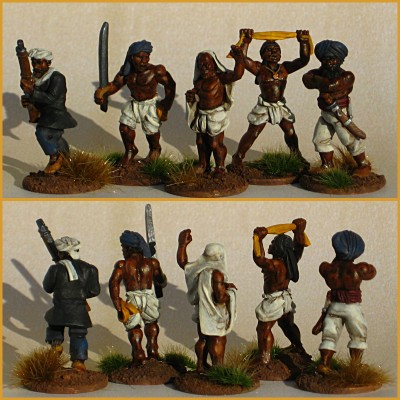
These murderous chaps come from three different Pulp Figures packs. The three right-hand figures – the leader, acolyte and sword-bearing bodyguard – are all from PBT-24 The Mad Guru. The swordsman is from PBT-21 Thuggee w/ separate assorted Weapons & Picks, and finally the rifleman is from PBT 23 Thuggee Fighters w/Martini Rifles. I’ve got another six or so figures to finish, as well as a couple of neat scenery bits that come in the Mad Guru pack.
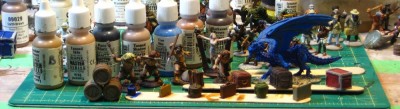
Most of the skin tone comes from W&N Burnt Umber acrylic artist’s ink, applied nearly full-strength over a basecoat of Reaper Intense Brown with a quick highlight (before the ink goes on) of Reaper Oiled Leather. The hair is mostly Reaper Walnut Brown, which is a very-nearly-black dark brown.
Unfortunately for them, these skulking murderers ran straight into a really spectacular group of cavalry from one of the best painters in the contest, and got soundly thrashed, although lots of people said nice things about them! Luck of the draw; I’m a pretty solidly middle-of-the-road painter so a lot of how well I do in LPL sometimes comes down to who the random matchup for a given round is!
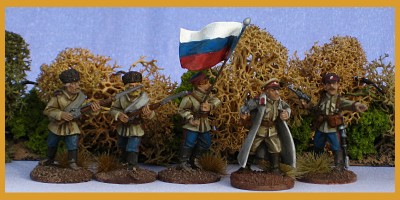
Round Five of LPL7 is running over on Lead Adventure as you read this. Round Five is one of the Theme Bonus Point rounds, with this round’s theme being “Historical Civil Wars”. That’s right up my alley, so go see how my Russian Civil War figures are faring this week!