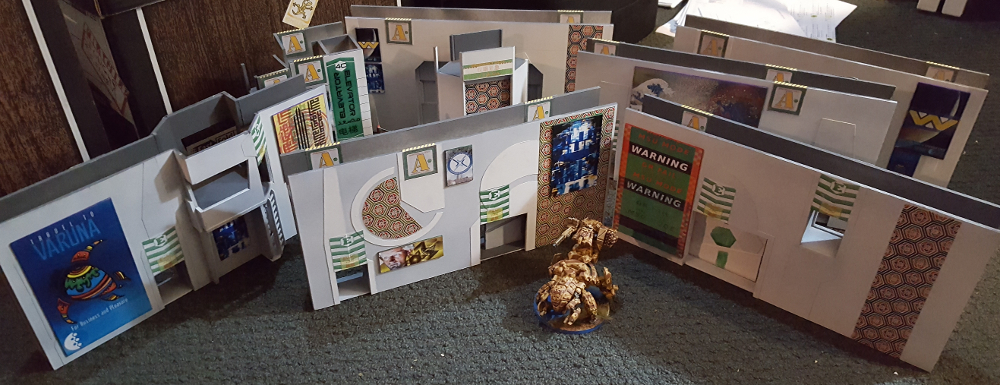
This shop front/apartment facade for my ongoing Infinity space station project has been inspired mostly by the depiction of some of the habitat levels of Ceres in the TV show The Expanse. If you haven’t watched The Expanse I highly recommend it, it’s good quality TV (not something I say regularly!) that depicts a hard science fiction fairly near future that nods to classic SF like Bladerunner while carving out it’s own niche.
There’s a great article on some of the concept art from Season One of The Expanse over on ArtStation, Behind The Scenes: The Concept Art of The Expanse. The piece that really inspired me was this painting showing the better-quality habitat levels on Ceres, with their stacked, clearly modular apartment blocks with small shops at ground level.
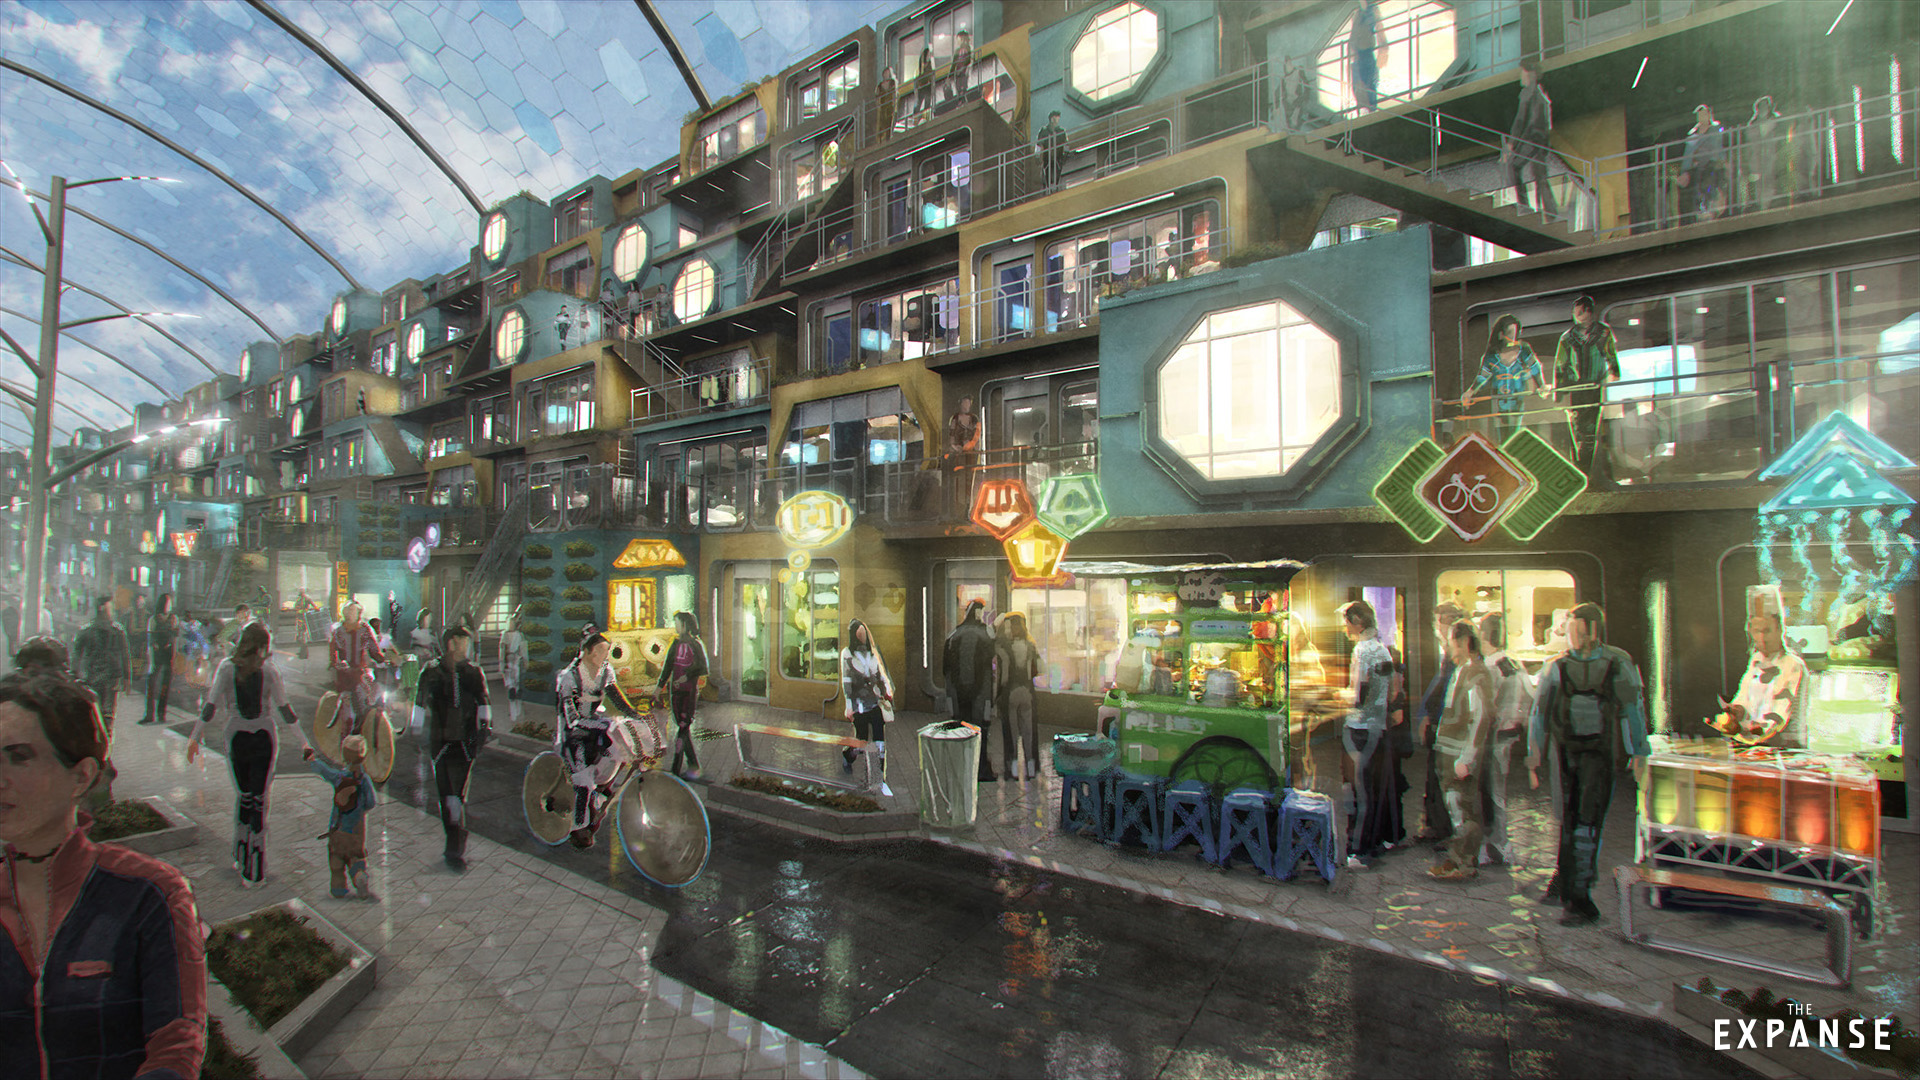
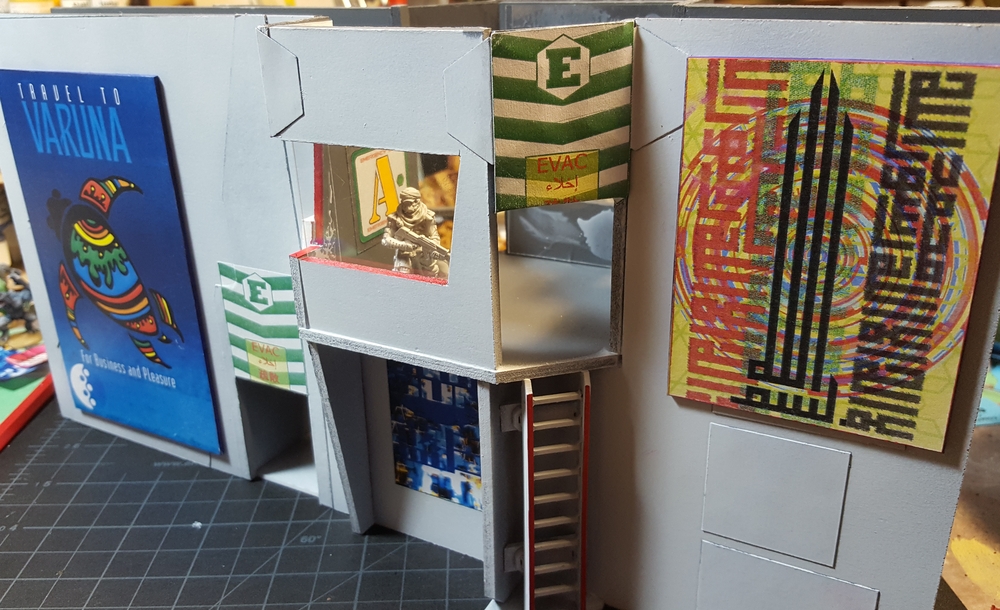
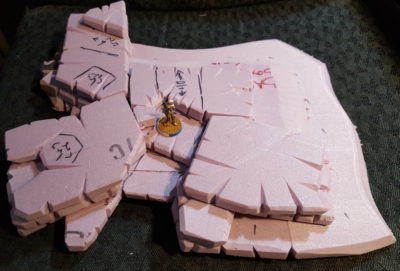
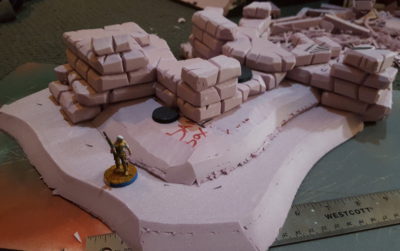
With the limits of storage and transport of tabletop scenery (as well as the consideration of being able to play around whatever I create!) obviously the soaring multilevel terraces of Ceres will get scaled down a bit… or a lot. I decided to stick with the 12″ long, 6″ high size of my existing big wall modules and roughly the same thickness, creating a two-story facade piece intended to go on one edge of the table.
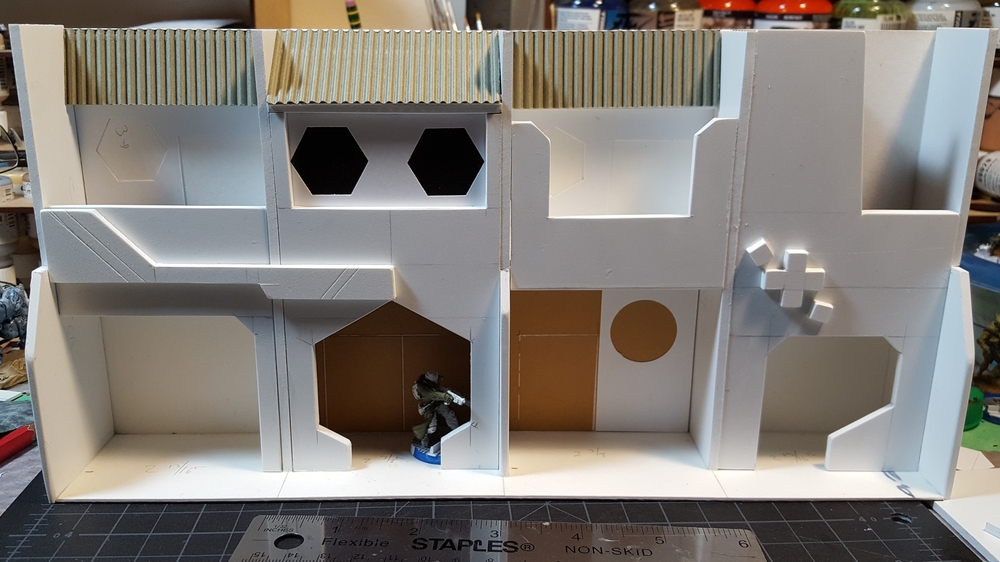
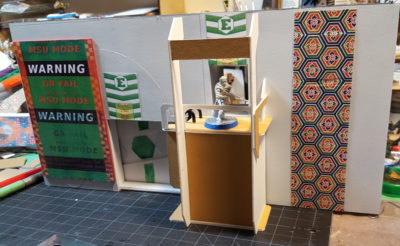
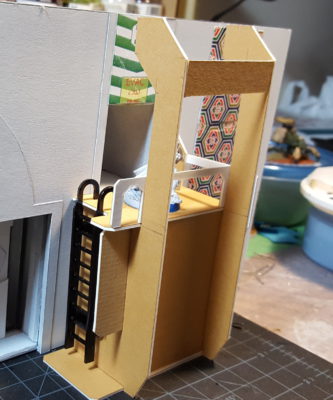
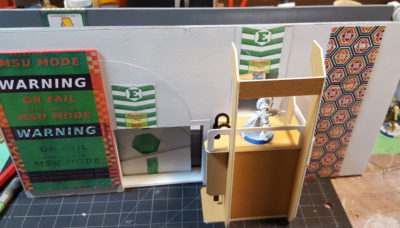
The basic unit has four modules per level, each roughly 3″x3″. Left to Right on the ground floor we have a bar or fast food joint, the entry doors for the hab module itself, some sort of offices, and then a small medical clinic. The top floor is all apartments, three of which have balconies. The roofs are deliberately inaccessible to figures.
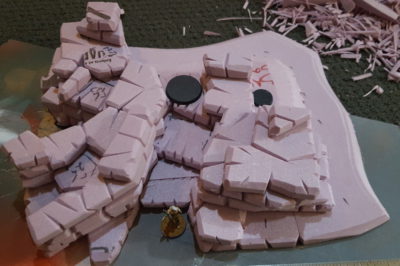
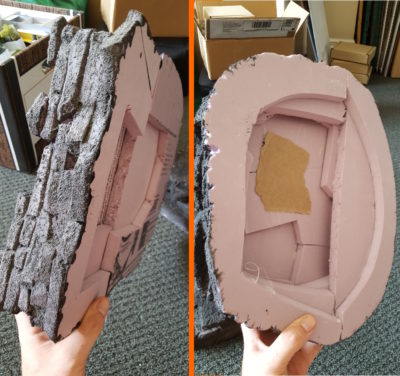
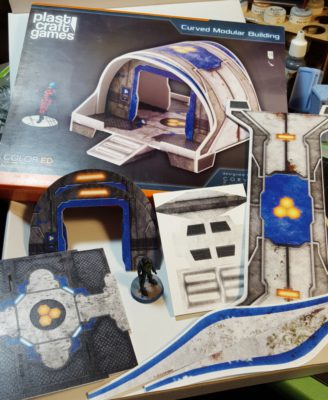
The basic construction is mostly 1/8″ foamed PVC (Sintra board) which is great stuff to work with, easy to cut cleanly, sandable, and will glue with either white glue or superglue. The rest is almost all 1/16″ mattboard, the high quality cardboard used in framing pictures. I get my PVC from the offcuts bin at our local plastics supplier, and the mattboard from a local art supply/picture framing store.

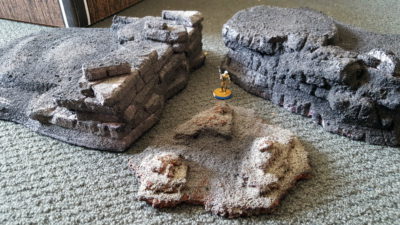
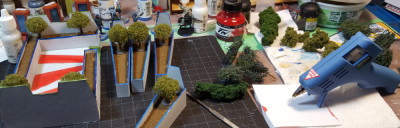
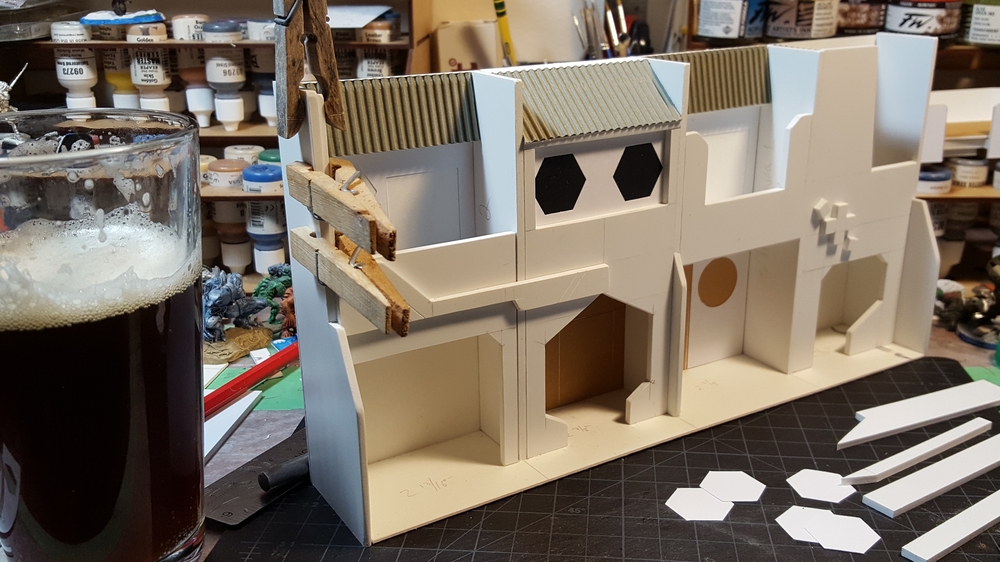
Detailing is mostly scraps and offcuts of PVC and mattboard, with some lighter card for the window frames, tiles, and elsewhere. I still need to add bar stools around the outdoor bar on the left, a few more window frames, and some other details.
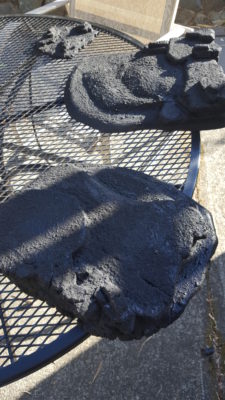
More soon, I hope to get this piece basecoated today and some more detail over the next few days!