Warbases started doing vehicles in lasercut MDF and cardboard (greyboard) a few years ago and I was intrigued right away; a lot of 28mm vehicles are fairly expensive or (especially for World War One, Russian Civil War, or other early 20th C gaming) simply don’t exist.
It took me a while to get around to ordering any of the vehicles, but I now have a Pierce Arrow truck and an Albion truck that I’ve built, and I’m pleased to say these are really nice kits, great value for their cost, and quite easy to build!
The Peasant Cart
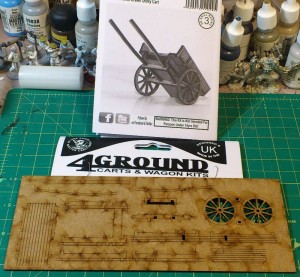
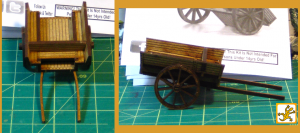
I also picked up Warbases’ Peasant Cart 2, which is part of their Carts & Wagons line, listed separately from the Vehicles line. This is a straightforward little model, about 20 pieces including the wheels, and produces a nice solid piece of wargaming scenery. It’s called a cart, but it is a full four wheel wagon.
Assembly and painting didn’t take much time at all, maybe half an hour. I used a random grubby wash of green-grey over the whole wagon, added a bit of pale grey for the insides of the wagon, then did a bit of edge highlighting with a grey-white mix just to pop some of the edges a bit. I’ll probably glue some straw (cut from manila cord) down to the inside of the wagon just for a bit more easy detailing.
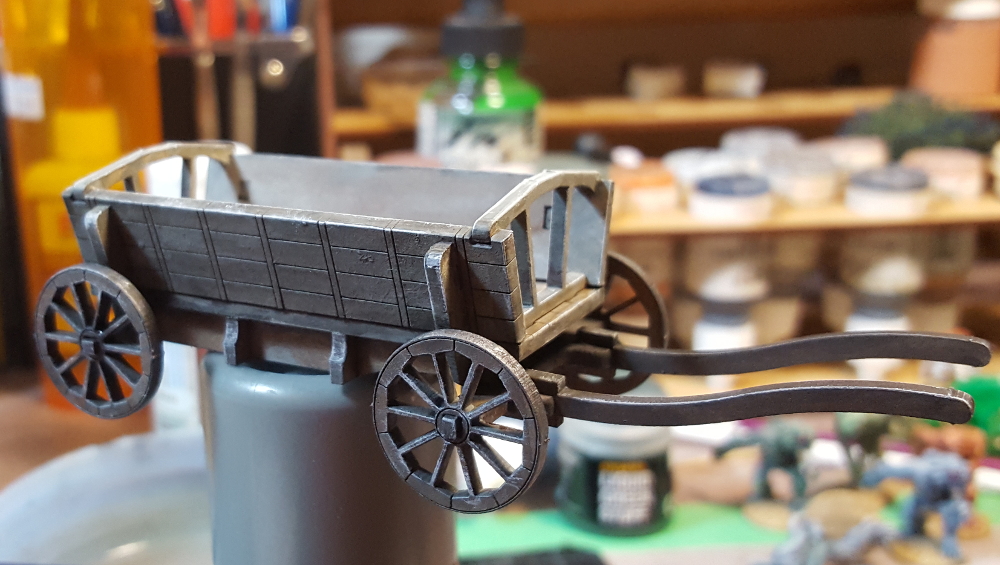
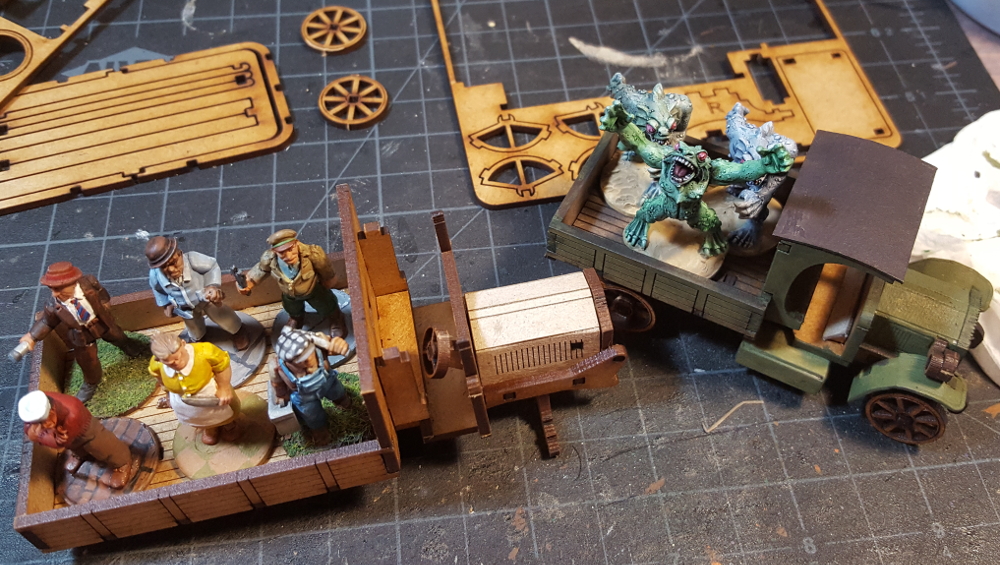
The wagon is big enough that two or three figures on 20mm bases could fit in the bed of it, although it’s too narrow for 25mm or larger bases to fit flat.
The Trucks
The Pierce Arrow is a relatively small truck, with room for two or three figures in the truck bed. The Albion is quite a bit larger, with room for 6 figures on 20mm bases or 3-4 figures on 25mm bases in the bed.
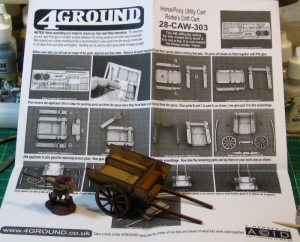
Each truck comes as a couple of small sheets of MDF and an even smaller (business-card sized, roughly) sheet of greyboard card, with roughly 30 or so parts per vehicle. The instructions are photo-illustrated PDFs on the Warbases website, which does mean you can check them out before purchase. It sometimes takes a bit of peering at some of the photos to figure out which part is being fitted where, and as always I highly, highly recommend carefully dryfitting everything before you start adding glue!
One thing I noticed and appreciated about both trucks and the wagon is that any part that isn’t unique is actually identical to any corresponding part – the sides of the truck beds are identical and interchangeable, for example. Most parts aren’t labelled or numbered, but this nice design touch makes it hard to screw up the build process. Warbases has also put on-sprue/on-sheet photos of the parts of all three of these kits on their website, which helps sometimes with keeping track of parts.
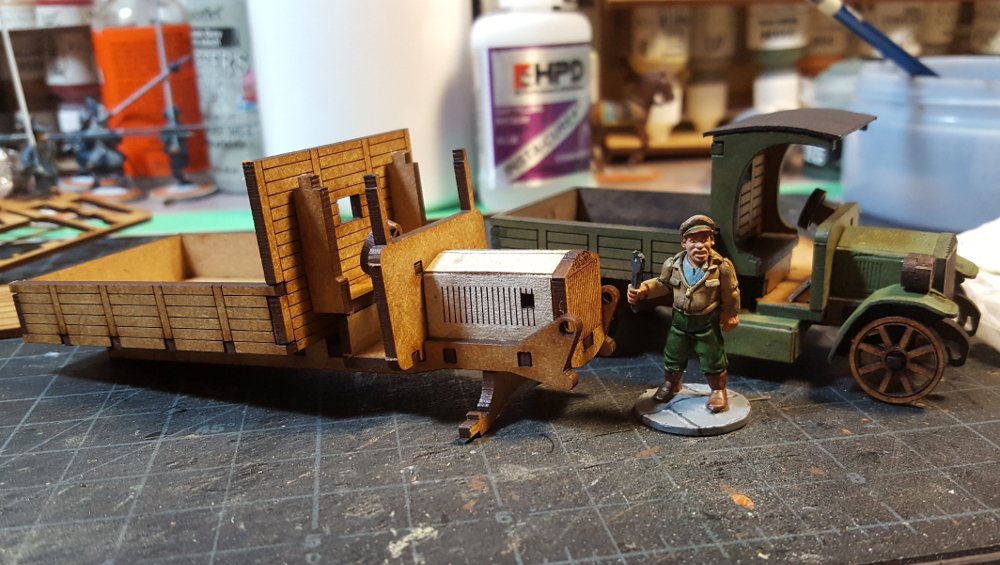
The Pierce Arrow truck took me maybe an hour to assemble and paint to the point you can see in these photos; it’s got a bit of detail painting and cleanup left to do, and maybe some more weathering, so these are fast kits to assemble and get onto the table. I stopped assembling the Albion at the point you see in these photos so that I could paint the undercarriage before adding the wheels and fenders, as the Pierce got a bit cramped to paint with the wheels in place and the Albion has fenders on all four wheels, not just the front. I’ve also skipped putting the cab roof on the Albion for now to make painting the inside of the cab less painful.
The Pierce Arrow has been basecoated dark green with a black roof; I’ll do a round of highlighting (mostly of the edges) and there’s some detail areas like the wheels, headlight, and front grille left to paint. I haven’t decided what colour to do the bigger Albion; possibly dark grey or tan. Both colour schemes will do for either military or civilian vehicles of the era, especially in the chaos of the Russian Civil War!
The fenders, incidentally, are the only really fiddly bit of these kits. They’re lasercut card (greyboard) that you have to bend gently and then glue to an MDF inside piece to get them to hold the needed curve. Neither fender on the Pierce Arrow is quite right, although both are acceptable given the battering such fenders would take on the real vehicles! The instructions from Warbases say to bend the fenders over a pen or the handle of an Xacto, but doing this caused the greyboard to crease for me. I had better luck gently pressing the pieces against the pad of my thumb with another finger and gently flexing the card into a sort of curve that way.
That quibble aside, these are great kits and I’m sure I’ll get more eventually. They’re very sturdy once assembled, well designed for easy assembly, and it’s nice to have such an inexpensive source of vehicles for Early 20th C gaming!