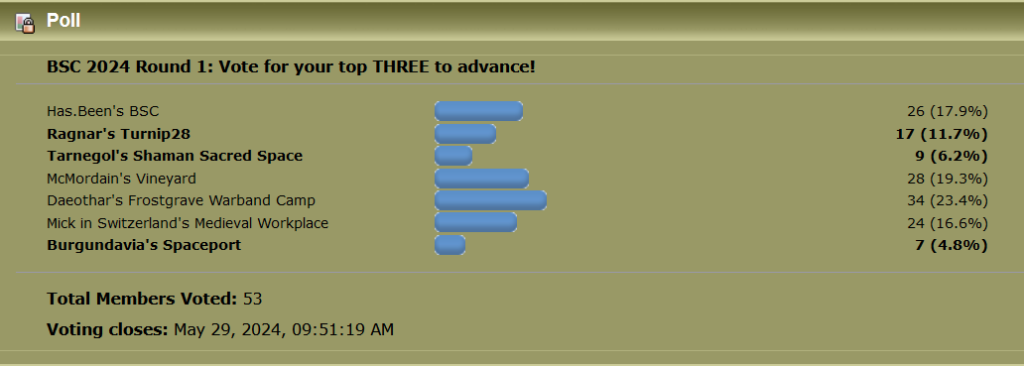
Well, round 1 of the Build Something Competition is done and I have been beat, badly. The vote wasn’t even close. Ouch. Anyway, at least I have a pretty building for my table.
With me out, means I can share some process photos and discussion here. I ended up painting and gluing the building together pieces by piece – paint some, glue some, paint some, just because of the way I needed to paint the inside.
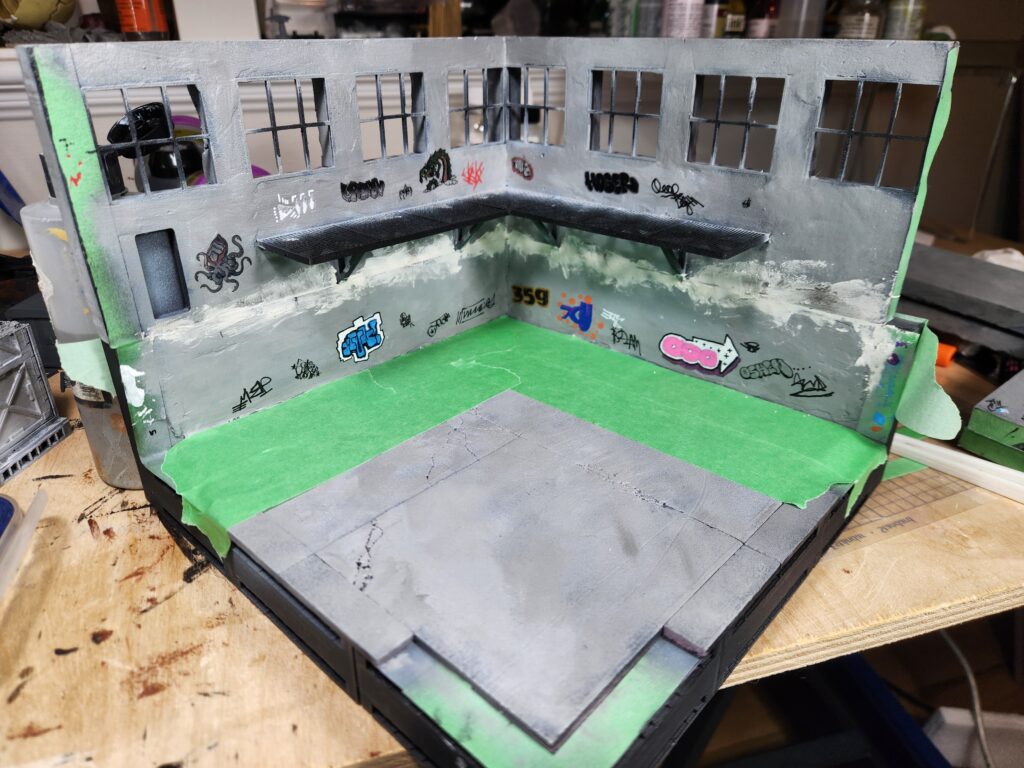
First thing I did was assemble the upper back section (with the walkway) as a separate piece and then paint the inside of it. I also added mud/spackle to cover the 3D printing texture on the lower section and painted the concrete floor (with a few cracks added with an exacto blade).
After that, I added the inside graffiti to both the lower walls and the upper section. After I had added them, I glued the two pieces together and then added some mud/spackle to cover the gaps and then roughly painted it grey. I wasn’t overly worried, as I knew that I was going to be badly painting the inside white again (to partially cover up the graffiti, as if somebody was working to renovate the building).
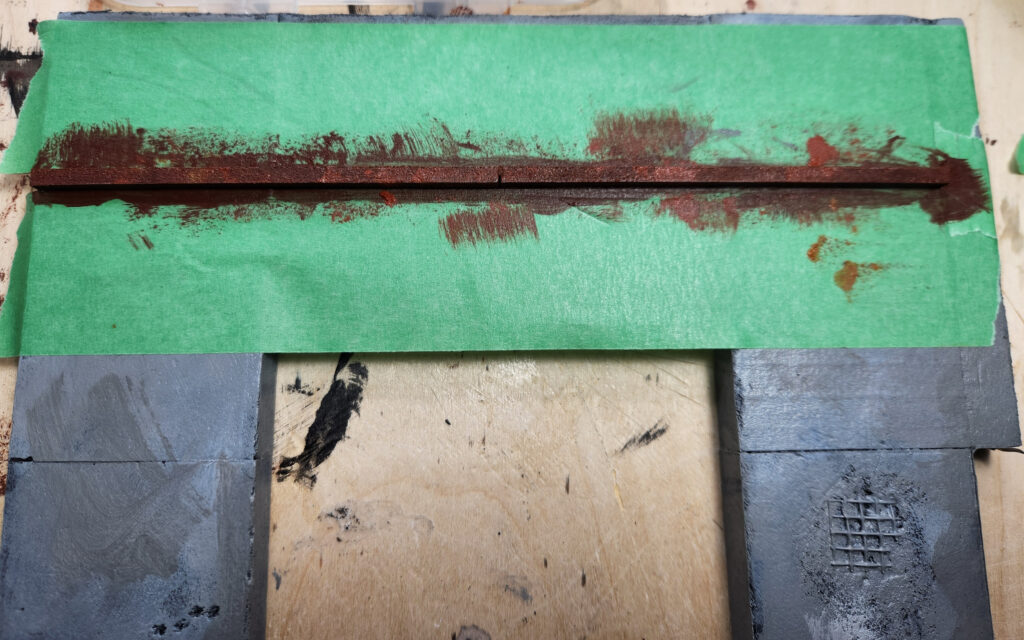
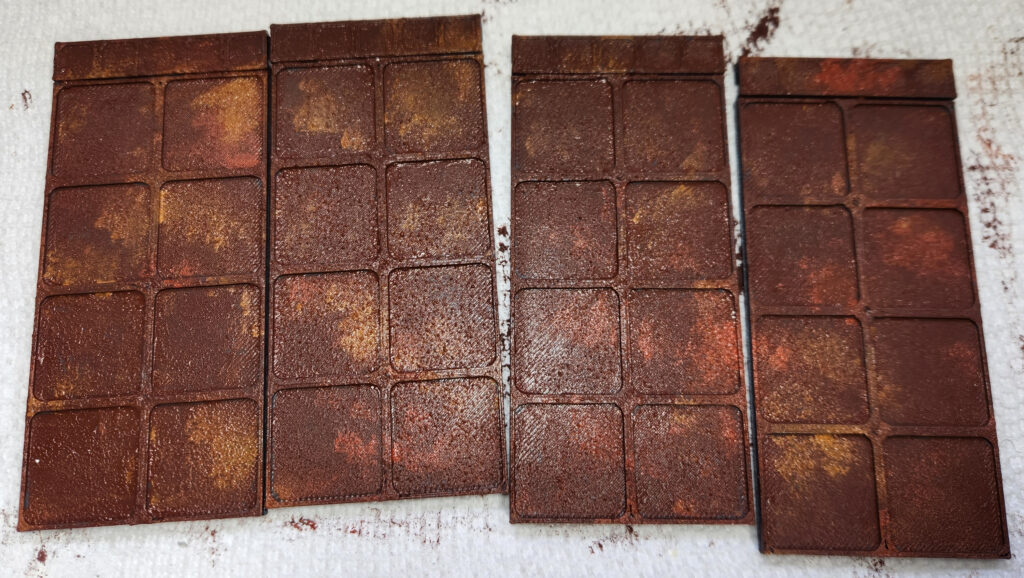
Then I rusted up the hangers and doors. For this I sponged on paint quite thickly – mostly Burnt Umber but some Burnt Sienna and Raw Sienna for accents. This is what gives these the bumpy texture. I would note that the grey paint was not fully dry under the tape here, so I ended up pulling off a fair amount and needing to repaint it. Oops.
After that, I glued the front panels on and then the lower walkway (which touched both the back walls and the front walls). You can see the interior has been painted white at this point.
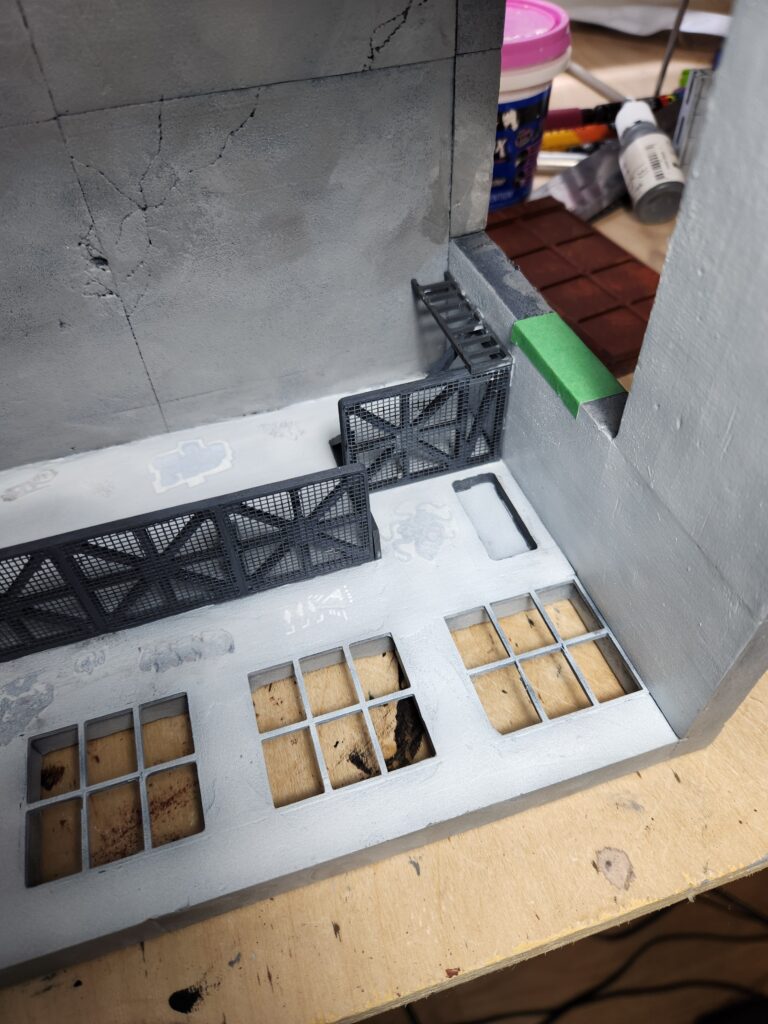
Once those were done, I cleaned up the front where the joins were to make the grey tones more consistent. I then masked off the green sections and the upper ghost lettering.
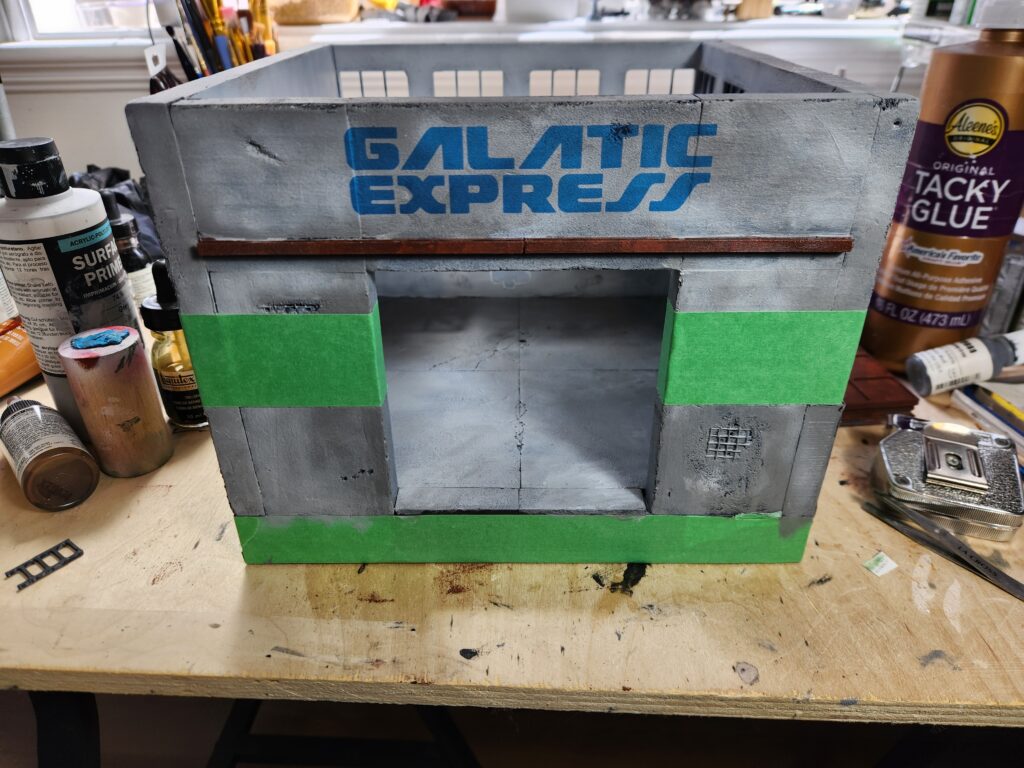
The lettering was over-sprayed with Golden’s Shading Grey, a semi-transparent grey that was amazing for darkening things subtly. I pulled off the letters, which were cut out of Oracal mask on my Silhouette, in a random order, spraying a bit more of the shading grey over the whole area each time.
The last bits I didn’t get any photos of, but this is the “draw the rest of the owl” directions:
The green lower sections I added blue stuff to mask off the damaged sections where the exposed rebar was and then sprayed the lower area, hangers and the doors with chipping medium, and then all three with a random mixture of greens roughly mixed in the airbrush. To chip it I used three methods – light sanding, using tape to pull off random sections and water with a brush. If you use water with a brush, you get lighter sections. I ended up putting an undercoat of white on the doors after I tried just straight green, but that wasn’t covering the rust well.
Lastly, I glued in the windows after painting them separately, painted the exposed rebar and then weathered with oil paints. Overall, the painting felt a bit rushed and I should have taken more time. I also missed a bunch of small details that I’d like to get back to.
And voila! The final product:
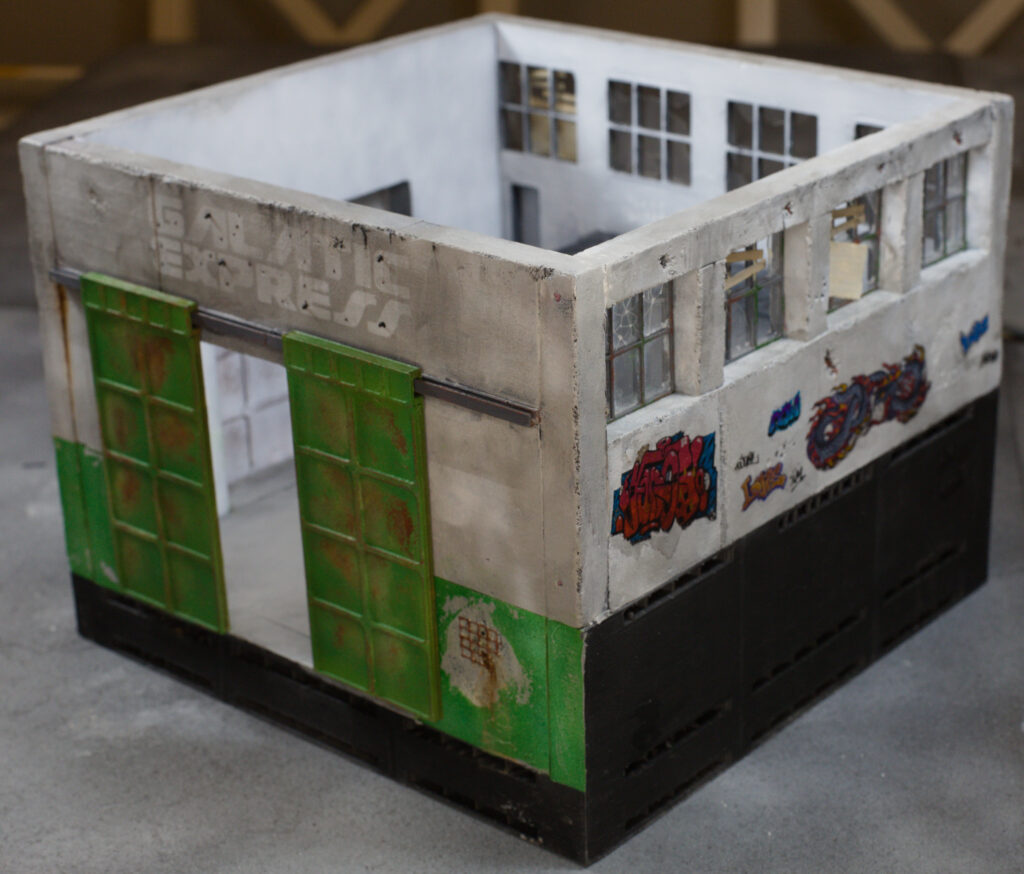
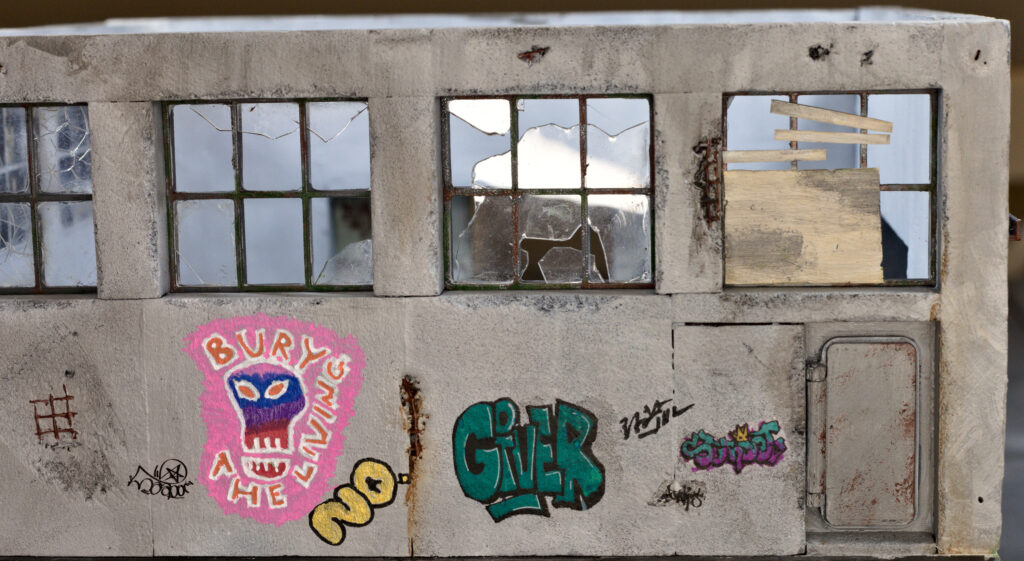
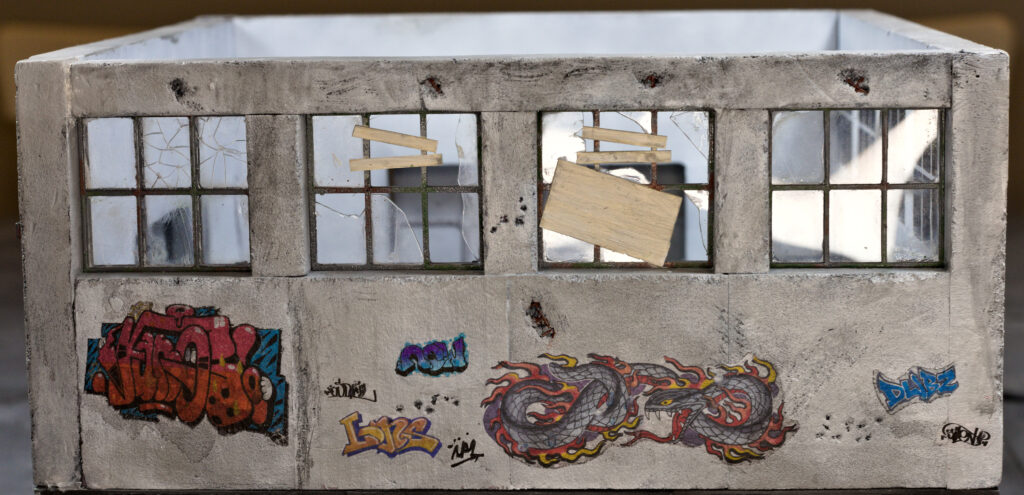
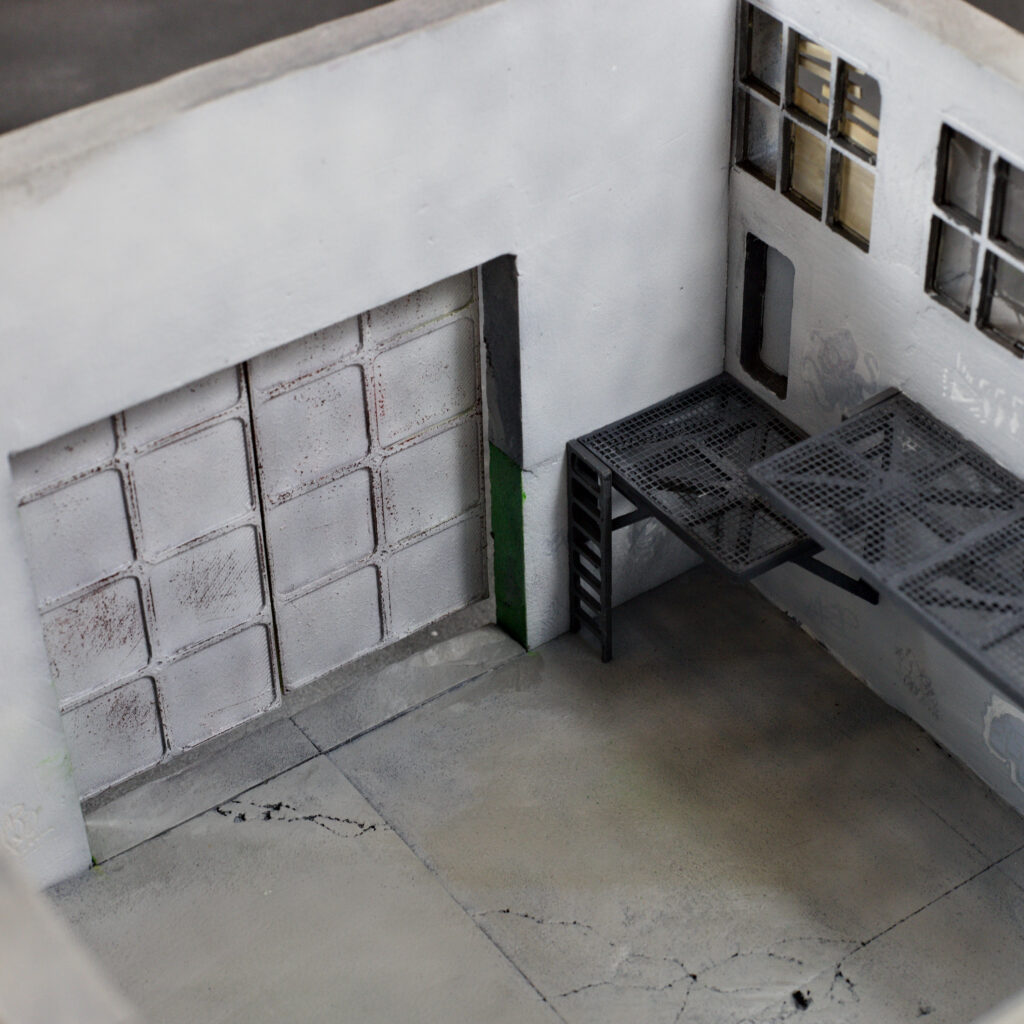
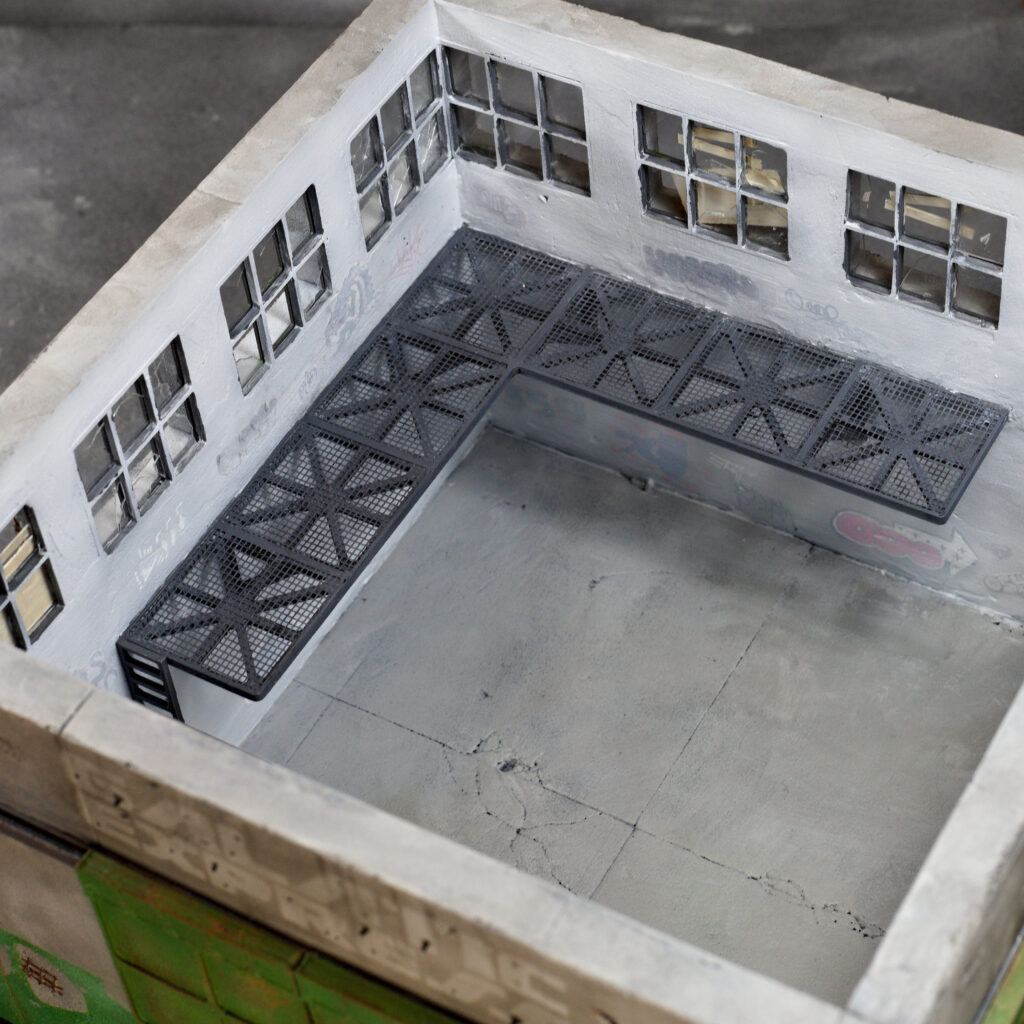
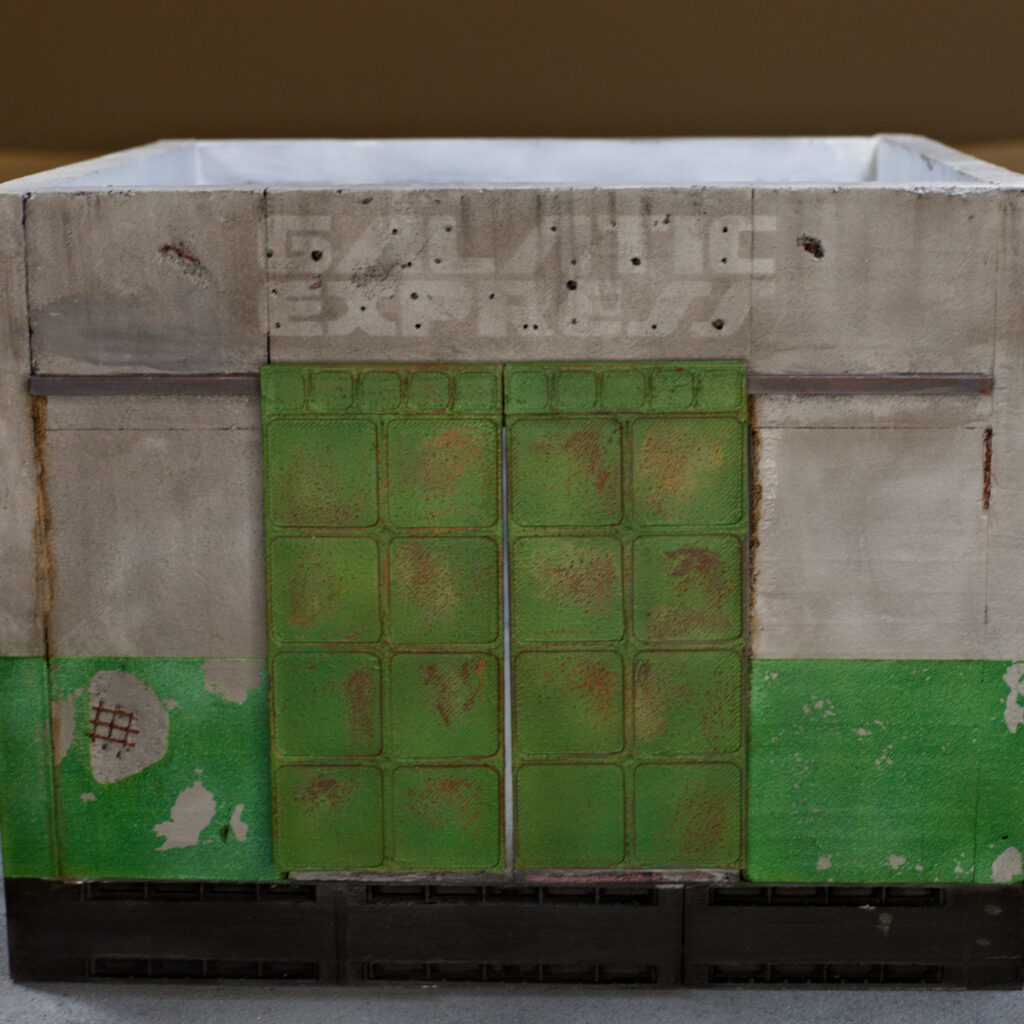


So many lovely little details in this piece; like the broken glass, the faded sign and the rust (which turned out magnificent).