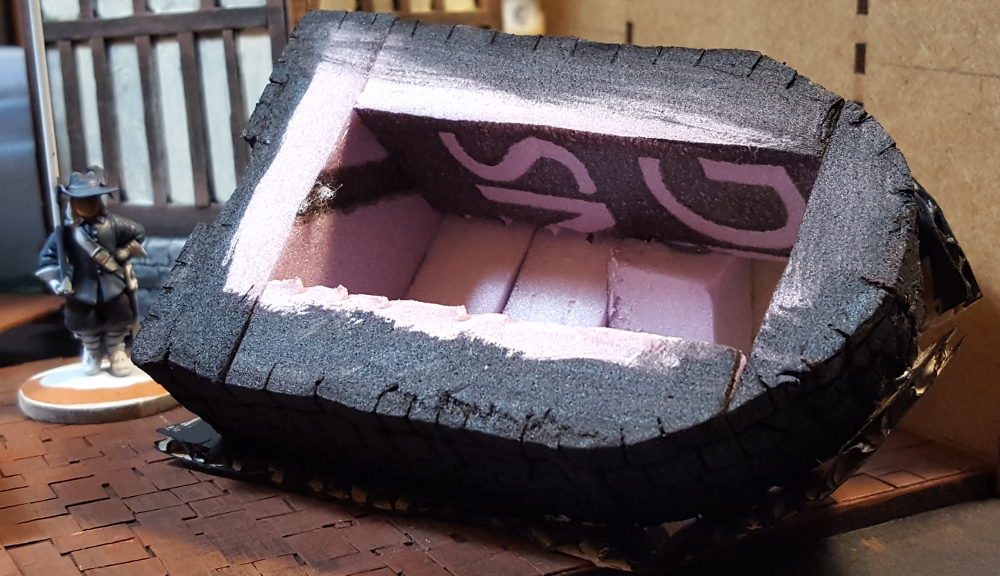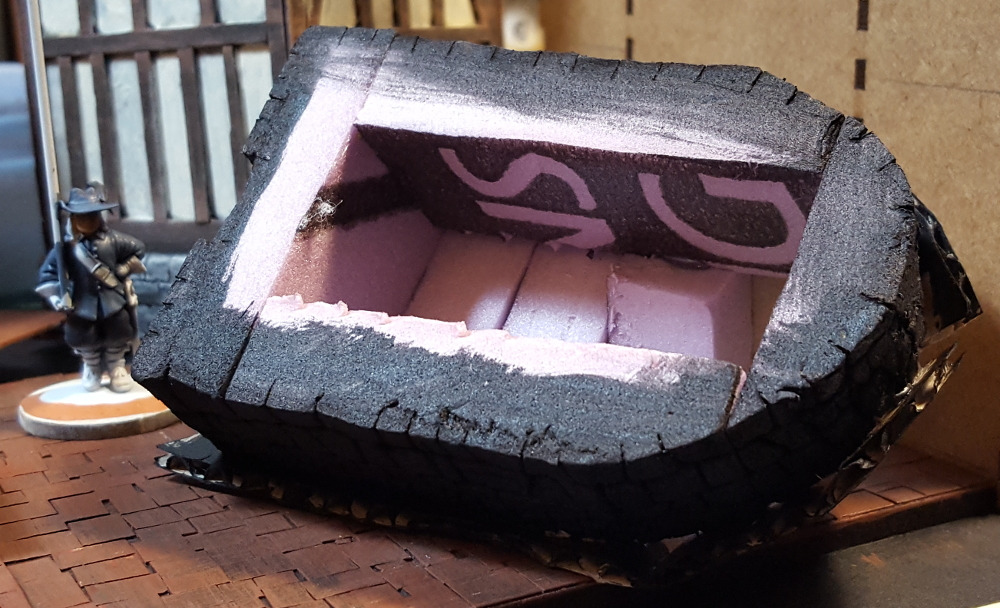
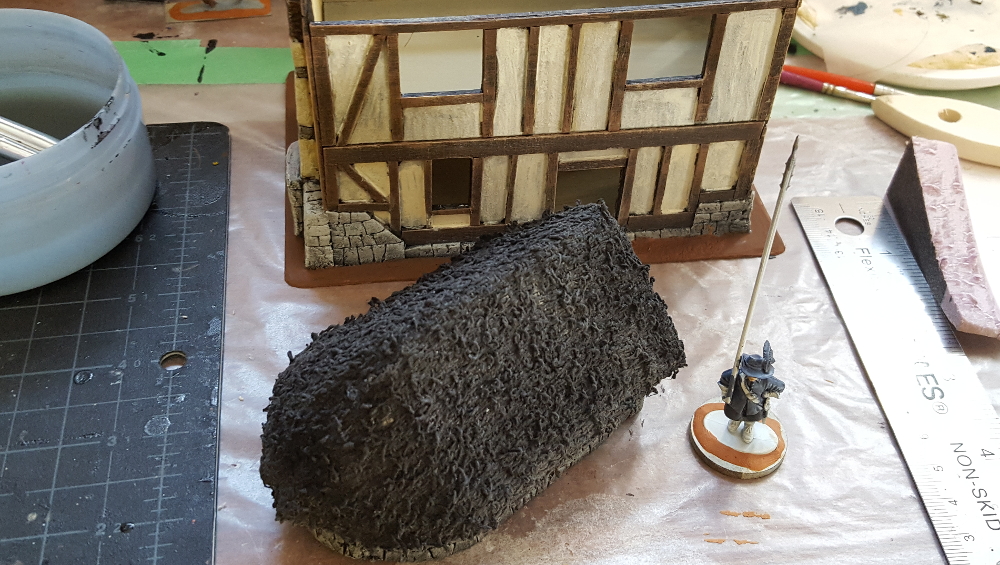
Glued down the towel thatching, slapped a coat of paint over the small stone building, added the door, and declared it done!
The towel got cut into a rough rectangle, big enough to hang an inch or so over the edges of the cardboard roof on all sides. I used a hot glue gun to glue the towel over the cardboard roof, including wrapping it around the edges and underside of the sides of the roof. This gave the roof the nice thick edge you see on a lot of thatch roofs. To fit the roof around the curve at the rear of the building I cut up to the peak of the curved part and layered the towel over itself further down, trimming a bit away so the overlap wasn’t too large.
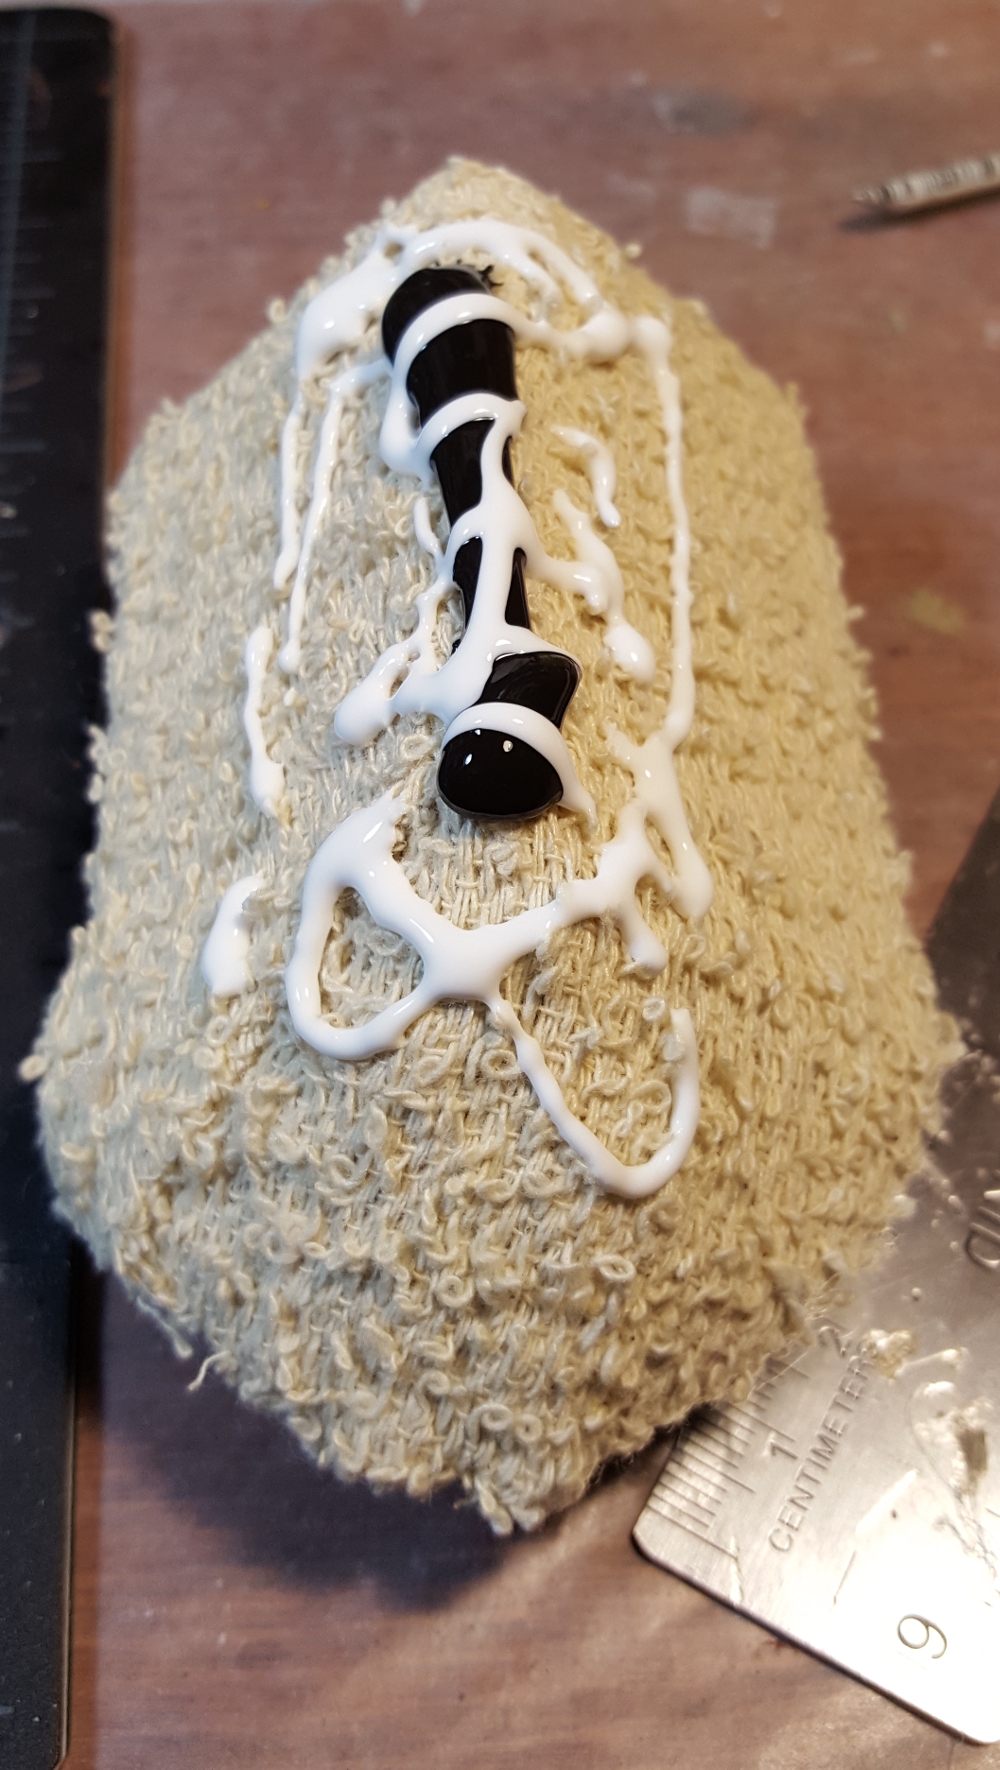
The first layer of painting was actually a mix of paint and white glue, generously applied with a fairly large brush, with a bit of water to help move the paint around. Towel soaks liquid up like, well, towel, so expect to use more paint and more glue than you first thing you’ll need! After this mix has dried overnight it’s really solid and gamer-proof. One of the reasons I usually use a tan or off-white towel for thatch, even though I always paint over it, is that any bits of towel that don’t get painted still look reasonable, which wouldn’t be the case if I used a colourful towel &mdhas; thatch ain’t usually blue or red…
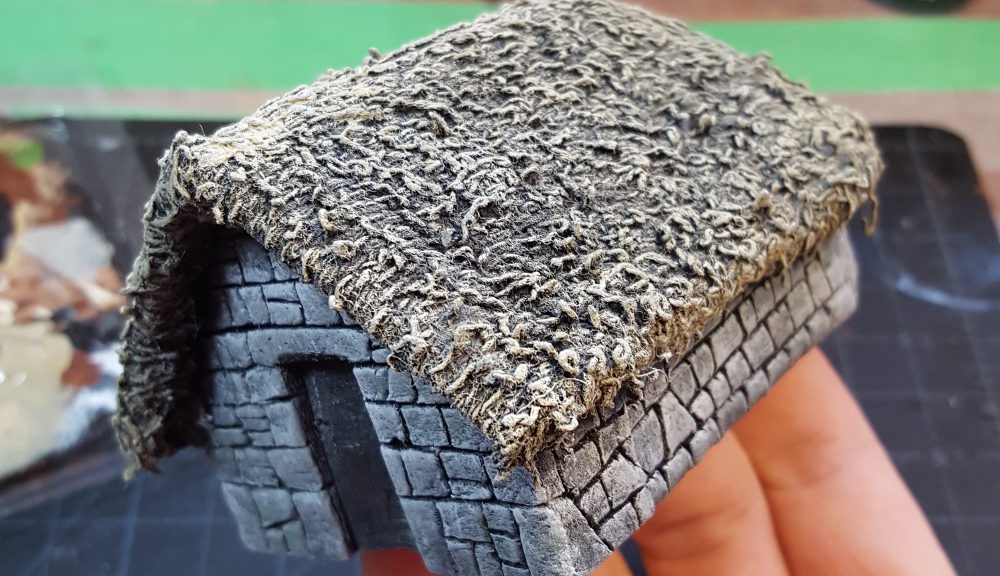
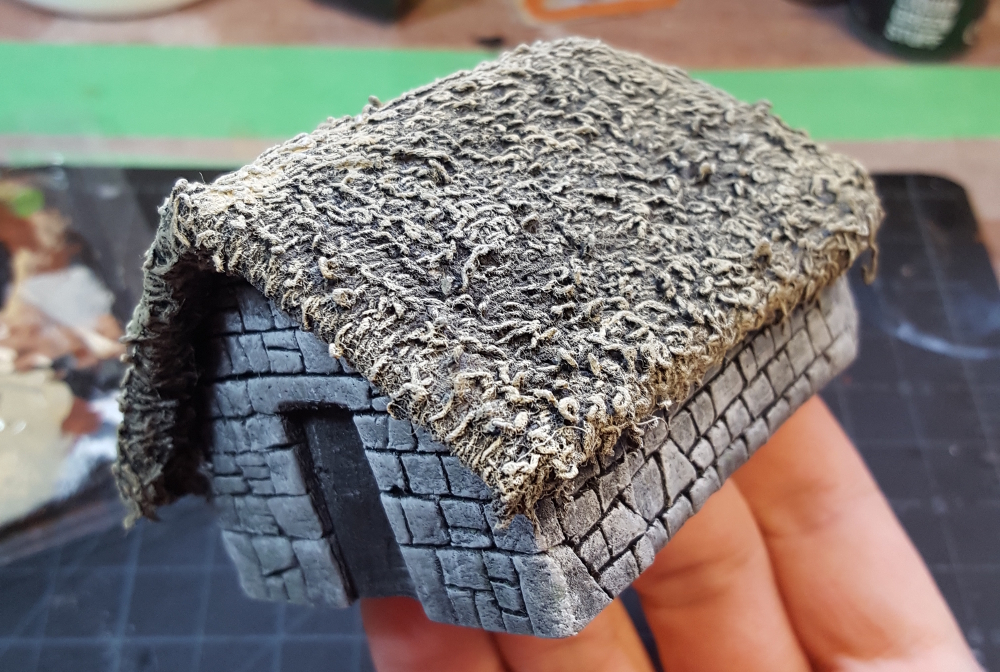
After the black paint has dried overnight I drybrushed various shades of brown and tan over the thatch, ending with a fairly bright yellow-tan colour mixed with a bit of white, applied mostly along the ridgeline and edges of the roof, just to make them pop a little. As with the base coat, don’t bother using a small brush for this, I used a 3/4″ wide cheap house painting brush for all of this work!
The stonework had also been based black. I put a few blotches of green and brown down here and there, and then drybrushed a dark grey, a pale grey, and finally a mix of pale grey and white over the stones.
I didn’t get a photo of the door, but it was done on a rectangle of light card with narrow pieces of scrap wood from coffee stir sticks, glued down with hot glue, then hit with a heavy dark wash (mostly GW Nuln Oil) so it looked like heavily weathered wood.
Stonework from styrofoam is a lot of fun and fast to do; I might do a few more stone cottages or something eventually. Maybe a ruined abbey or something suitable for pulp/English Civil War crossover gaming? We shall see!