Tag Archives: BSC 2024

Build Something 2024: The Painting Process

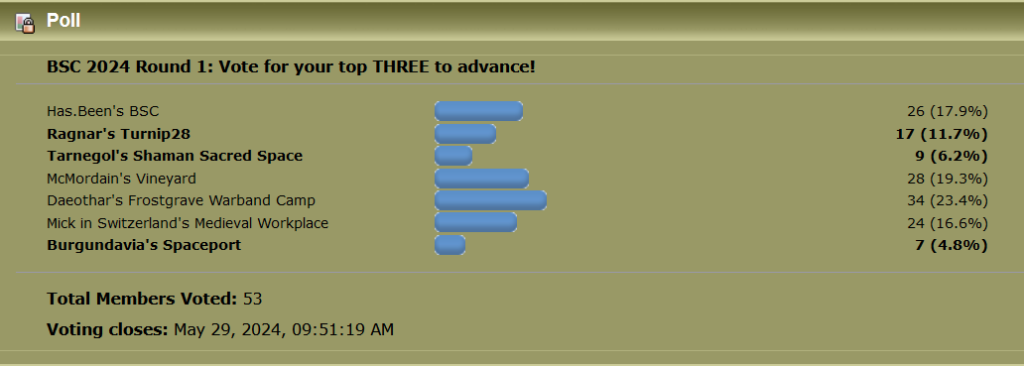
Well, round 1 of the Build Something Competition is done and I have been beat, badly. The vote wasn’t even close. Ouch. Anyway, at least I have a pretty building for my table.
With me out, means I can share some process photos and discussion here. I ended up painting and gluing the building together pieces by piece – paint some, glue some, paint some, just because of the way I needed to paint the inside.

First thing I did was assemble the upper back section (with the walkway) as a separate piece and then paint the inside of it. I also added mud/spackle to cover the 3D printing texture on the lower section and painted the concrete floor (with a few cracks added with an exacto blade).

After that, I added the inside graffiti to both the lower walls and the upper section. After I had added them, I glued the two pieces together and then added some mud/spackle to cover the gaps and then roughly painted it grey. I wasn’t overly worried, as I knew that I was going to be badly painting the inside white again (to partially cover up the graffiti, as if somebody was working to renovate the building).
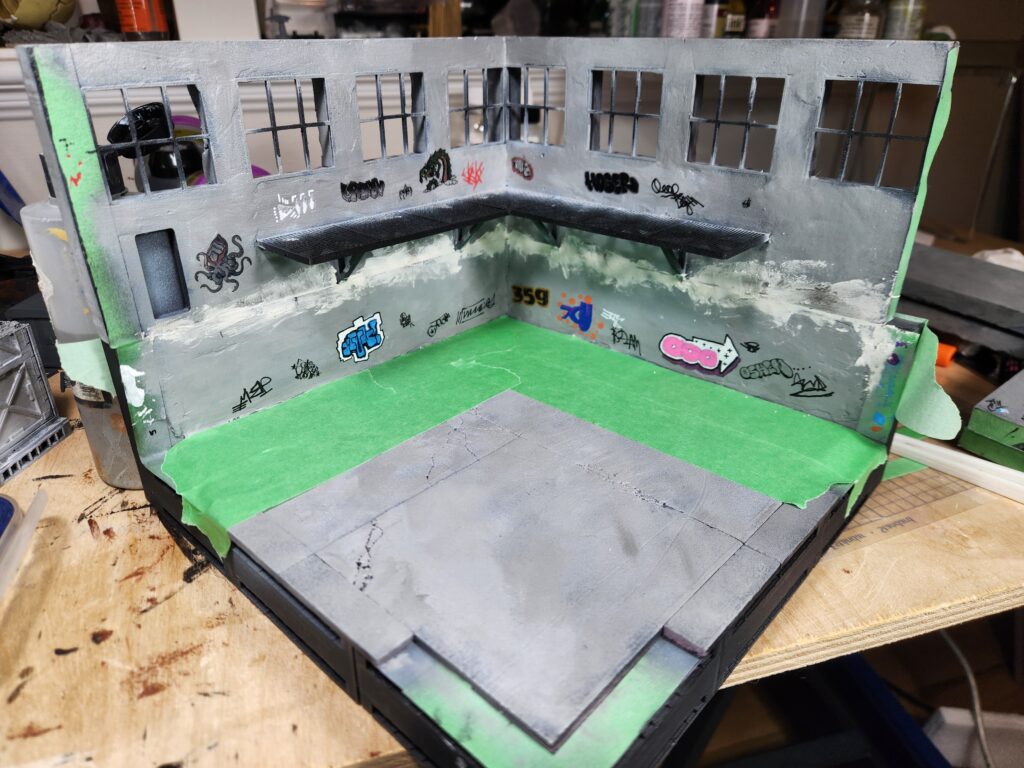
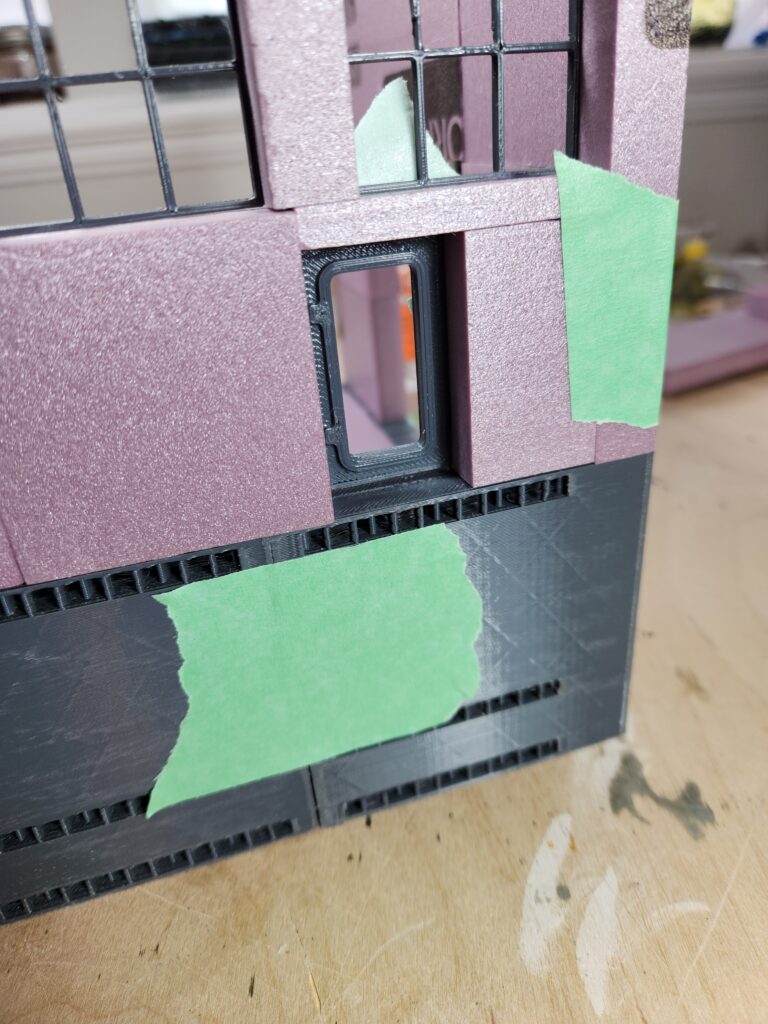
Assembled back with spackle/mud covering the gap between the foam upper parts and the 3D printed lower bits.

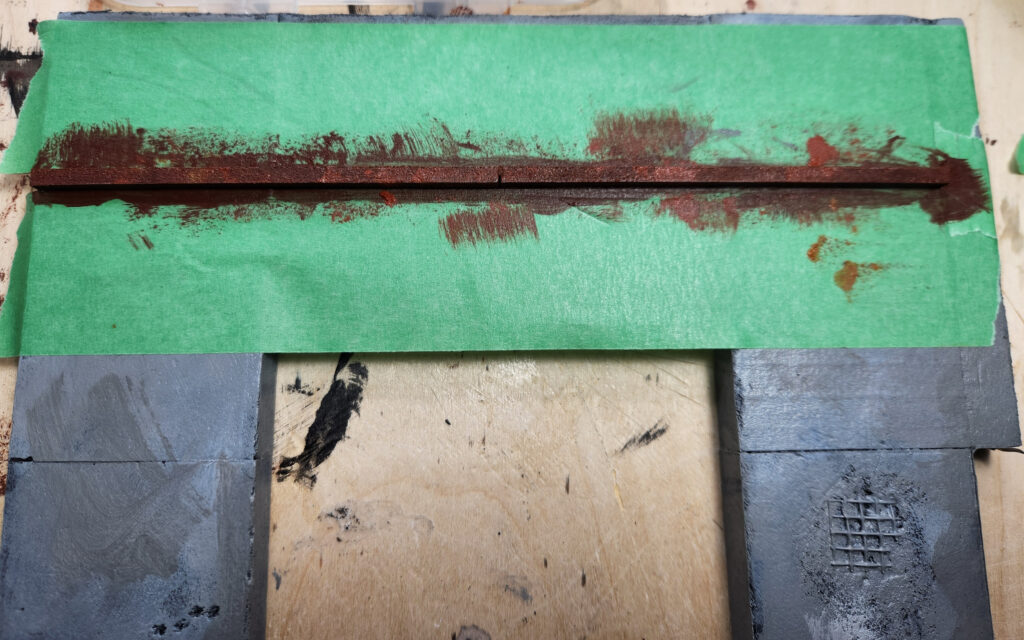
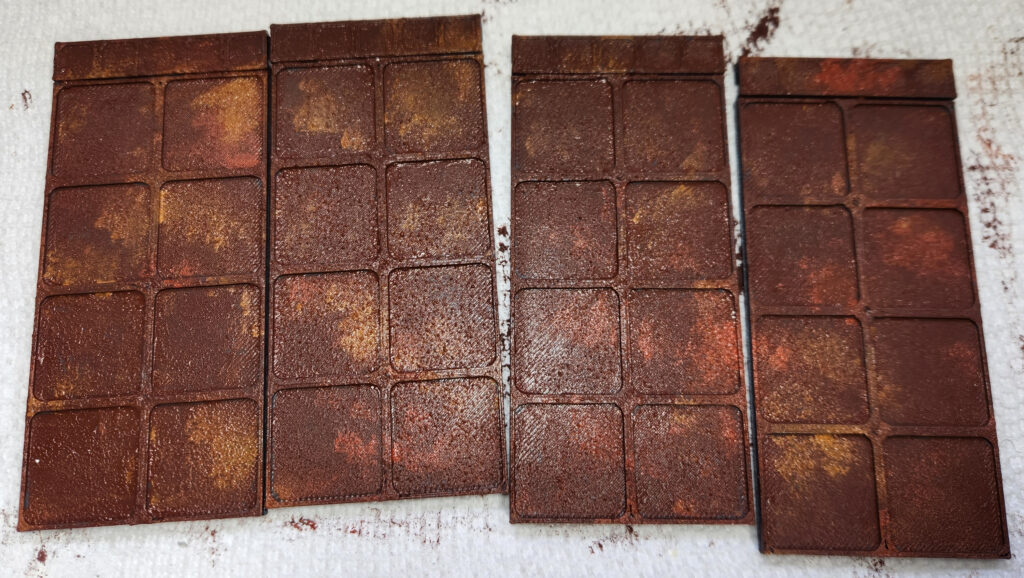
Then I rusted up the hangers and doors. For this I sponged on paint quite thickly – mostly Burnt Umber but some Burnt Sienna and Raw Sienna for accents. This is what gives these the bumpy texture. I would note that the grey paint was not fully dry under the tape here, so I ended up pulling off a fair amount and needing to repaint it. Oops.
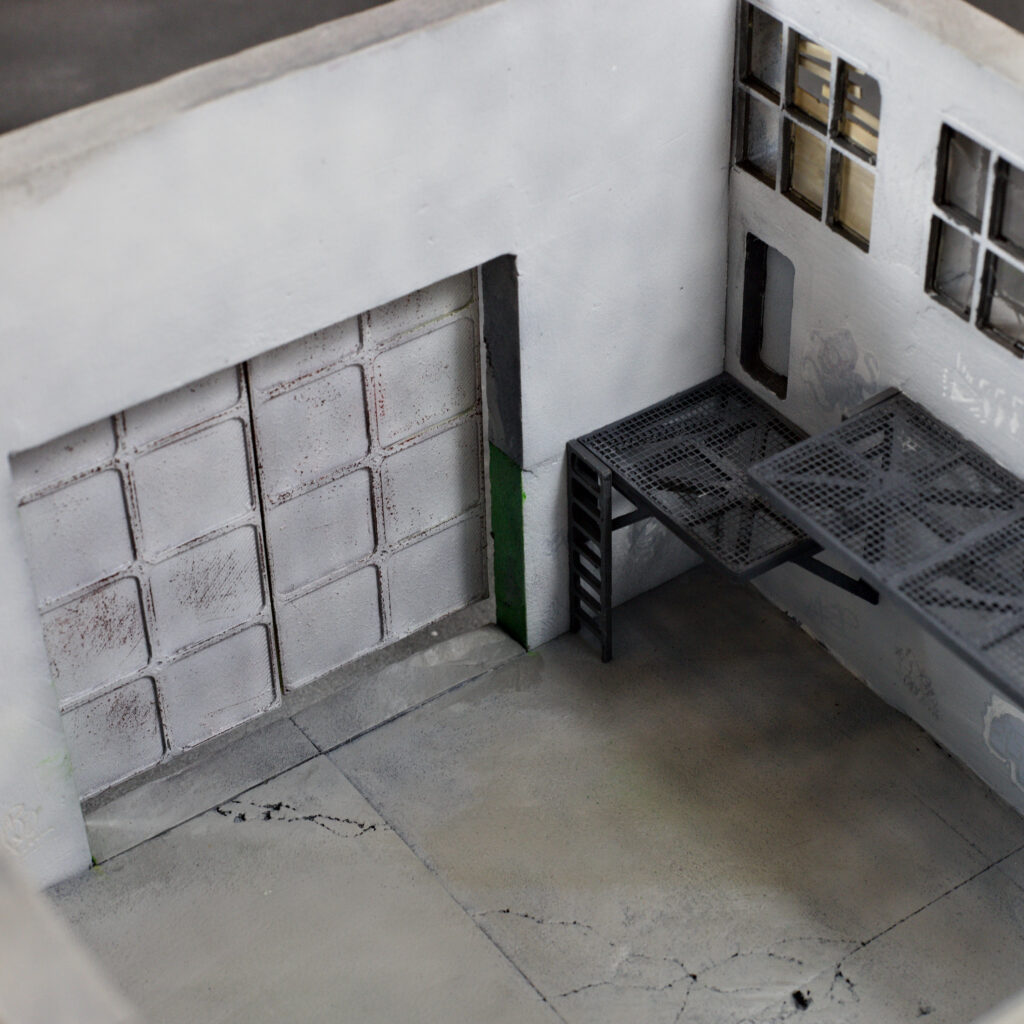
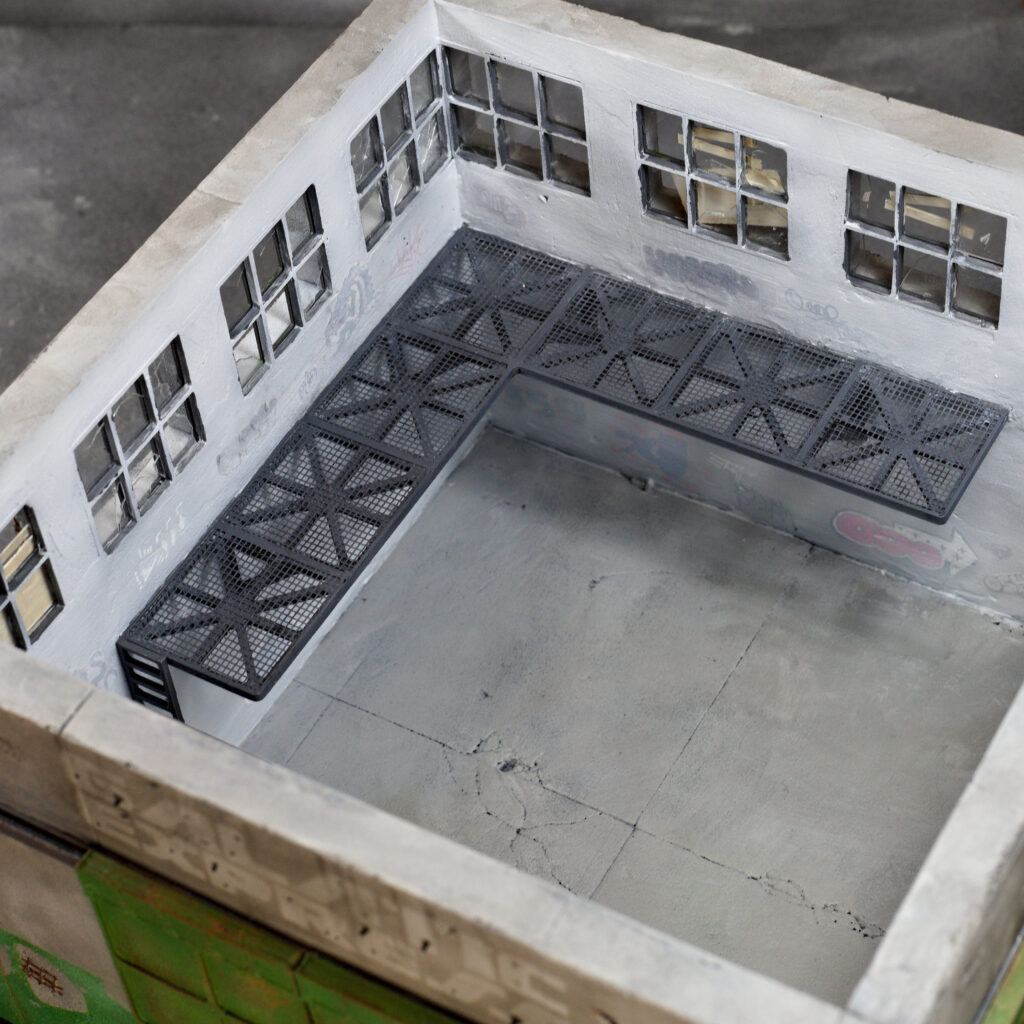
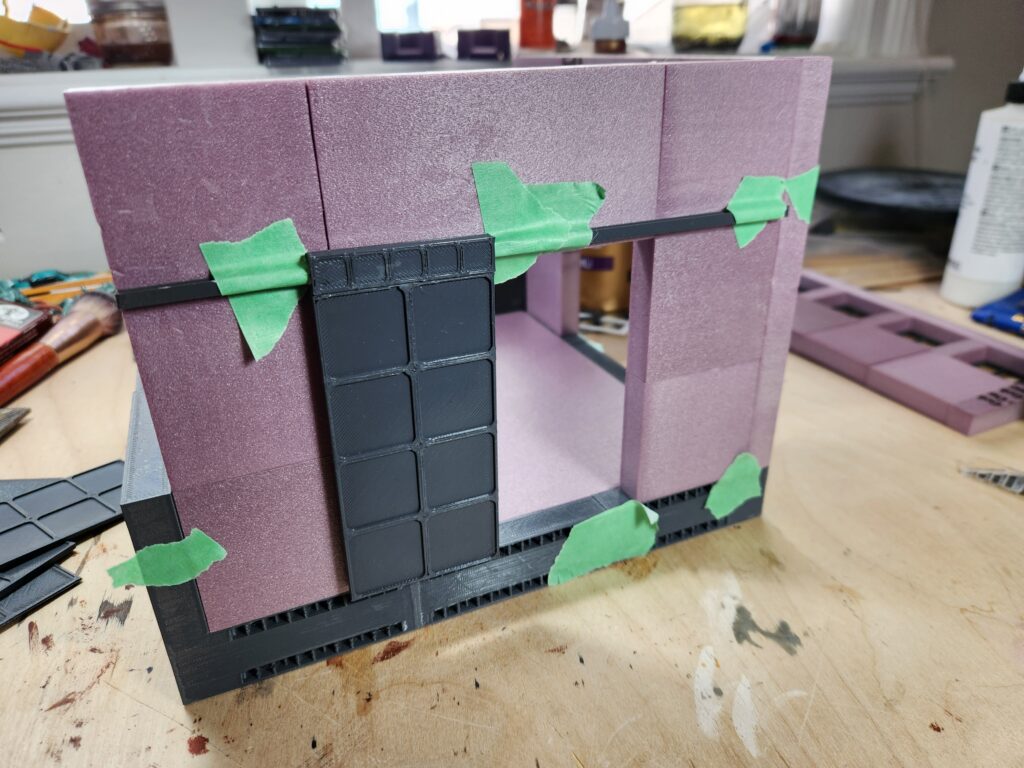
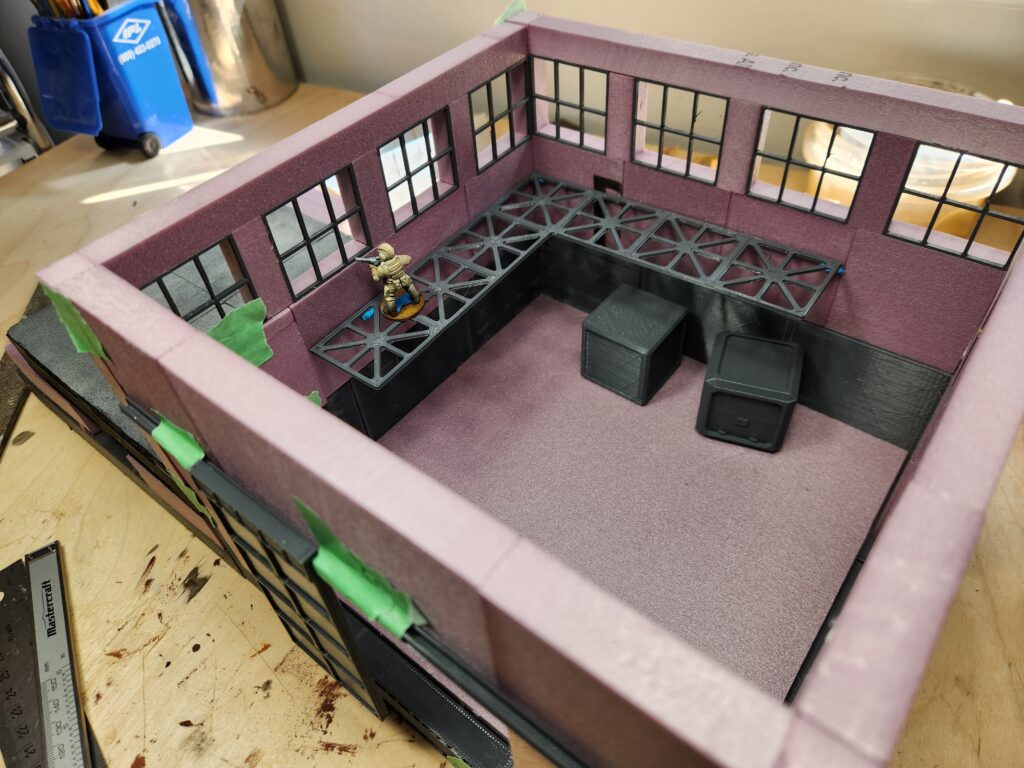
After that, I glued the front panels on and then the lower walkway (which touched both the back walls and the front walls). You can see the interior has been painted white at this point.
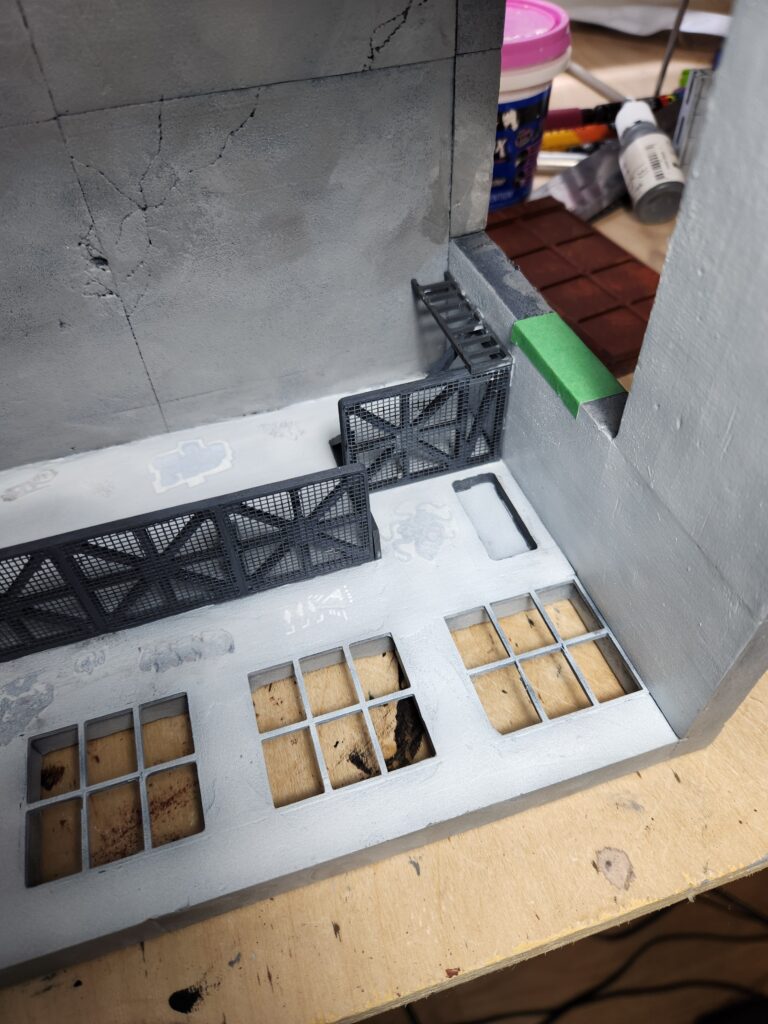
Gluing in the lower walkway, with the inside now painted white.

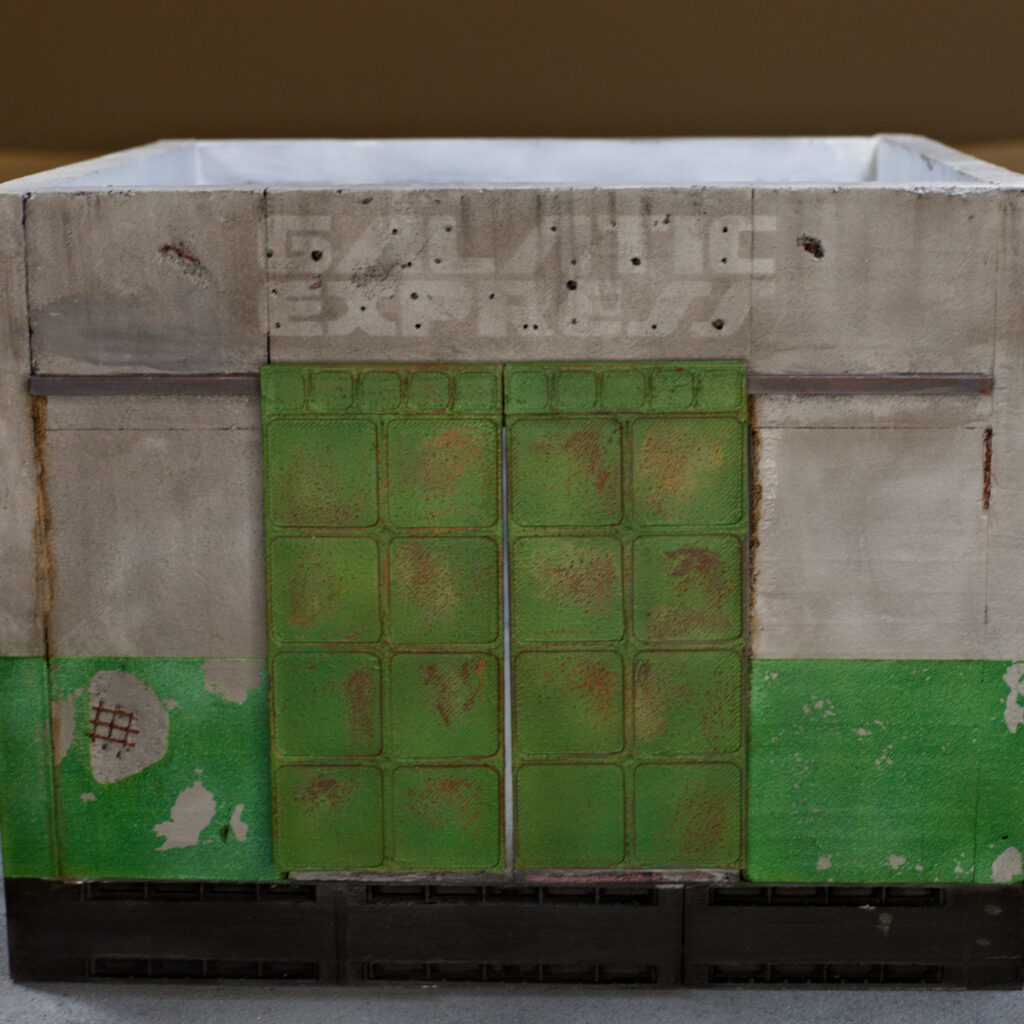
Once those were done, I cleaned up the front where the joins were to make the grey tones more consistent. I then masked off the green sections and the upper ghost lettering.
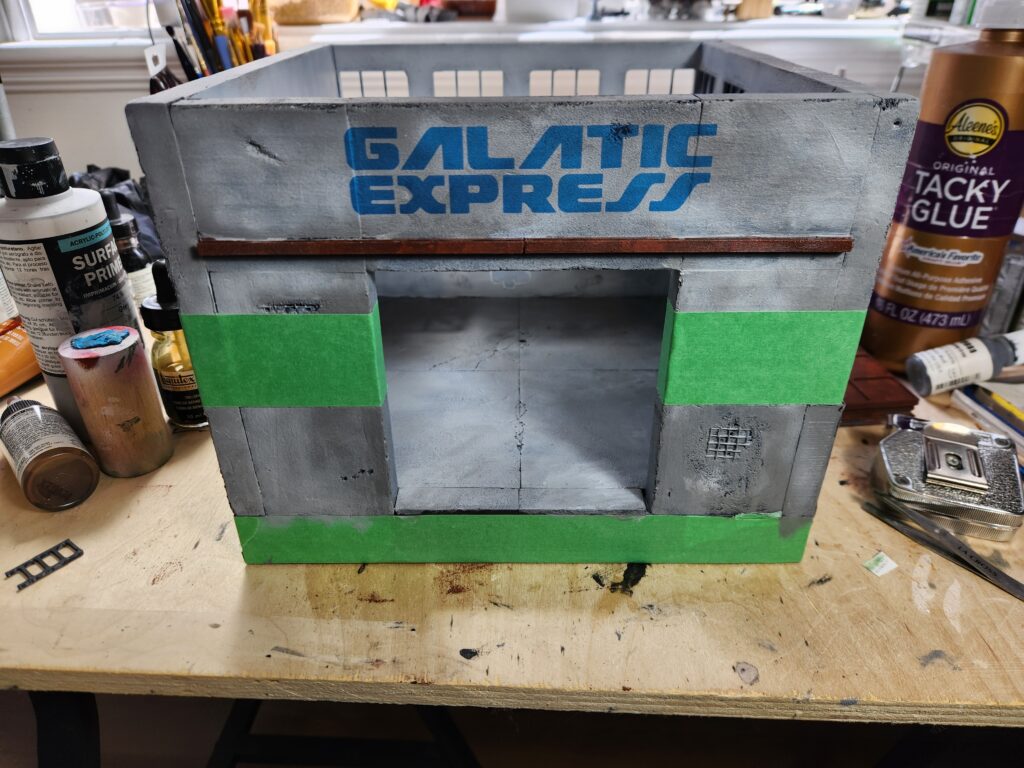
The lettering was over-sprayed with Golden’s Shading Grey, a semi-transparent grey that was amazing for darkening things subtly. I pulled off the letters, which were cut out of Oracal mask on my Silhouette, in a random order, spraying a bit more of the shading grey over the whole area each time.

The last bits I didn’t get any photos of, but this is the “draw the rest of the owl” directions:

The green lower sections I added blue stuff to mask off the damaged sections where the exposed rebar was and then sprayed the lower area, hangers and the doors with chipping medium, and then all three with a random mixture of greens roughly mixed in the airbrush. To chip it I used three methods – light sanding, using tape to pull off random sections and water with a brush. If you use water with a brush, you get lighter sections. I ended up putting an undercoat of white on the doors after I tried just straight green, but that wasn’t covering the rust well.

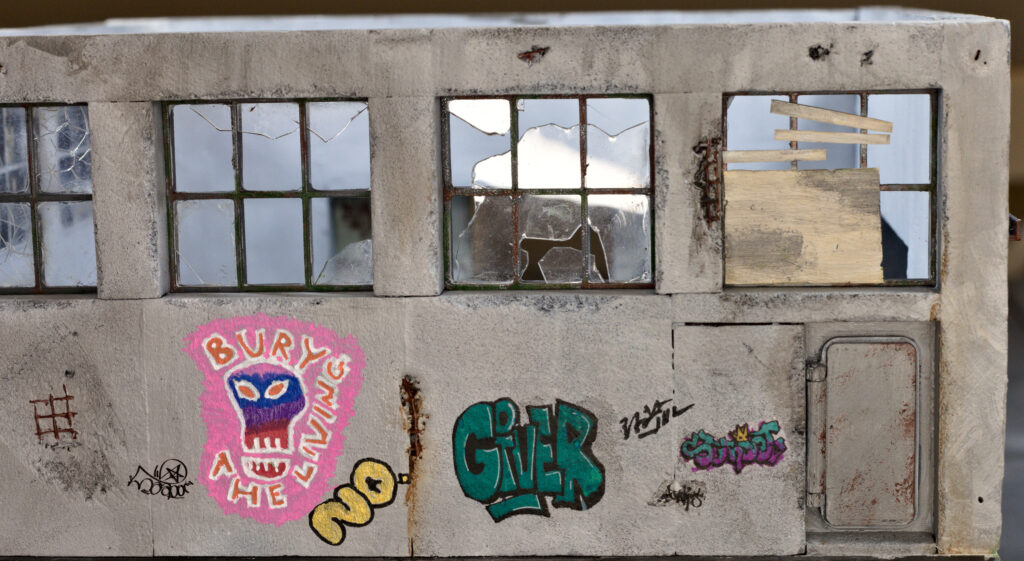
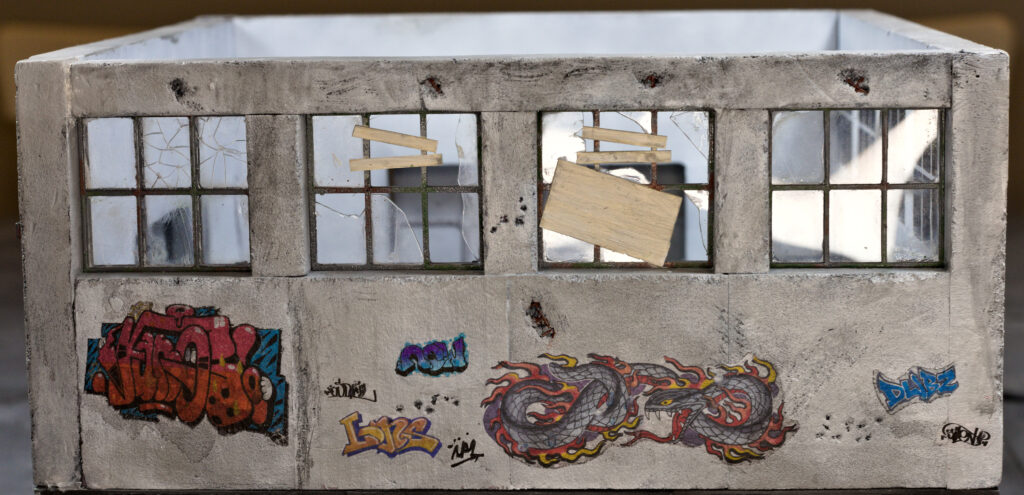
Lastly, I glued in the windows after painting them separately, painted the exposed rebar and then weathered with oil paints. Overall, the painting felt a bit rushed and I should have taken more time. I also missed a bunch of small details that I’d like to get back to.

And voila! The final product:
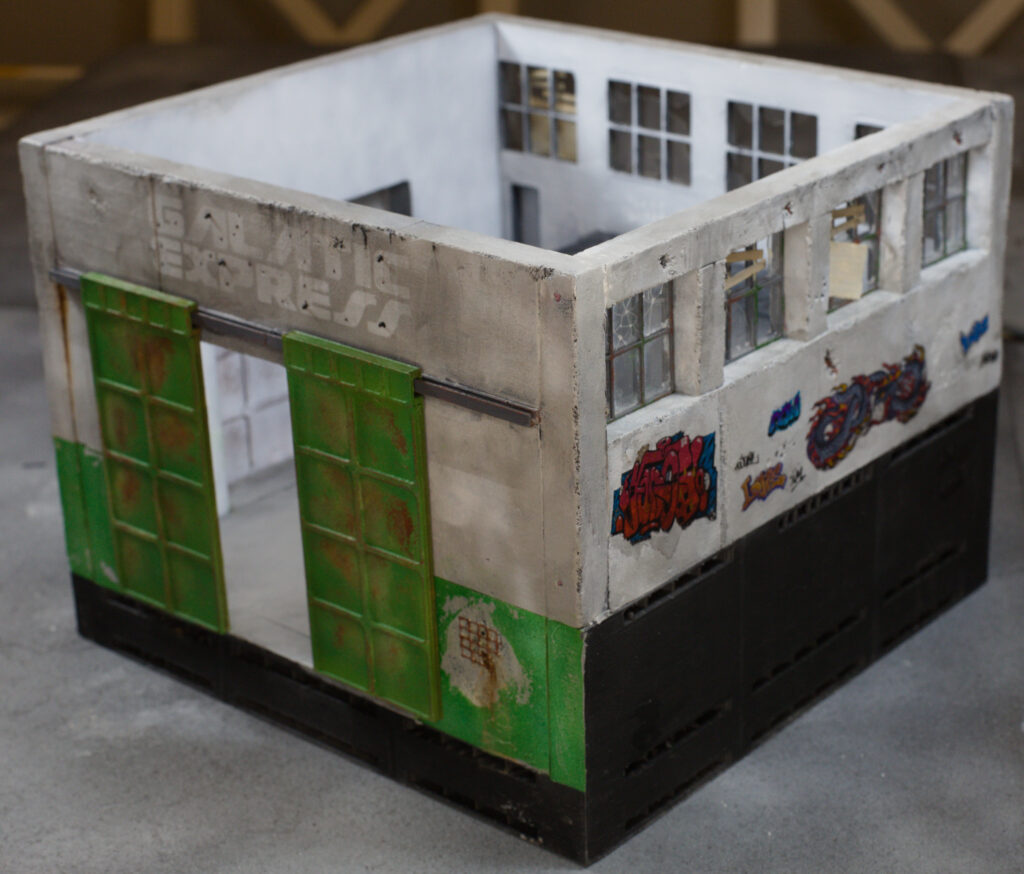
Build Something is done for 2024 & I finished!

Another year keeps marching on and Build Something 2024 has come to an end and unlike nearly every prior year, I actually finished this year! No pictures of the painted model yet due to the rules, but here are some updates on the construction.

Overall, I managed to only get the warehouse done of the whole set I planned – will have to do the actual landing pad later. But I was happy with where I ended up with the warehouse.

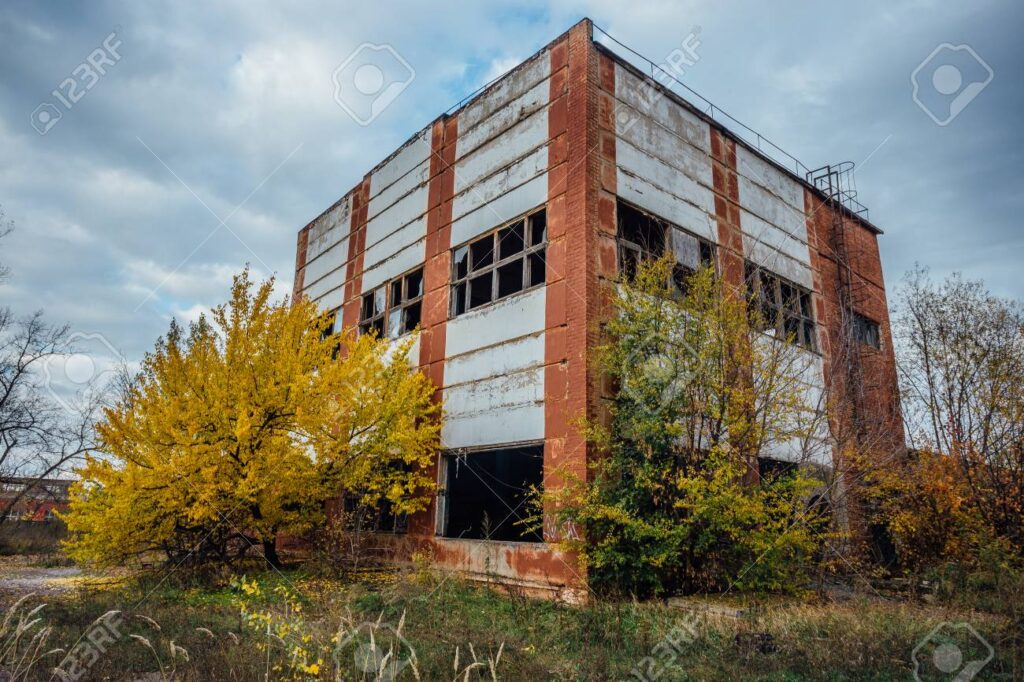
For the warehouse, I ended up with a more “ruined 20th century concrete” vibe than I initially planned, largely because of the design of the windows – rectangular with thin frame pieces.

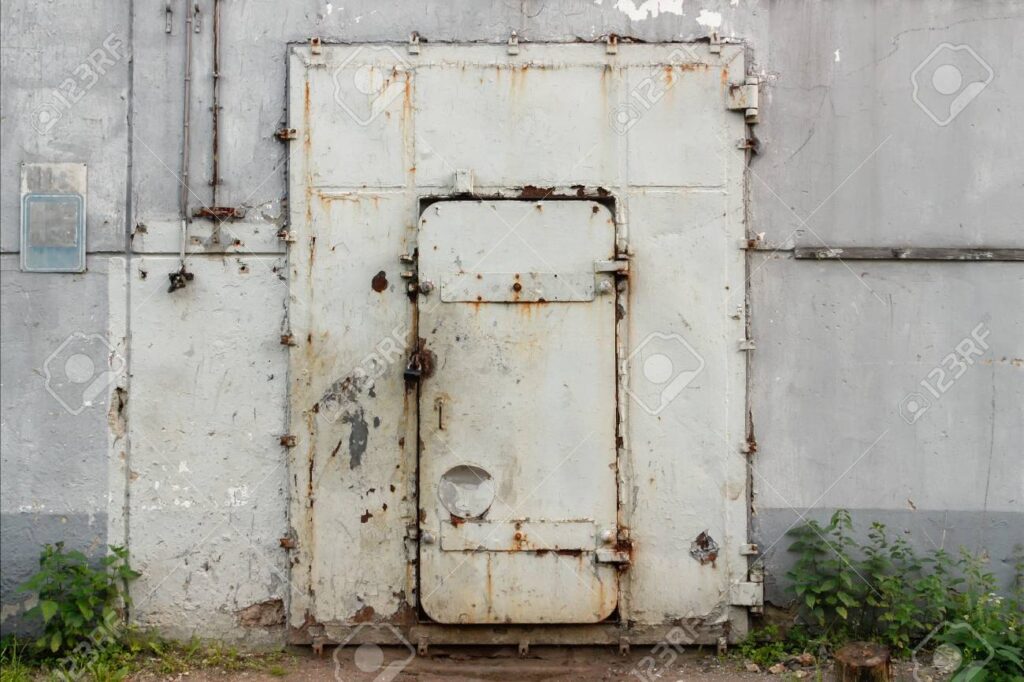
With that, I switched out a lot of my concept and leaned more heavily into that look. Here’s a few pieces of inspiration I pulled from the internet:
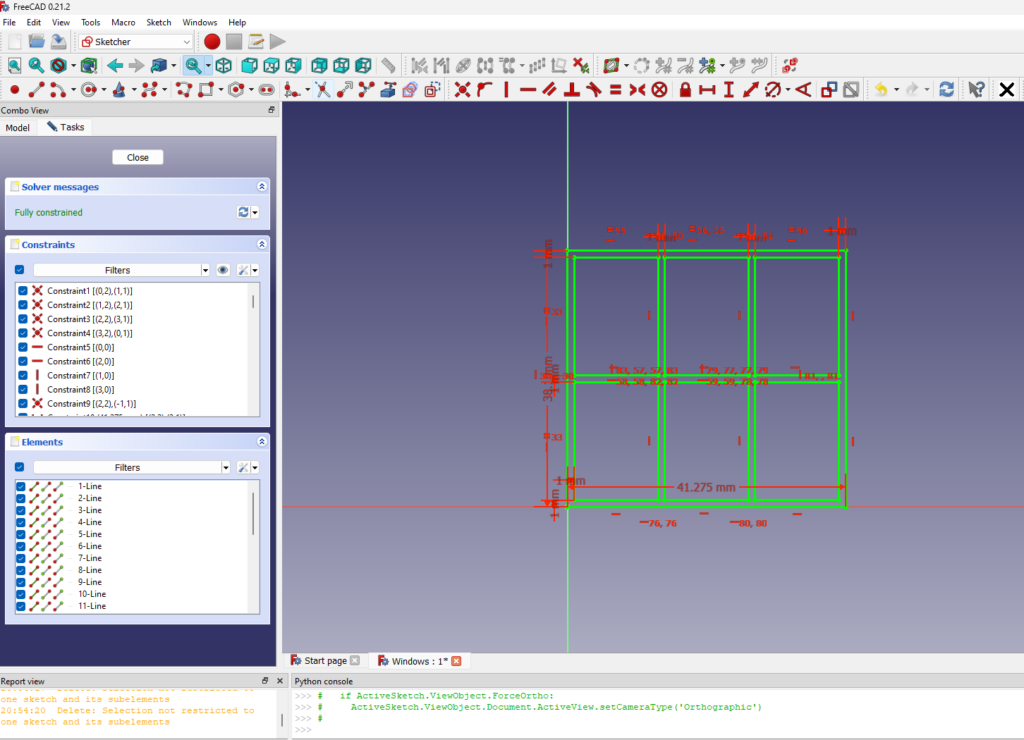
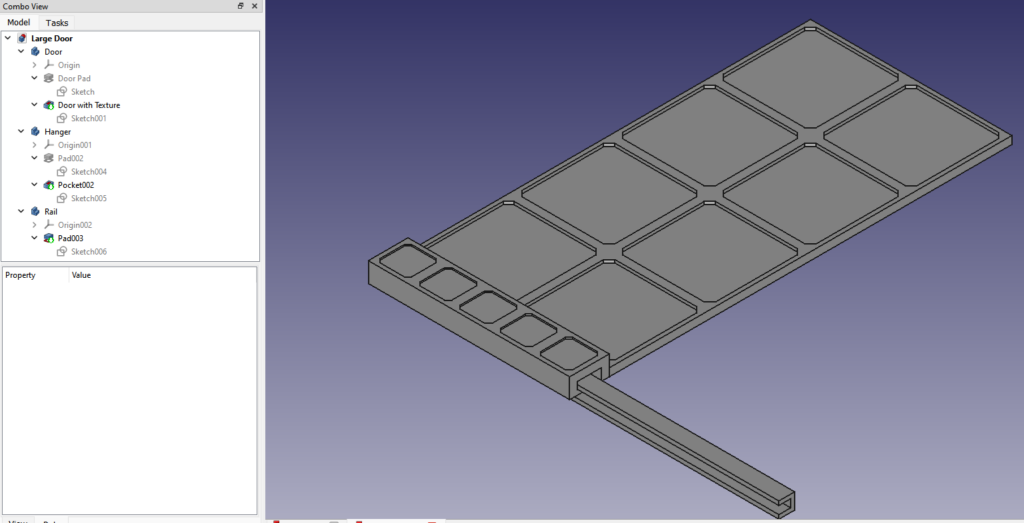
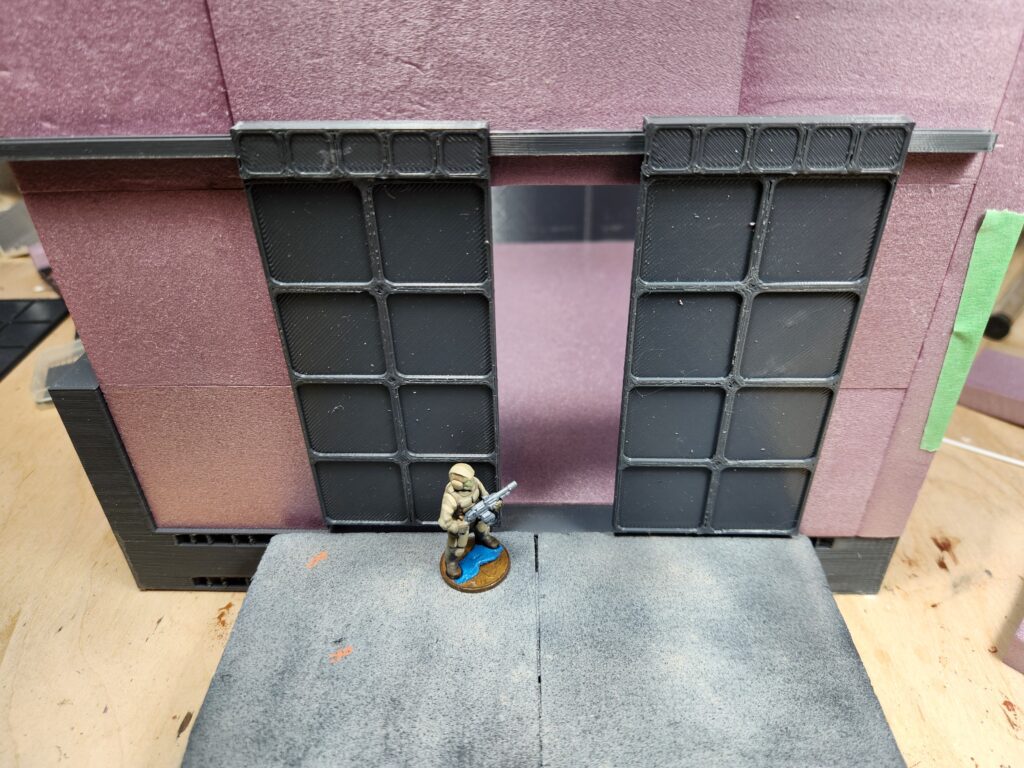
I then decided on a heavy, old-style large doors, with a small door that roughly followed the inspiration above. Both were modelled in FreeCAD and then printed on my Ender 5. The large doors…

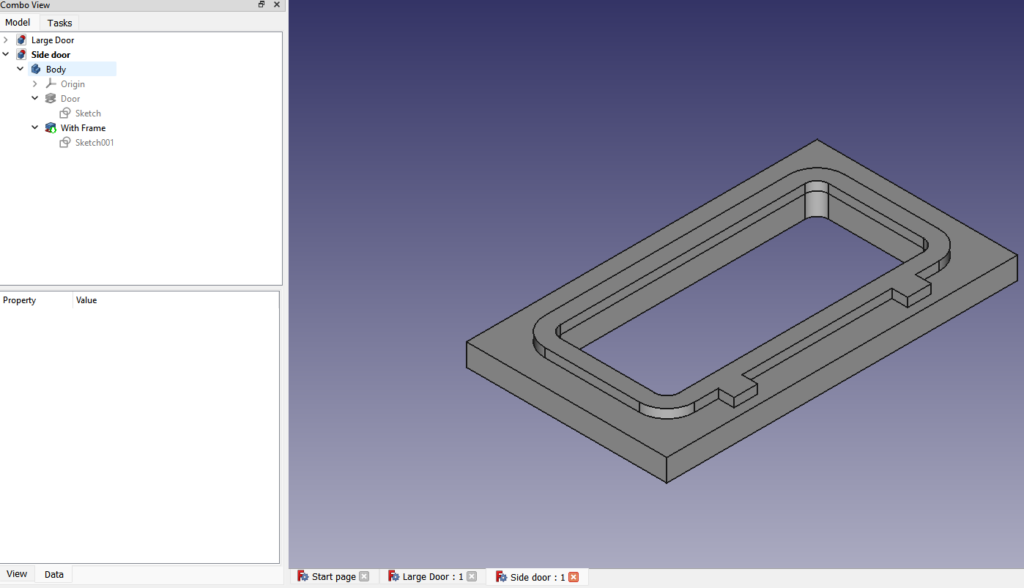
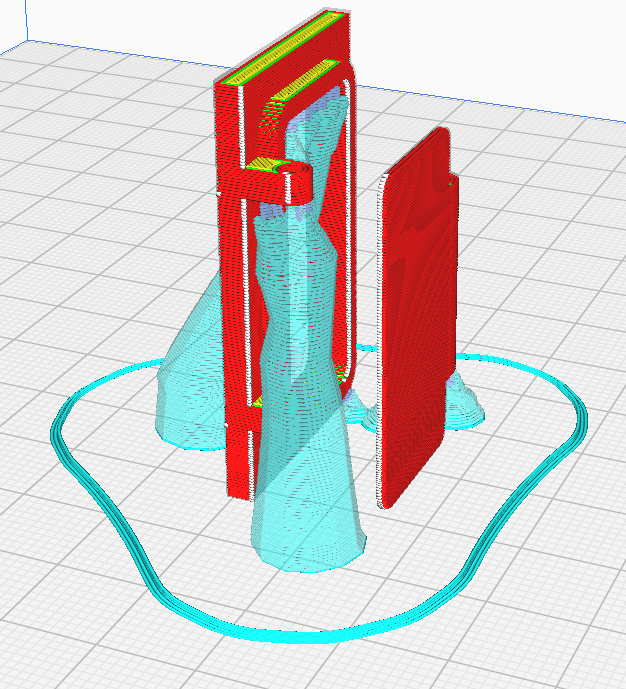
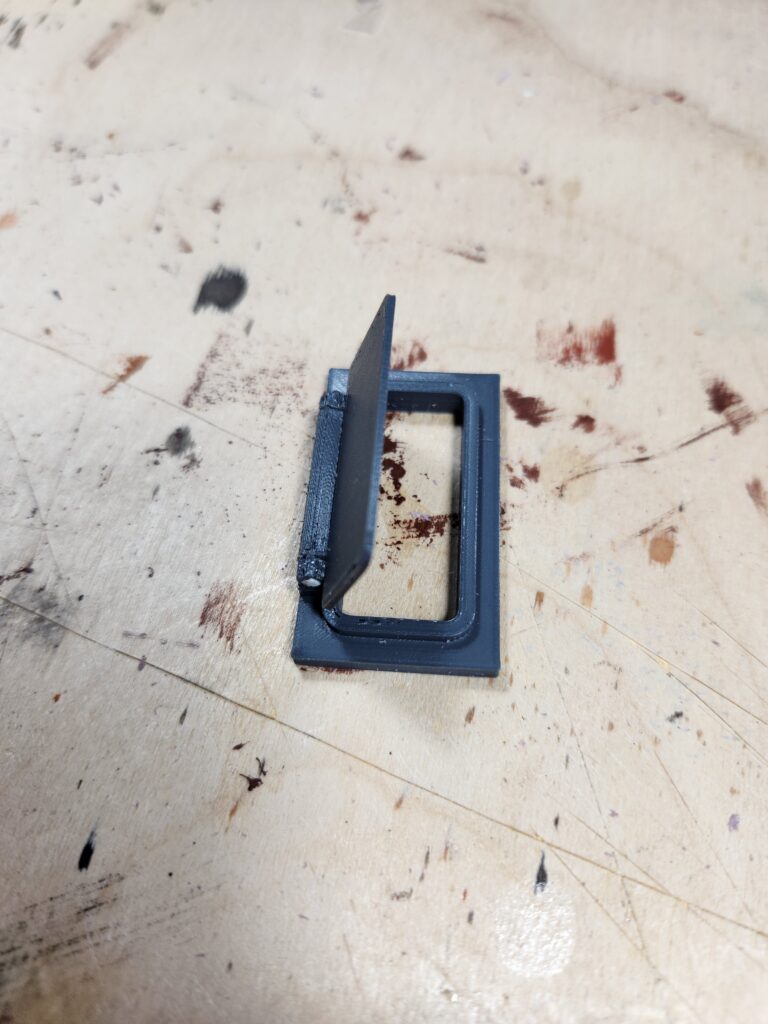
…and the small door. I first did a test with it printed flat to the bed, which worked. Once I designed the door itself, I tried it vertical. That failed, so I switched back to horizontal and printed it at 0.12 layer height. The white you see on the final image a piece of styrene rod which acts as the hinge.

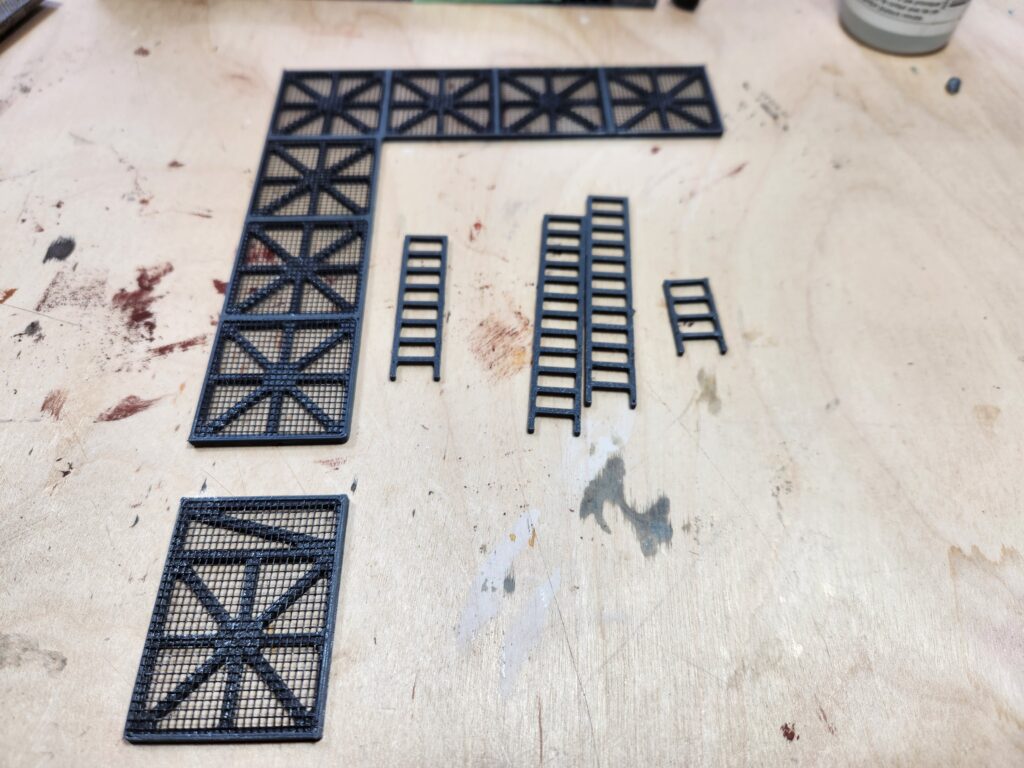
After the doors were printed, I moved onto the interior walkway, which by pure accident ended up being perfect height for a figure to shoot out of. I really didn’t plan that at all, but it was awesome. There are two levels of walkway – one at 3″ where the small door opens and the main walkway at 4″.

And then onto the windows. I ended up printing them twice – the first round I didn’t think were thick enough, so I ended up printing them a second time at double the thickness. I decided to keep the first round windows and used them as external frames, to which I glued clear PETG and styrene too to make broken and boarded up windows.

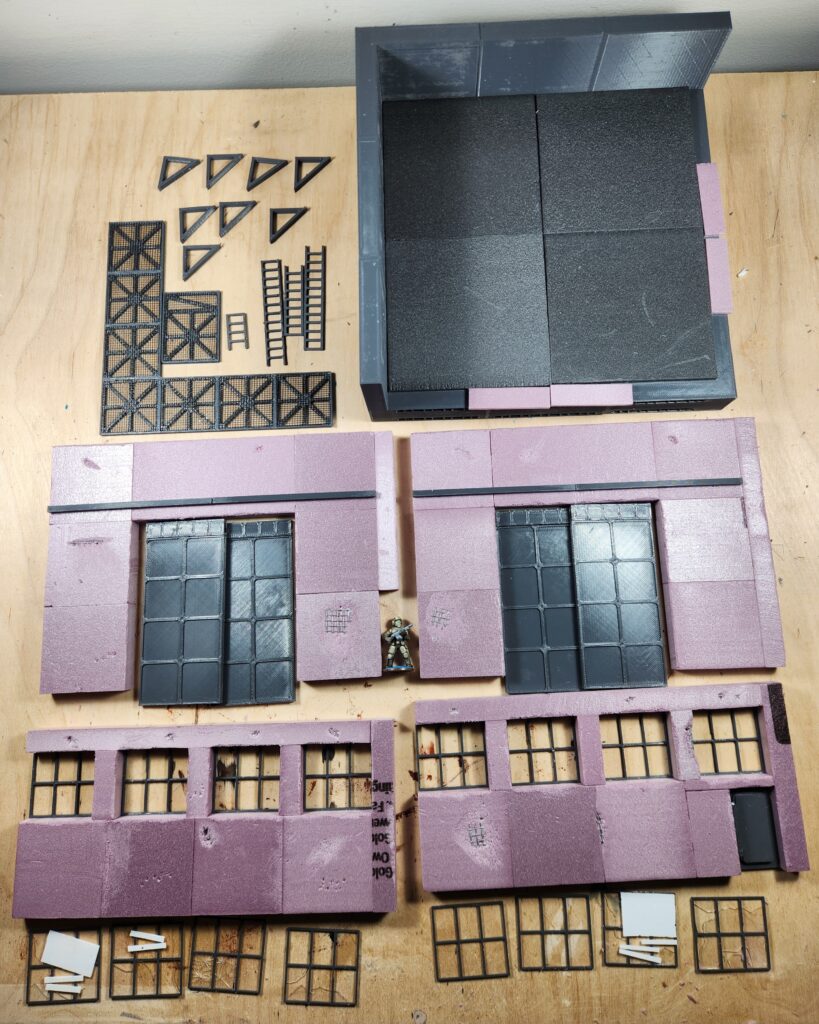
And with all those pieces, the design was basically done! I decided to assemble as a I painted, so this is the final shot before painting:

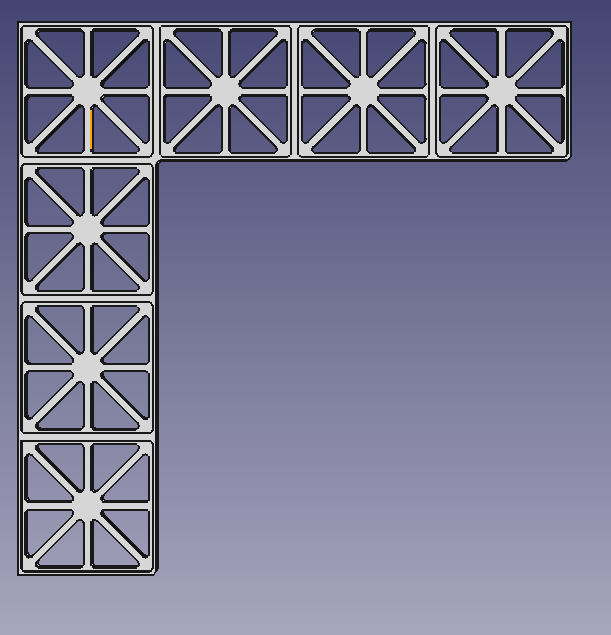
All the final pieces of the building, not yet assembled.

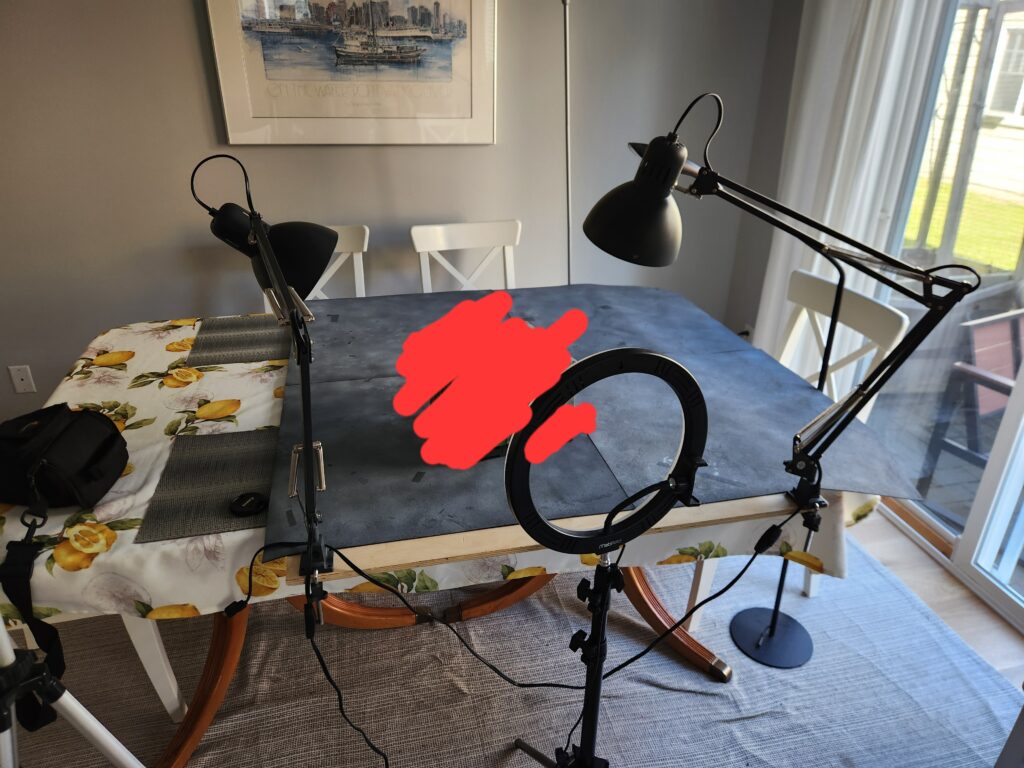
Onwards to painting, which I can’t show you yet, but here’s a photo of my photo setup. Good photos needs lots of light, so I did just that.

Other photos and notes on my forum thread and voting will start fairly soon on the Build Something Competition subforum here.

Build Something 2024: A starport

I’ve had various (ed: poor) success with building things competitions in the past. I’ve singularly failed to finish a single one I’ve entered, even the Build Something Small and Encounter Terrain 10×10, both of which were small things. So the natural thing to do was to organize the next round of Building Something Competition (BSC) on Lead Adventure!

If you’re not familiar with BSC, it is a friendly competition on the Lead Adventure Forum, running for more than a decade. Both Brian and I have entered at various times, he’s even finished something:

Concepts

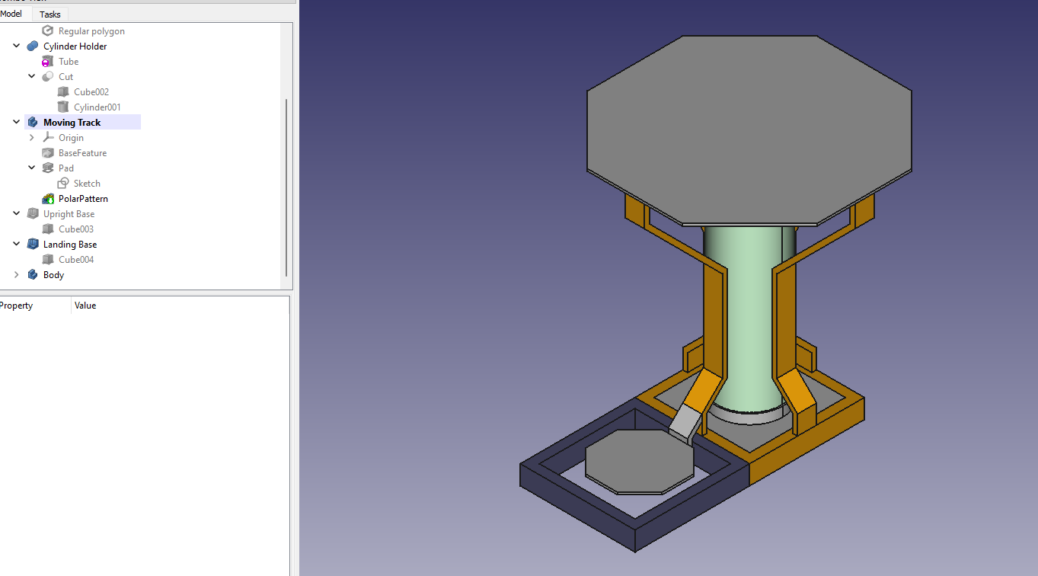
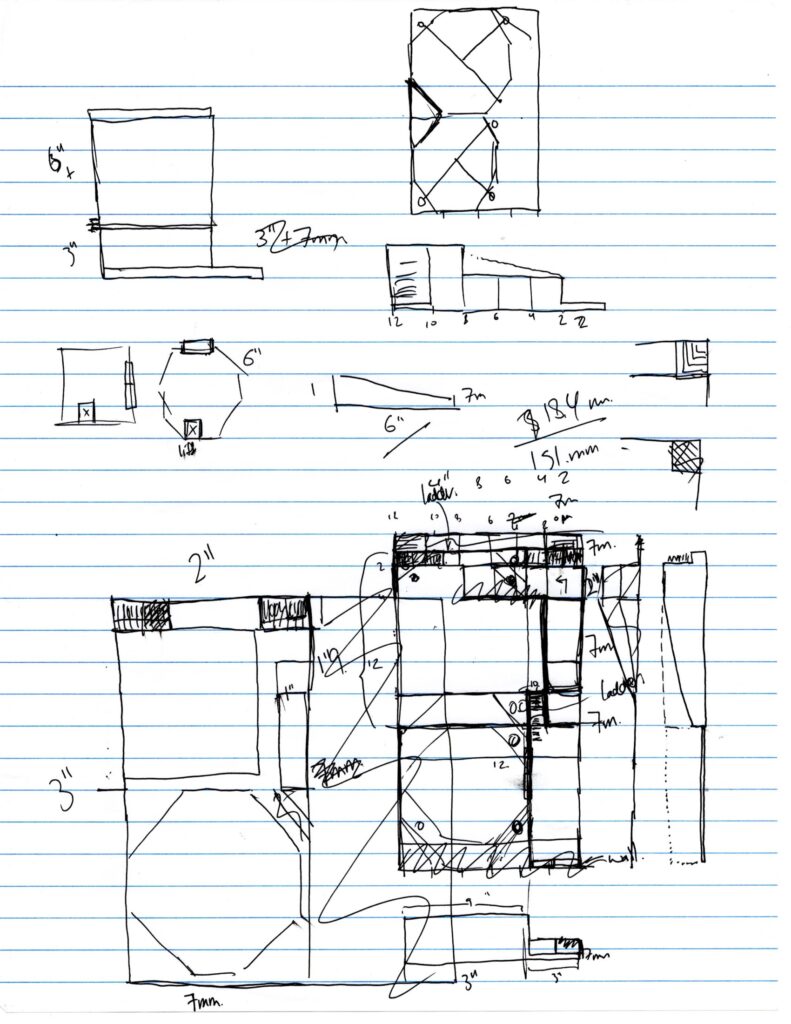
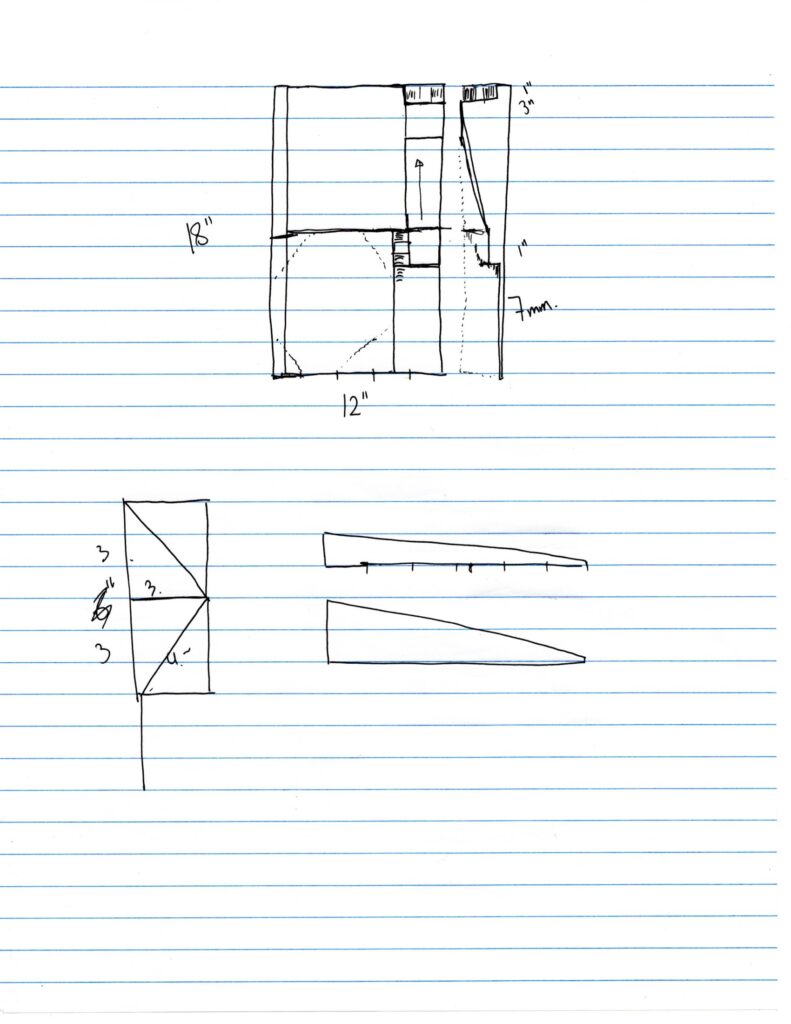
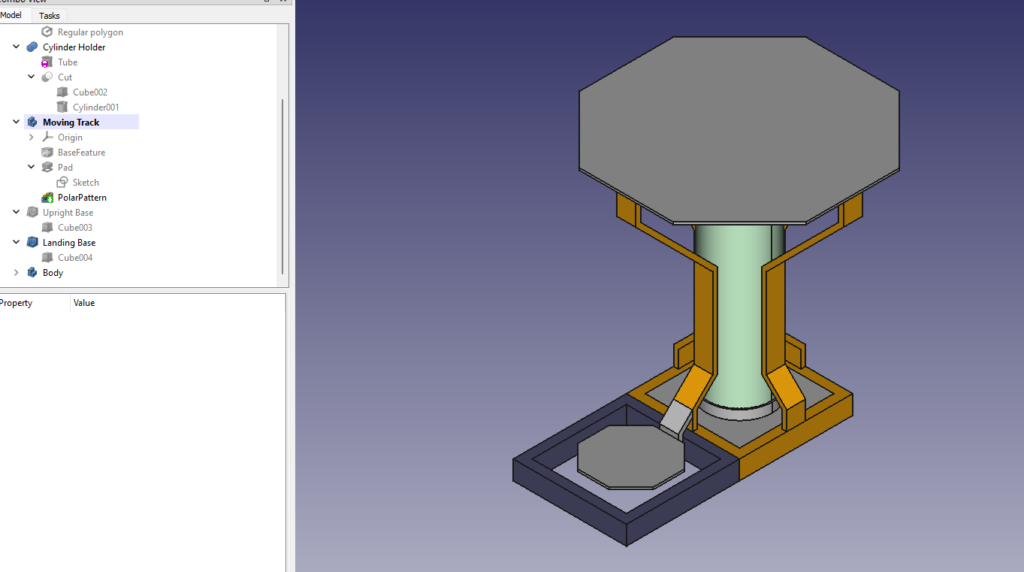
I wasn’t sure what I wanted to build this year – either a spaceport or a vertical mill thing for my hellscape terrain. As you can probably gather from the title, I decided on a spaceport. I’ve been doodling a few different options for a little bit, starting with one giant 12″x18″ piece, but nothing was really gelling for me.

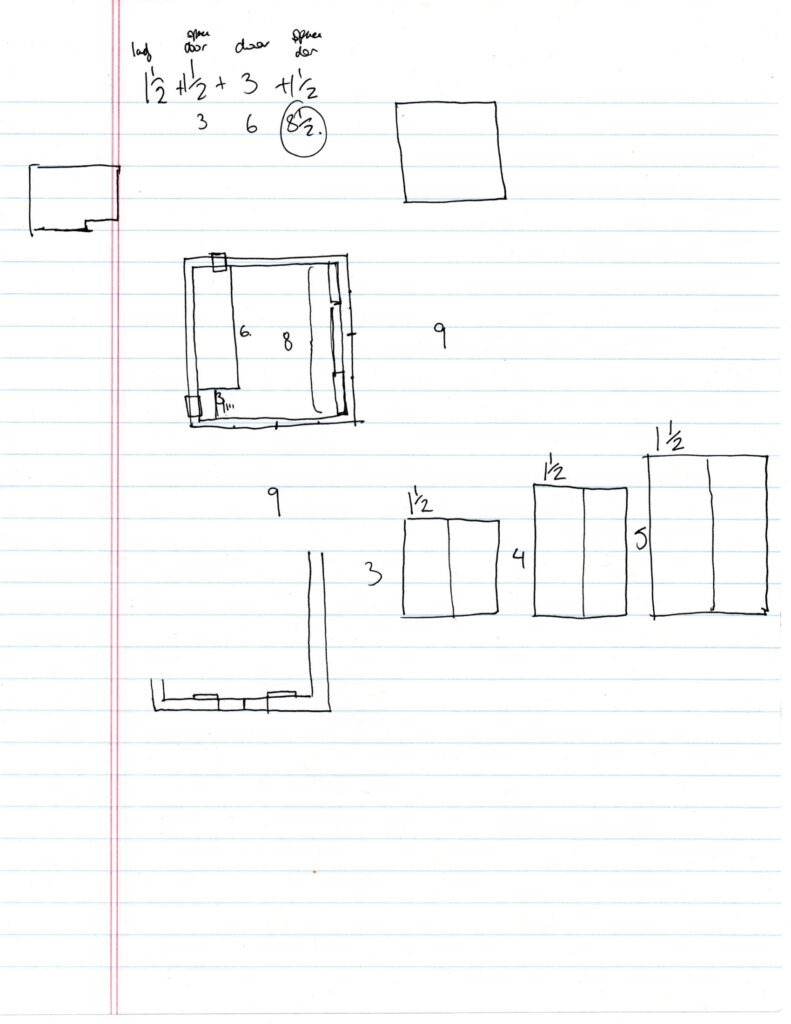
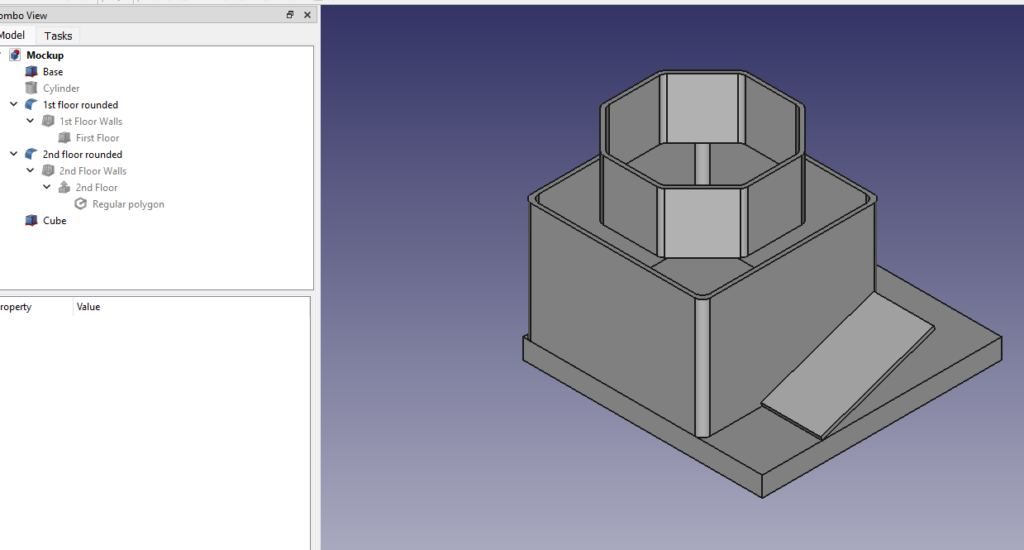
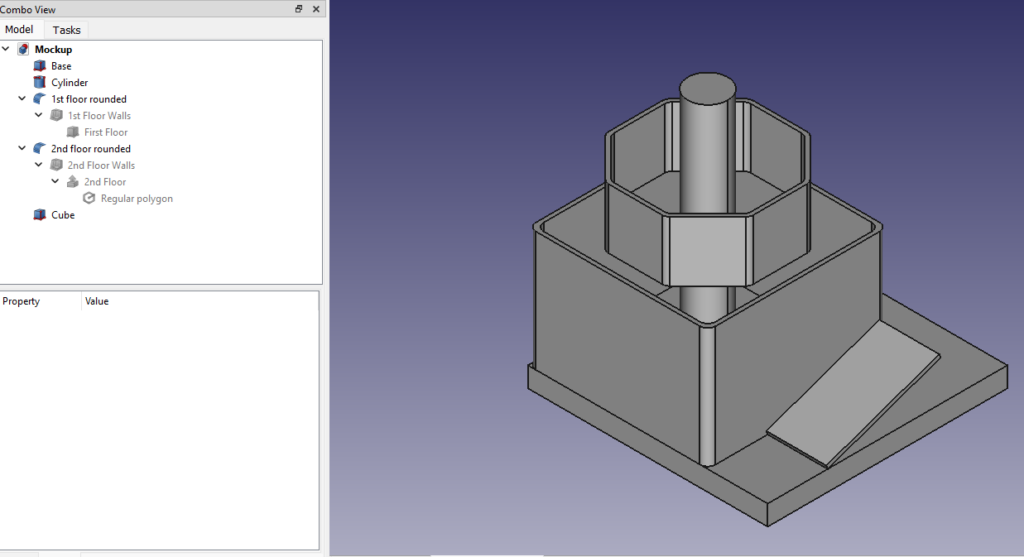
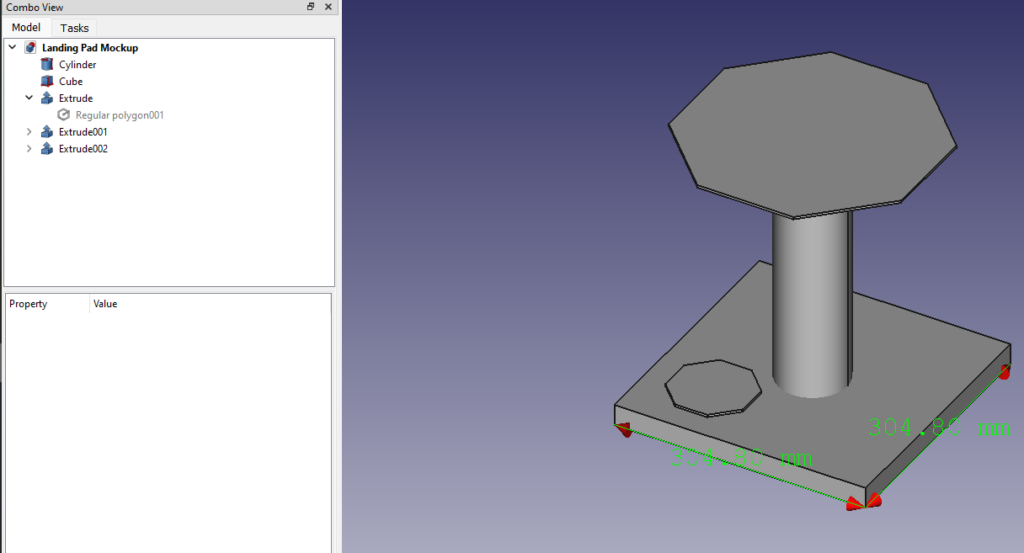
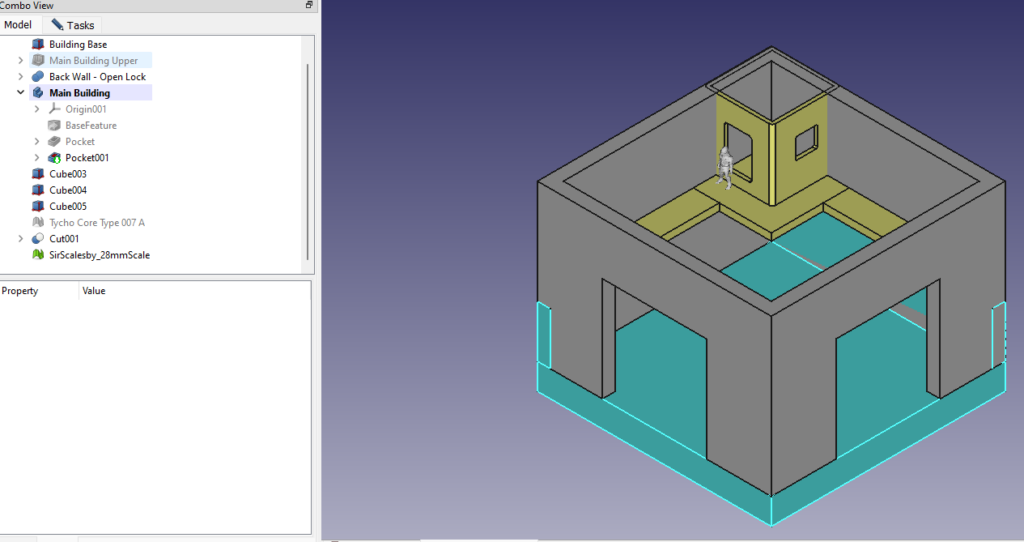
So I decided to try a few different layouts in FreeCAD, see what I liked. I found this cardboard tube from something paper that I wanted to use as the main upright. And I knew I wanted a 9″x9″ building for the main warehouse building. I initially tried a single larger building on a 12″x12″ base, but that didn’t work either. I also tried the landing pad on a big 12″x12″ base. I also didn’t like that

So I decided to split it into multiple bases, the building and starport each on one. And I knew I needed a way to have pads lift up into the sky, so I decided on magnets and printed pads. That is what the orange vertical pieces are – holders for either magnets or metal strips. Those pads will land on a yet another 6″x”6 base.

Printing things!

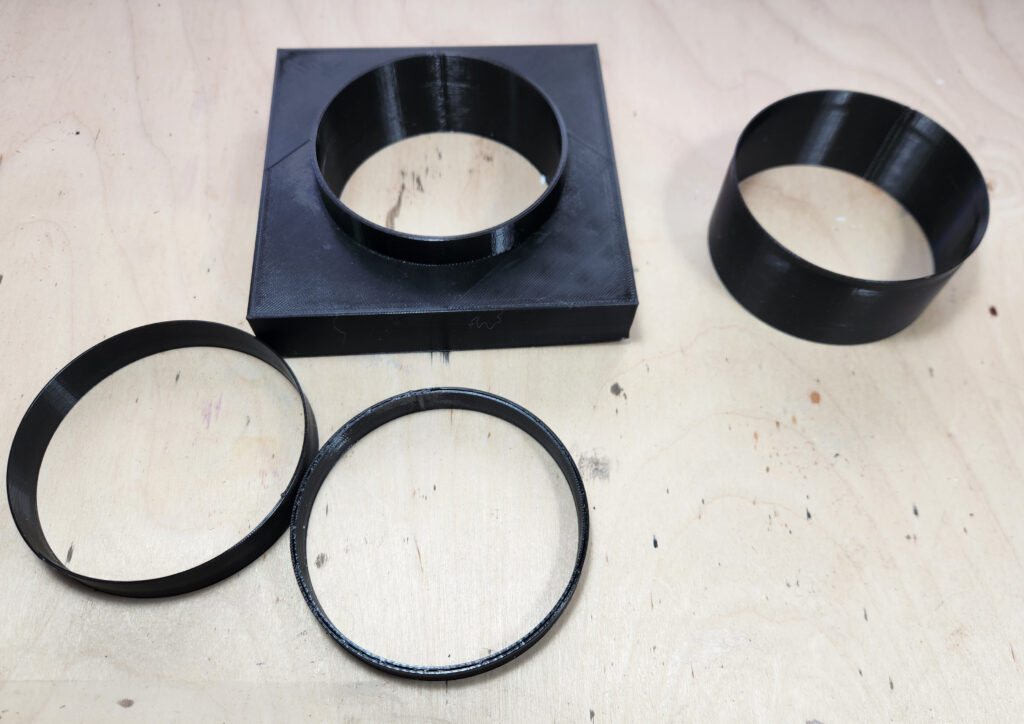
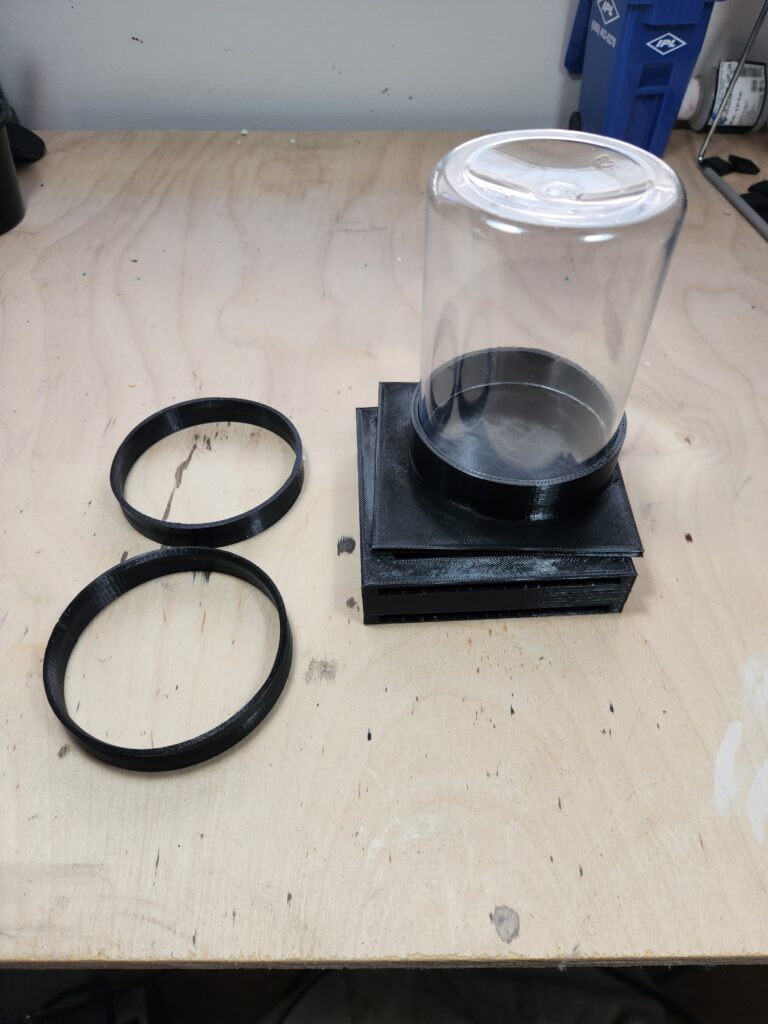
I’ve been fighting off some sort of stomach issue for the past few weeks, so progress has been slow, but I finally have printed pieces ready to show at least. But first, a whole lot of failures. I needed to find out if I’d measured the tube correctly (which I hadn’t) and then I decided to use an empty pill bottle as a fuel tank to add on. So several failed prints for those look like this:

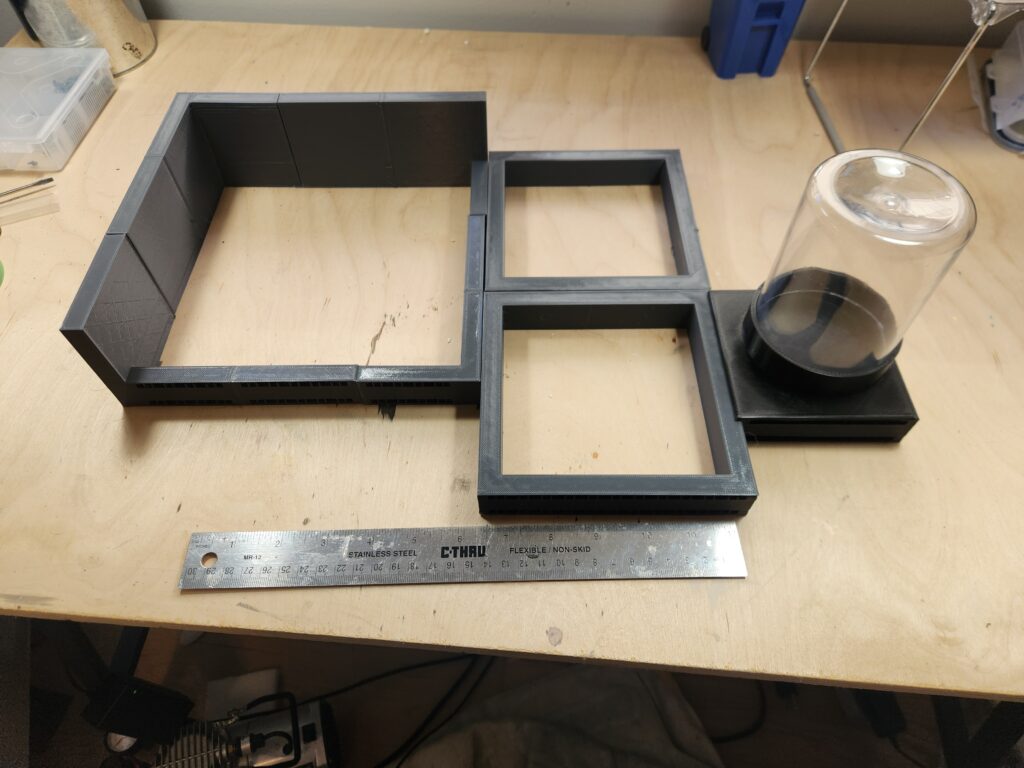
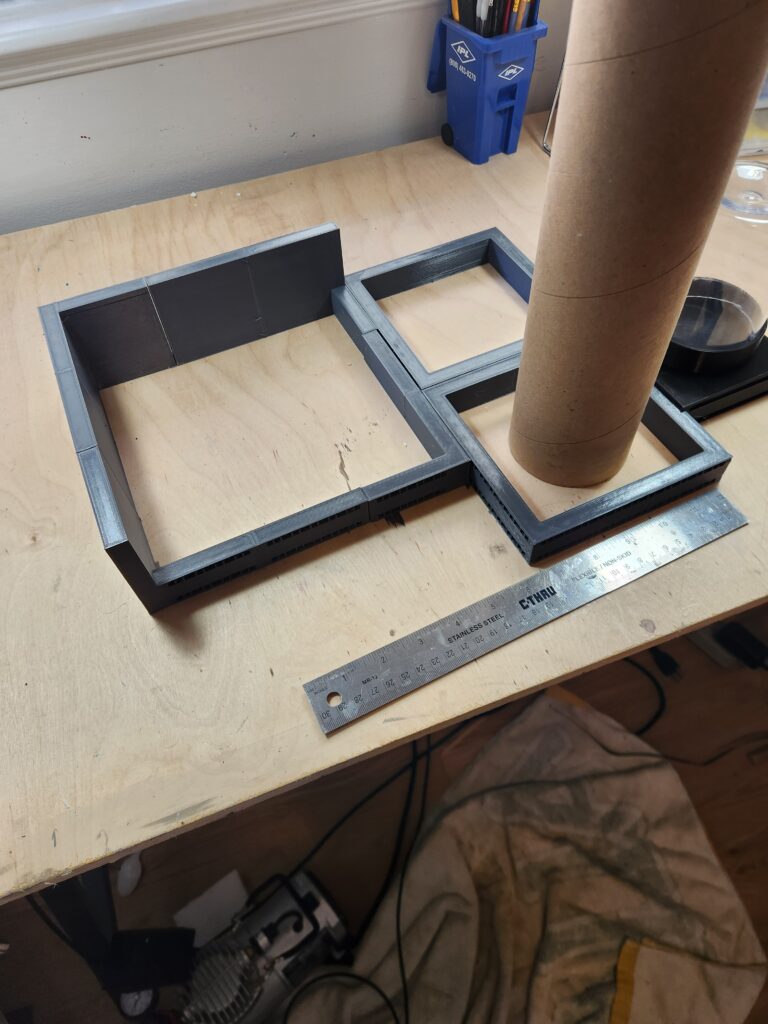
And finally, the printed pieces (mostly). I haven’t been able to print the holder fully successfully yet, but that is next to go on the printer again tonight. But I have the borders at least done – base, starport base, landing pad base and fuel tank.

You can find all the current entries on the Lead Adventure Forum BSC subforum, including my own.