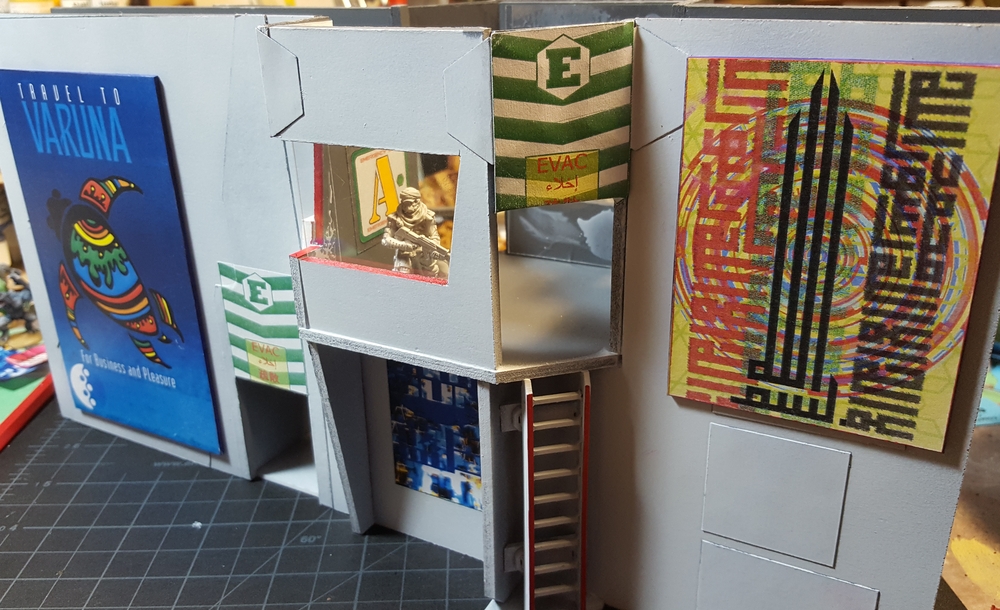
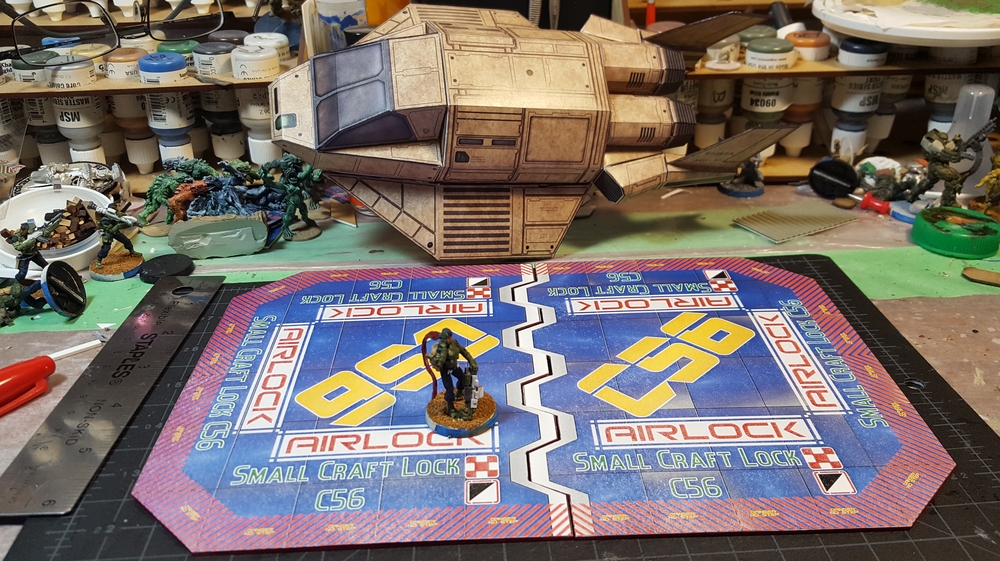
Between the Christmas season and what appears to be the worst cold I’ve had in many, many years there’s not been a lot of wargaming activity here at Chez Wirelizard. I did manage to spend one sickie evening messing about with Inkscape and created a nice floor airlock piece to add some colour to the space station.
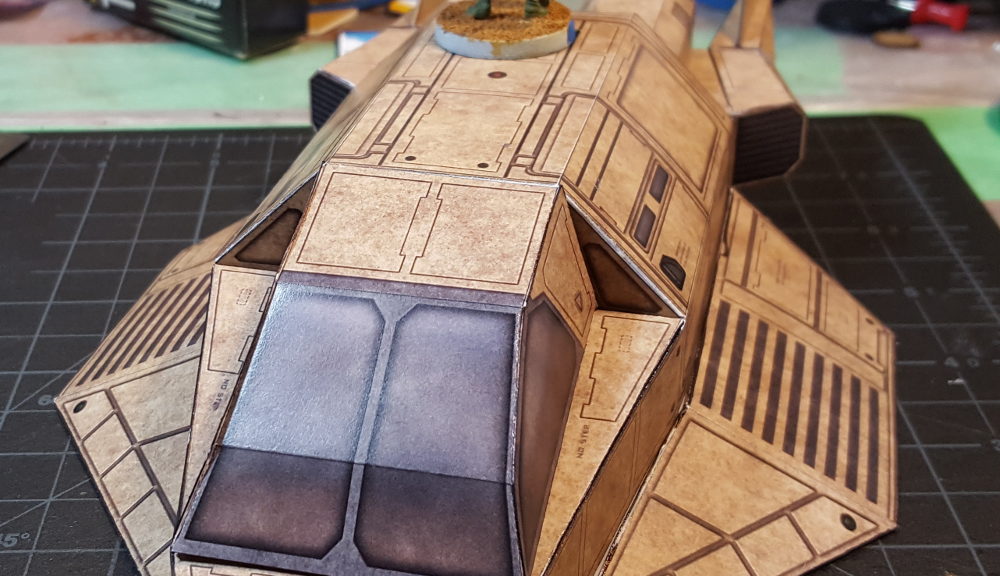
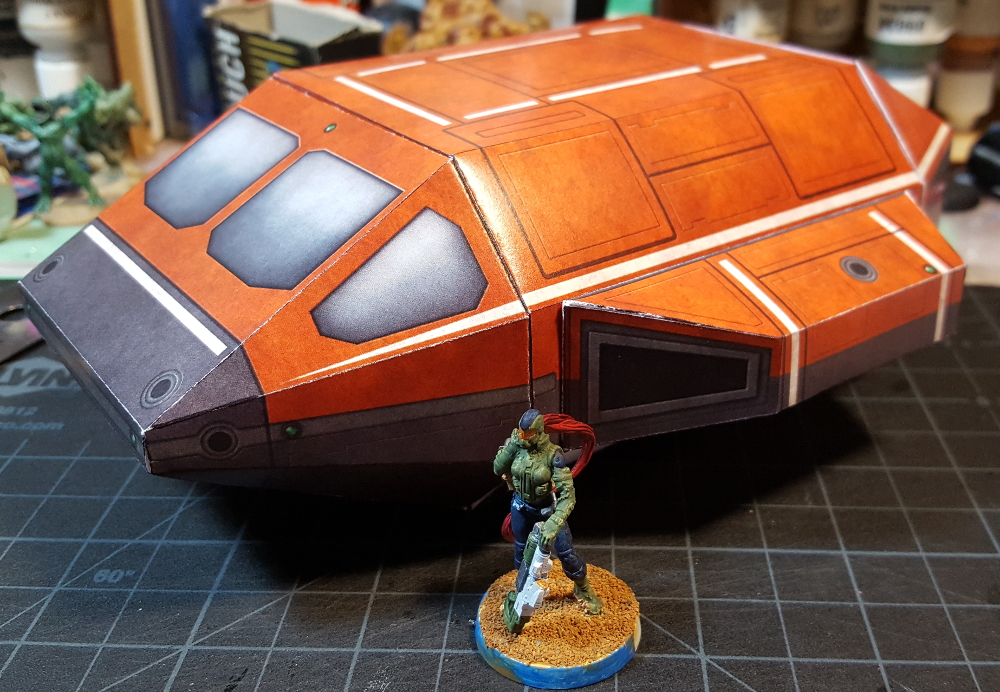
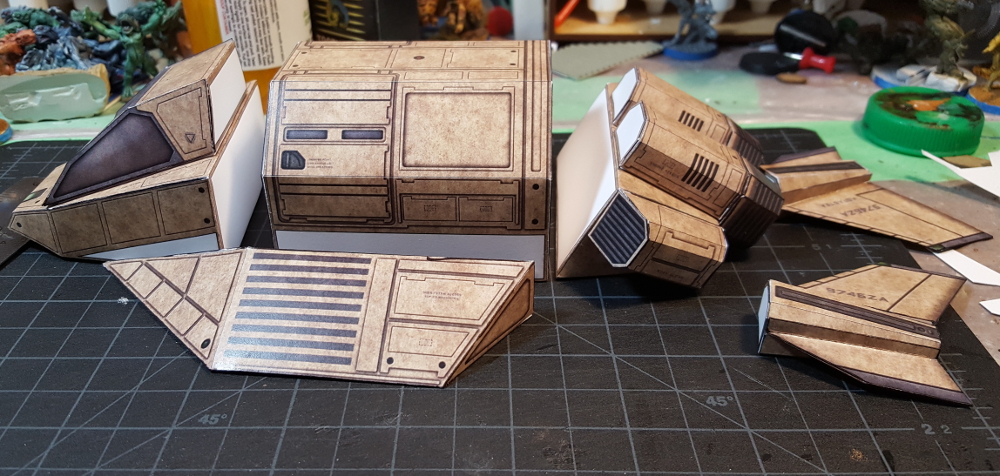
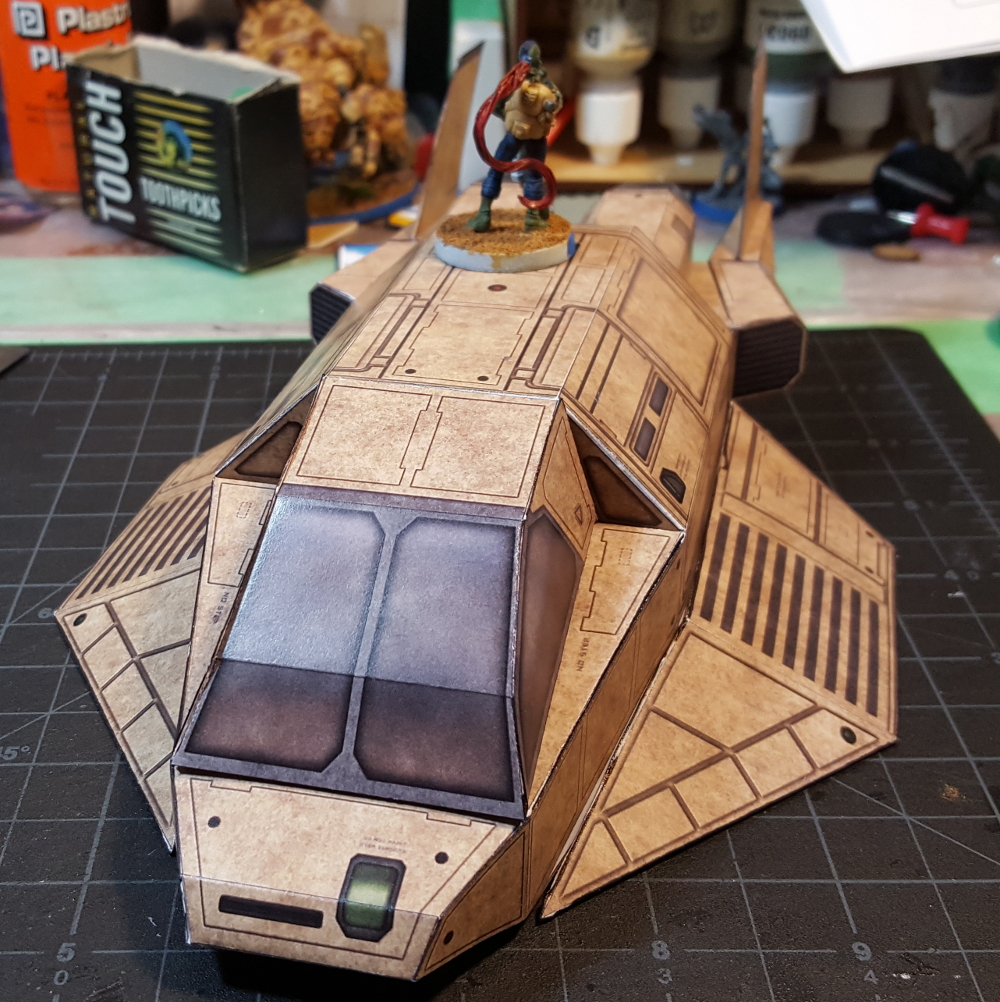
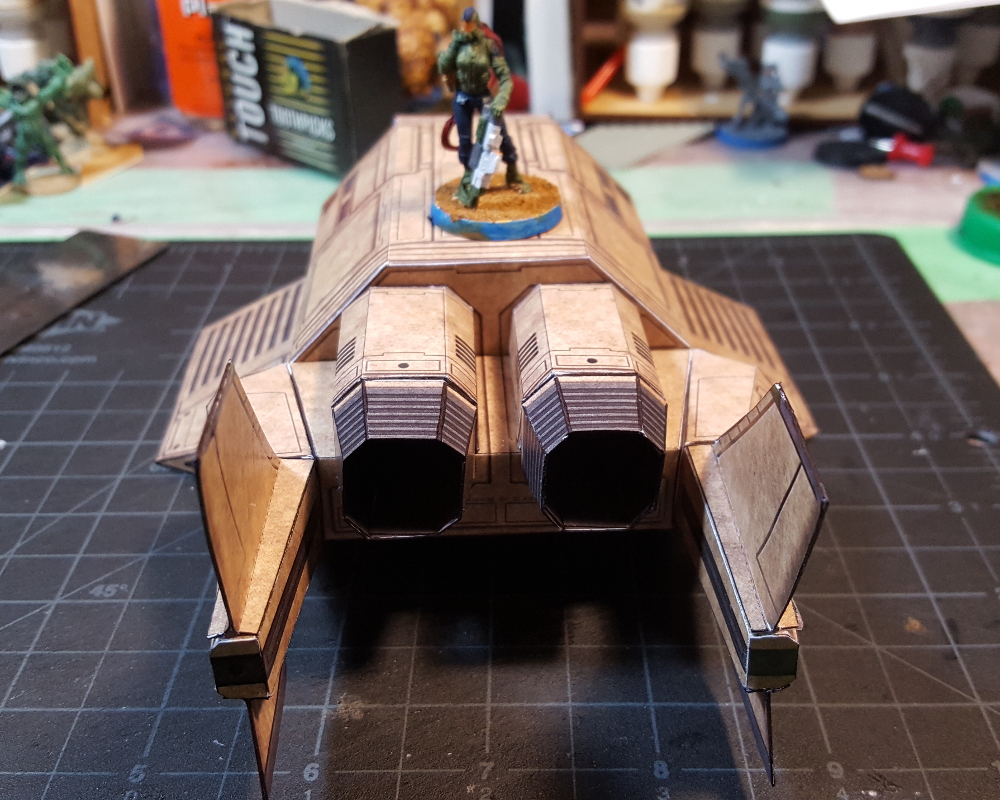
The inspiration is one part from aircraft carrier’s giant elevators and one part from science fiction (so far, least) giant cargo airlocks. The size is fairly arbitrary, 10″ long by 7″ wide, big enough to hold either of the papercraft spacecraft I’ve built recently. I started the graphic as one big piece in Inkscape then split it into two doors, printing each on a single letter-sized sheet of paper. I did a sort of blue/grey/black background with lots of hazard stripes, labels, and ID tags all over. The two door graphics got printed on full-sheet sticker paper, stuck to mattboard, then cut out. I coloured the cut edges of the paper & card with a red Sharpie pen.
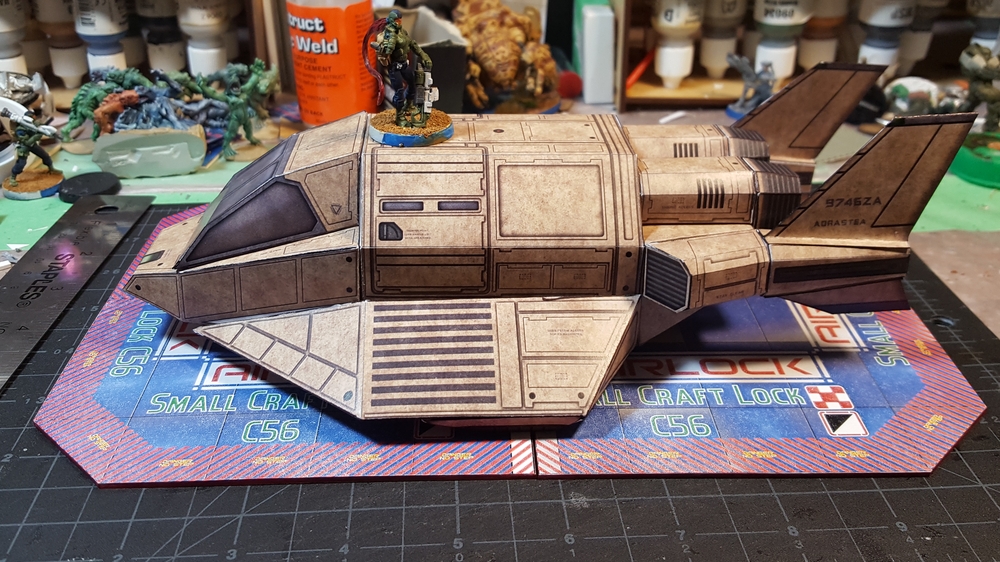
These pieces are usable as-is on the Infinity table, but the next plan is to do some edge or frame pieces to go around the doors, provide some actual cover to Infinity troopers, and add some more interest to my space station. I also have an entertaining plan for showing the open airlock when the doors aren’t closed, but stay tuned for that! I’ll also get the airlock door graphics cleaned up a bit and save them as a PDF if you want to print your own.
Back on a holiday note, I hope you had a satisfactory Christmas or whatever mid-winter holiday you celebrate, and a good New Years too!