Several years ago now I did a whole banker’s box full of jungle terrain, but it was all fairly low-lying stuff, thickets and bushes and that sort of thing.
I’ve always intended to add some bigger trees to the set, inspired by the nice trees DM Scotty does in this video…
[su_youtube url=”https://www.youtube.com/watch?v=bJ-ZvGMnTIM”]
…and Dr. Mathias’ extravagantly photographed jungle tree tutorial over on Lead Adventure forum!
Our paper towel dispensers at work are the large commercial models, and staff are expected to refill them on their own when they’re emptied, so I’ve brought home a few of the heavy cardboard tubes from the centres of the big rolls of brown paper towelling, as well as a couple of lighter tubes from home, and a few shorter toilet paper tubes.
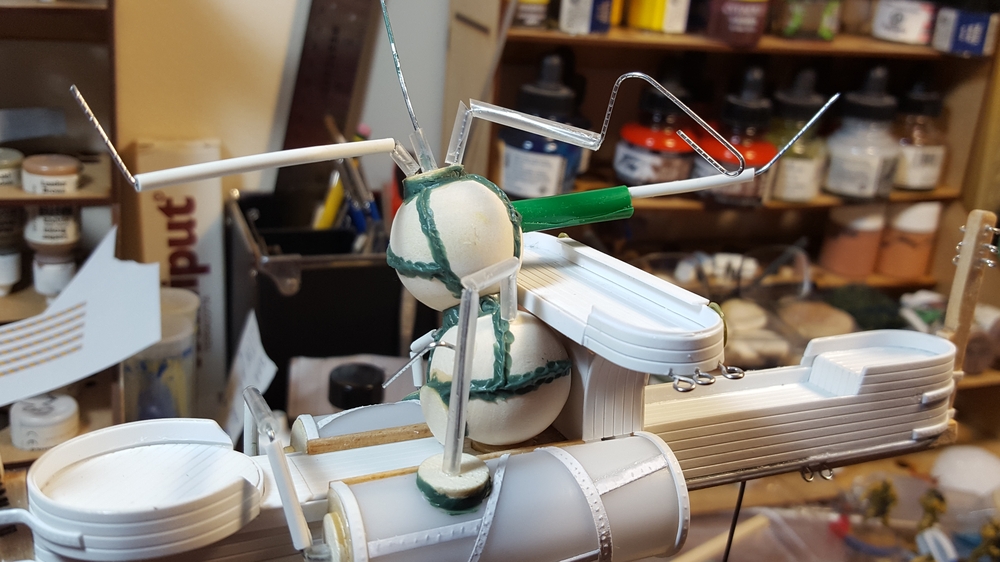
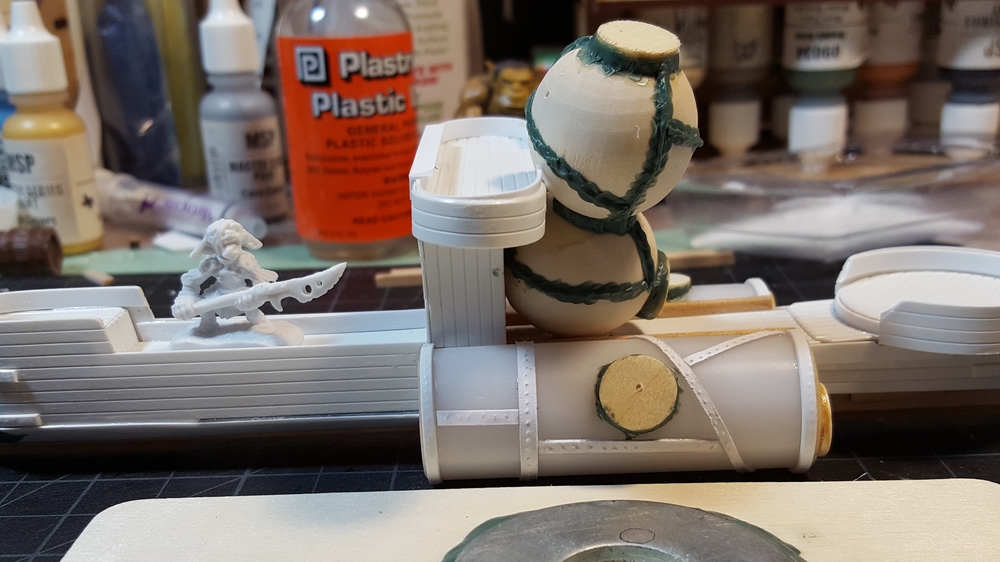
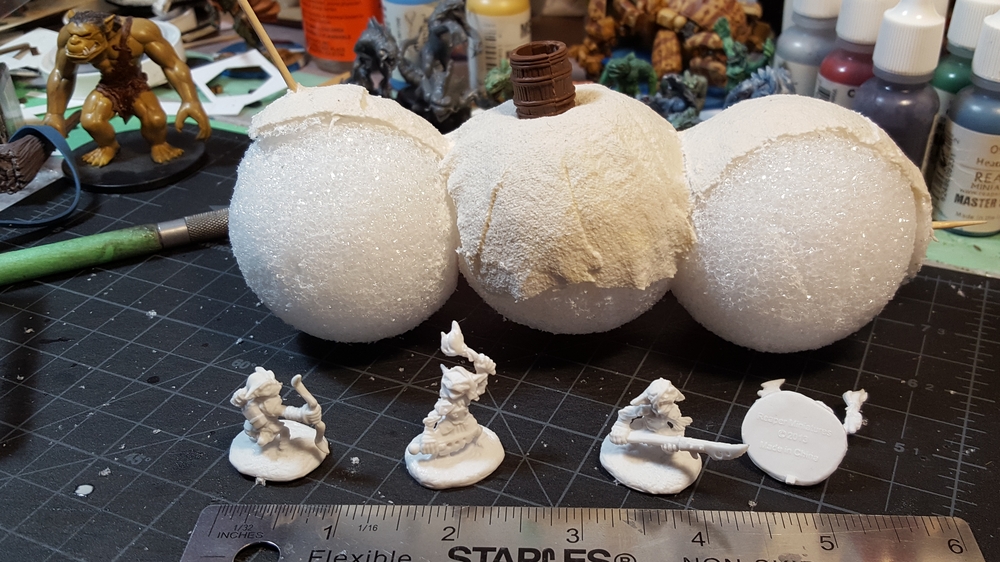
This weekend I sat down to crank out a few trees! I started with the hot glue gun, the tubes, some CD-ROMs salvaged from the recycling bin, and some scrap cardboard to produce four trees and one big stump.
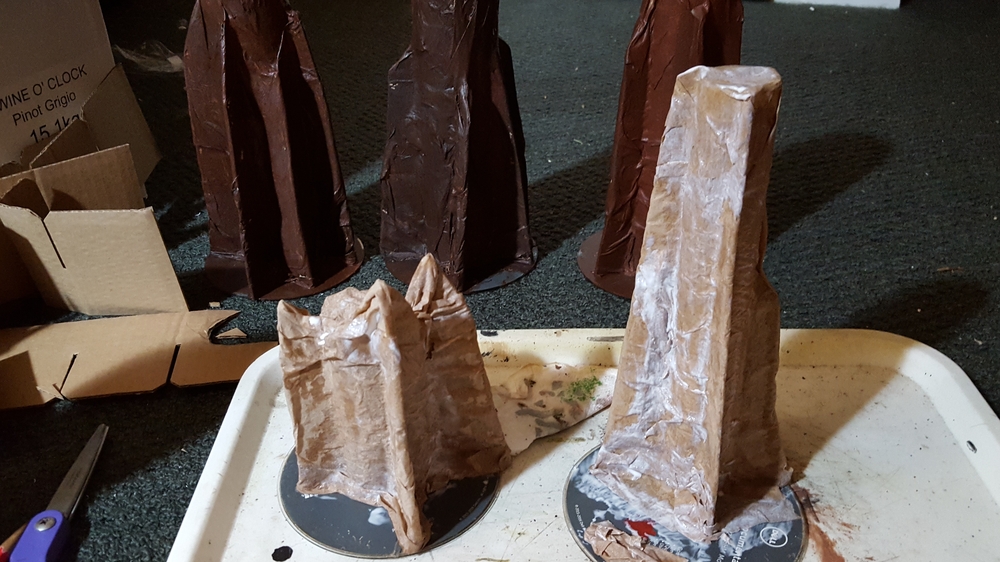
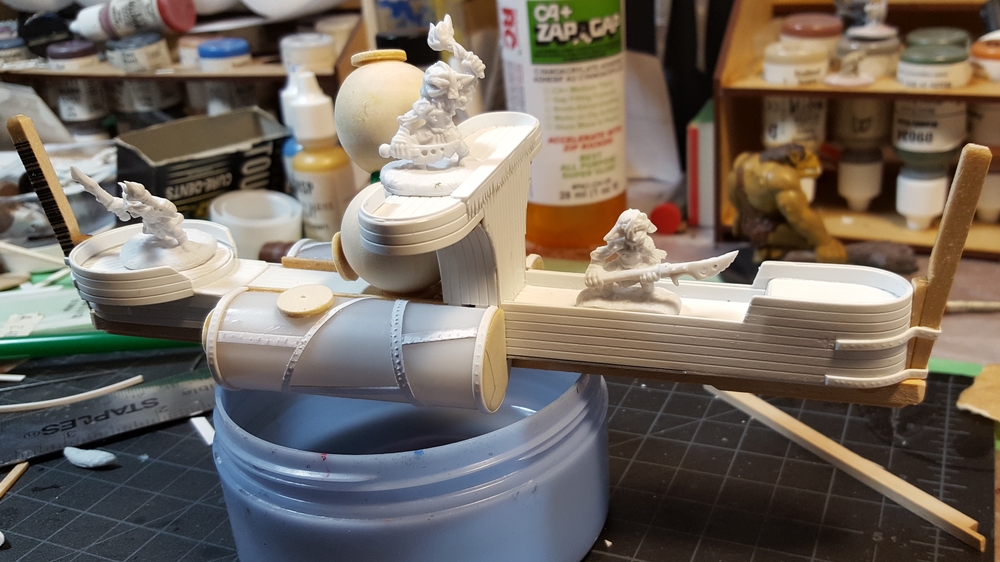
The three big trees and the stump basically fill the entire CD base edge to edge, with space between the buttress roots for figures to duck for cover. The smaller tree (from a tube that originally held glow-ropes) covers about half the CD it’s on.
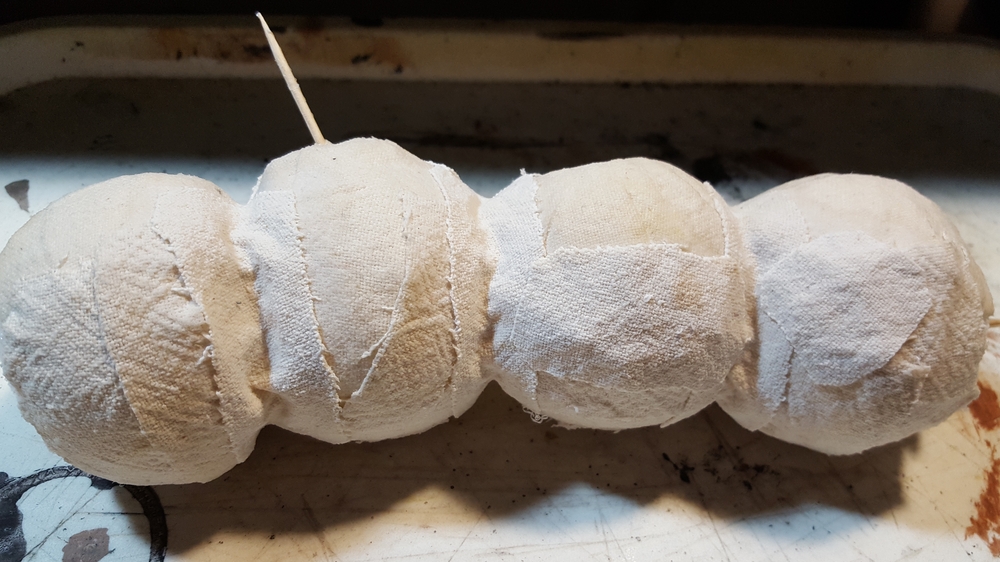
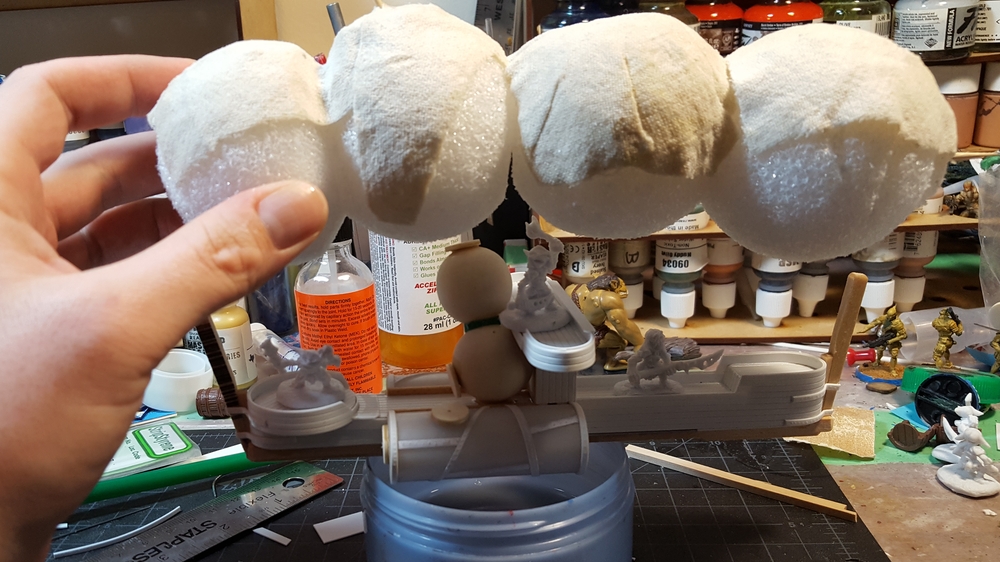
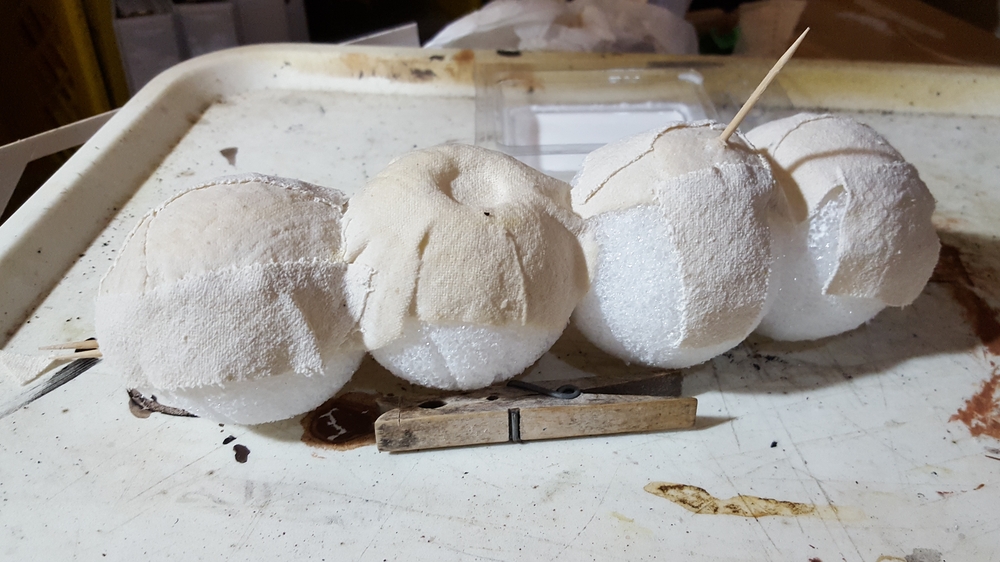
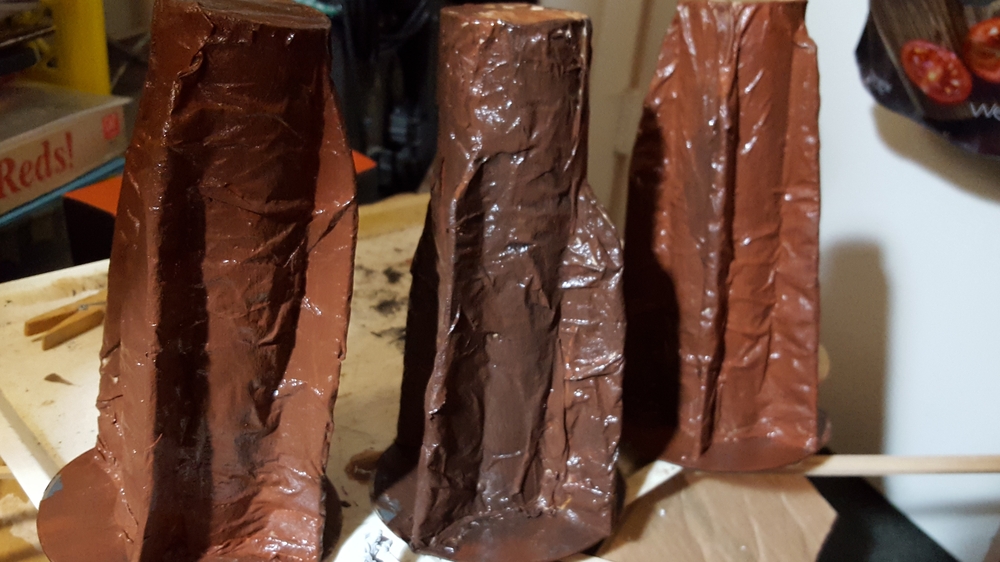
I used lots of white glue to attach a layer of brown paper towel to the trunks, let that dry, then slapped on a base coat of reddish-brown and black mixed. After that dried I gave the trunks a heavy drybrush of tan, then blotches of two different shades of green here and there to suggest moss or jungle fungus.
After that had mostly dried I broke out my box of random plastic plants, gathered from craft stores over the last couple of years. Vines, random bushes, and some low-lying lichen filled some of the gaps around the trunks and provided some colour, then I put a generous layer of flock around the bases and declared these things done!
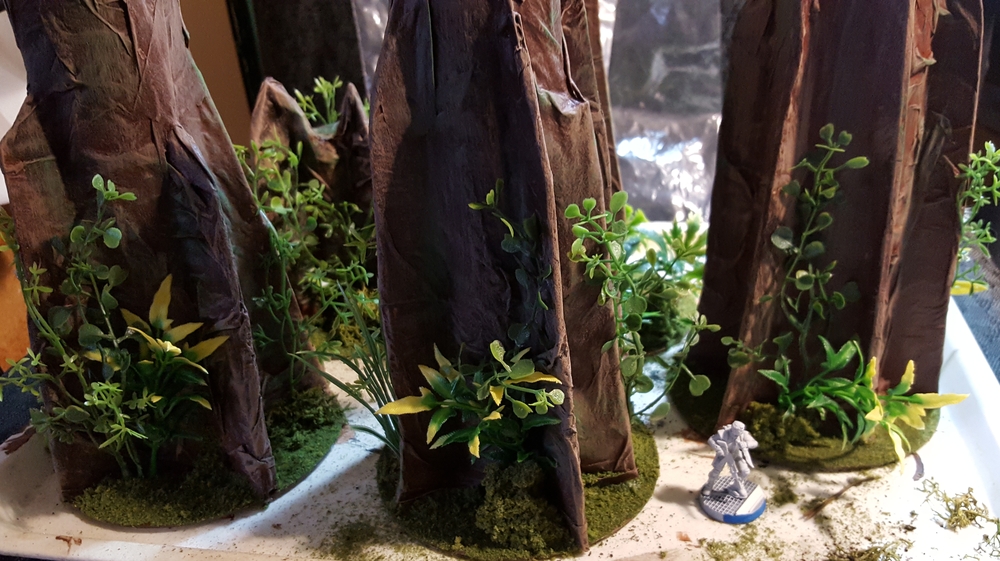
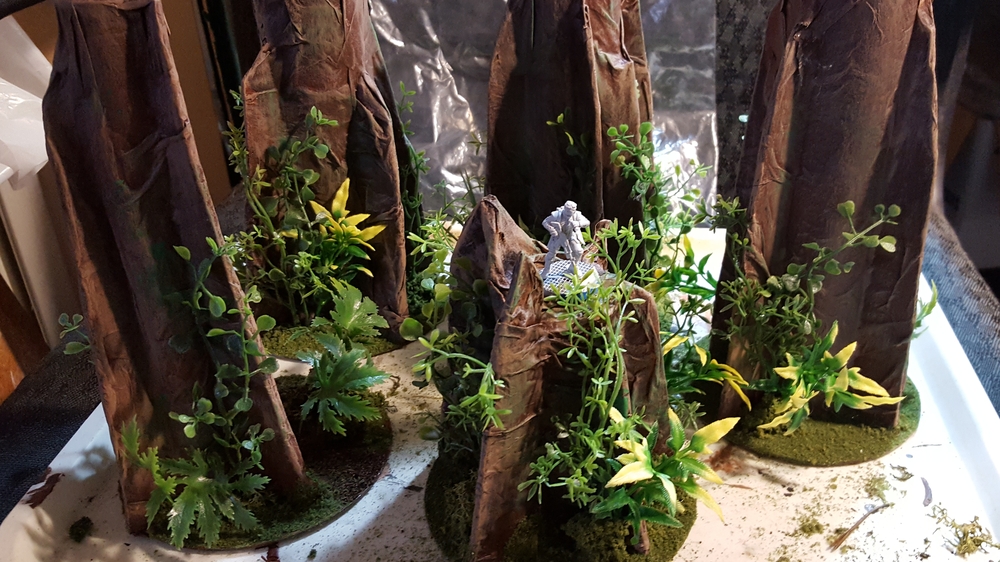
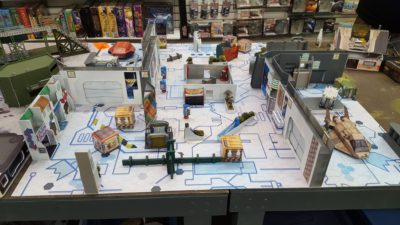
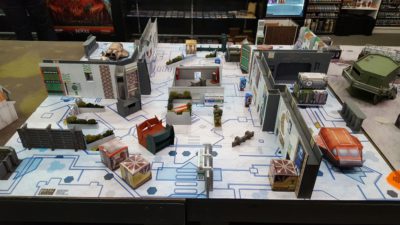
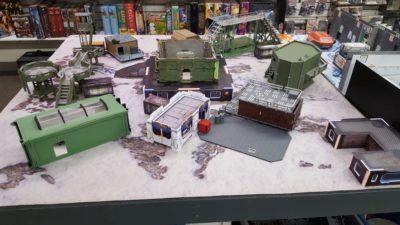
It’s nice to have a quick down-and-done project, sometimes, and I’m really pleased with how these all came together. Looking forward to getting them onto a table for a pulp or Infinity game!