As I am fairly new to 3D printing, I am learning a tonne about what not to do. One of the biggest issues I have discovered is that things that look good in CAD can look absolutely terrible once printed, given the resolution of the printing or the limitations of FDM 3D printing. Today I wanted to talk about three different, but similar errors I made: making a part too thin to print correctly.
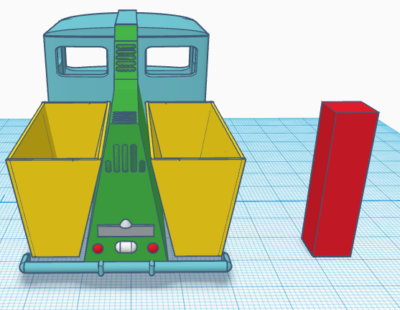
Back corner of the cab
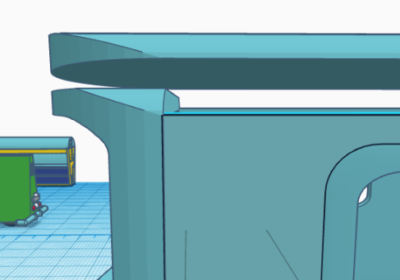
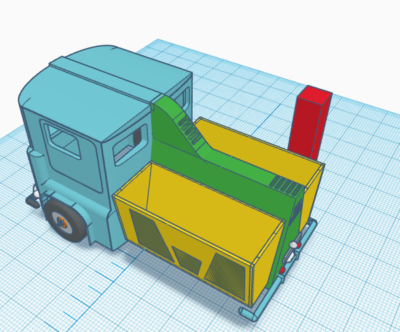
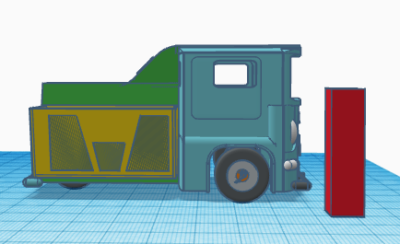
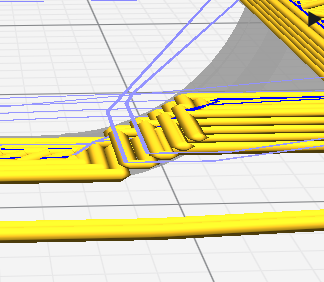
First up – the back corner of the cab. As the backside of the cab is curved, it thins quite a bit at the very back corners.
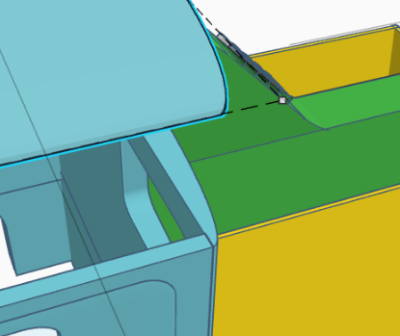
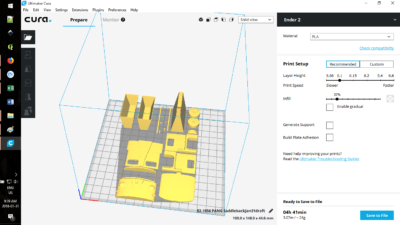
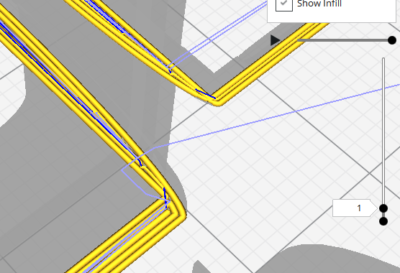
When you bring this into Cura to slice it for printing, the problem becomes obvious.
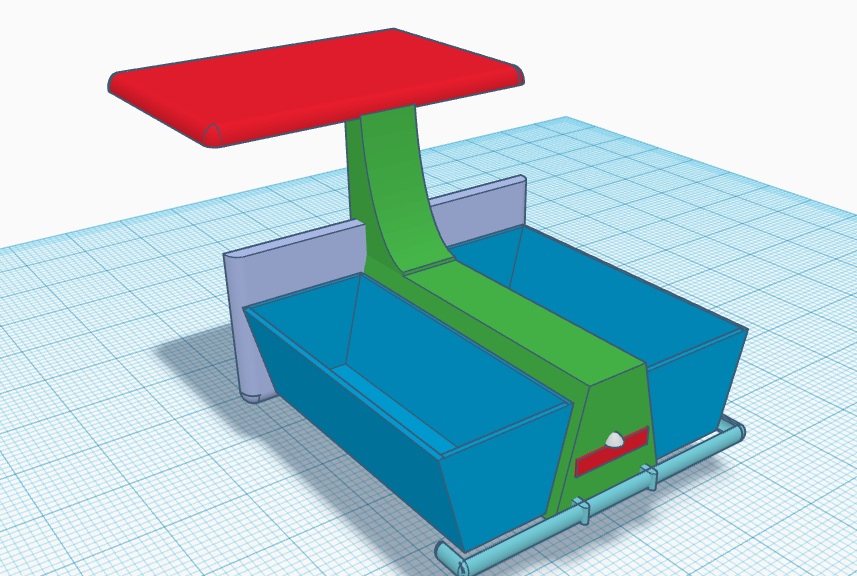
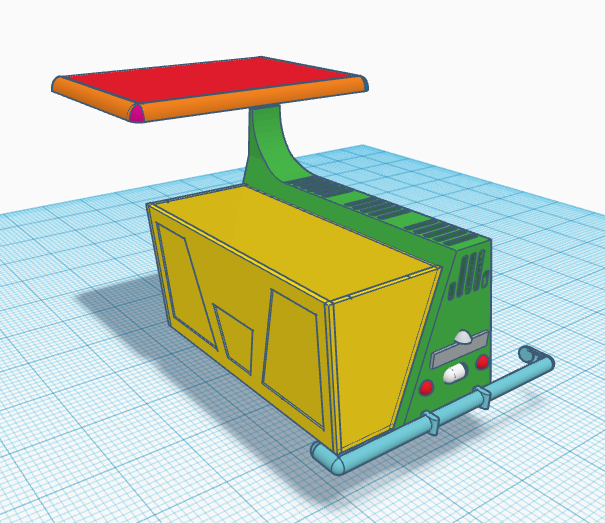
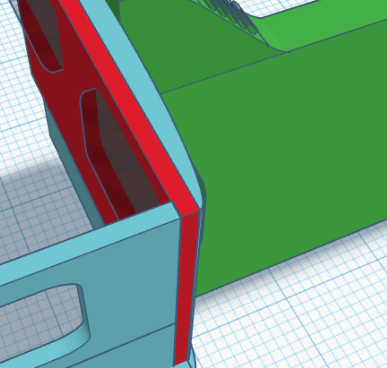
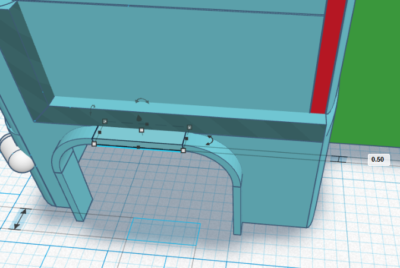
The solution to this is to thicken the back wall of the cab, which I did by adding a flat piece to it:
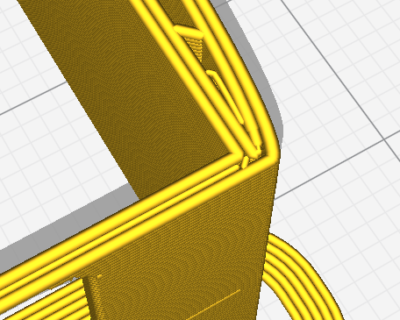
Once you bring that into Cura, you see that the narrowest part is now at least 1mm thick, so the piece shouldn’t be so weak.
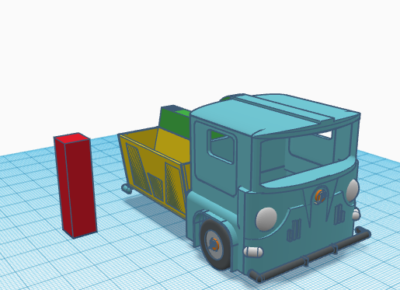
Fenders
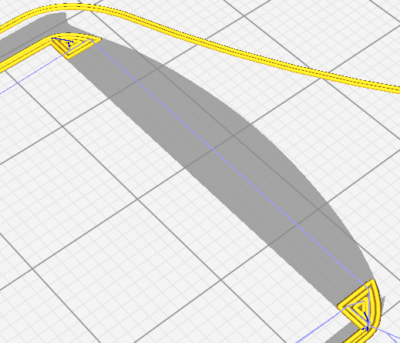
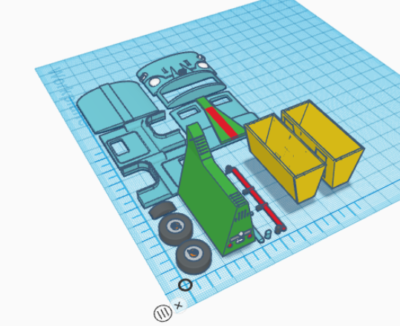
The next piece I tackled was the fenders. They were originally 0.25mm thick, which means that they were just over one layer thick when printed at 0.2mm and only two layers thick at 0.1mm. This meant they basically didn’t print at all.
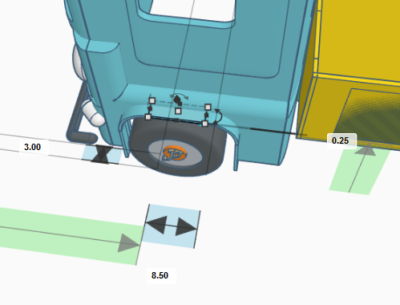
The solution to this problem is two-fold: thicken the fender up to 0.5mm and also only print at 0.1mm (considered Fine quality).

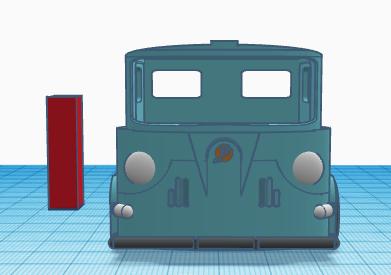
Top of the windshield
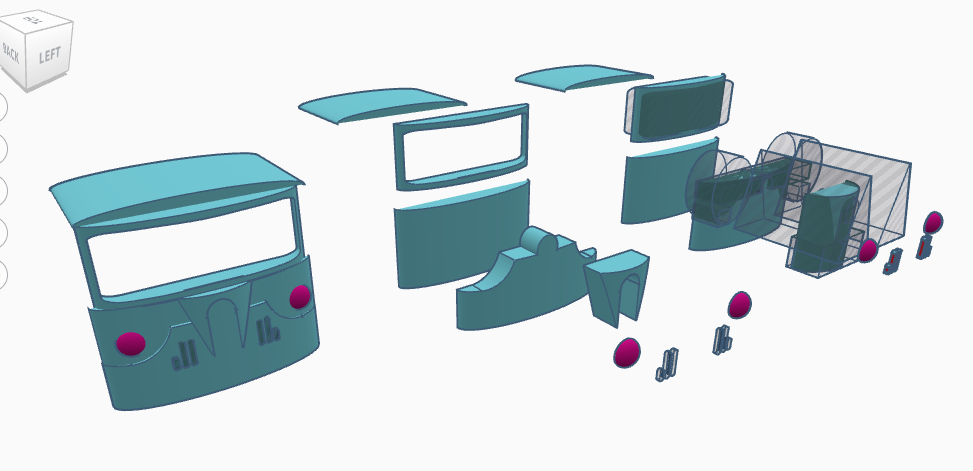
This is actually entirely my error. I made the windscreen and frame around it taller than the sides or back of the cab. This meant when I cut up the model to slice, the top of the windscreen disappeared. Oops.