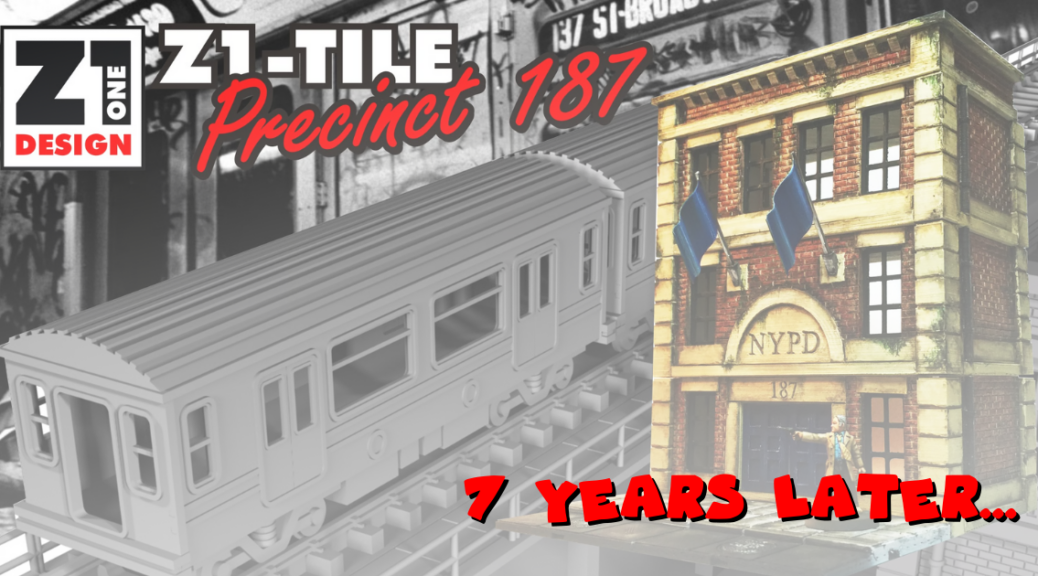
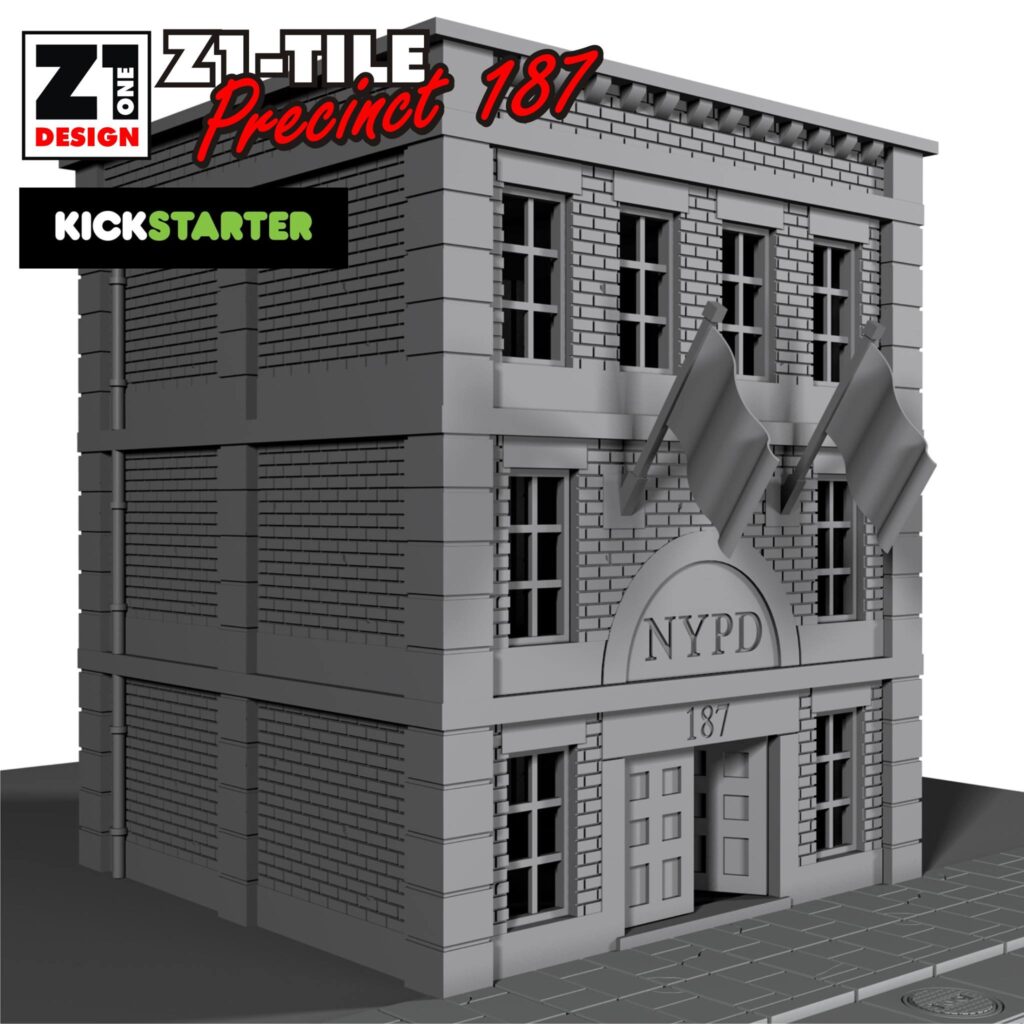
7 years ago, at the beginning of my 3D printing journey, I backed a now partially-failed Kickstarter called Precinct 187 from Z1 Design. A few years later the designer and his company stopped responding to messages and as of 2024 have apparently vanished off the internet, save their FB page. At the time, I didn’t even own a 3D printer – I bought the Ender 2 a few months later. Ironically, I’ve actually only ever fully printed a single building from this range – the Blackhollow Pub (not even really part of it – it was a free addon to sell the next kickstarter – Black Hallows Town’s Folk that I never backed).
A few years ago, the creator, Jon, shut down posting in the Z1 group too, which stayed dormant until today and apparently he deleted his FB account, so that meant the group was admin-less. And so a random group member became admin today.
Given Z1 Facebook group is back again, I wondered just how much of the Kickstarter had actually been delivered. Hence this blog post.
Delivered Files
As far as I can tell, here is what was delivered.
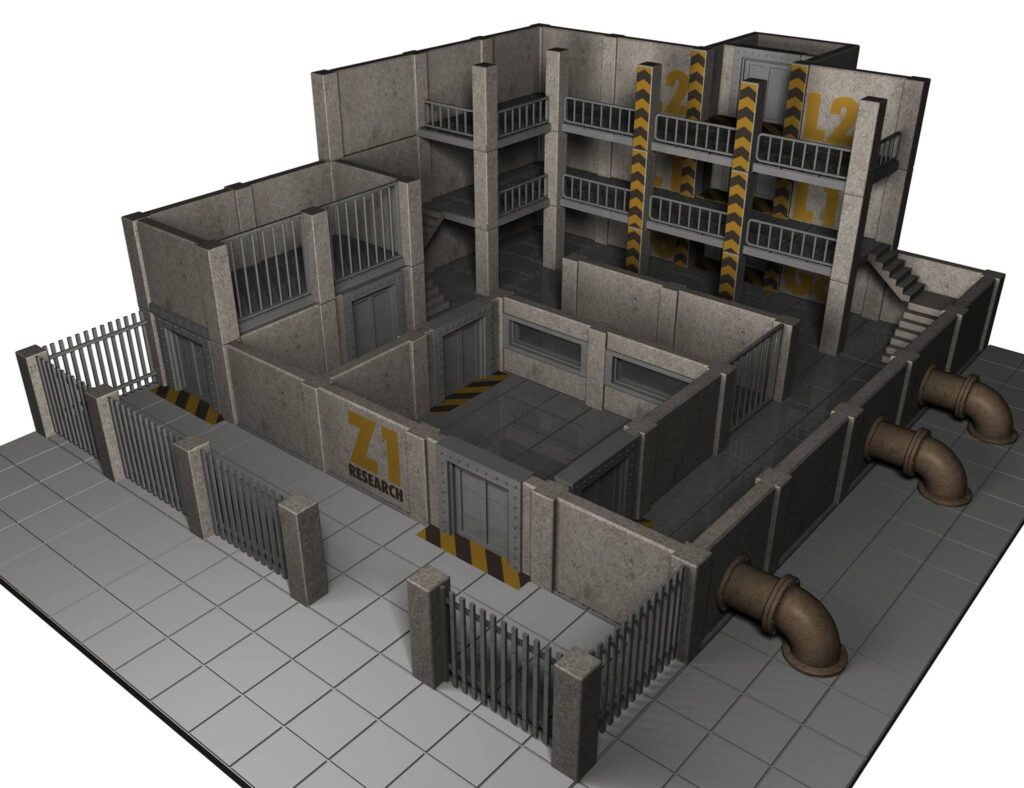
Core
- Town/City Hall
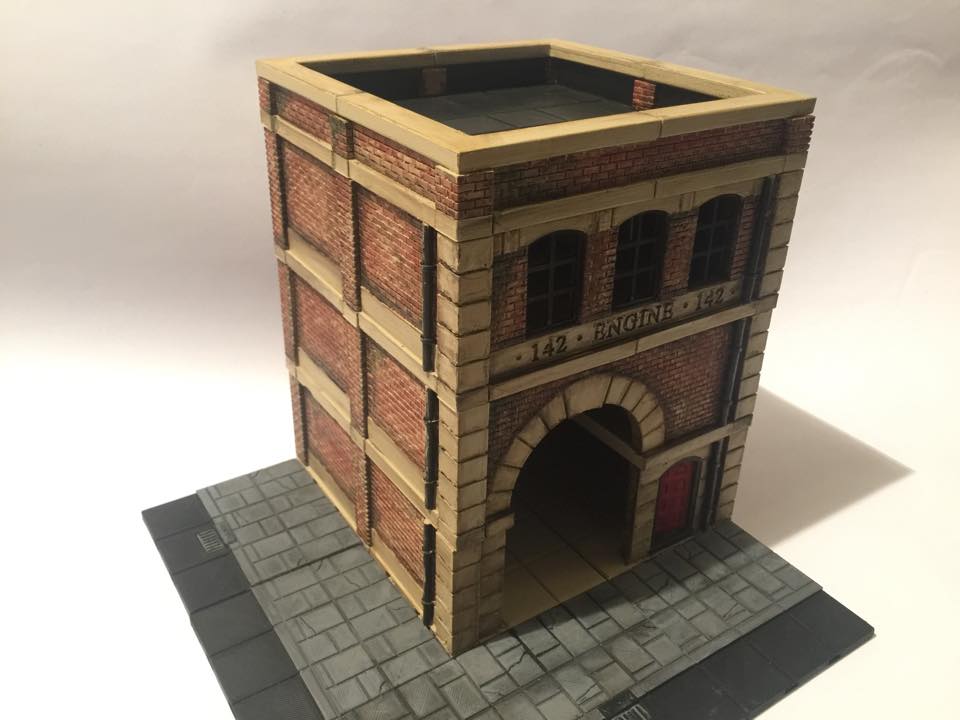
- Fire House
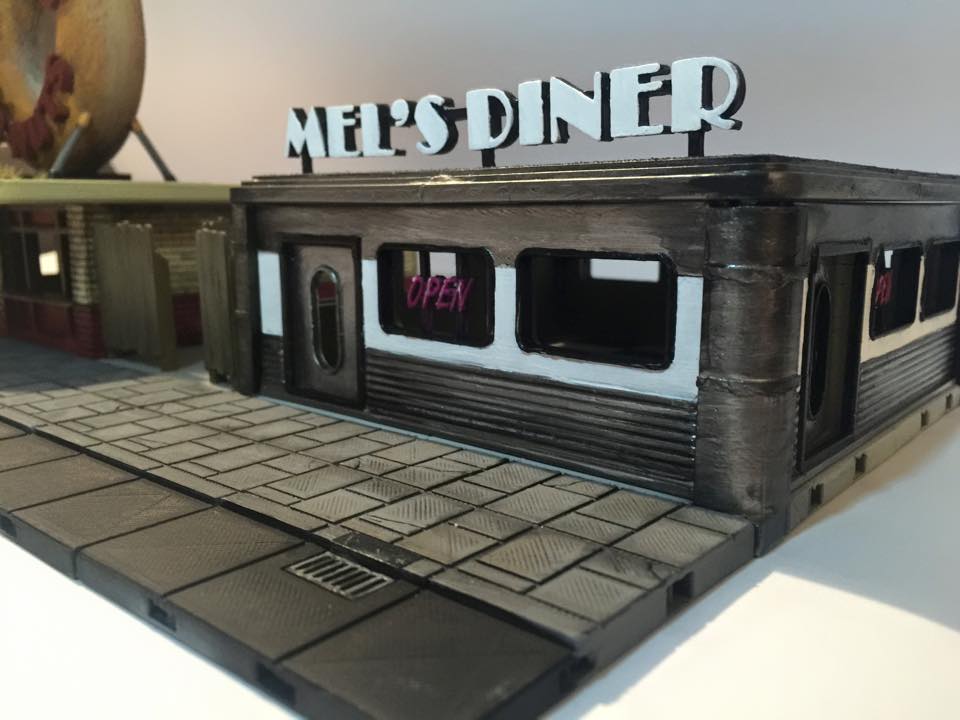
- Mel’s Diner
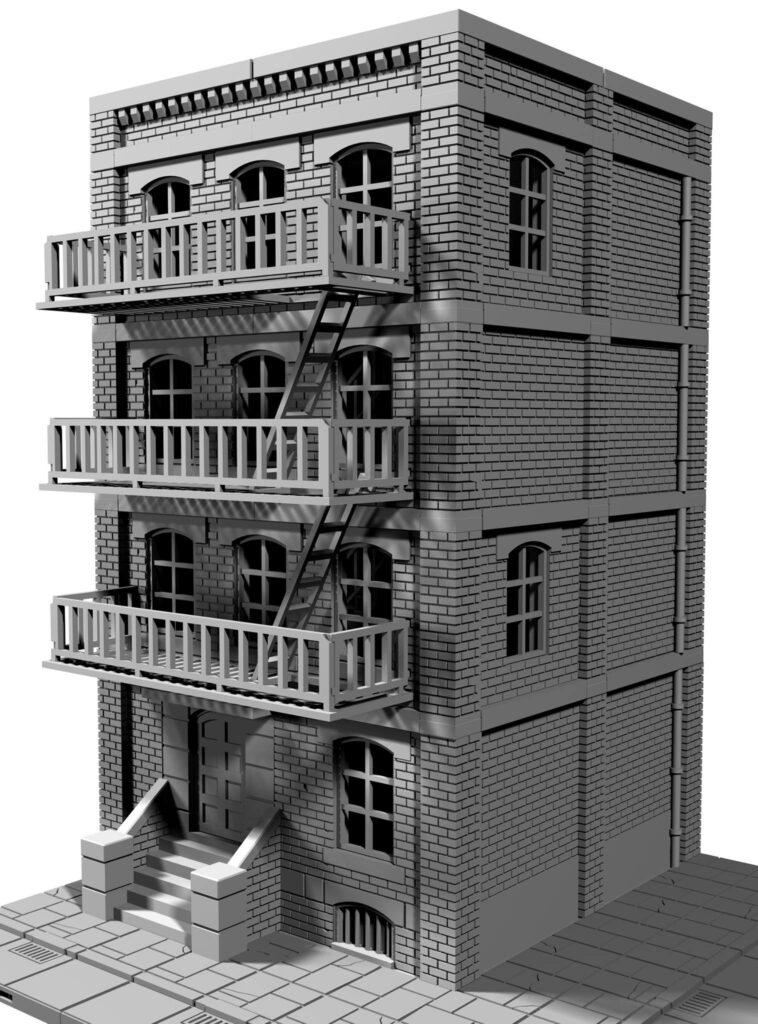
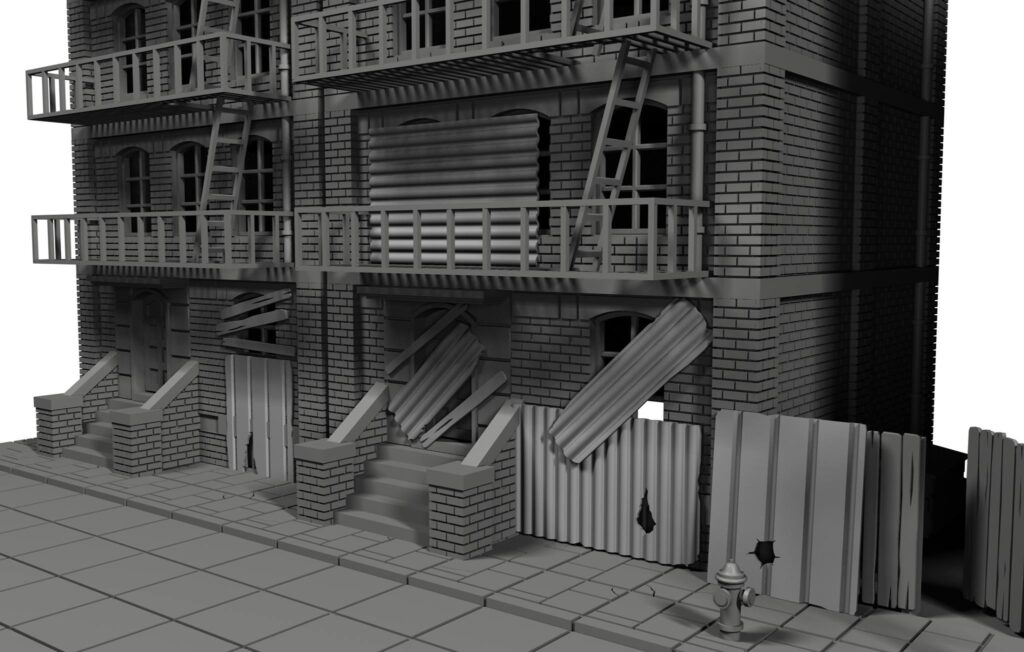
- Tenement
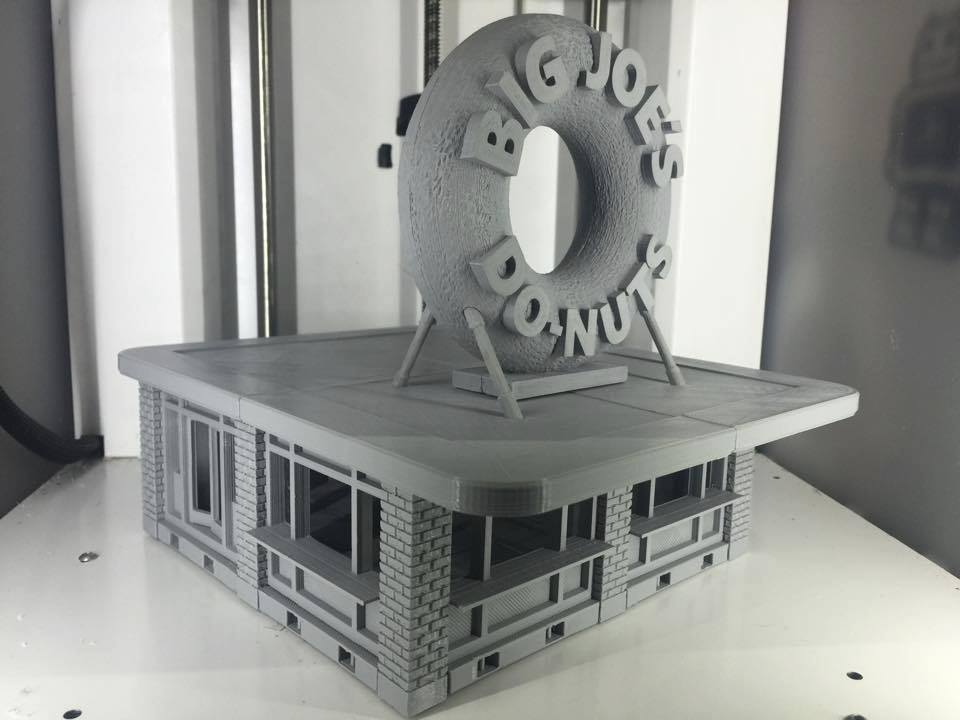
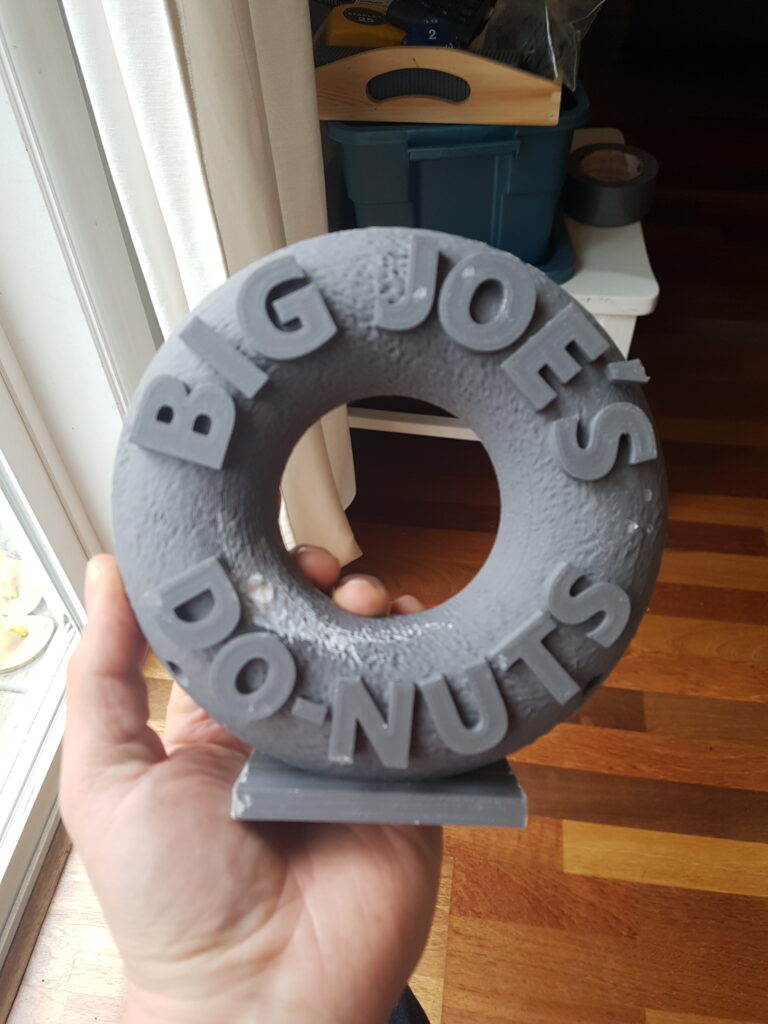
- Big Joe’s Donuts
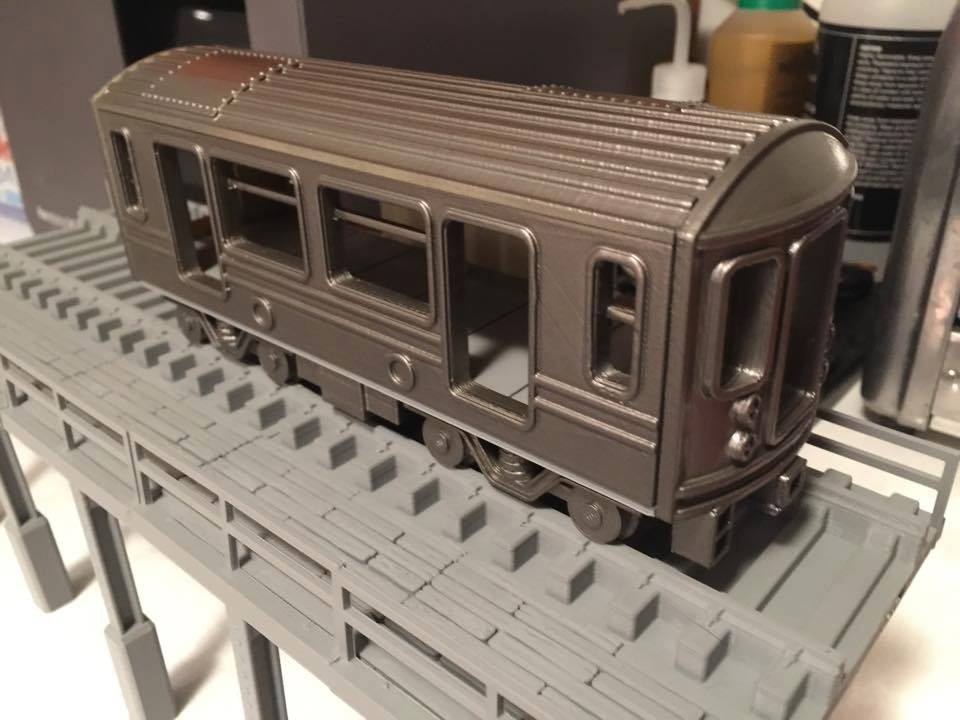
- L Train
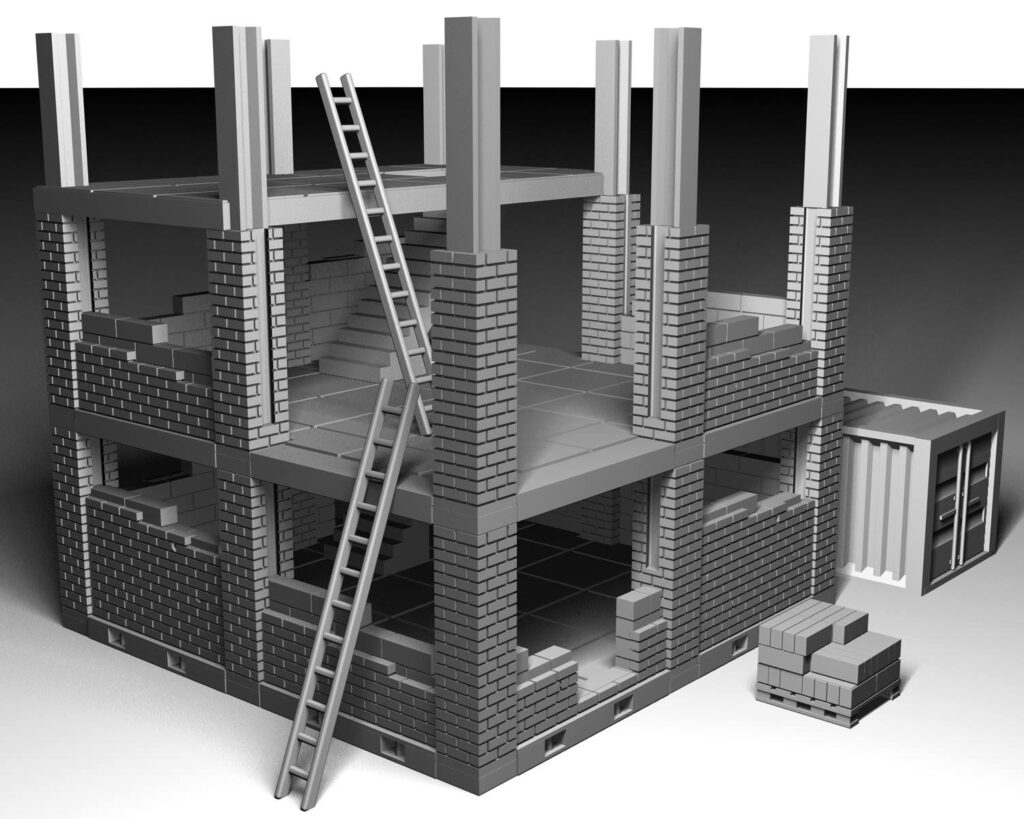
- Construction Site
Stretch Goals
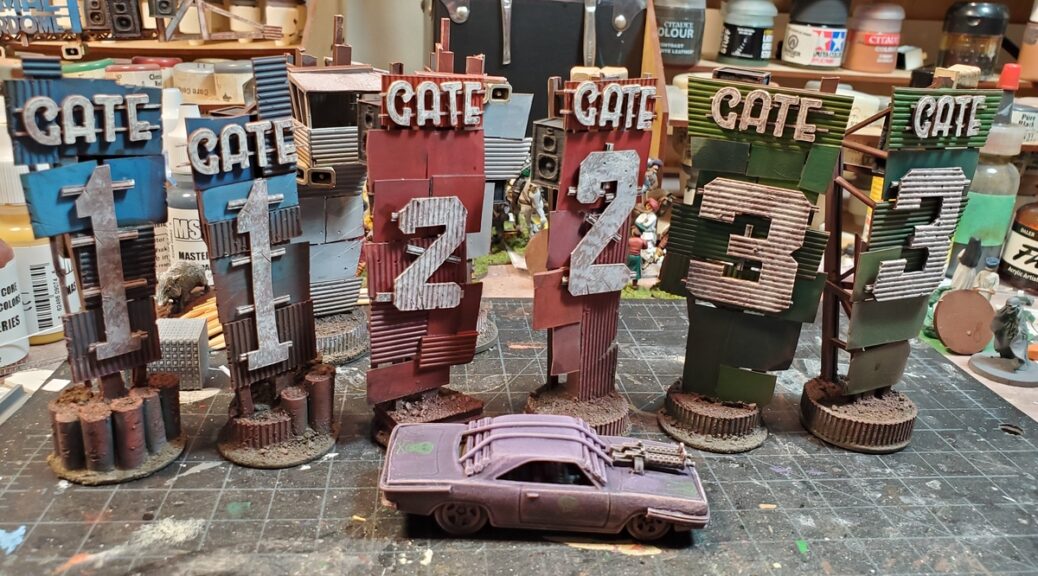
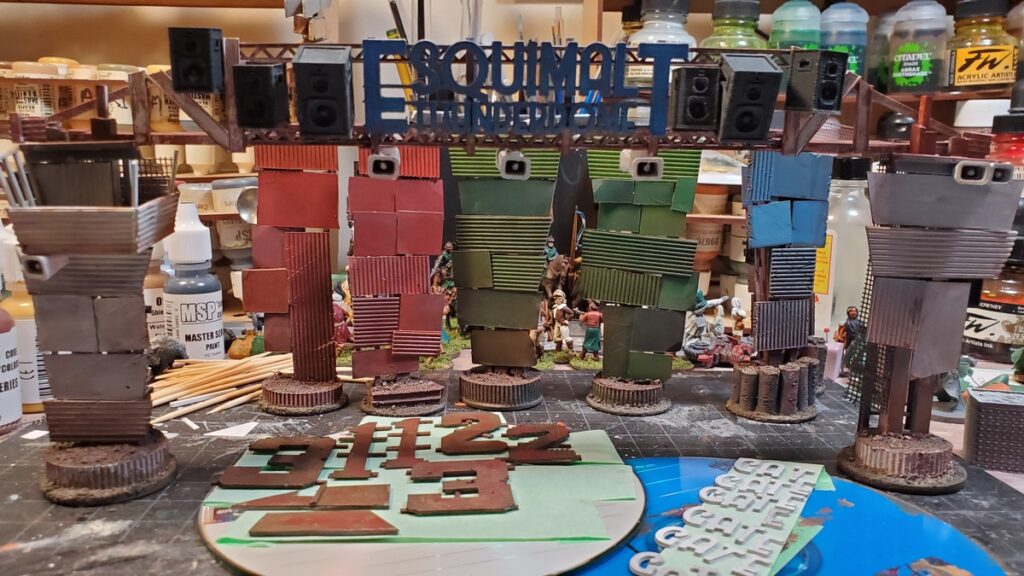
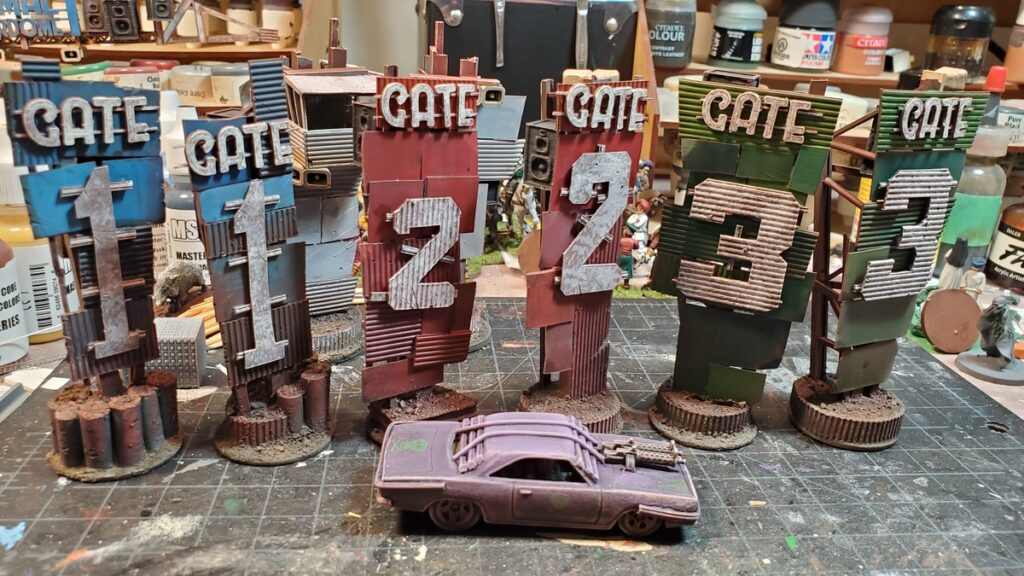
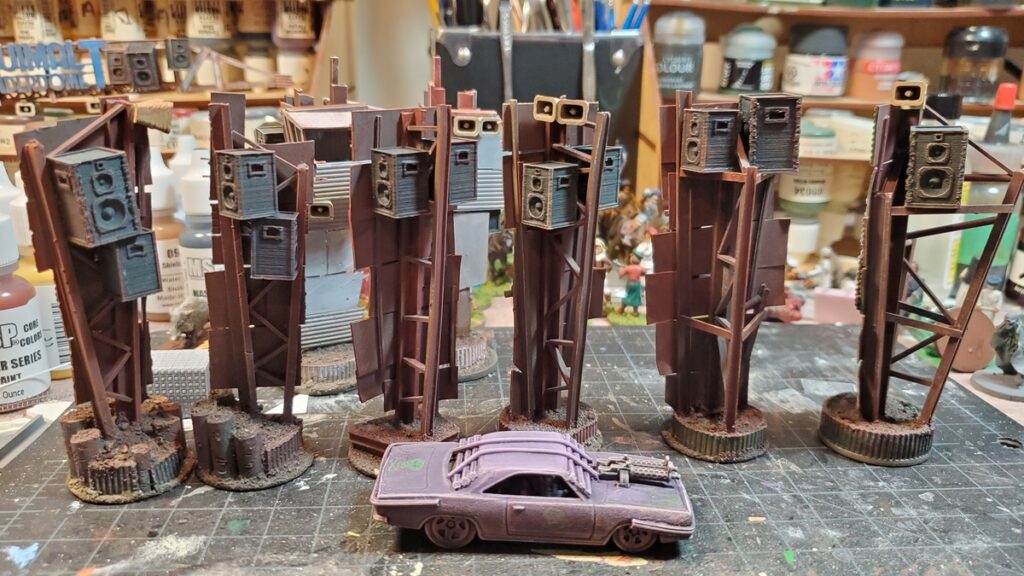
- Billboards
- Block Z
(I’m missing these files)Received from a kind soul - Car Park
- Cinema
- City Bank
- Docklands
- Docklands Building
- Docklands Fish Boat
- Docklands Coastguard Boat
(I’m missing these files)Received from a kind soul - East Coast Shopping Mall (appears half complete)
- Factory
- Gun Store (received)
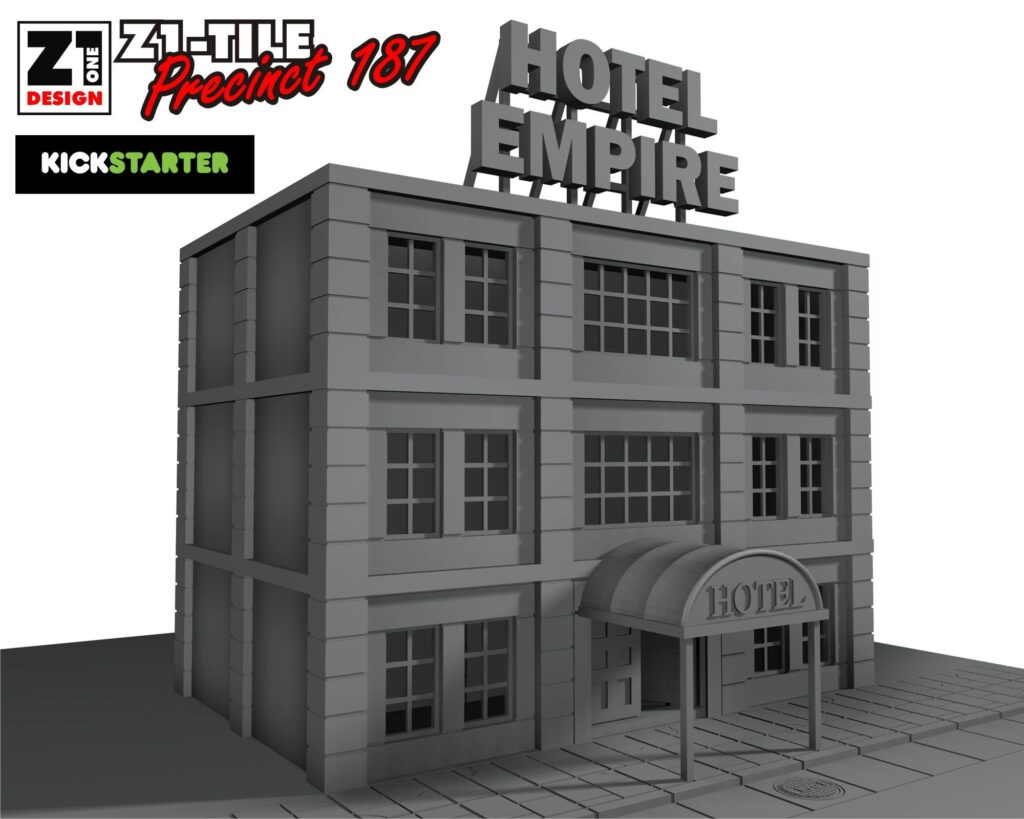
- Hotel Empire
- Mini Mart
- Pawn Shop
- Police Station
- Prison
- Restaurant/Bar
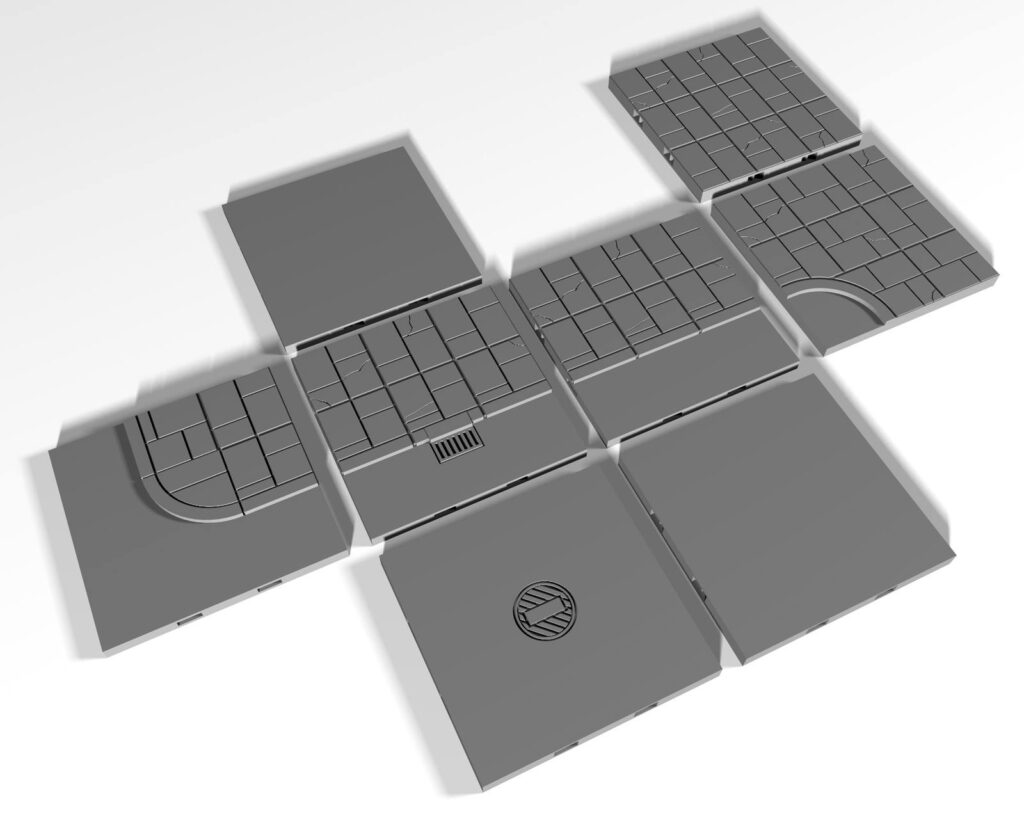
- Road Tiles
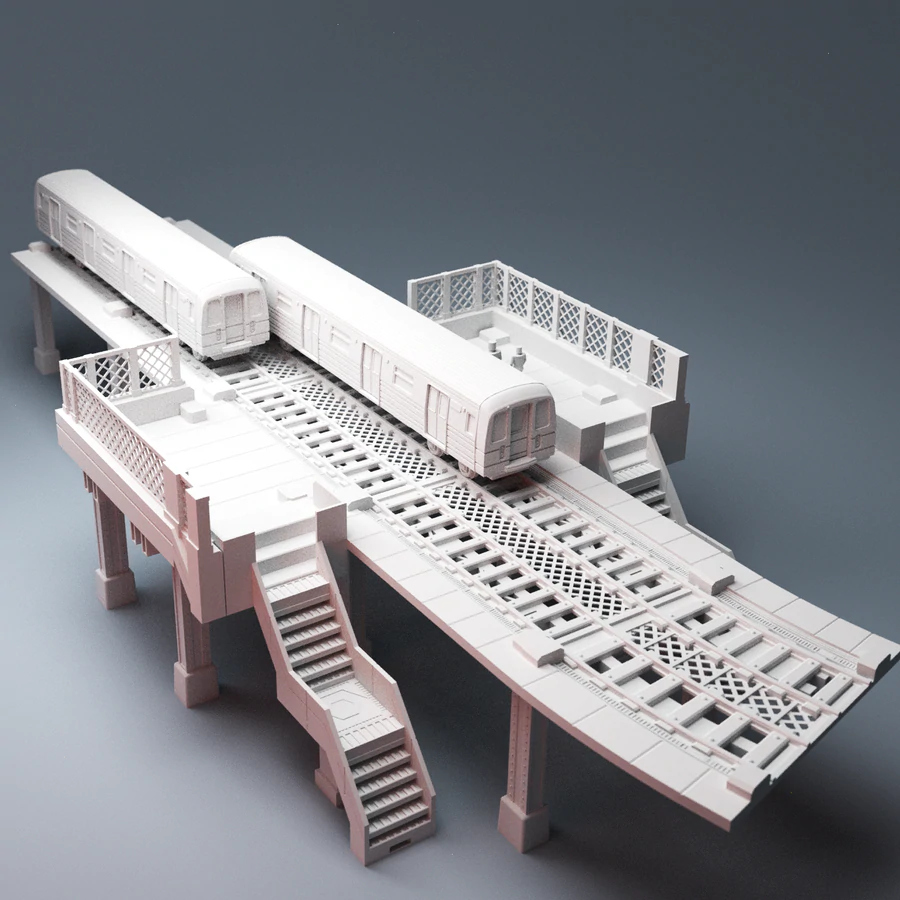
- Subway
- Staircases
- Street Furniture
- Street Barricades
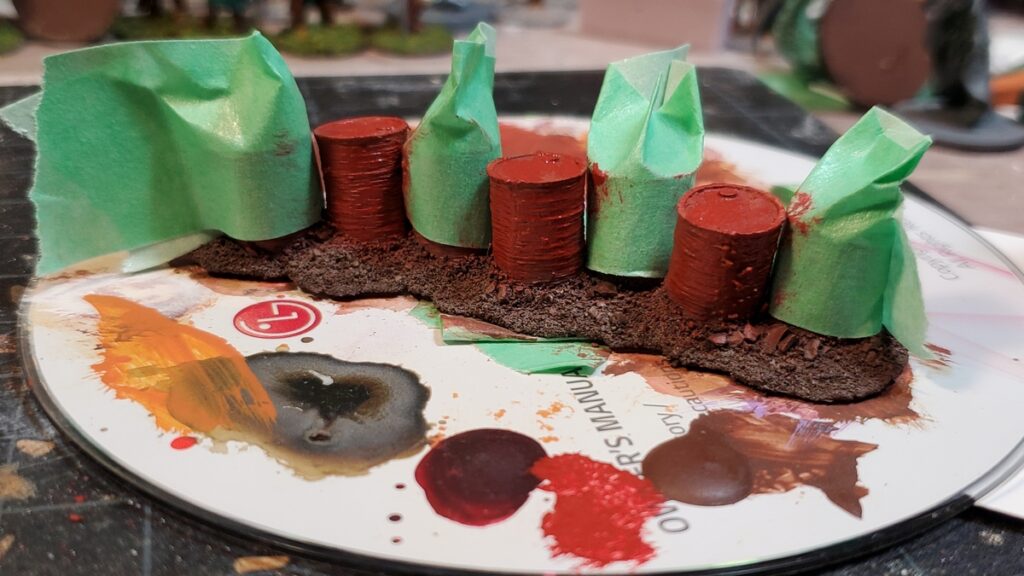
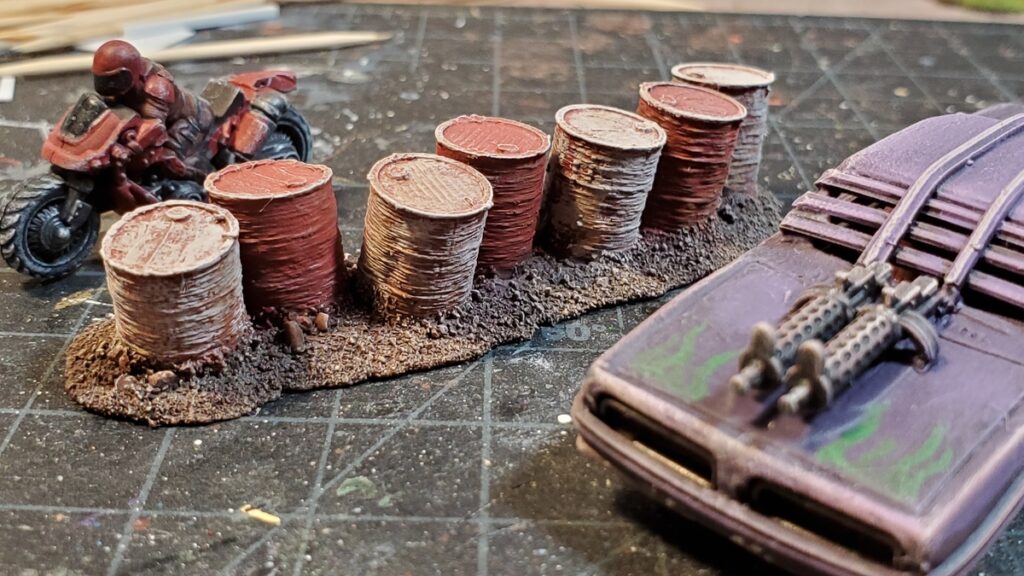
- Water Towers
Stretch Goals & Addons – Not Delivered
To my accounting, here is what wasn’t delivered (I’ll update this if others can correct me)
- Wonder World
Block ZThis was delivered, I just didn’t get it (now received from kind soul)- Police Station Cell Block & Compound
- Post Apocalypic Add-ons
- Road Markings
- Prison Bus
- Security Truck
- Roberts Fish Merchants
East Coast Shopping Mallthis might have been partially doneSubway StationThis was delivered, I just didn’t get it (now received from kind soul)

Black Hollow freebies
- Blacksmiths Shop
- Tavern
- Stables
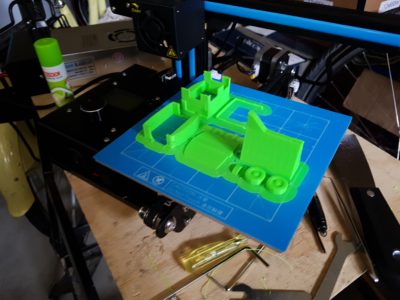
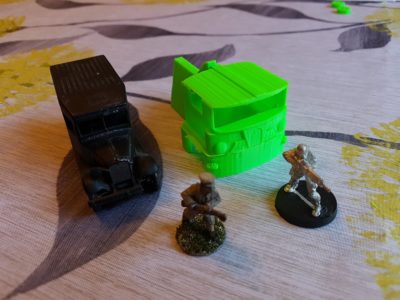
What I’ve printed
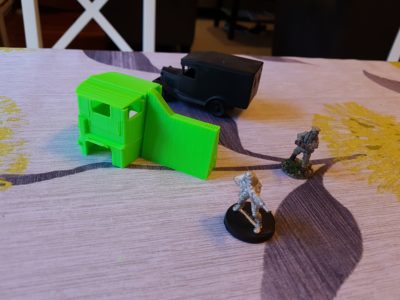
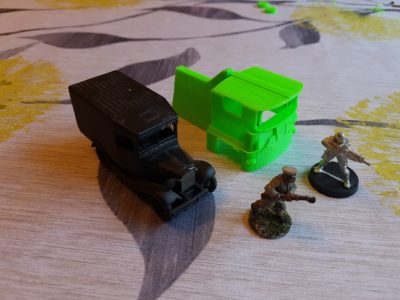
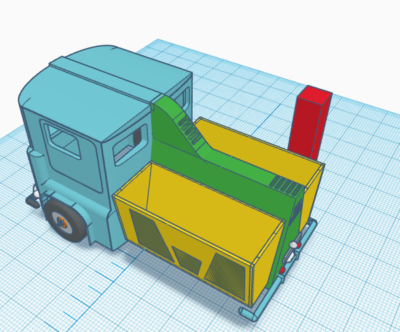
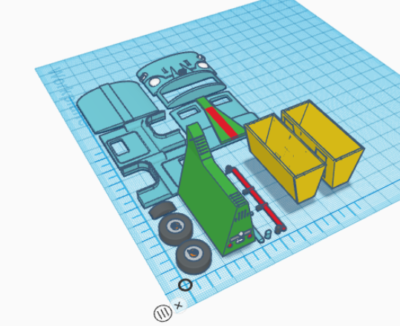
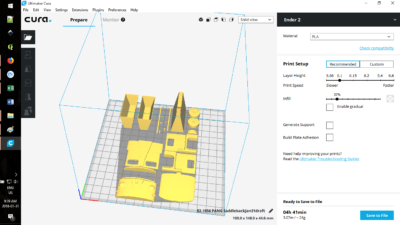
Well, in 7 years, not much. The Tavern and a few copies of the dumpster. In a way, you can say that this Kickstarter started my digital pile of shame opportunity.
EDIT: I forgot – I printed the donut at 200% size for a Gaslands jump ring

Did you back the Kickstarter?
Curious what others who backed the Kickstarter thought. Are they happy? Are they missing files as well? I’m happy to help other lost souls with instructions and some of their missing files (within reason, need to be able to prove you actually backed it)
Conclusion
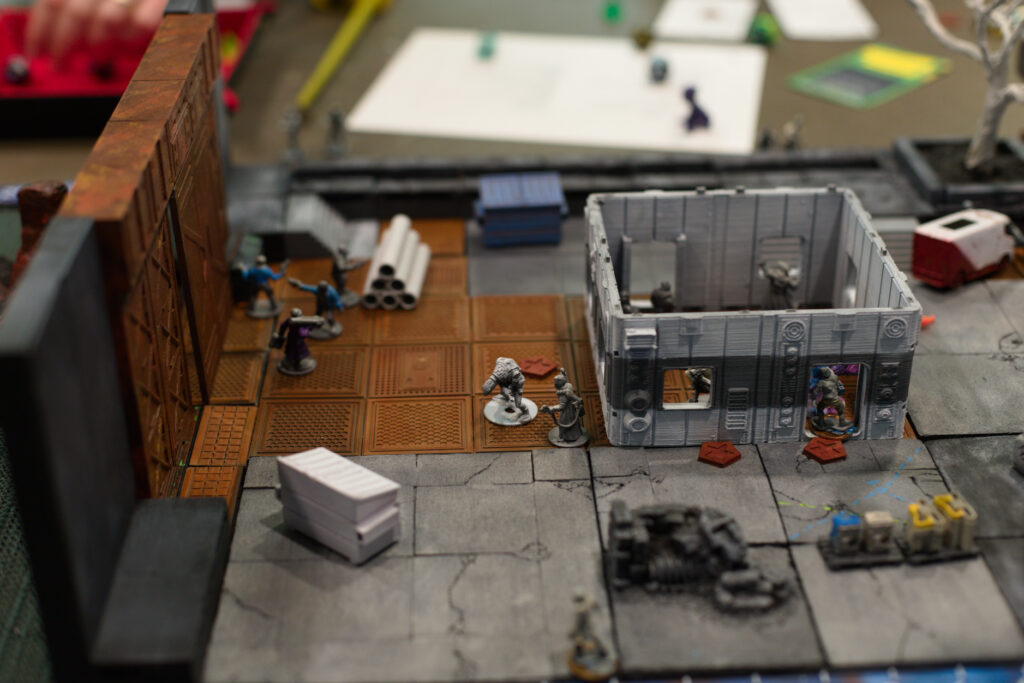
I’m sad this project didn’t finish, as although I’ve never printed the buildings, I have them if we ever seriously get back into moderns. And I feel it would do well today – the buildings were well designed, had clear instructions and would have been perfect for things like Marvel Crisis Protocol.
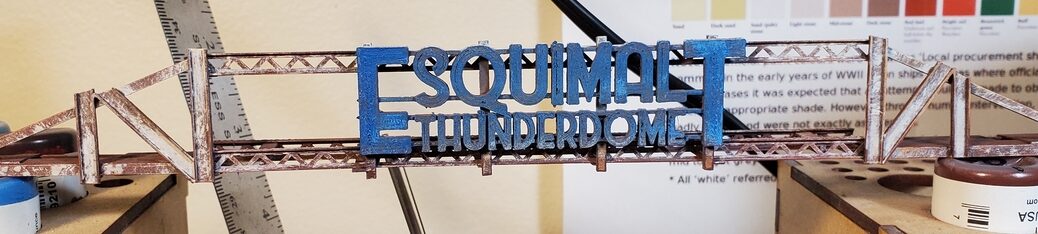
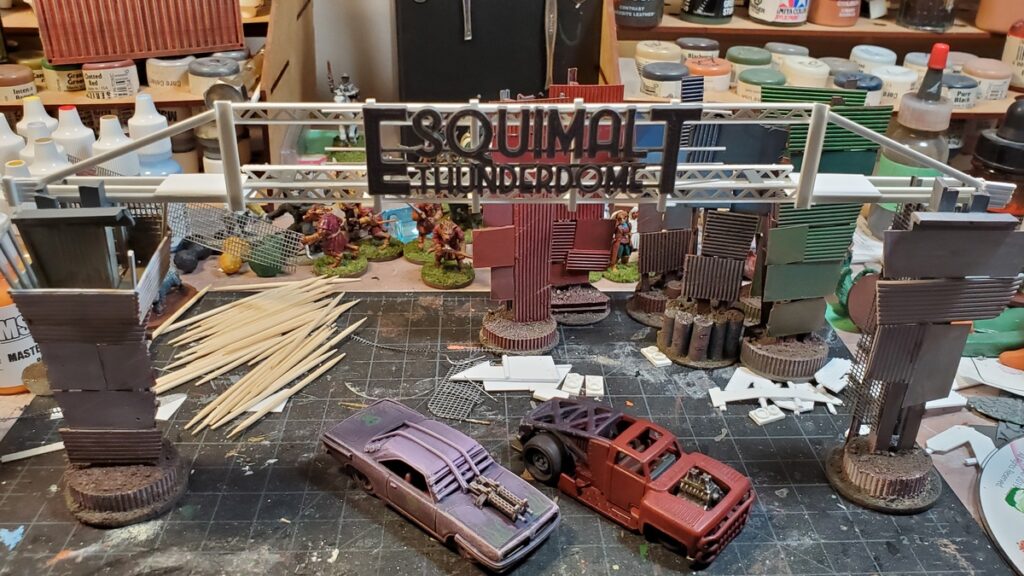
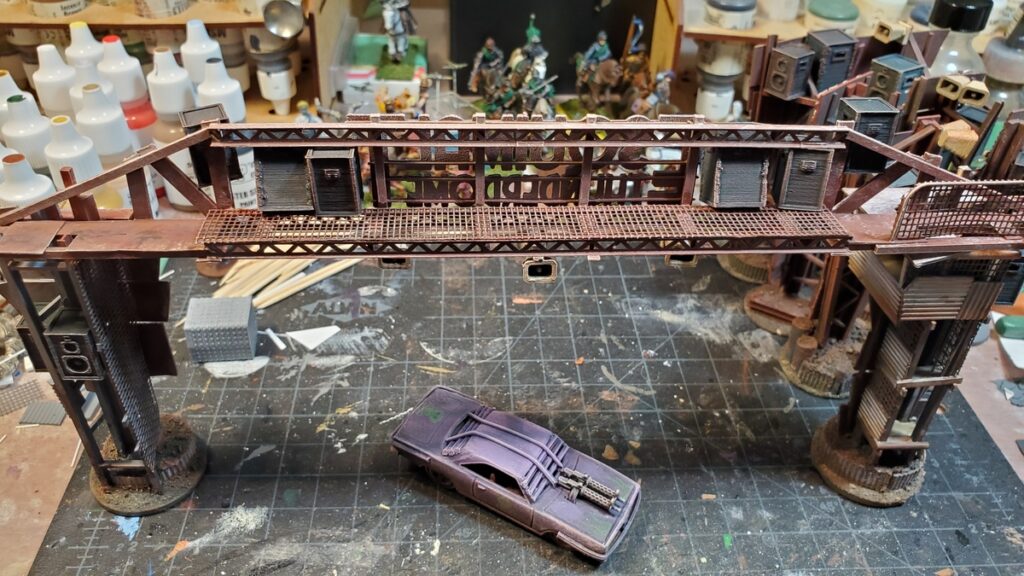
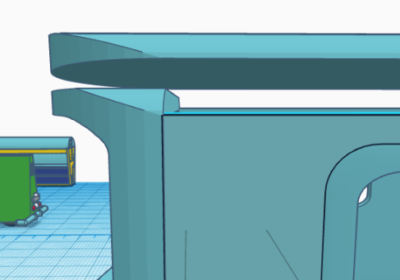
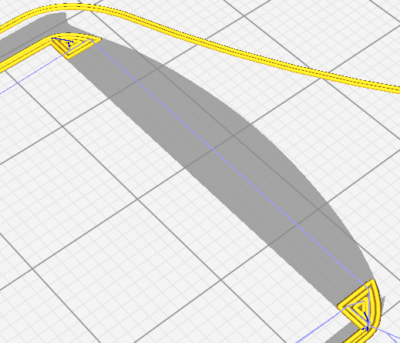
Anyway, will close by giving a plug to one of my favourite creators, Corvus Games Terrain, who make many similar buildings including an awesome elevated rail (below). And no, that’s not a sponsored or affiliate link, I just like his stuff.