The Assault Group (TAG) has a huge range of Thirty Year’s War/English Civil War/general Renaissance figures that I’d heard good things about, including that they were fairly compatible in size and style to the Warlord figures that make up the entirety of my TYW/ECW collection so far.
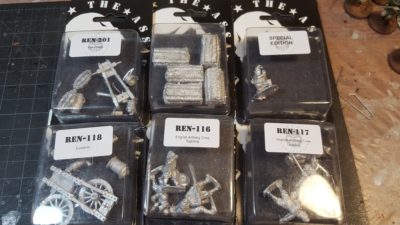
The only major piece missing from my 17th C forces so far are guns, so I ordered TAG’s English Battery Builder pack which has a culverin, eight crew, and accessories. To give me some game options I also picked up a falconette light gun on it’s own. That gives me a light gun, a heavier field gun, enough crew to do a full six man gun crew per the Pikeman’s Lament rules for either of them, and some nice extra bits for base decoration – gunpowder barrels, piles of shot, that sort of thing.
Then I waited.
And waited some more.
Then I got an email apologizing for the wait.
This wasn’t a surprise by this point, because a significant number of posts on the TAG blog are, in fact, posts explaining how backlogged their orders are.
Then I waited a while longer.
My initial order was made on June 22nd. The “we’re backed up” email came through on August 4th. My order was apparently “completed” on August 11th. It showed up in Canada on September 11th.
That’s… goddamn glacial. In nearly two decades of ordering stuff from overseas for wargaming I don’t think I’ve ever had an order take so long from initial order to the toys actually showing up, even back in the late 1990s when I was just starting out and an order to the UK or the States meant snail mail, paper order forms filled out by hand, and an International Money Order.
So, don’t order from TAG if you’re in any sort of hurry for your toys. I have a generous backlog of painting and loads of scenery projects to distract me, thankfully.
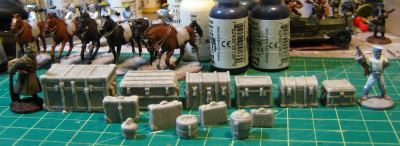
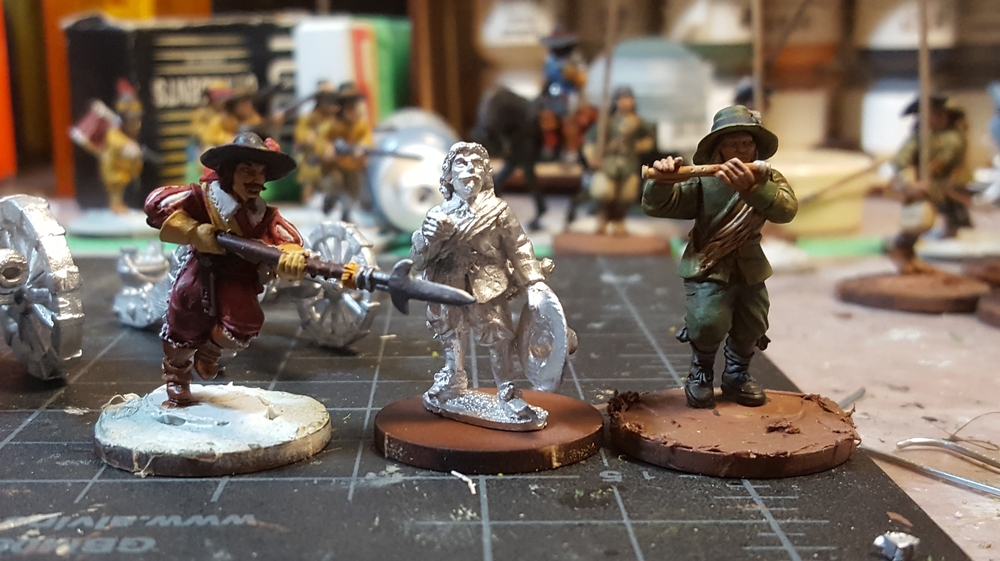
Now that they’re finally here, what about the figures themselves? I quite like them, the casts are very clean, the sculpting is well proportioned and nicely detailed, and while they’re mostly a little bit smaller than the Warlord figures they’ll look fine in adjacent units on the table!
Warlord’s plastic figures are actually slightly bigger than most of their metal figures; their metal ones are a pretty close match for TAG’s while Warlord plastics are bigger. Odd that Warlord has that difference between the two materials they produce figures in…

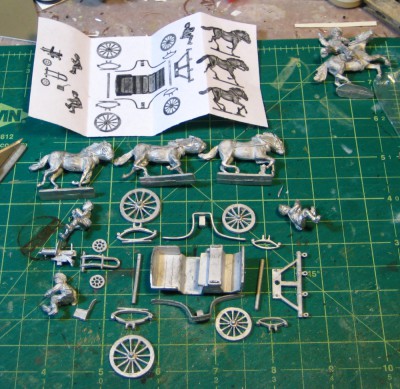
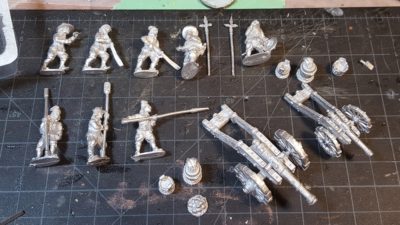
The two guns are four parts, two wheels, the stock (carriage?), and the barrel, and fit together easily. Mold lines and flash are minimal, just a few minutes cleanup for the whole lot.
The two crew packs are available separately as English Artillery crew loading and English Artillery crew sighting, each consisting of an officer/sergeant figure and three crew. The loaders have a powder scoop, rammer, and swab; the sighting crew have two with large timber levers to adjust the gun’s wheels and a gunner doing the actual sighting.
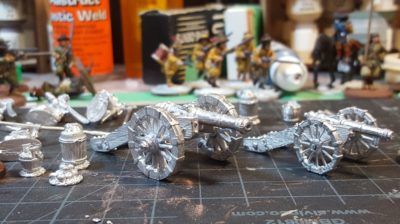
The culverin is also available separately; it comes with the gun, a powder barrel, a water bucket, and a small pile of cannon balls. The falconette has the gun, a wedge, water bucket, and a bucket of small shot.
I still haven’t quite settled on how I’m going to base the guns and their crew, but I’m looking forward to assembling and painting them up; the whole unit should be pretty quick to paint up, and while I usually base figures before painting them, I might well tack these guys down to craft sticks to get them painted before I make any basing decisions. Basing might involve a custom movement tray of some sort ordered from Warbases that can fit six crew on 25mm bases and the unbased gun, to match the 2mm MDF movement trays I’ve already got.
I’ll probably order from TAG again; they have some different figures that Warlord don’t offer, I like their sculpting style, and variety is always useful, but the insanely long order times are offputting.