We have an Infinity weekend event coming up in just over a month (Facebook event link, if you’re in the area and interested) and I want to have both all my current buildings basically finished and the Haqqislam/Hassassin Bahram force I field fully painted.
I’ve been concentrating on the buildings for the last week or so, just to get them done and out of the way – they take up a lot more space on my workbench than the figures will!
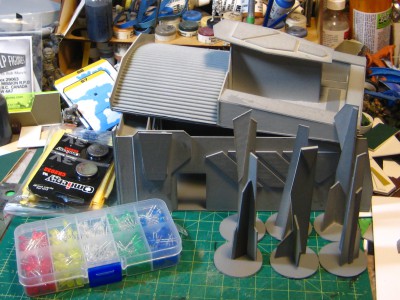
Here’s the warehouse finally complete and primed, as well as the antenna. I’ve also been working on more graphics for various things, including new ads & signs as well as hazard labels and such.
28mm warehouse for Infinity gaming, six antenna, and the box of LEDs.
Also, the LEDs I ordered off EBay a while back, waiting for me to break out the soldering iron and add lights to the objective room I built recently, which is currently out in the sun room with fresh spray primer on it. More on that soon.
Last post was in June, I’m getting really lousy at keeping this poor blog from getting dusty and neglected. It’s been a busy summer for things like bike holidays and being out in the real world, not so much on the gaming front although our Blood Bowl league season is drawing to a close (my poor Rodents of Unusual Size got blown out of the playoffs in the first round) and some good games of Infinity.
On the modelling front, about all I’ve gotten done is a some progress on the various Infinity buildings I’ve started this year. We’ve got an Infinity tournament coming up on October 24th weekend, so I’m pushing to get the current group of buildings done and finished before then, as well as having my entire Haqqislam force painted and finished to field that weekend!
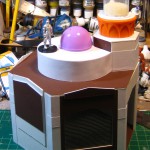
Recently I’ve been pushing on the mosque (shrine?) seen previously here. I’ve put a few of the recent pictures of that building up below! Click on any of them for full size, and enjoy.
Apparently I’ve basically taken most of the summer off from blogging and doing wargame-related things I felt the need to blog about… last post was June 10th!
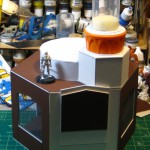
I’ve been playing a lot of Infinity and Blood Bowl, but doing basically no painting or terrain building at all until this weekend, when I’ve finally cleaned up my workbench and gotten a tiny bit of progress on the mosque roof for my Infinity terrain.
Drum dome on mosque roof. Click for larger, as usual.
I’ve run with the “bright hexagonal future” jokes about Infinity with the one, and tried to incorporate some Islamic themes as well because I run Haqqislam forces in Infinity. The main footprint is a hexagon, there’s a hexagonal tower as part of the cupola/minaret on the roof, and I’ll probably use some hex-patterned origami paper I bought recently as part of the decoration scheme as it looks a lot like some Islamic tile patterns.
What else have I been up to this summer, anyway? Riding my bike over mountains, for one, and lots of other bike riding and other good warm weather activities!
A number of the stock scenarios in Infinity need some sort of antenna or console for the troops to interact with/hack/seize/blow up/etc. You can use basic tokens on the tabletop, but real scenery looks better!
Antenna and consoles in Inf are supposed to be on a 40mm base, so I had a go at cutting 40mm circles with my circle cutter. The stubby blade won’t go all the way through the mattboard I build with, though, so I wound up basically scoring circles and then finishing them as carefully as possible with a new Xacto blade. It’s not an ideal way to cut circles, and for larger and more visible ones like a round roof I’ve started since building these antennas I’ve gone with multiple layers of light card, which the circle cutter handles very nicely, and glued them together in layers.
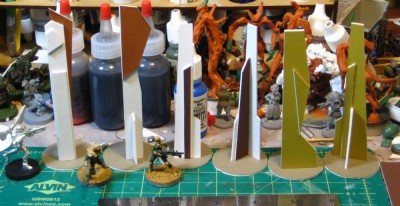
Six antennas for Infinity on 40mm bases. Each is roughly 4″ high. Click for larger.
The antenna themselves are more mattboard, generally offcuts from other recent projects. No particular design ethic to these, beyond “angular and futuristic”, which is easy to achieve.
Even for scenarios that don’t require antenna on the table these are likely to put in an appearance as general futuristic clutter, which is always in high demand on an Infinity tabletop!
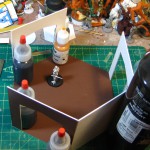
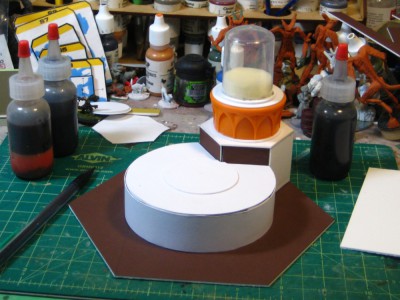
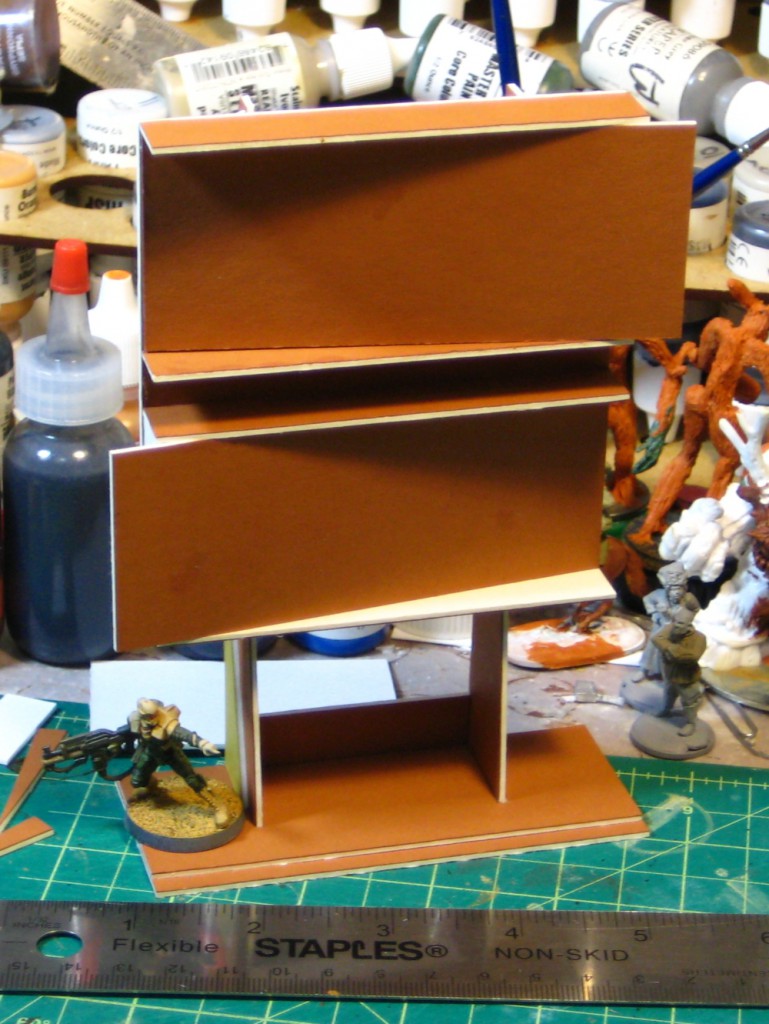
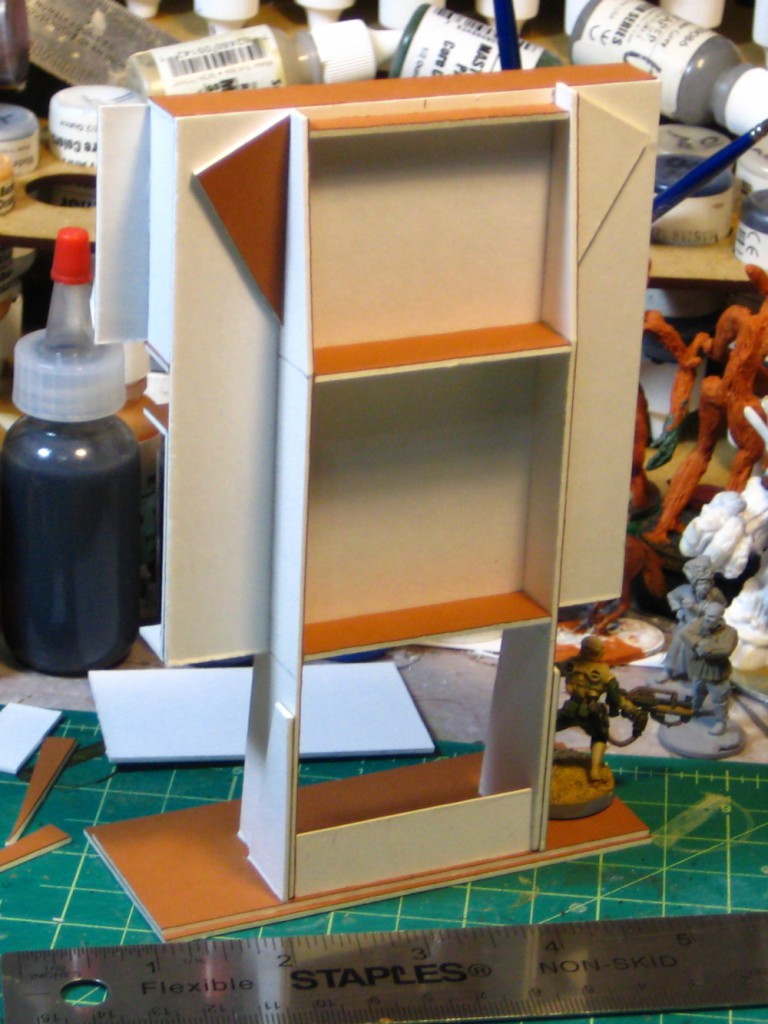
While building another piece of scenery for our Infinity tables I built a roof that didn’t turn out; it just wasn’t working out physically the way I’d pictured it in my head. Turning the partially completed piece on one edge, though, I realized that what I’d created would work quite well as a display board for two big billboards – presumably video or holographic displays, this being a bright hexagonal future!
Here’s the basic structure, front and back views.
Front of the billboard. The whole thing is 6″ tall and 4″ wide.
Rear of the billboard. There’s enough space to balance a figure on the very top, if you’re so inclined…
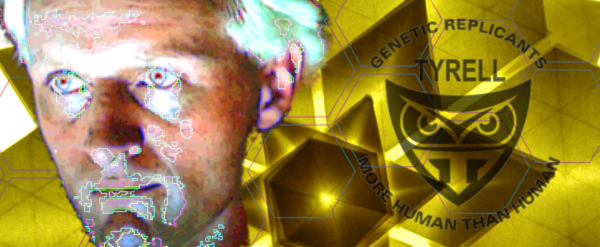
To get something colourful on the two displays, I fired up GIMP and then went looking through Flickr and Google Image Search for source materials. It’s easy to just rip things off when you see them around the web, and far too many people do that. Both Flickr and GIS allow you to search for images that people have specifically licensed to allow free reuse of, though, and generally you have to pass on your graphics made using their images as sources – what is known as a Creative Commons Share-Alike license.
Haqqislam billboard – Kufic Arabic for Bismallah (God Bless) and various hexes, because Infinity…
Tyrell Corp – one of everyone’s favourite evil megacorps!
Basically, this means that you can use these images as you see fit on the web or printed for use, including commercial use, but if you modify them further you have to share your version too.
Something quick and silly to break the month-long dry spell in posting!
On our local Blood Bowl league’s Facebook page one of the guys made a joke about “Necromancer Beer – one taste will revive you” and while I was waiting for dinner to finish I fired Inkscape up and cranked out the following bit of fluff.
Necromancer Beer – one taste will revive you! Feel free to print this for personal use!
This is the same height as a number of other BB sideline ads already floating around the internet, so should mix nicely with them.
Enjoy, and if you do use this, please send me photos of your pitchside scenery with the Necromancer Beer banner on it!
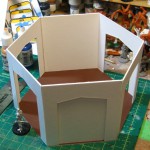
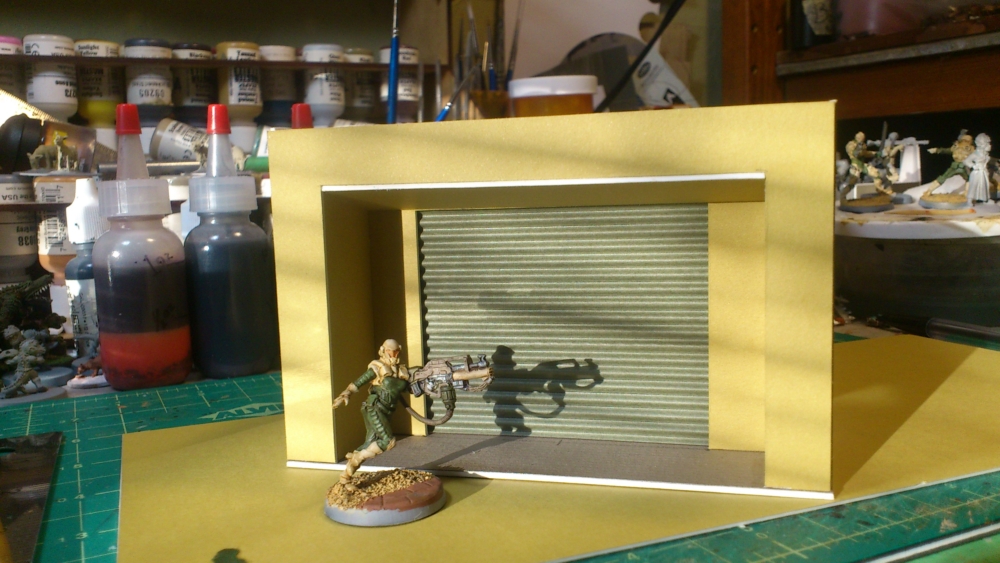
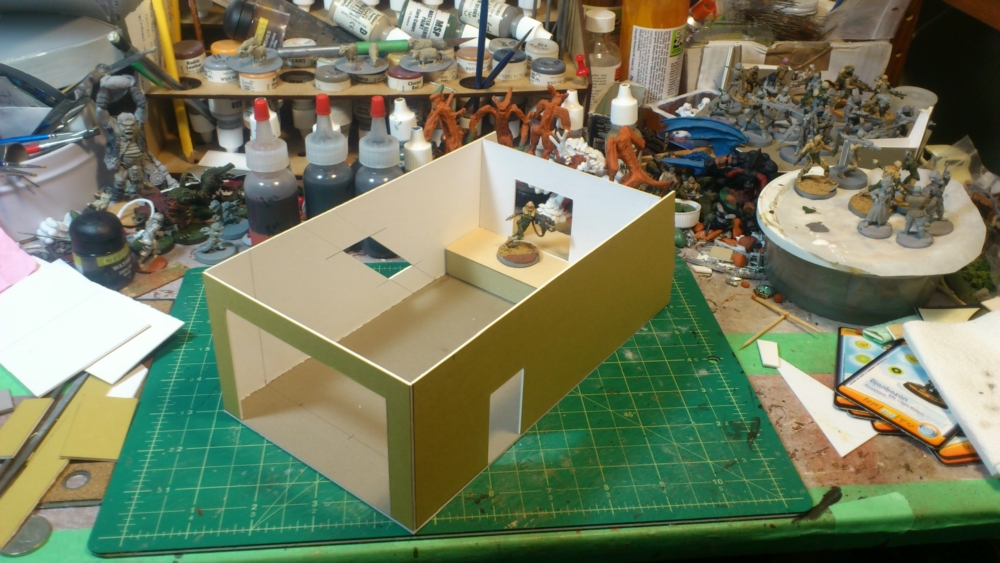
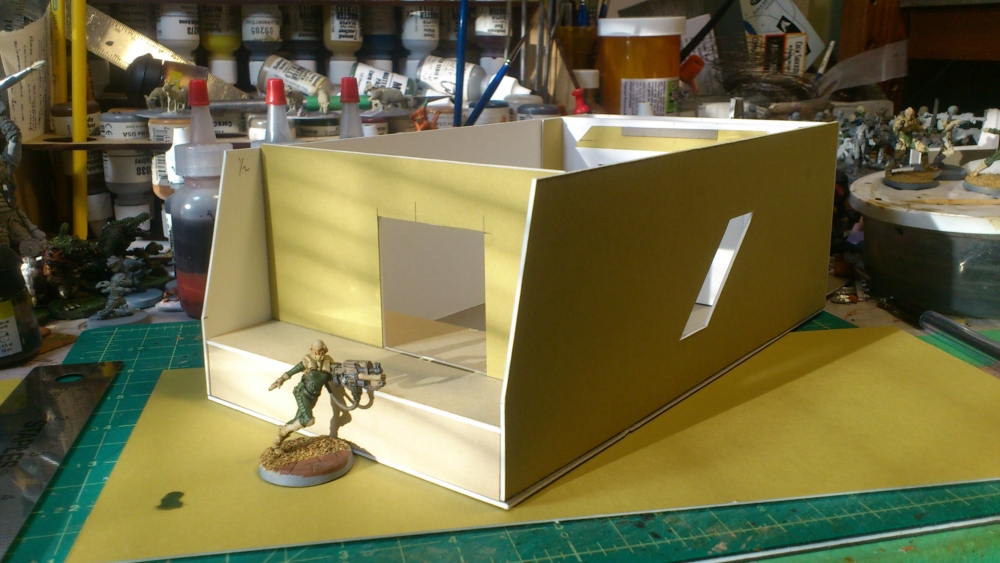
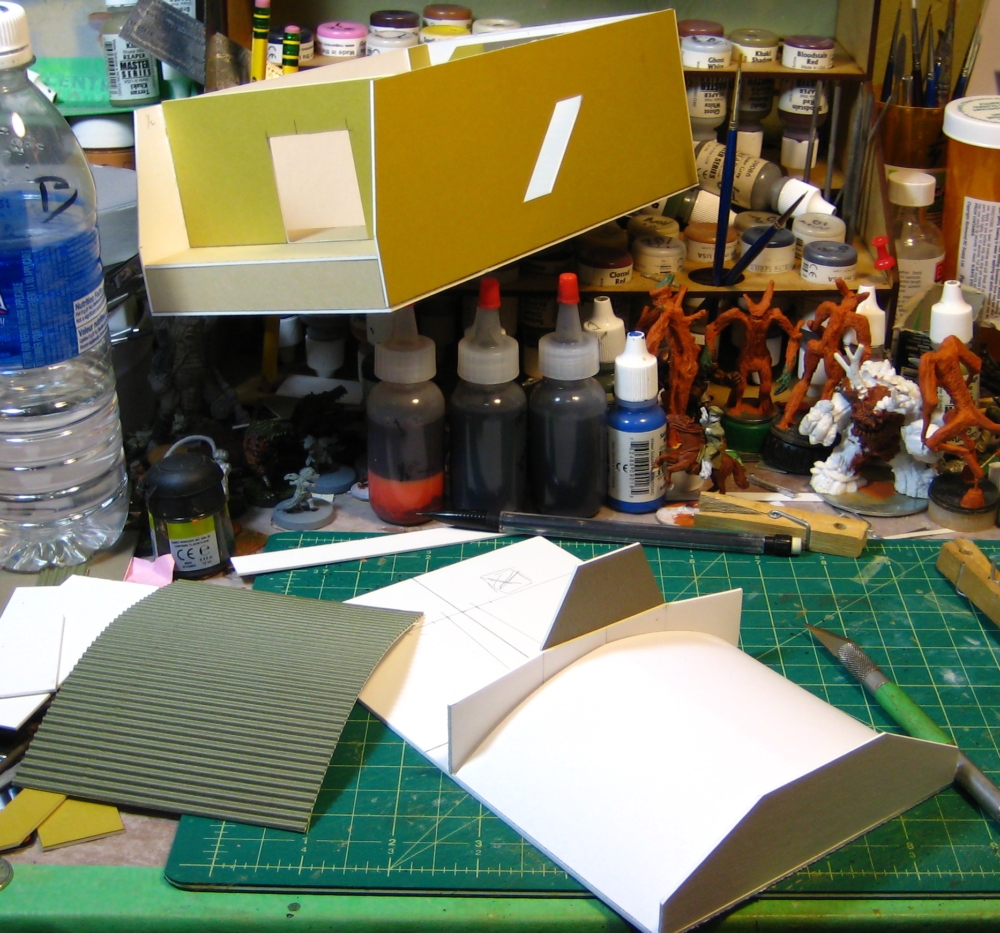
After building the first building to use on Infinity tables, which turned out to be a complex shape and two storeys plus roof, I decided the next building needed to be simpler and quicker to build, but still interesting.
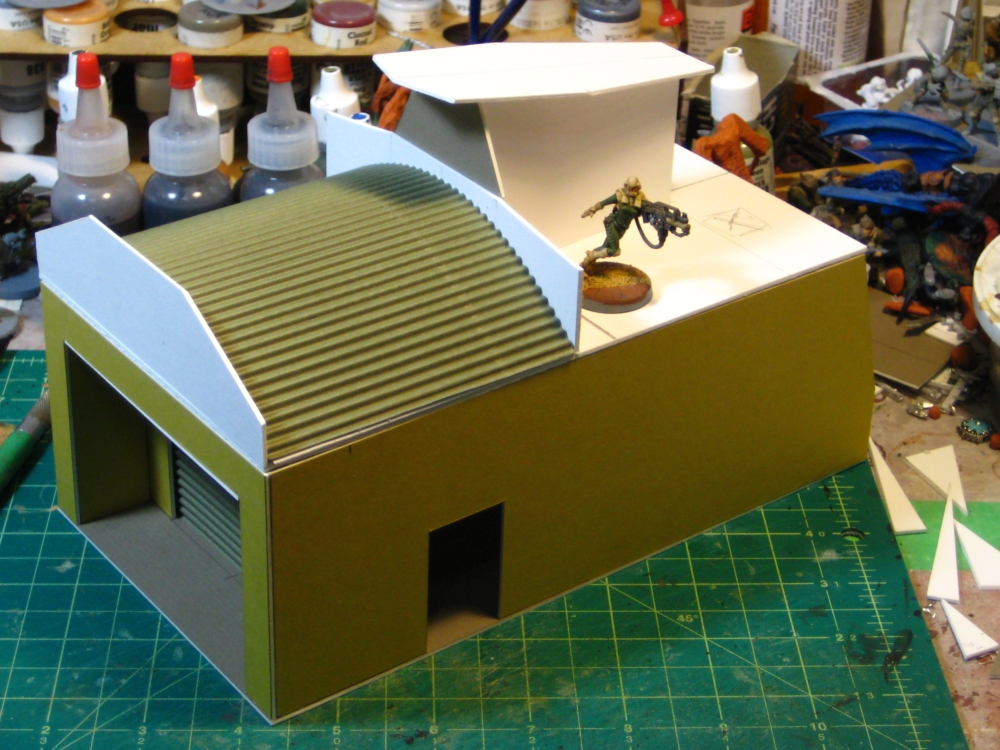
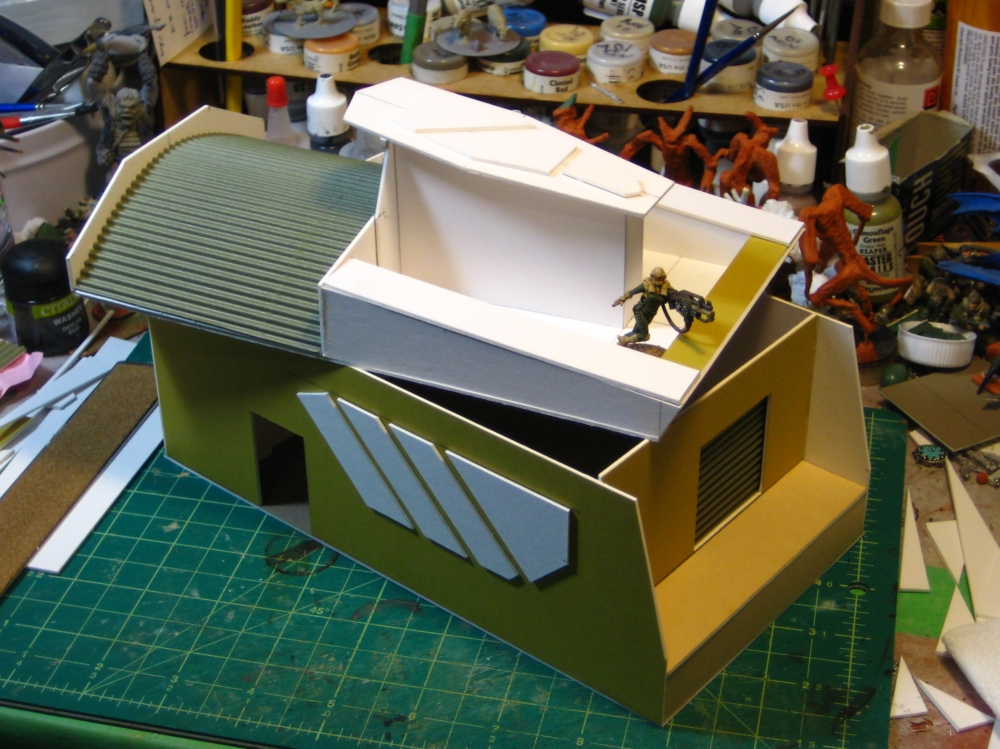
Going through my building supplies I found a sheet of corrugated craft paper that became a feature of the new warehouse, both for the two large rolling doors and on part of the roof. The rest of the building is mattboard/picture framing card, which is cheap, easy to work with, and makes good durable buildings.
The whole warehouse is 9″ long, 5″ wide, and about 6″ to the highest point of the “sail” that divides the roof up.
More details on the picture captions below. There’s still some structural work to do on the back wall and on the roof, and a lot of detailing still to do. Paint will happen eventually, as well.
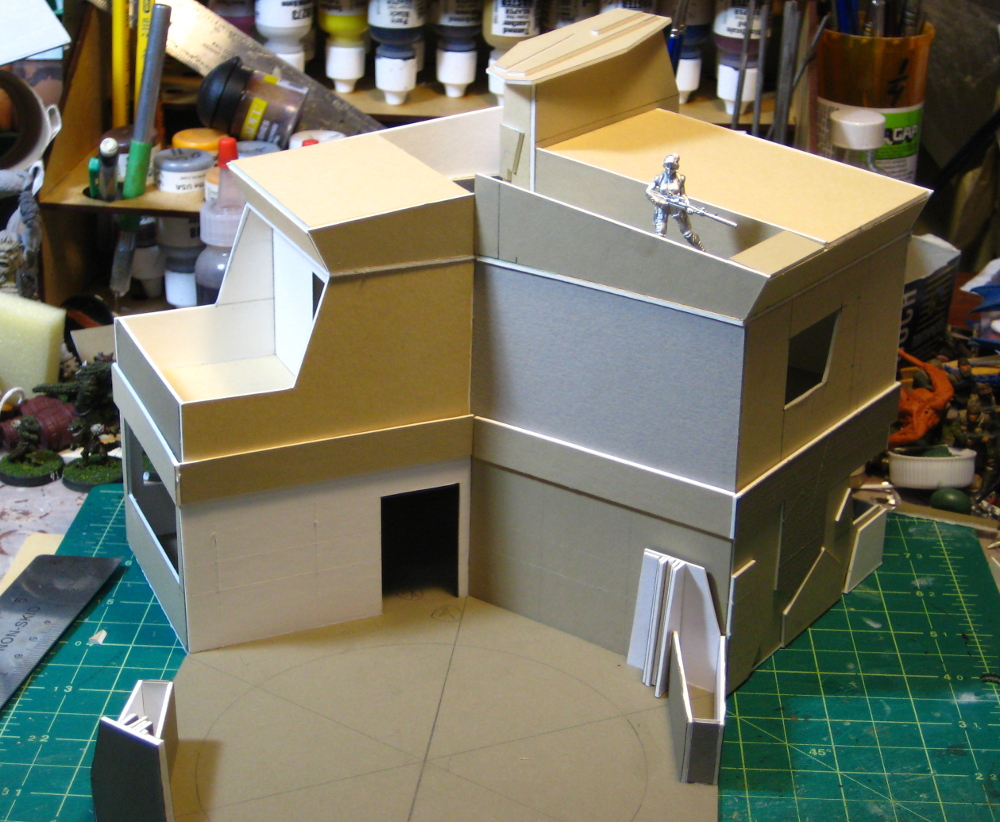
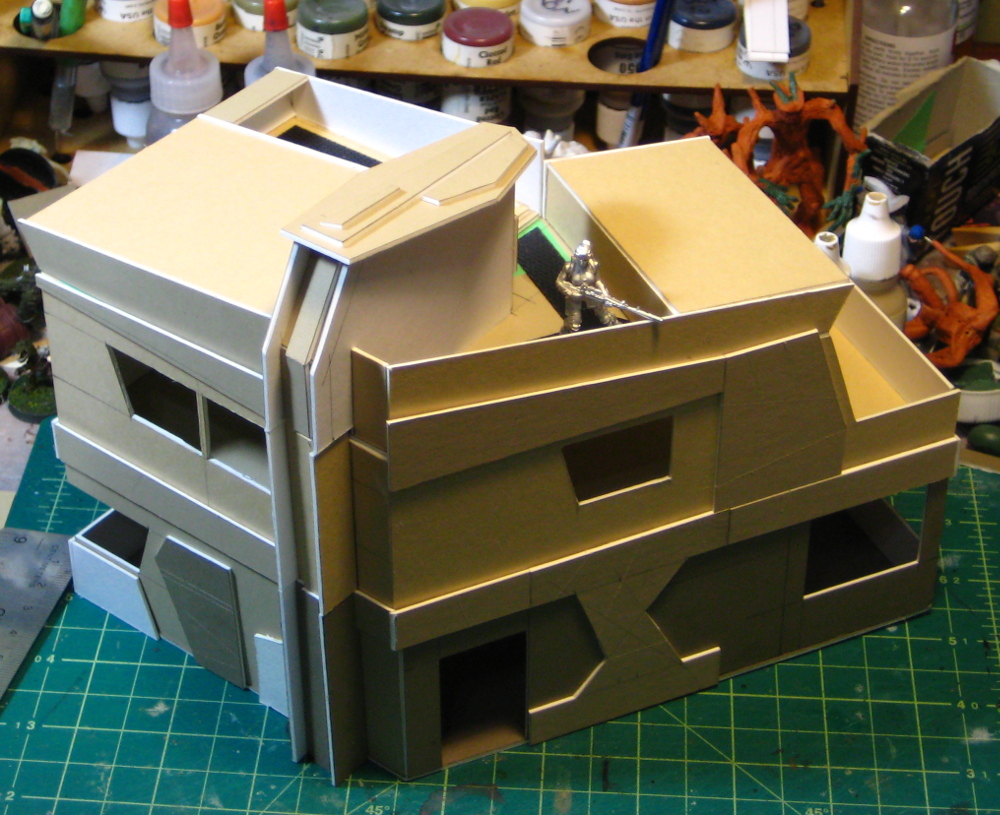
I’ve previously shown my urban scatter terrain for Infinity, and after getting that assembled I decided to tackle something more challenging and larger.
Quite a bit larger, actually. It’s a two-storey building that wound up being about 10″ long, 6″ wide and almost 7″ tall!
The building is entirely made of mat board, usually used as picture framing board. It’s good quality cardboard, easy to work with and it takes paint and glue well. Our local art supply place, Island Blue, sells the offcuts from their framing business off cheap! The roof and second storey come off to allow full access to the entire building during games, and I think I’ve managed to make the building tactically interesting for games of Infinity.
Check out the gallery below; the captions have a lot more detail.
If you’re interested in doing similar buildings for Infinity or any other skirmish game, I really like the ongoing “Cardbuilding” series of articles over on the Infinity news site Data Sphere: Part 1, Part 2, Part 3, Part 3.5, Part 4. Errhile is much more organized than I am, designing a whole system so that his buildings nest and stack for storage and reconfiguration, and he’s got lots of great techniques and ideas in his lavishly illustrated articles. I might well do some similar modular buildings, but for now it’s fun to just bust out a big, complex building — I haven’t done much terrain building recently!
James Ernest of Cheapass Games has a short video on three ways to make cards. Nothing earthshaking, but a good short video laying out three easy ways to make cards for your games.
Corrugated metal from disposable roasting pans, via Rusty Robot, which has all sorts of fantastic modelling posts. A lot of his stuff is too detailed/too fragile for wargaming, but the roasting pan thing looks like it would survive gamers if given basic respect!
I’ve gotten into Infinity recently, which is a game that uses on-table markers quite a lot. Corvus Belli has PDFs of the markers available to download and print, and the idea of using 1″ clear epoxy stickers (Youtube video link) to make tough and easy-to-handle marker tokens is inspired. (Clear epoxy stickers on EBay.ca. They’re a crafting thing originally, apparently.) I’m actually considering doing some tokens for Chain of Command up as 1″ rounds with epoxy stickers on top now too… might have to fire Inkscape up!
Also from the Infinity side of the gaming world, Toposolitario has a great website with all sorts of paper terrain and some tutorials. Great stuff and all free.
I’m mostly painting up Infinity models these days, getting ready for Trumpeter Salute at the end of March, and considering entering the 9th Lead Painter’s League over on the Lead Adventure Forum – I’ve been in the 3rd, 5th & 7th LPLs, so continuing the “every odd LPL” streak seems like a good idea. Plus it’ll be a kick in the butt to get painting again, I’ve done far too little actual figure painting in the last year or so!
So I’ve been persuaded (OK, it didn’t take much…) to get into Infinity, the fast and lethal science fiction skirmish game from Corvus Belli. I’ve been vaguely interested in Infinity for years, both by the high quality sculpting and because of the background and basic look of the game with it’s obvious influence from awesome sources like Ghost in the Shell, Bladerunner, cyberpunk, and a generally “hard science fiction” future – no skullz, no rusty Gothic goofiness, etc!
I’ve picked up a small Haqqislam force and started painting them up; they’re really neat figures that I’ll show progress pictures of later.
Being the sort of gamer I am, though, I also immediately started producing bits of terrain for the game. Infinity is a fast lethal game that demands a fairly high density of terrain on the table. Most of our terrain is fairly urban, lots of shiny new lasercut MDF buildings owned by the other players, so I decided to do some mixed scatter terrain to go along with that.
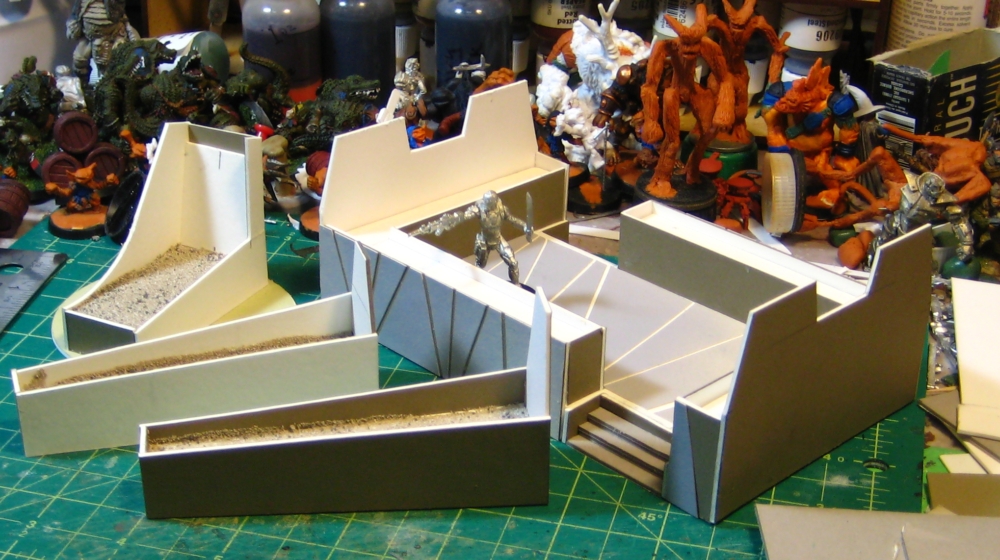
Planters seemed like a good choice – straightforward to build, plausible in an urban environment, a good chance to introduce some greenery and colour to an urban board, and a chance to use up some of my stockpile of scrap and offcut mounting board leftover from older, larger projects.
28mm planters from scrap card for Infinity SF skirmish gaming. Figure is a 28mm Janissary heavy infantry.
The largest piece is 6″ wide and 3.5″ across, mostly because that’s the size of a scrap of foamcore in my leftovers bin. The four smaller planters are 4″ long and 1″ across at the wide end. The small piece at the end is based on a 3″ circle of mounting board I cut as an experiment — yes, my circle cutter will cut mounting board. But not happily…
I’ll probably do another two or three of the long narrow planters, and then start exploring other shapes.
I did have to get into my uncut stockpile of large mounting board sheets for the end plates on the large raised piece, but basically everything else is from offcuts – total material cost so far about as close to zero as you can get!
I’ll get these painted this weekend, then break out the greenery to fill them in.


