
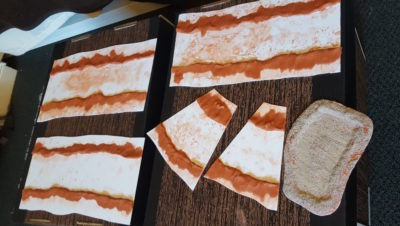
Realized I forgot to include the photo of the river modules with the air drying clay banks in place, so let’s start off with that! I rolled clay snakes out, mushed them into place, and left everything to dry.
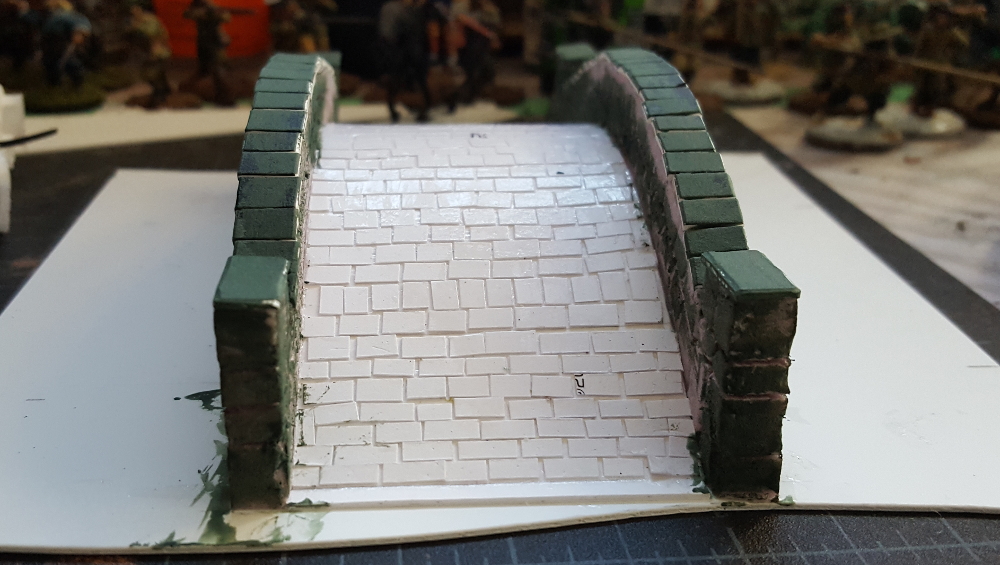
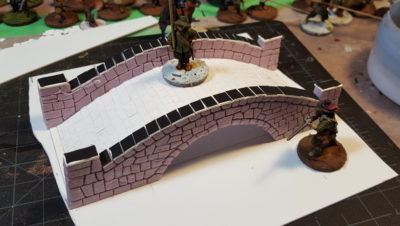
On to the actual subject of this post, the bridge! This river project is initially intended to go along with my English Civil War pike & shot project I’m painting figures for, so I started with a classic stone arch bridge. The base module is one of the two short river modules, so it’s 6″ long and 6″ wide. I decided to make the roadway portion of the bridge 50mm wide, which will fit at least two foot or cavalry figures side-by-side, or a wagon or vehicle. The whole bridge is roughly 5.5″ long, more or less.
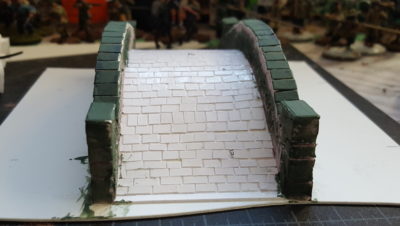
The roadway is three layers of light card (90lbs or so) laminated together with white glue and left to dry under a couple of heavy books. After that dried overnight I cut it to length to form the arch, then glued more small rectangles of light card to it for the flagstone bridge surface. While that was drying I superglued two little strips of card in place on the styrene base to hold the arch in place – you can see them at either end of the roadway in the picture below. These gave the roadway something to be braced against while I superglued it into place.
The inner arch was formed similarly, although I only used a single layer of card as it won’t be exposed in the final model.
For the sides I started with an offcut of one inch thick pink styrofoam insulation. I marked the roadway and inside arches on the side of the piece with a pencil, then carefully cut the curves and the end pillars with a brand-new Xacto blade before slicing the entire piece in half lengthwise to get both sides of the bridge. They were glued into place with white glue – you can’t use superglue on styrofoam, it melts! – and braced with various heavy things overnight so they dried in place.
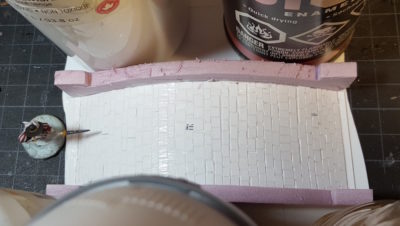
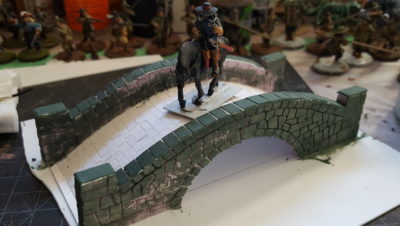
After the whole assembly had dried for about six hours or so I started carving the stone sides, using my usual combination of an Xacto knife and a pencil. Cut patterns with the knife, then open up the cuts with the pencil for a nice easy stone effect. I also used a ball of tin foil to add a bit of stone texture to the sytrofoam; I might yet go back and add more to the parts that are still too smooth.
After doing the carving I decided to put a row of capping stones across the tops of the arches and pillars. Making them out of heavier matt board (picture framing card, one of my favourite building materials) means they’ll protect the styrofoam sides of the bridge, much the same way a harder stone like slate is often used to protect a more carveable stone! I cut a strip of matt board then chopped slightly different sizes rectangles from it, to make the result more varied and interesting.
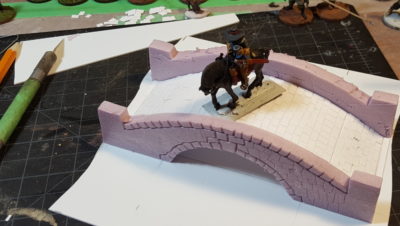
To add texture, especially to the card, and to help protect the whole structure a bit more, I put a coat of GW Liquid Greenstuff over most of the bridge and, for now at least, declared construction finished! I still need to do the river banks, obviously, and might yet add some small buttresses to the sides of the end pillars of the bridge. The stonework might need more texture, too, but I’ll wait until I get a primer coat of paint on it before making that decision.
Finally, here’s a miniature eye shot (more or less!) of one end of the bridge looking up the roadway. This shows the flagstones of the roadway nicely; I’m really pleased with how they turned out. Individual little rectangles of light card is a painful way to do flagstones, but it does look good! You can also see the card strip I glued down to brace the road arch in place; I’ll eventually cover that in clay or putty to disguise it as flagstones or hide it.
The main river modules are also proceeding, all the clay banks are straightened and glued down, so I might be able to get texture on them in the next few days, although we’re going to have a house guest in our spare room (usually my workspace/man cave) for all of this coming week!
Well done. That looks great.