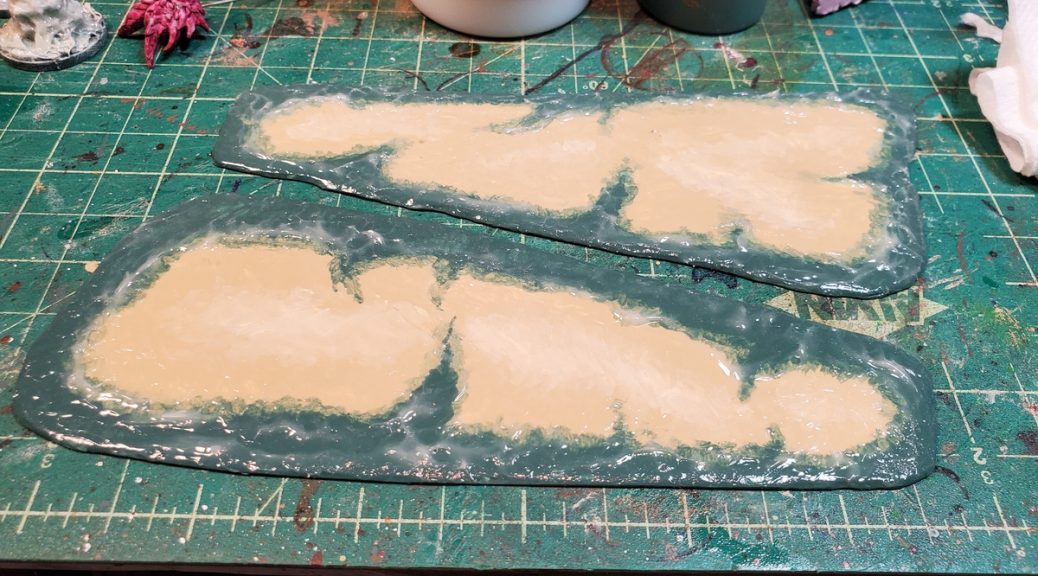
As mentioned in the last post, I recently made a pair of new sandbars to give our boats and ships more stuff to run into during our games. I’ve done some before but this time I actually managed to get photos all the way through the process. So here’s my simple way of making sandbars or sand banks for naval gaming.
You will need:
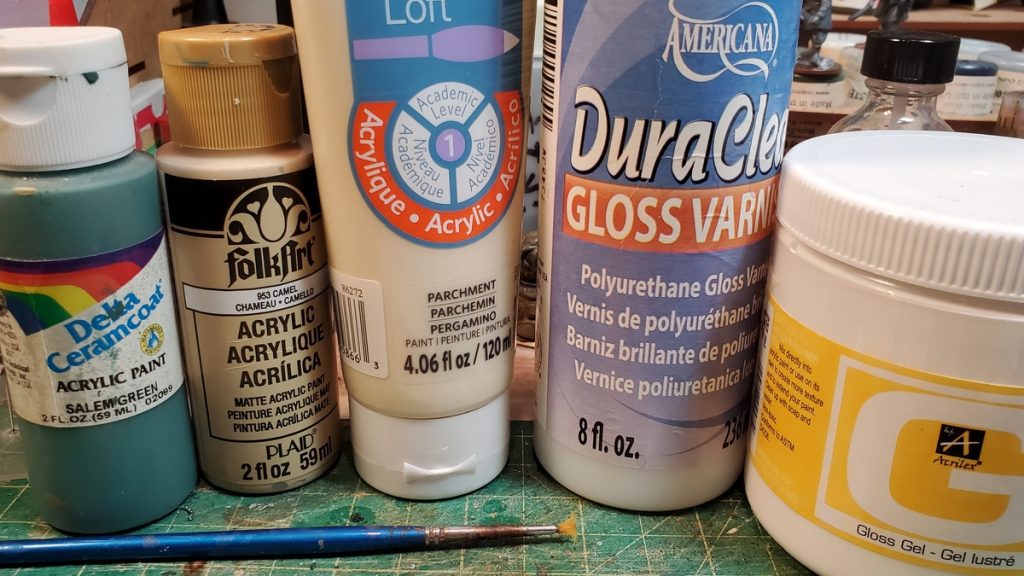
- card or plastic card. I’ve used 1mm/.040 sheet styrene/plastic card, which I buy in bulk 2’x3′ sheets from our local industrial plastic shop.
- paint in your preferred sea colour. Mine is a blue-green.
- a darker and lighter shade of sand for the actual sandbanks. I use Camel for the darker and Parchment for the lighter. If you wanted mudbanks instead of sand, you might want browner shades instead of tan colours.
- (optional, see text) acrylic glaze medium. Gets a better gradient between sand and water than you’d otherwise get.
- acrylic gloss varnish, for the wet look.
- (optional) acrylic gloss gel for waves.
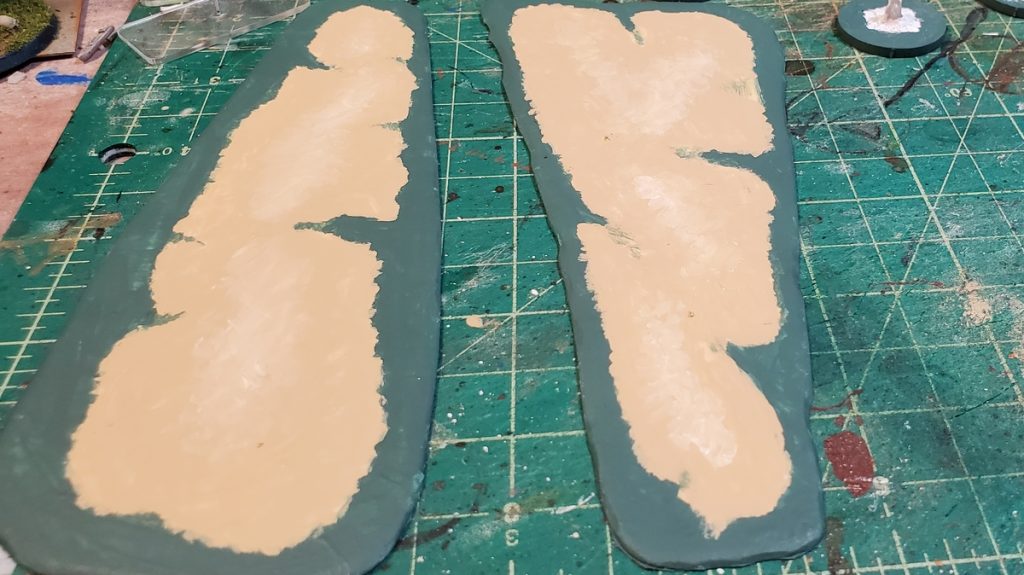
I started by cutting two fairly random shapes out of an offcut of styrene plastic card I had around. Both these sandbars are about 6″ long and 3″ wide at the widest point. Carve the edges slightly irregular and sand them so they taper nicely down to table level. This is mostly why I use styrene plastic card so much, because unlike cardstock you can sand it.
I block out the sandbar shape with the darker sand paint, feathering the outer edges toward the water as I go. While that paint is still wet I laid down and blended in the brighter central paint to show the central, slightly higher, slightly drier parts of the sandbar. This is just quick and dirty wet blending with a wet brush, nothing fancy.
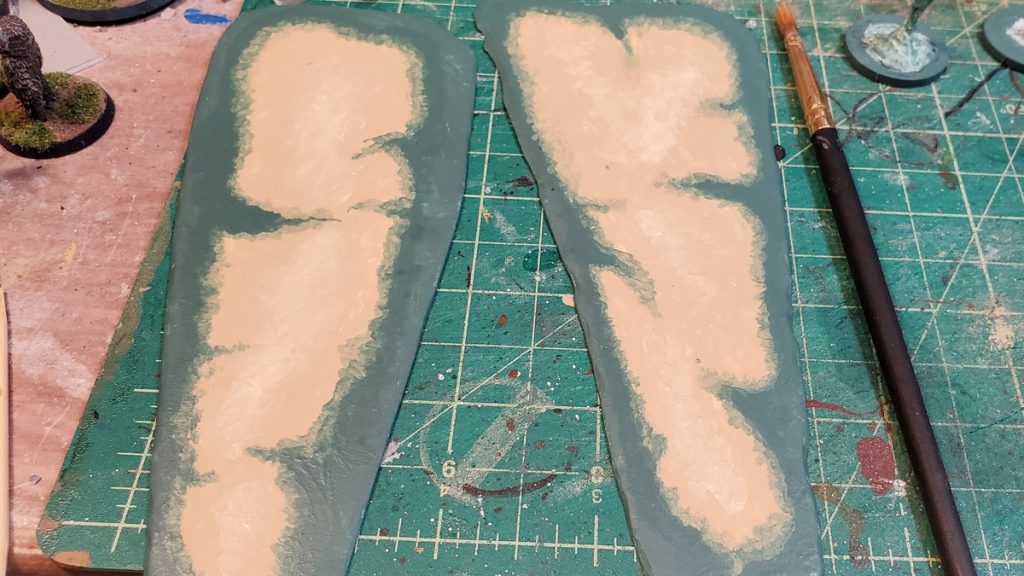
Adding the water colour around the edges, I also made sure to feather that into the sand to keep the edges irregular and natural looking.
After the base colours were dry I came back with the blue-green water colour, mixed 1:1:1 with glaze medium and water and went around the shoreline again to get more graduated colours where the water and sand meet. You can do this with thin washes without needing glaze medium, but the glaze medium gives you much more control and also slows down drying time so you have a bit more time to adjust things.
After this was all dry, it was time for a coat of gloss varnish over the whole thing. A word of warning about gloss varnish: make sure everything you’re putting varnish over is perfectly dry, and that includes the first coat if you’re doing multiple coats. Gloss varnish will crack and craze paint under it that is not yet perfectly dry and you’ll have to redo all your base coats and start from scratch – been there, done that, done the swearing!
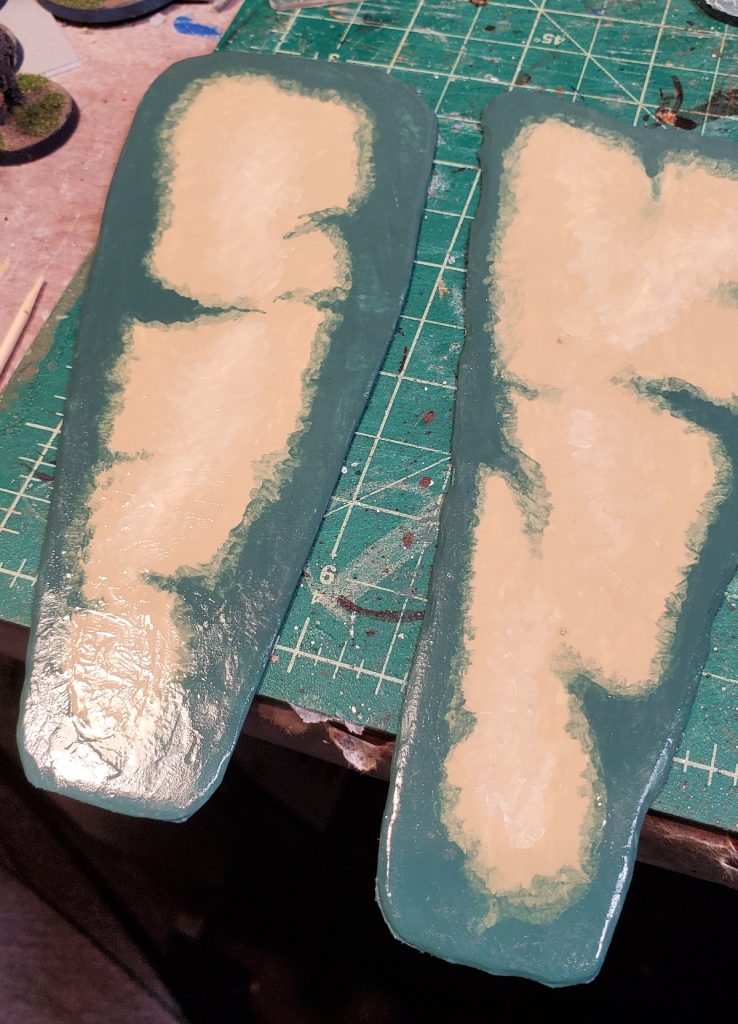
After the first coat of gloss was perfectly dry (see warning above!) I did a second coat mostly on the water and darker sand areas and then let that dry.
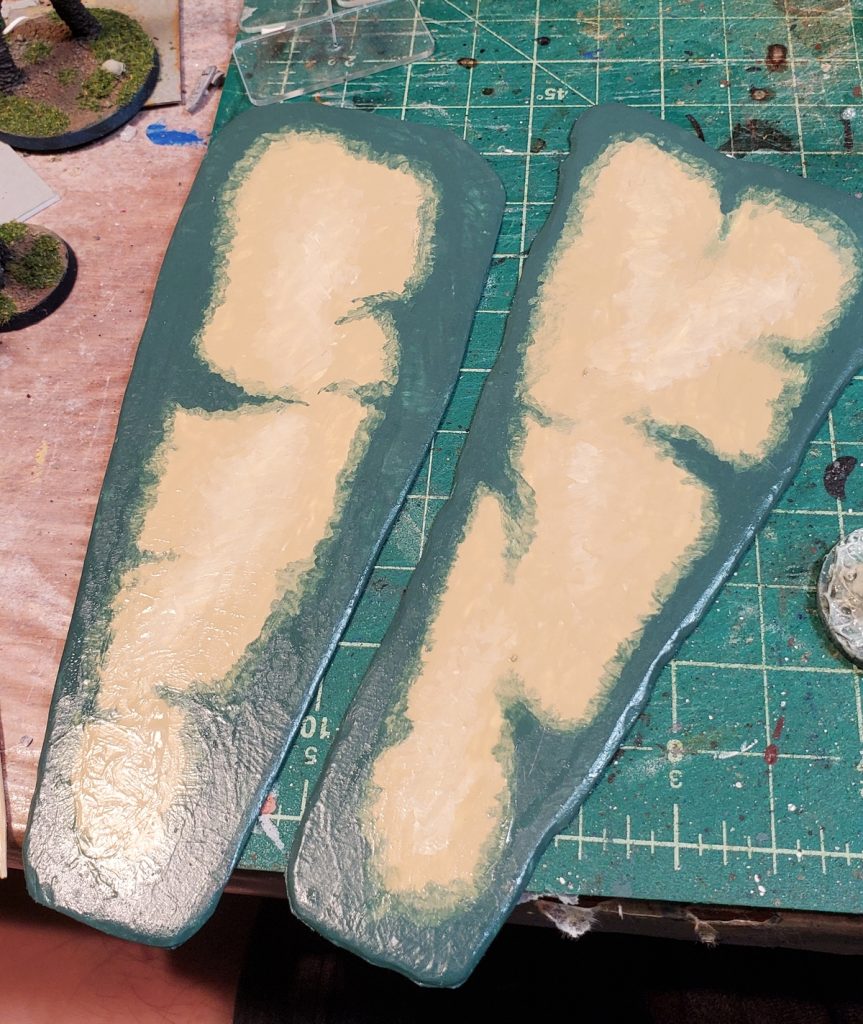
Finally, to add some waves and water texture I went round the edges of each piece with acrylic gloss gel. This goes on white but dries clear eventually. This stuff shrinks quite a lot so the trick is to build it up higher than you think is reasonable and then let it dry for a day or several. I use a really old paintbrush to shove it around, build up lines of waves, and otherwise manipulate it. In a larger scale than 1/1200 you might want to use clear acrylic caulk or something else to build up waves.
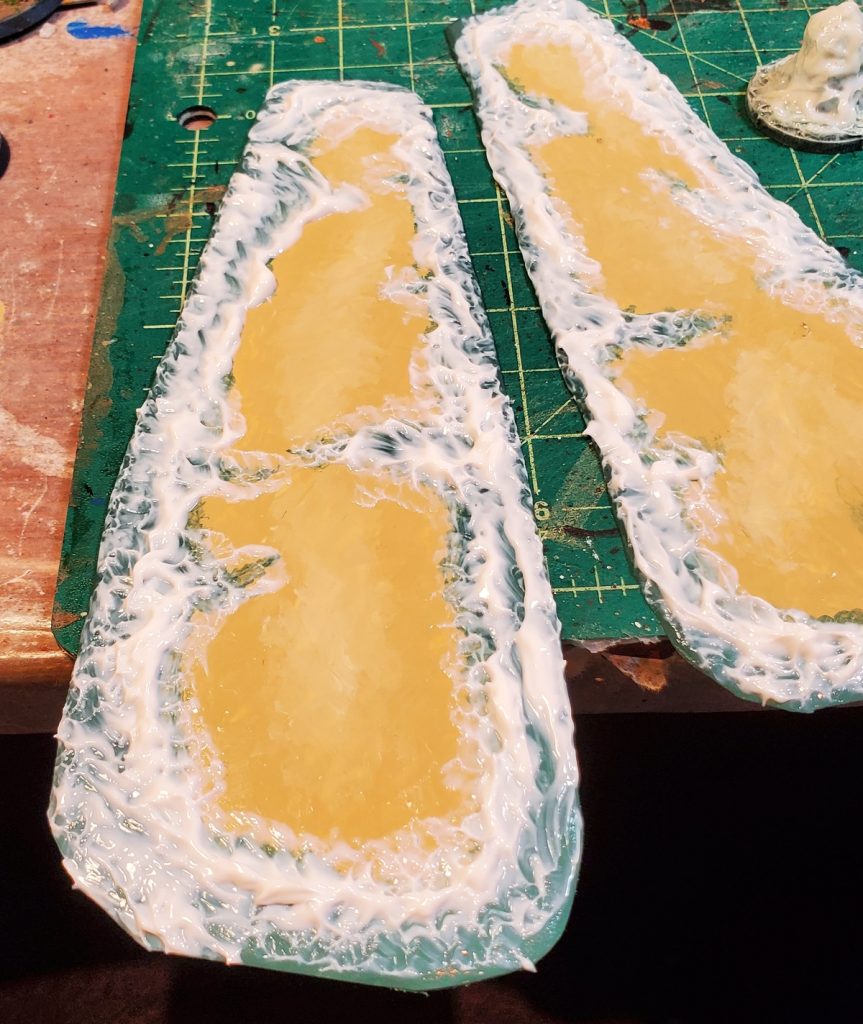
Gloss gel is easy to work with and makes great water textures, but it takes days and days and days to dry. Skip it for now if you need to get your scenery on the table in the next several days and come back to it later!
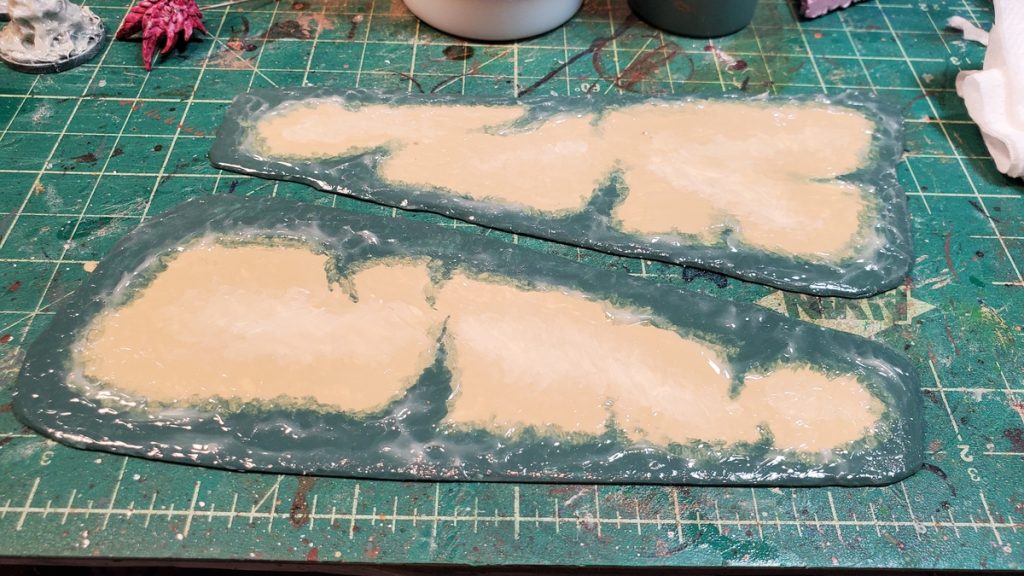
Two sandbars done and ready to complicate the lives and decision making processes of captains in future small boat games!
Coming soon, rocky reef hazards, small islands, and more shell bursts!

