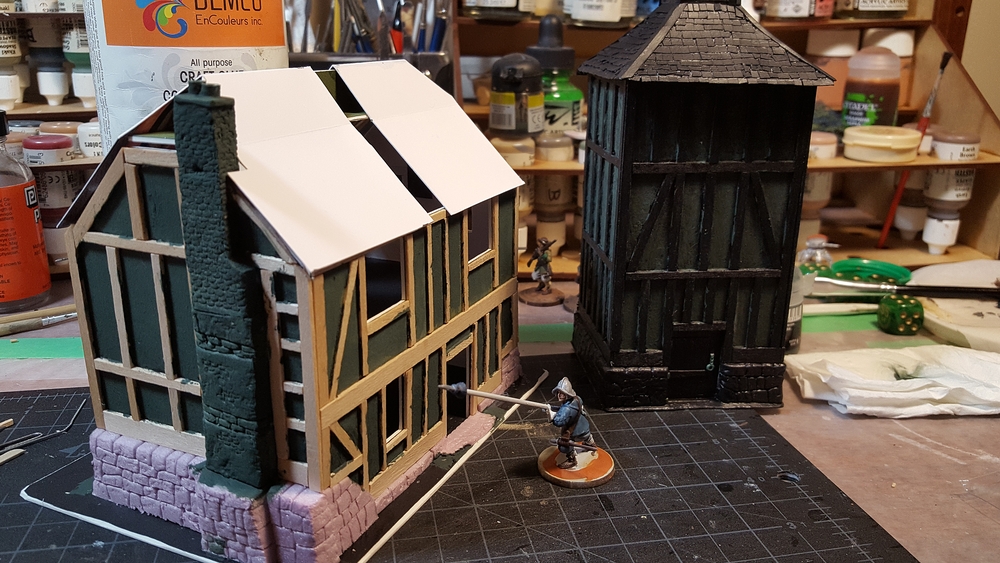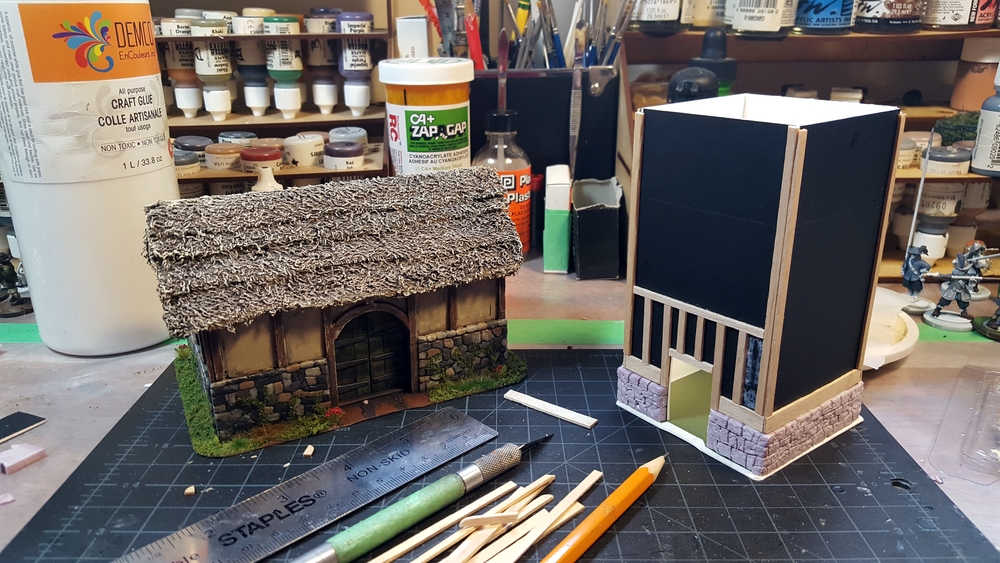
I’ve been painting the dovecote and farmhouse together, so rather than separate updates I’ll just do combined “state of the ECW scenery” update today!
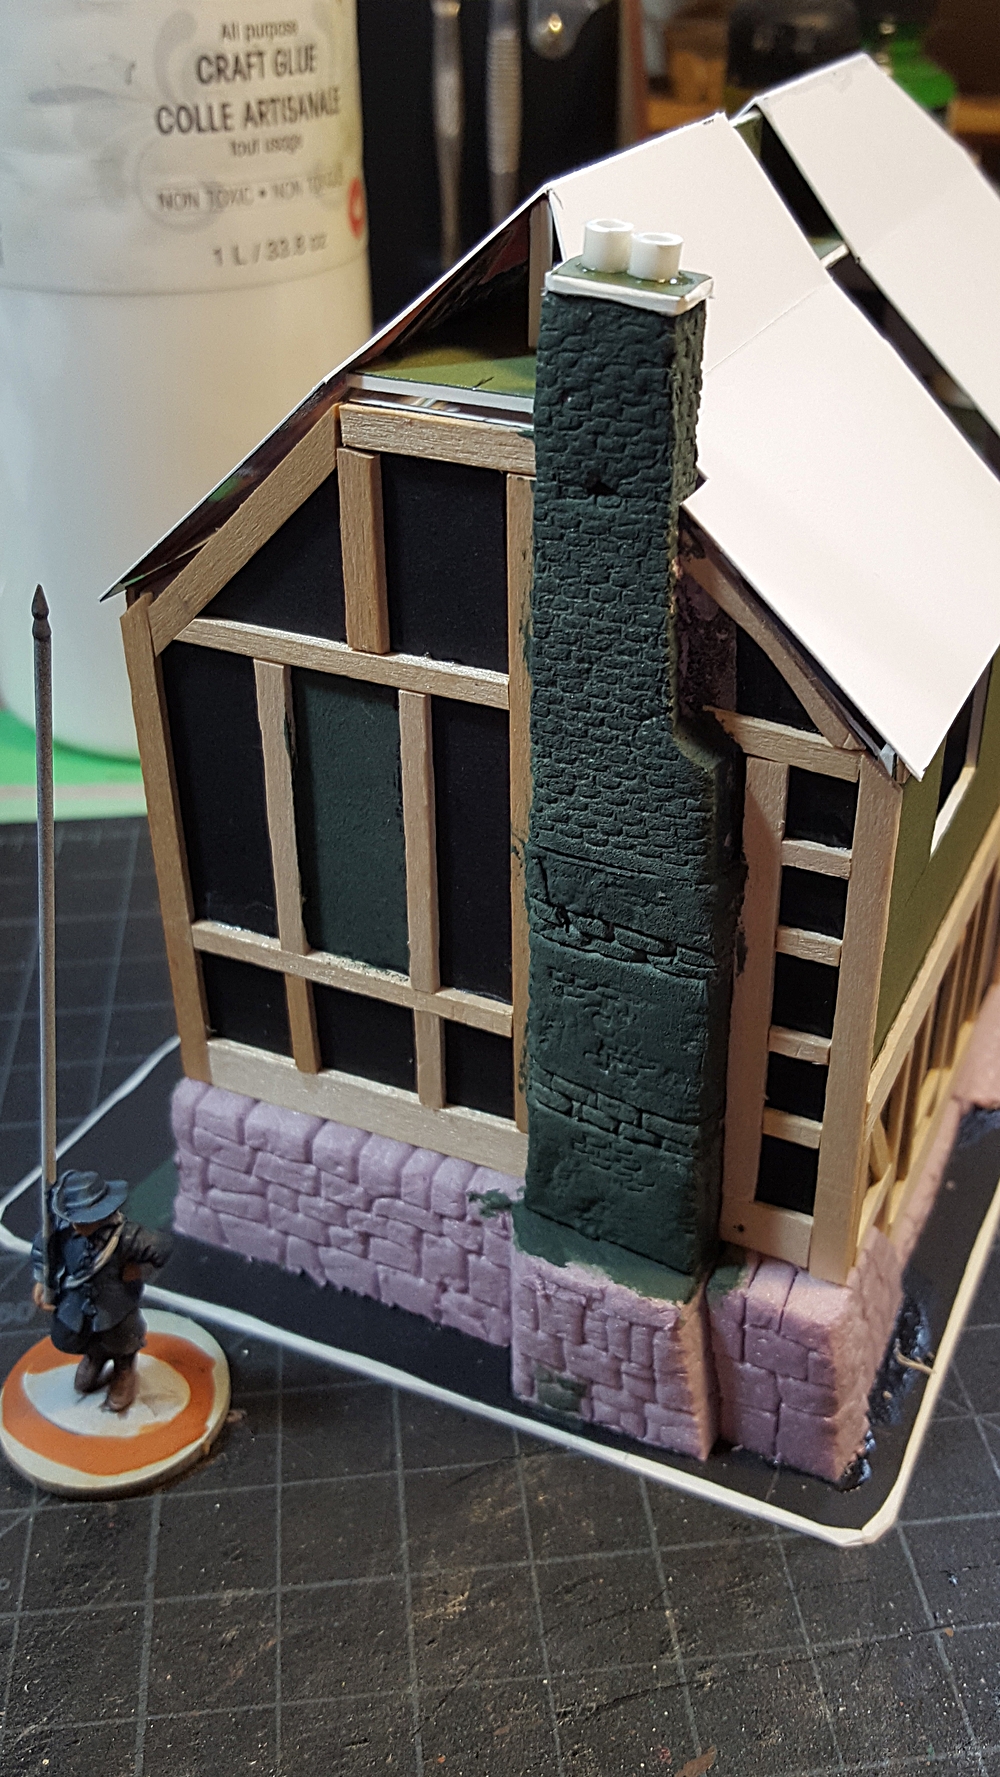
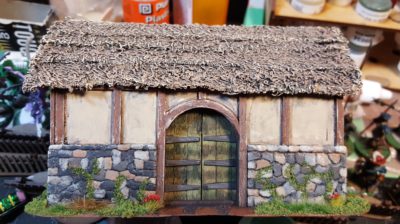
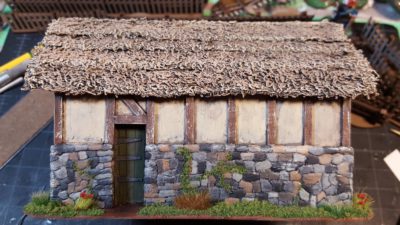
Both buildings have had most of their painting finished, with touchup and work on the bases the main things left to do, along with the roof of the farmhouse.
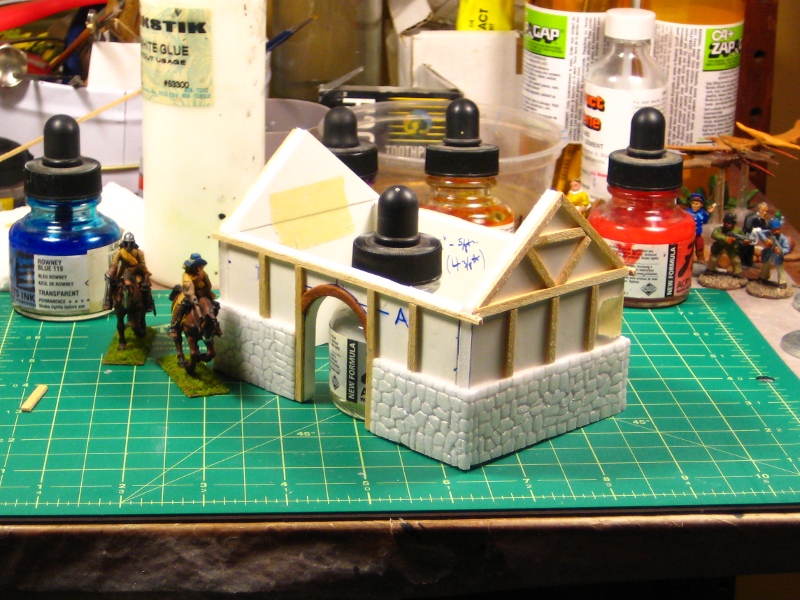
I’ve also glued the tower section of the Warbases church down to the base, which had already had the floor glued down and cardstock flagstones added earlier. I haven’t posted about the church yet, I’ll do a separate post soon about it, but it’s a nice basic MDF kit that I’m planning on dressing up considerably!
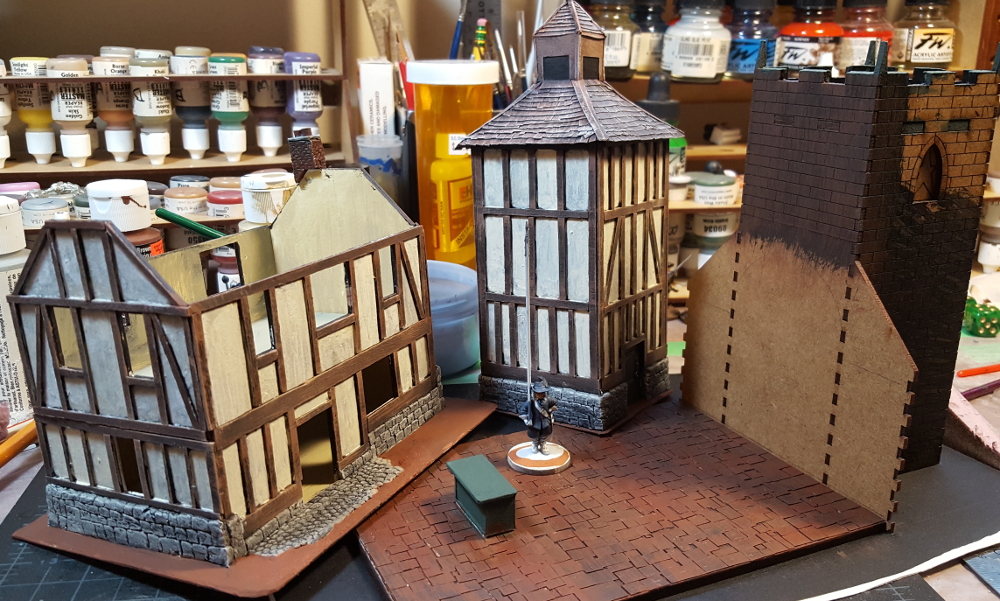
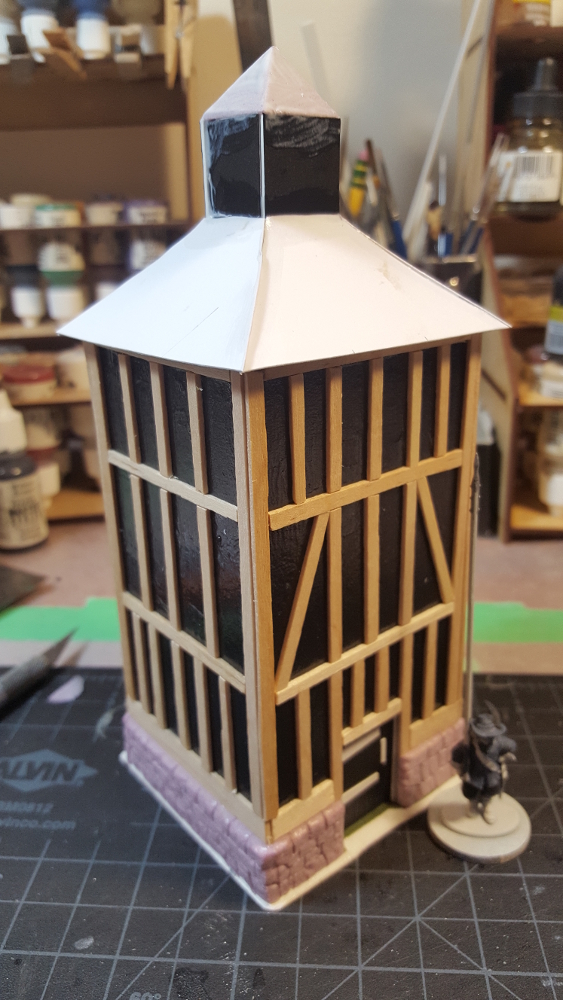
I’m not entirely happy with the roof and cupola/tower of the dovecote, so might go back and add some more details there, and I think it needs at least one more round of paint to really get the slate tiles (from thin card) looking really good. I’m really pleased with how the rest of both buildings have come together, though, espcially now that they’re painted.
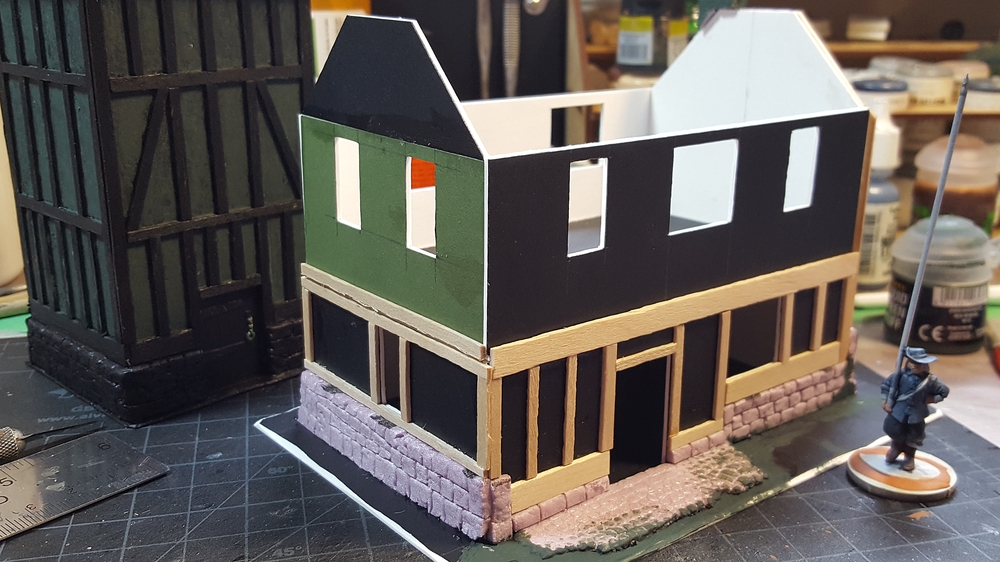
Both buildings got a black undercoat across everything, then the woodwork got a heavy drybrush of very dark brown (brown + black paint mixed), then a lighter drybrush of brown, and finally a very light drybrush of tan mostly on the corners and edges of the bigger beams. The plaster areas between the timber got a brown coat, very thinned, then tan paint, also very thinned, then a final coat of white with a bit of the tan paint mixed in, also very thin. The final colour is a great blotchy not-quite-white that varies between panels.
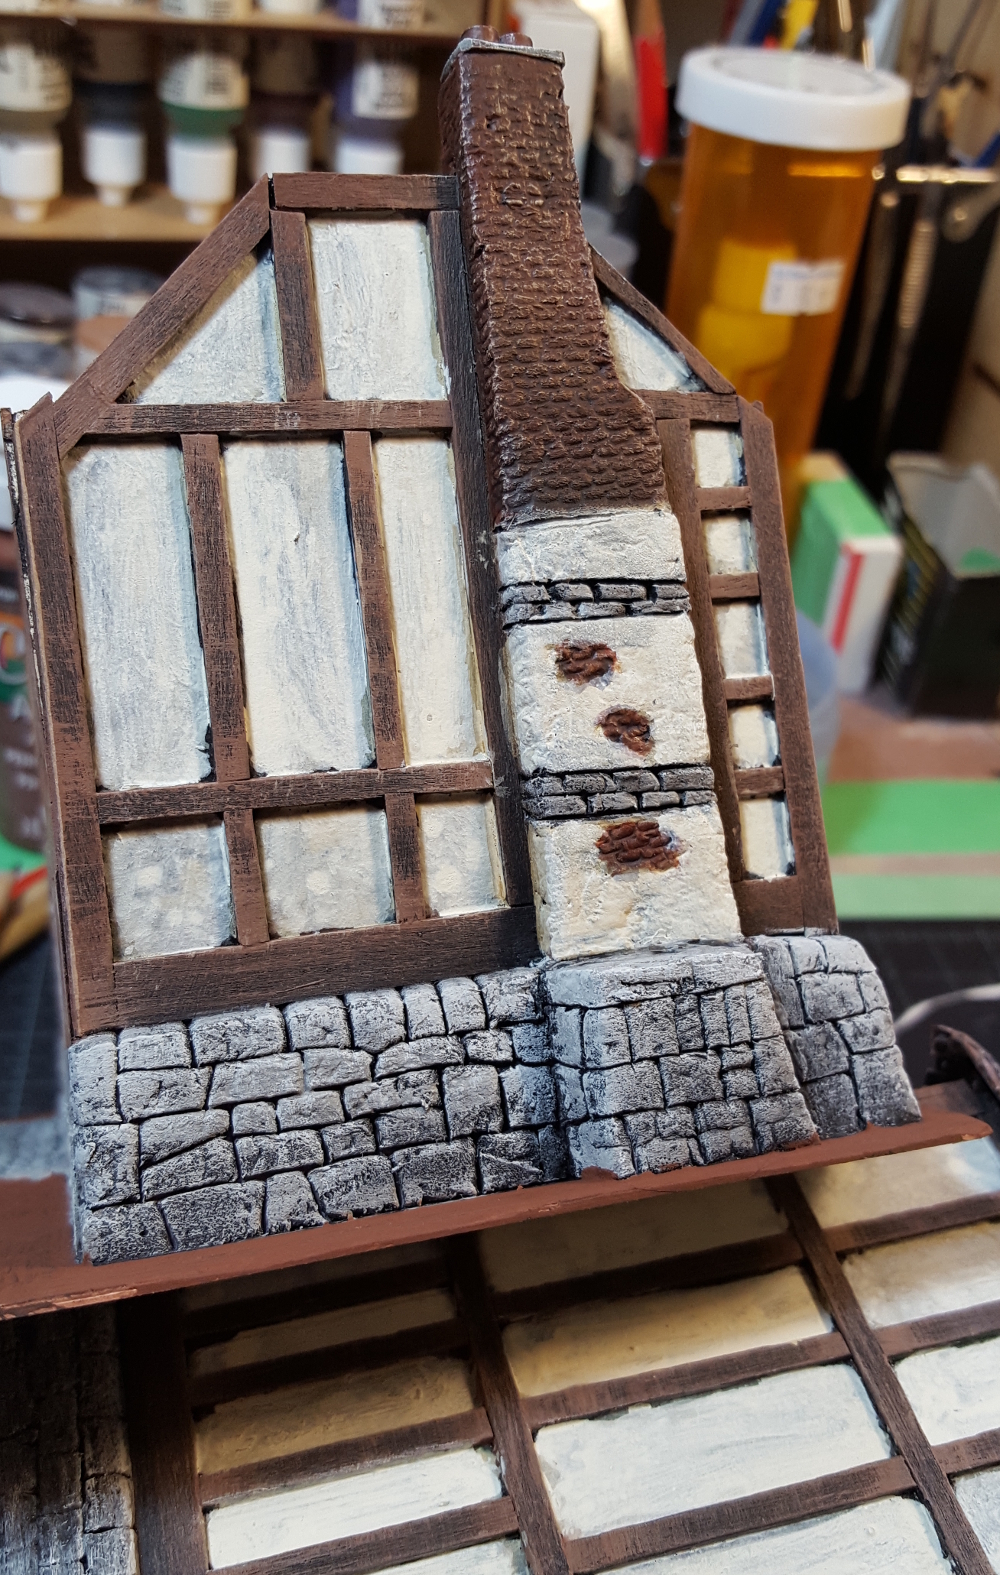
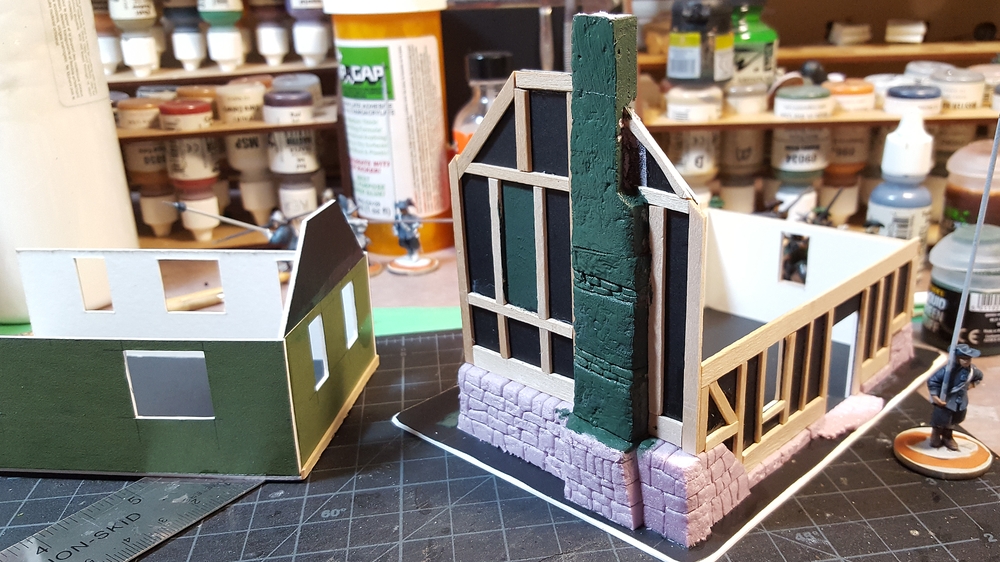
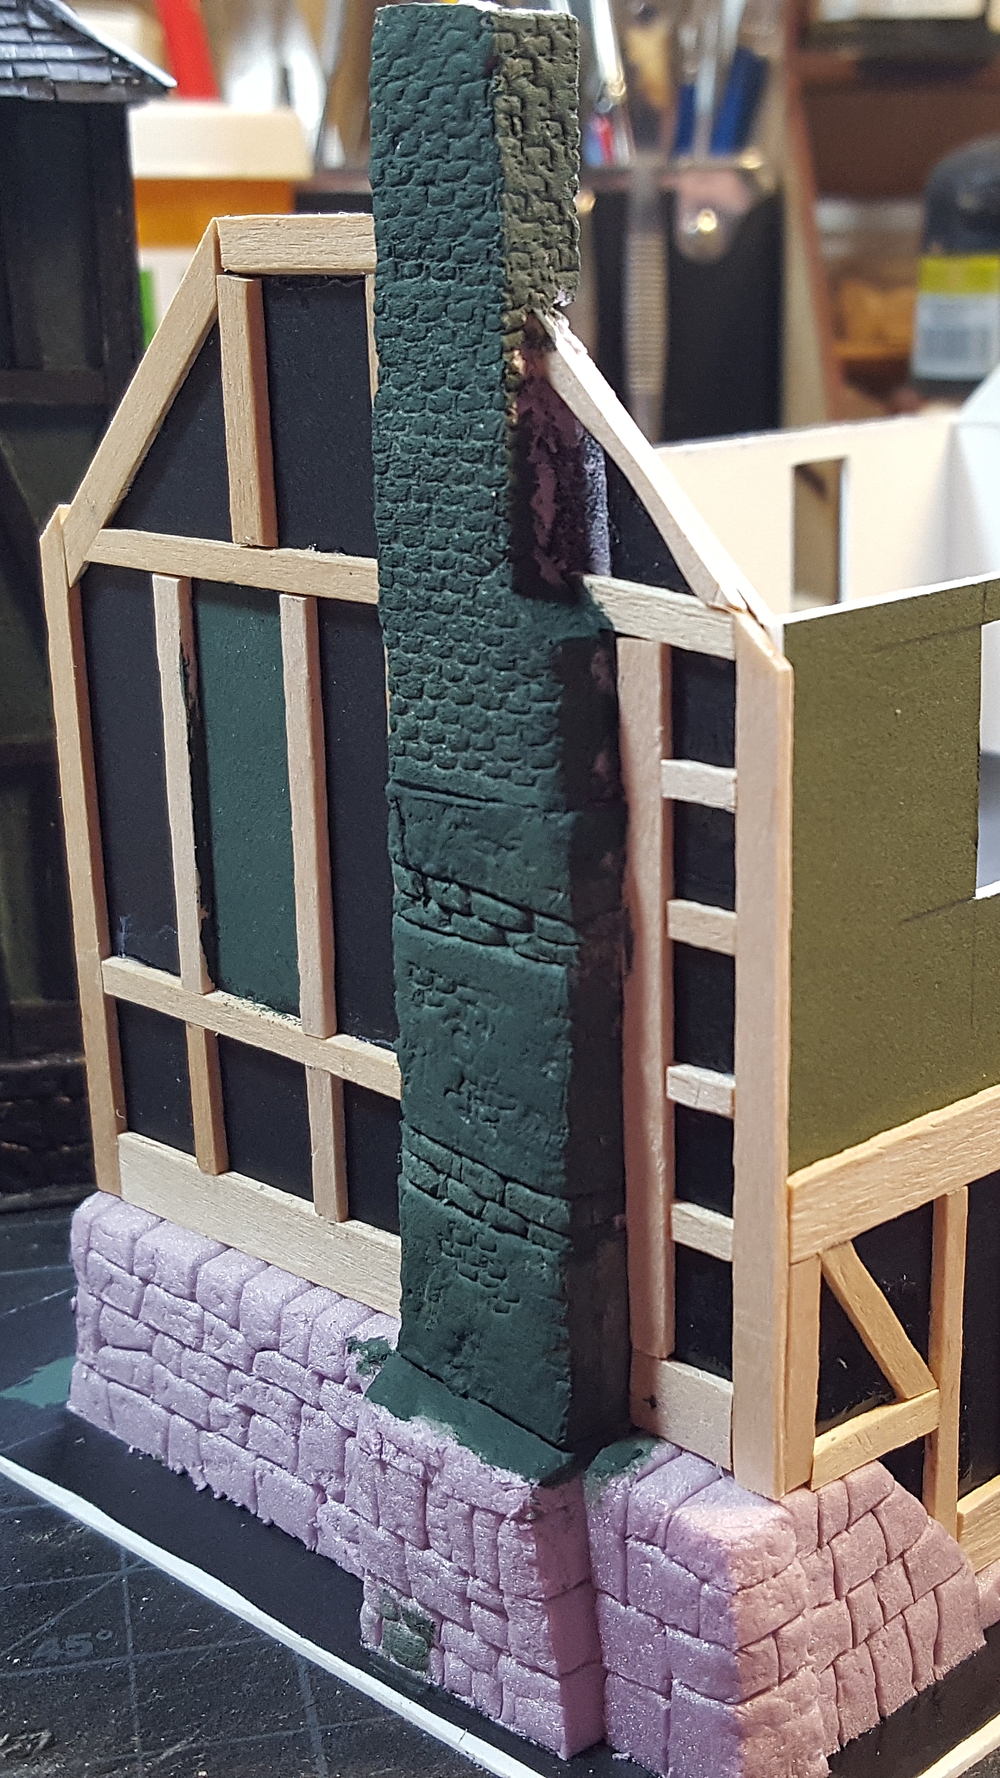
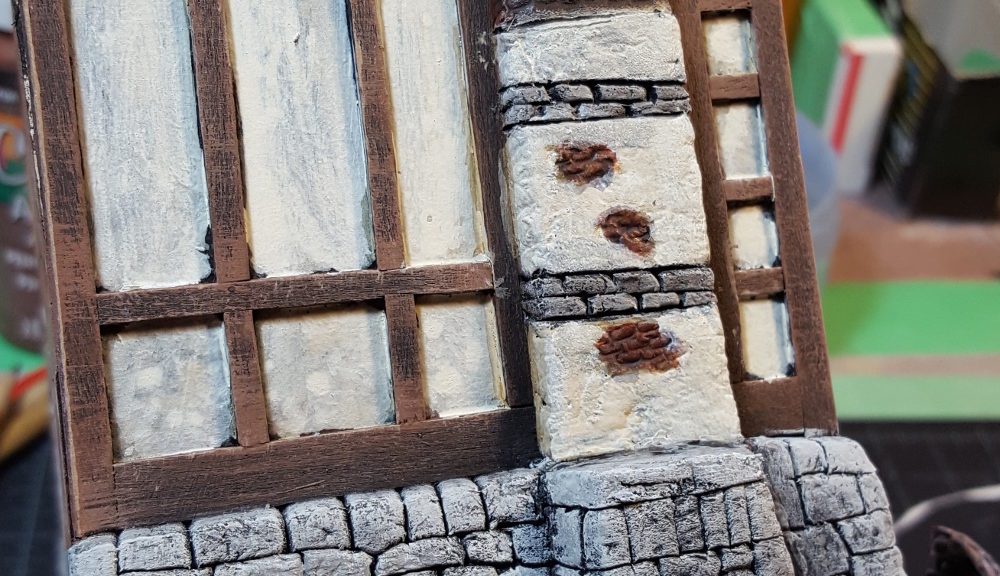
I am really pleased with how the big chimney up the end wall of the farmhouse has turned out. It’s a mix of stone, brick, and plastered areas (some broken with brick showing through) and came out looking great. Paint on the brick is brown base, red oxide, then washes of GW Nuln Oil and Seraphim Sepia, and finally a light drybrush with red oxide and tan. The plaster areas got the same paint mix as the walls.
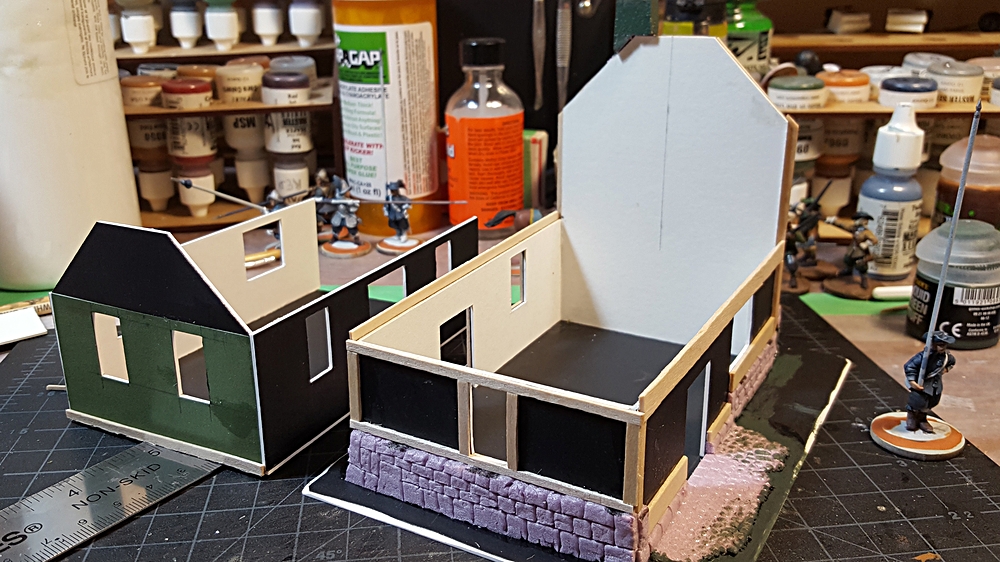
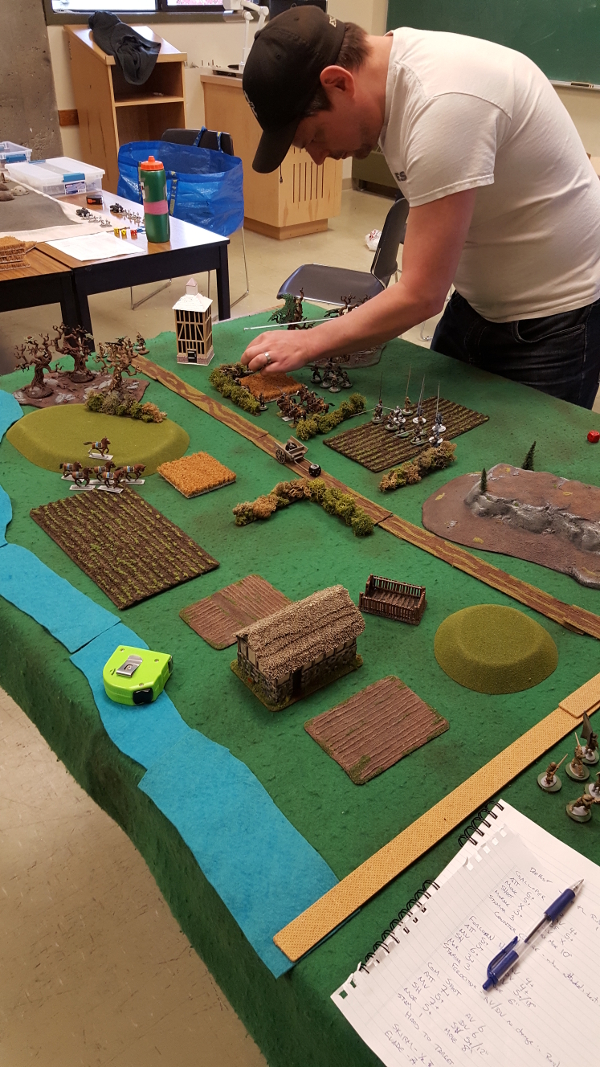
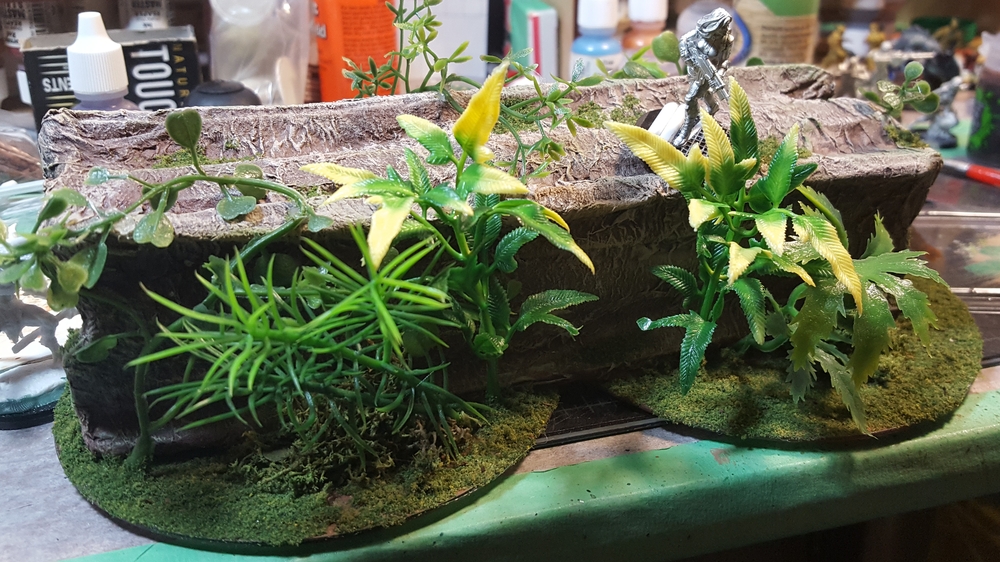
More soon; I’ll be building a couple of small cottages, hovels, and outbuildings to finish off a bit of a rural hamlet or farm for English Civil War gaming or pulp games set in the English countryside.