Tag Archives: coastal

3d Printed 1/1200 Ships from Antics

Antics, a UK model/toy shop, carry a small range of resin 3d printed 1/1200 WW2 ships under the John’s Model Shipyard name. There are a lot of pre-painted very expensive 1/1200 or 1/1250 model ships out there (Antic stock a lot, just for starters!), a couple of ranges of pewter kits, but big gaps in the market for kits for this scale.

The JMS line goes all the way up to aircraft carriers, battleships, and battlecruisers, wildly beyond ships suitable for typical coastal forces engagements as we’ve been doing here (although Italian MAS boats did engage RN cruisers in the Med, and the Channel Dash saw RN MTBs attempt attacks on Scharnhorst and company…), but there are destroyers for multiple navies and some very useful freighters, tankers, and such.

Unfortunately the Antic’s site search function doesn’t seem to have a way to bring up all the JMS products all at once – even searching for “model shipyard” only gets you a few of them, so you have to pick through each WW2 ship collection.

I decided to order the following:

Shipping cost was reasonable and took about two weeks from the UK to Western Canada, which is pretty typical. UK companies are good at mail order and the Royal Mail->Canada Post trans-Atlantic pipeline is still pretty efficient!
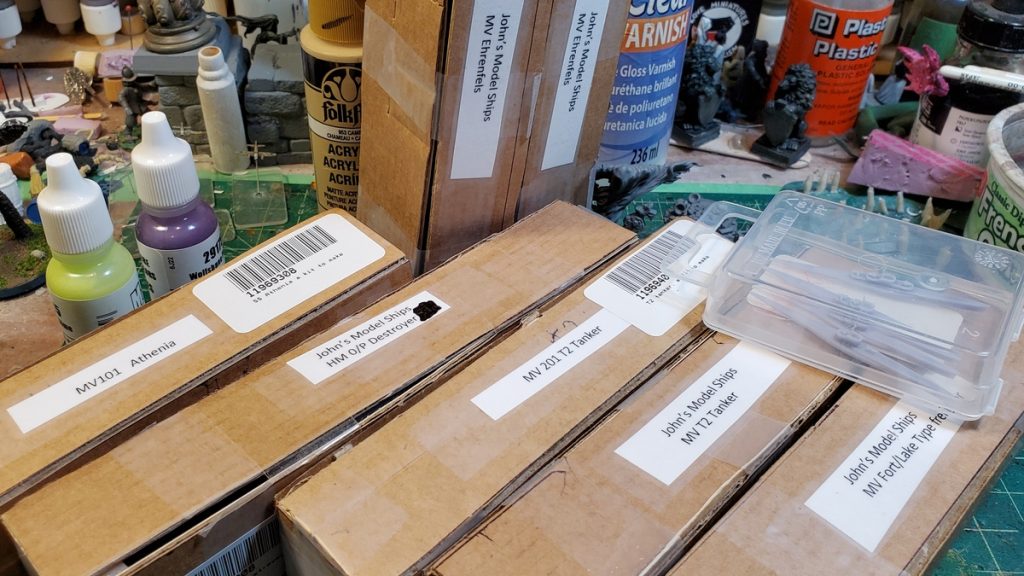
Seven ships and four submarines all neatly packaged.

Everything arrived nicely packaged, with each ship in a small custom-cut cardboard box/wrapper, all of those bundled in bubble wrap inside another cardboard box. Each hull was taped to one side of their box with a bit of double-sided tape on the hull bottom and there was no damage in shipping, despite some of the 3d printed resin details like masts, vents, and lifeboat davits being very, very tiny indeed.

The four U-boats came in a little hard plastic case, held down by another bit of double-sided tape.
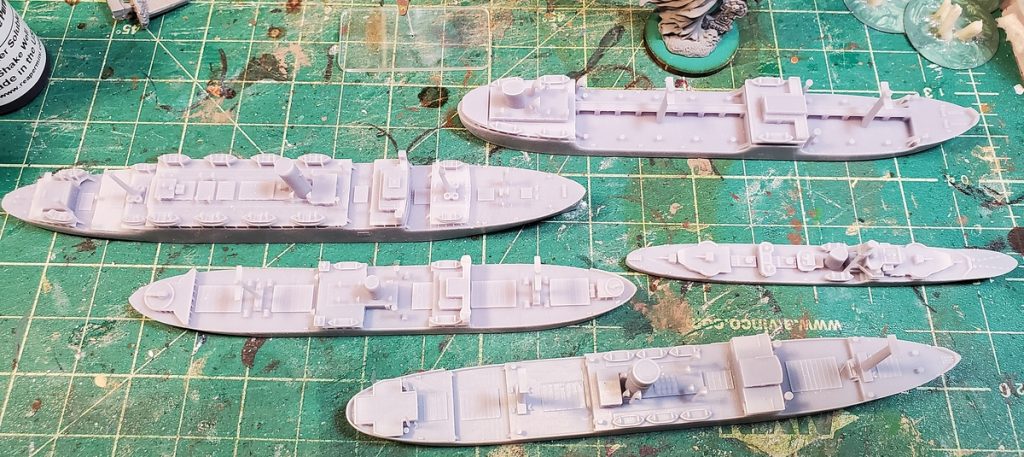
All five ships top down. Clockwise from top right: T2 tanker, O/P-class RN destroyer, MV Ehrenfels, Fort/Lake freighter (with gun tubs at bow and stern), and the liner Athenia.

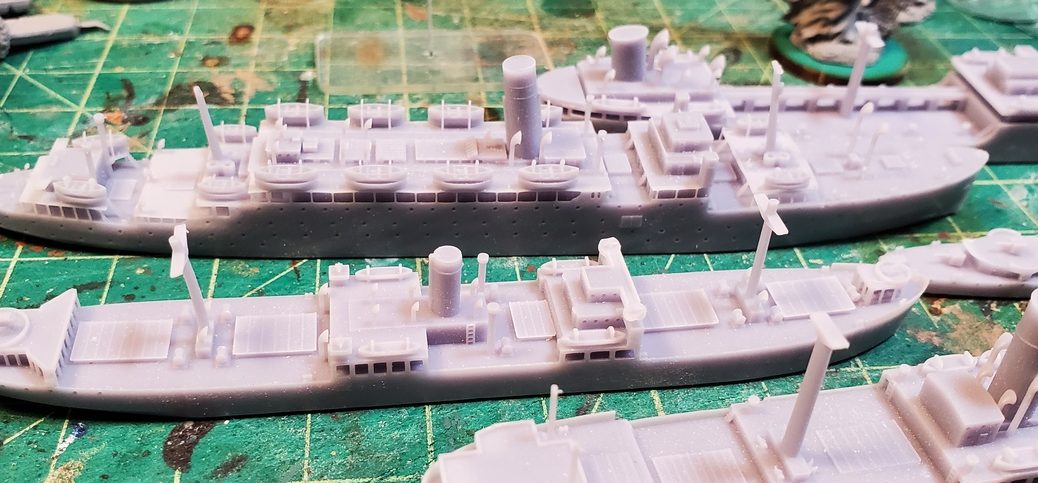
These are very nice crisp 3d resin prints, with details like gun barrels, lifeboat davits, and vent stacks printed incredibly fine – much finer than you could get with pewter or resin casting.
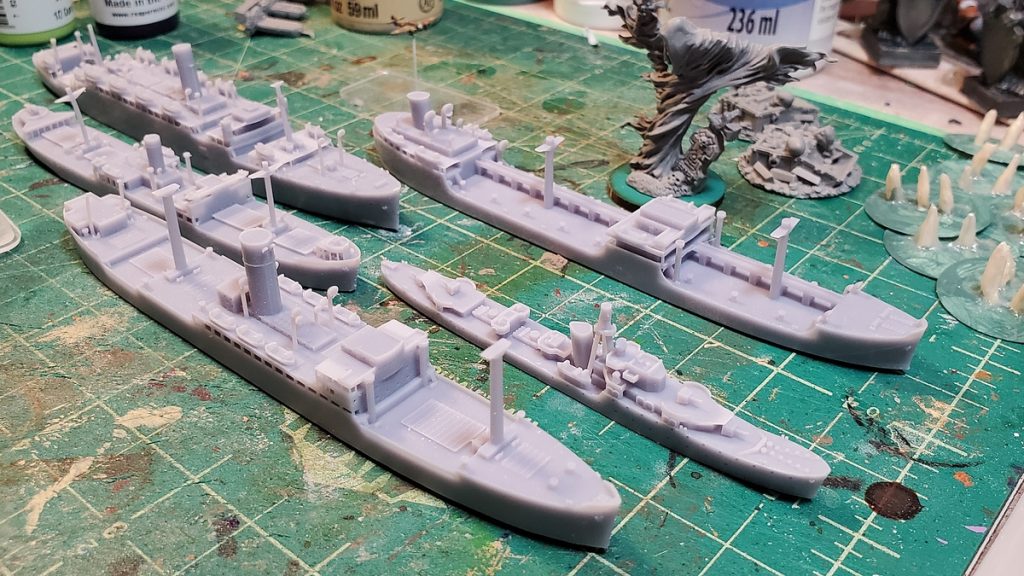
Lower angle shot, same arrangement as the first photo, MV Ehrenfels in the foreground, O/P RN destroyer and Fort/Lake freighter, Athenia liner, and T2 tanker.

Of the four merchants, only the Fort/Lake freighter is armed, with a gun tub on a raised platform on the bow and another on the roof of the stern deckhouse. I’ve never been terribly strict about WYSIWYG on miniatures but someone on Shapeways does do 1/1200 gun tubs if you wanted to arm up some of these ships…
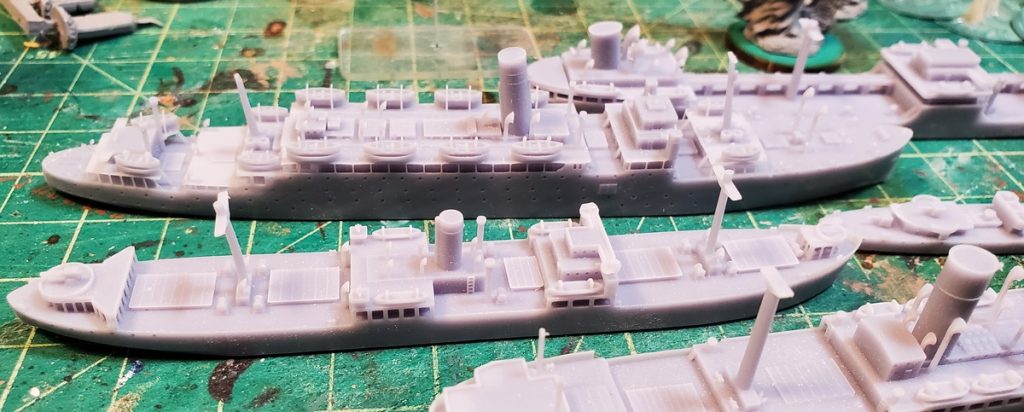
Athenia (behind) and Fort/Lake freighter. Look how fine the lifeboat davits and other bits are, especially on Athenia.

The liner Athenia is a fun addition to the fleet – not likely to be on the table much compared to the freighters and warships but there’s basically zero other tabletop quality passenger liners out there that I’ve found.

In 1/1200 scale 1 real world inch is 100 scale feet (1200 inches), which is a nice easy conversion to remember. Accordingly, a 400ft long ship would be 4″ long. Athenia comes out to about 5.25″ long, Ehrenfels slightly shorter at almost exactly 5″, the T2 tanker just under that, the Lake/Fort freighter at about 4.25″, the RN O/P-class destroyer at just under 3.5″, and finally the four Type VII U-boote at around 2.25″. Far as I can tell these are all correctly scaled, or close enough for jazz!
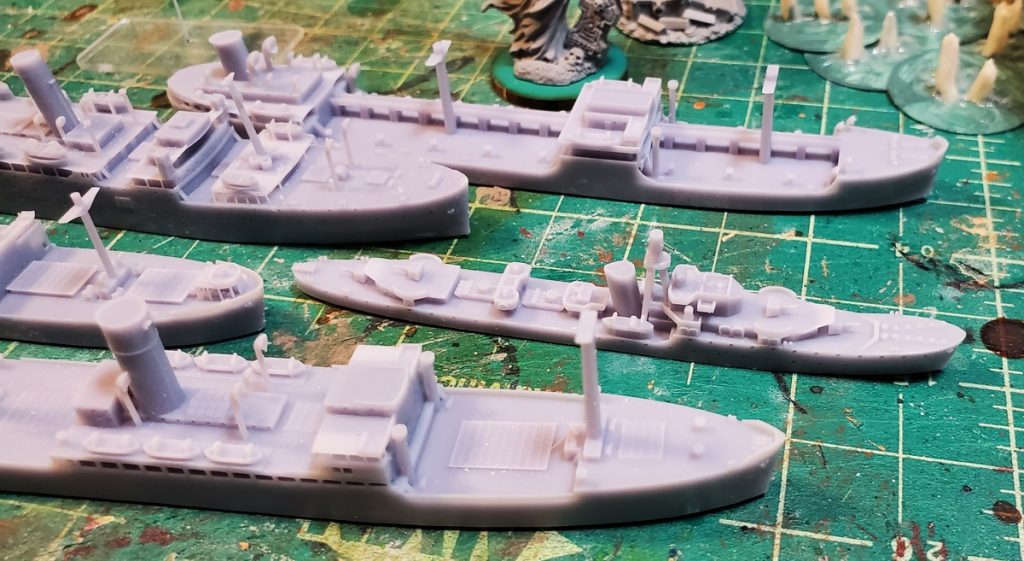
MV Ehrenfels in the foreground, Royal Navy O/P class destroyer, and in the back the T2 tanker, plus a nice look at the bows of Athenia and the Lake/Fort freighter.

In theory all of the ships need additional topmasts, cargo booms, and such added. If I do add them, I’ll use plastic broom bristle as that should be far more gamer-friendly (and more resilient to damage!) than plastic rod or fine stiff wire. I might well leave them with just the 3d printed mast they came with, to be honest. They’re gaming models, not static showpieces.
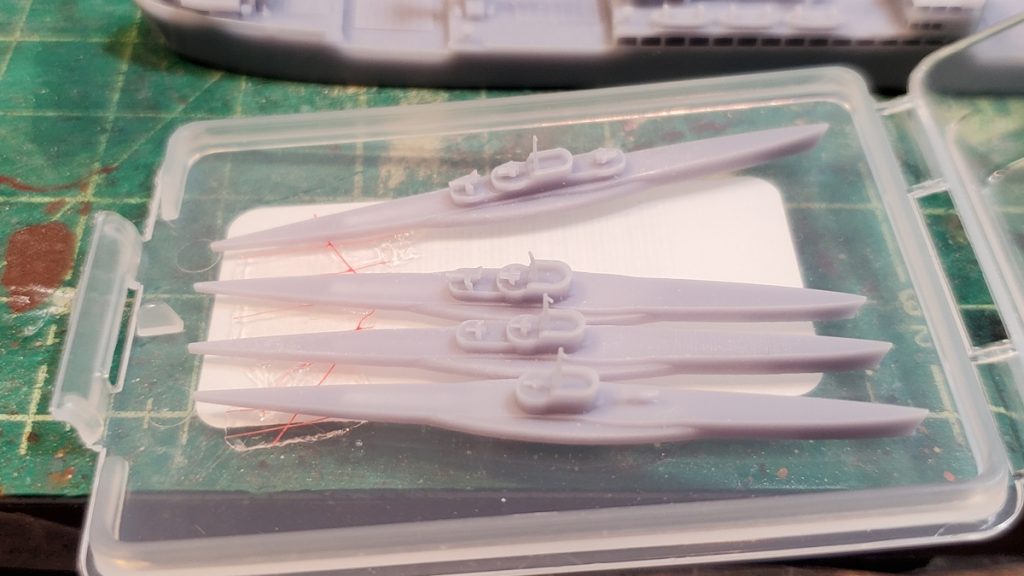
The four U-boats. I think they’re original conning tower, No. II style, No. IV style, and “flak” version in order from front to back. Just under 40mm long bow to stern.

I threw the U-boats into the order just for the heck of it, but they’re neat little models. You get four slightly different versions of the Type VII Uboote, with original conning tower, with No. II style conning tower, with No. IV style conning tower, and “Flak” with the extra AA gun platform. The 3d printed periscopes are incredibly fine and even if I don’t add cargo booms and such to the ships, I might well swap out the periscopes with broom bristle or superfine brass wire as being more resilient than the 3d printed resin will be!

The prices were comparable to or cheaper than pewter models of similar size (the pewter Liberty freighter from Last Square, for example) and less expensive than similarly detailed 3d prints from Shapeways. As mentioned above about the Athenia, JMS cover some vessels not commonly found elsewhere, so I was happy with these and might well order some more in the future. There’s a decent variety of Royal Navy WW2 vessels in the John’s Model Shipyards line (search here for ‘kit’ or ‘John’), a few German WW2, another few Japanese (mostly cruisers or battlecruisers for the two Axis navies), and a Liberty freighter to round things out. Nothing yet for the French, Italians, or (the biggest surprise) the Americans, but hopefully the range keeps expanding in the future. Personally I’d love to see more destroyers, corvettes, frigates, and similar, as those ships worked alongside coastal forces boats fairly regularly and that’s going to stay my main focus. Whoever is doing the 3d design work at JMS seems to know their stuff, know the limits of the 3d printer they’re using, and get a really nice level of detail on their ships!

Small Scale Islands

To round out the current run of small scale scenery for coastal naval games I decided on a trio of islands, one of them with a lighthouse.

As with the rest of these small scale naval terrain pieces the base is .040/1mm styrene plastic card, bought in bulk from my local plastic supplier, with the edges shaped and sanded.

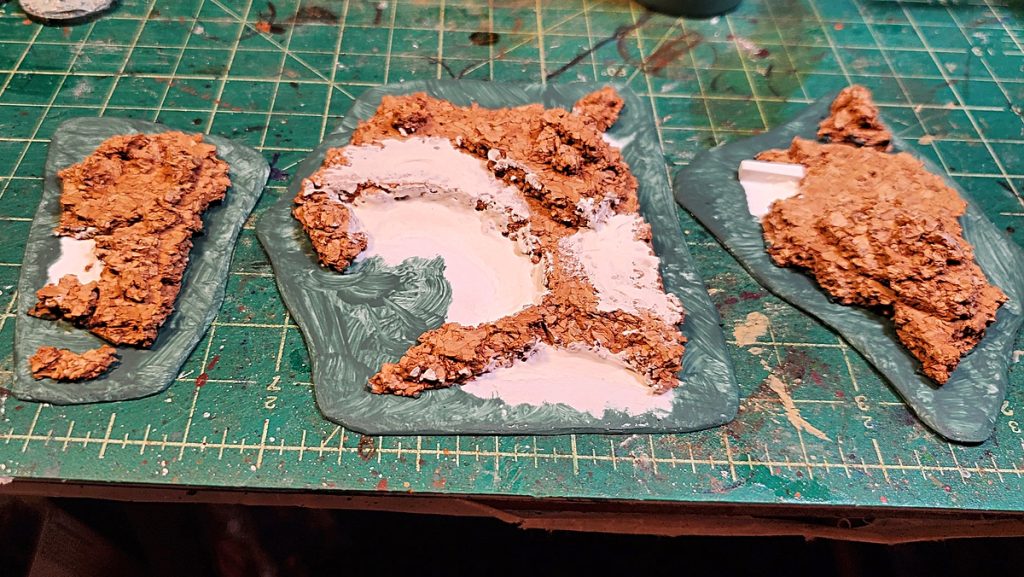
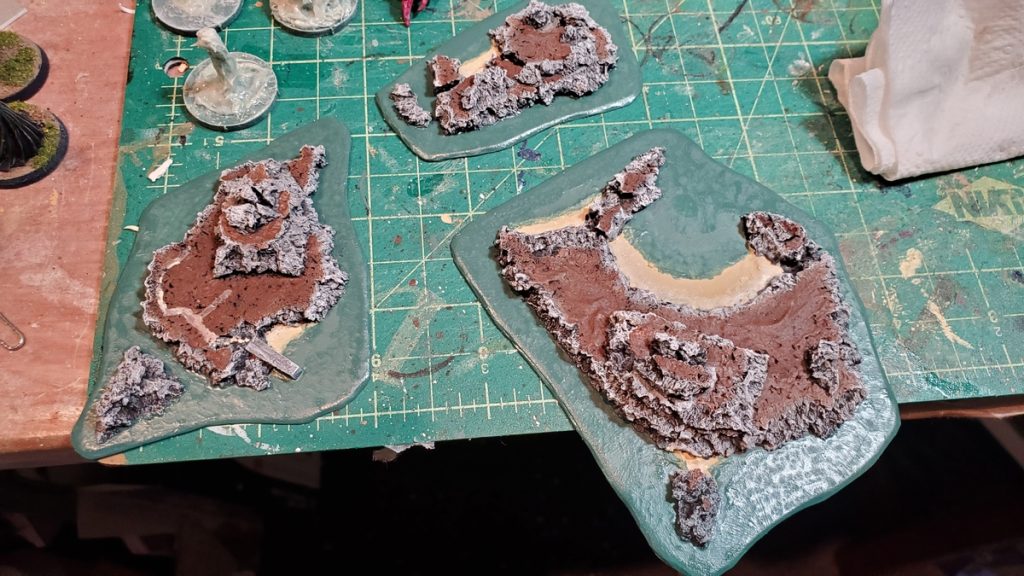
I forgot to take an unpainted/unplastered photo, and this one is blurry, but you get the idea. Cork for the island shapes on plastic card bases, then premix plaster for the beaches and to provide a bit of variety on some of the flat areas.

The basic structure was more quarter inch cork board, in larger pieces than I used for the rocks. I broke pieces of cork by hand and shaped the edges mostly with my fingernails.

The beaches are premixed patching plaster, applied with a wet sculpting tool and mostly smoothed with a wet fingertip. The concrete jetty on the mid-sized island is a little sliver of styrene plastic square rod.

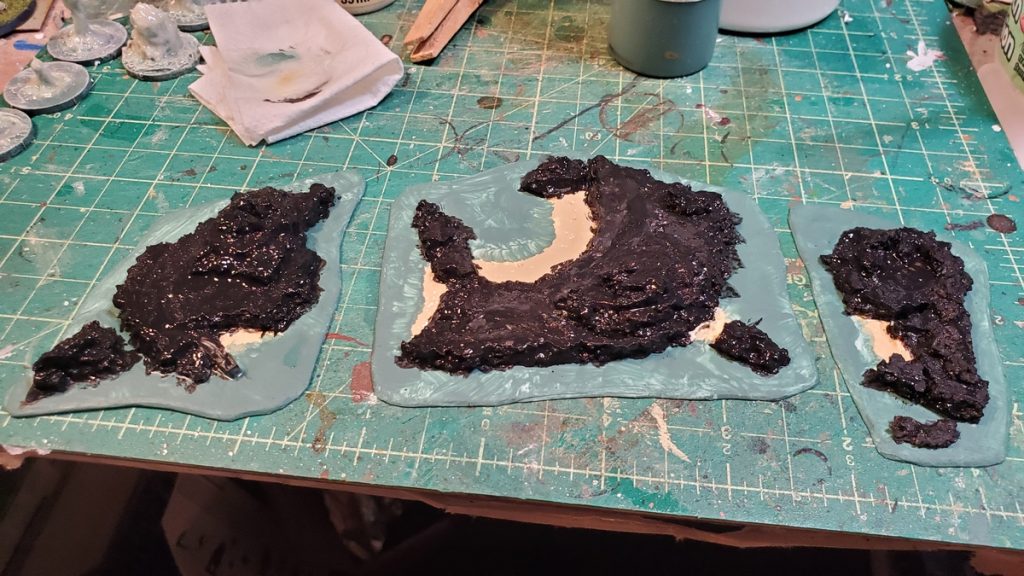
Basecoats in progress – my usual blue-green ocean colour, black on the islands, sandy on the beaches.

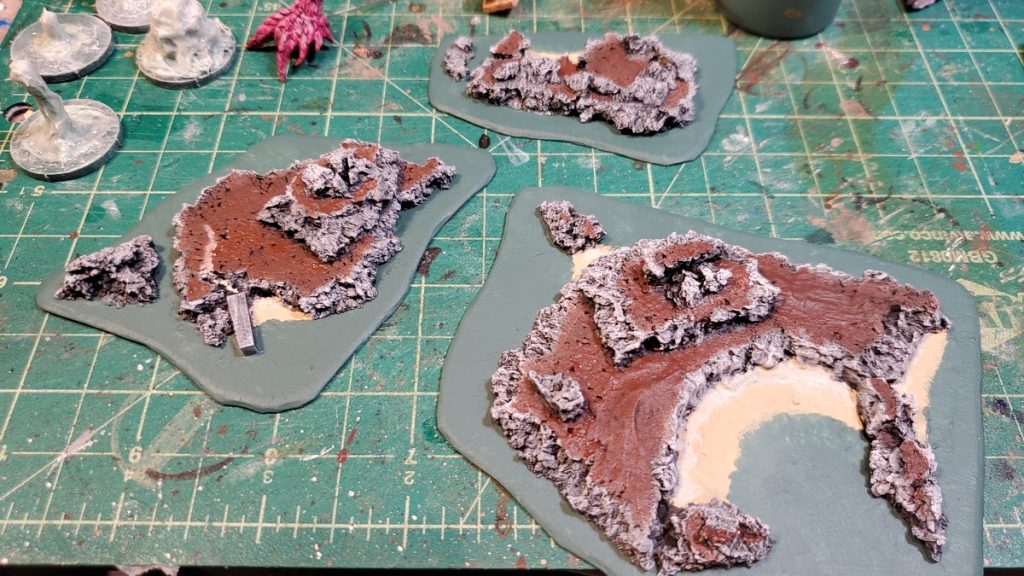
The paint is my usual ocean scenery set – a blue-green for the water, Camel and Parchment for dark and light sand, and the rocks were drybrushed up from black with a dark grey, a pale grey, and finally pure white. The flattish areas of the islands that will eventually be flocked green were painted brown.

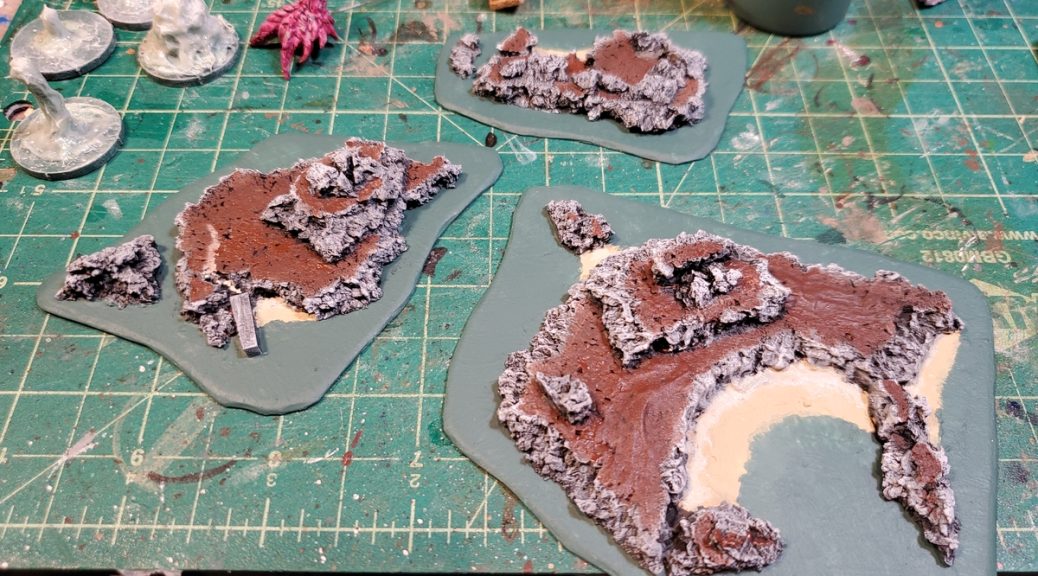
Painting all done. The largest island (lower right) is about 4″ x 3.5″, the midsize one (left) is about 3″ x 2.5″ max, and the small one (background) is about 2″ x 2.5″.

For drybrushing, incidentally, I highly recommend heading to your local dollar store/pound shop/etc and getting a set of cheap makeup brushes. They’re fantastic for drybrushing and available in a variety of sizes.

First coat of gloss varnish on the water parts. These wound up with three coats of gloss varnish before I was happy with the look, and then the usual treatment with gloss gel for waves and water texture.

The water got the usual treatment, several coats of gloss varnish with a minimum of 24hrs drying time between each coat, and then acrylic gloss gel for waves and water texture, as detailed in the previous articles in this series. After all the water stuff was thoroughly dry I attached the lighthouse with superglue and did a quick flocking job with two or three different flock mixes.

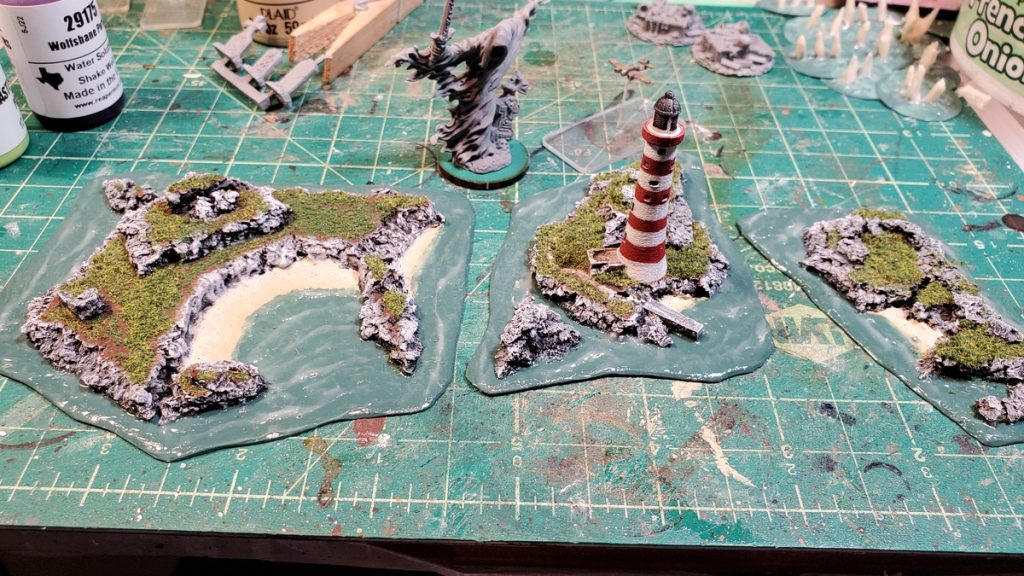
All three islands finished, flocked, and ready for the table. Really pleased with the wave patterns in the large bay of the largest island on the left.

The lighthouse on the middle sized island is Brigade Model’s Small Scale Scenics Beachy Head lighthouse. The real thing sits directly in the water, not on an island, but it’s a nice generic looking large lighthouse, regardless!

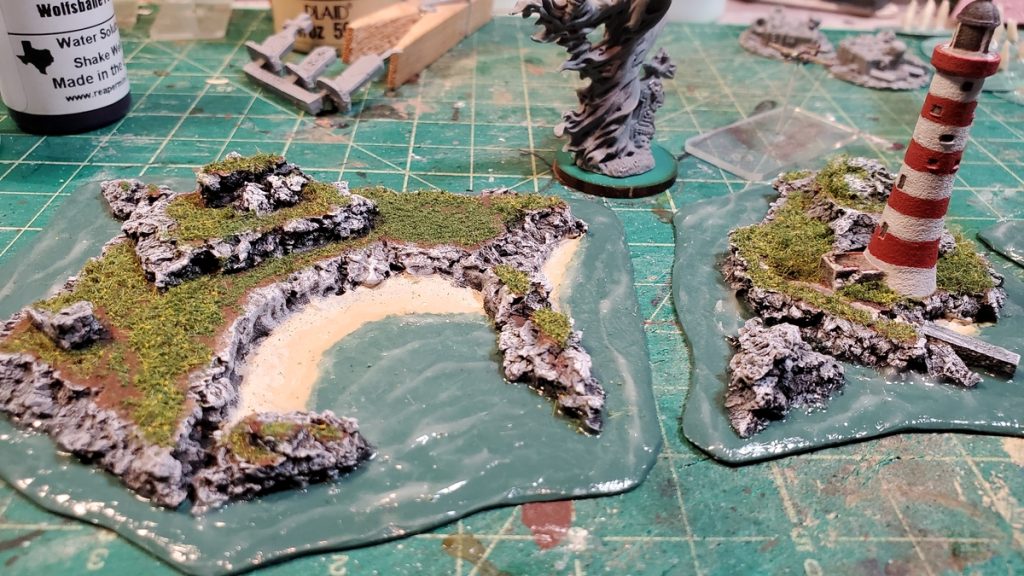
A bit of a closeup of the large and lighthouse islands. Broken cork makes great rock formations and cliffs.
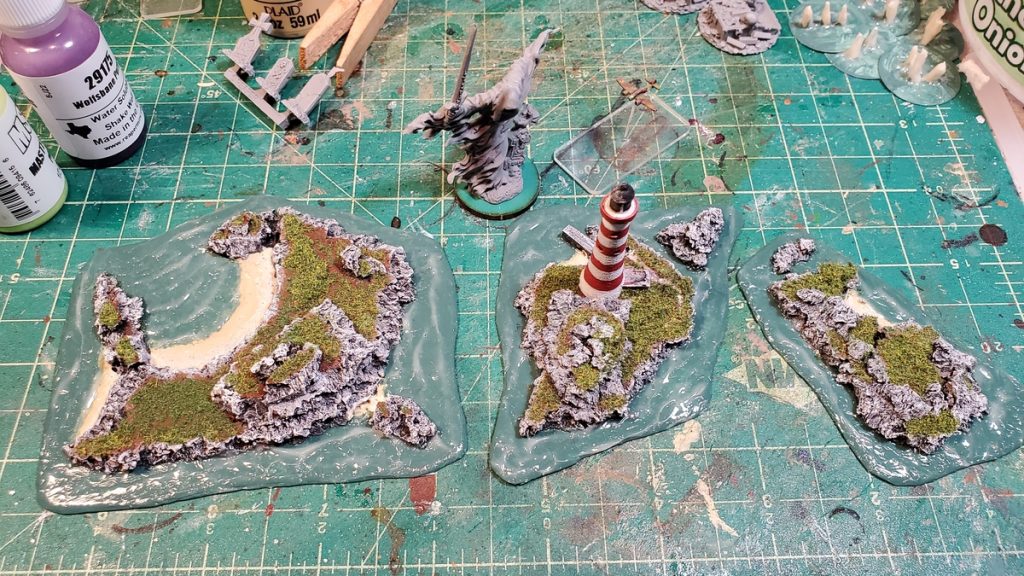
All three islands from overhead. For scale, that wraith is on a 25m wide base and the 1/1200 RAF Beaufighter is on a 20mm W x 40mm L base.

These took a bit longer than I’d planned, due mostly to drying times of all the paint, water effects, and such, but they came out great and I look forward to them being a damned nuisance during 1/1200 naval games for many years to come!

Coastline Complete

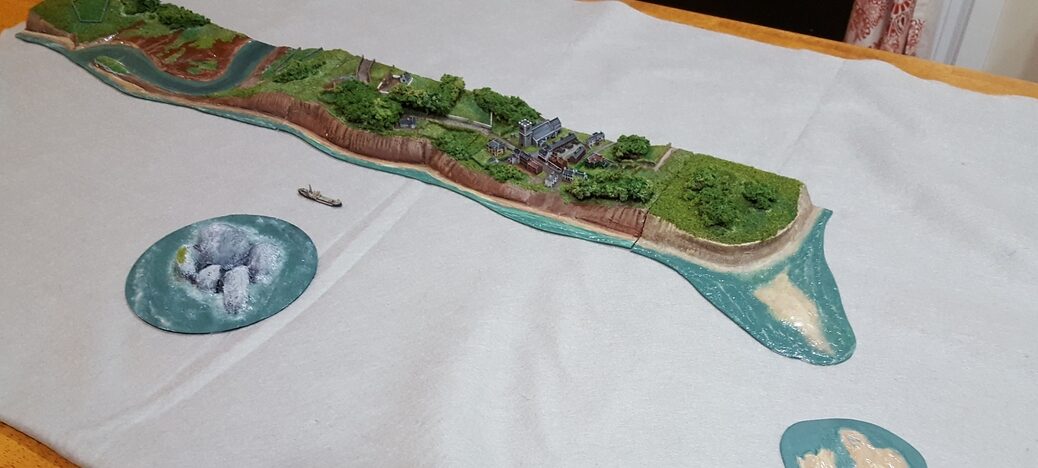
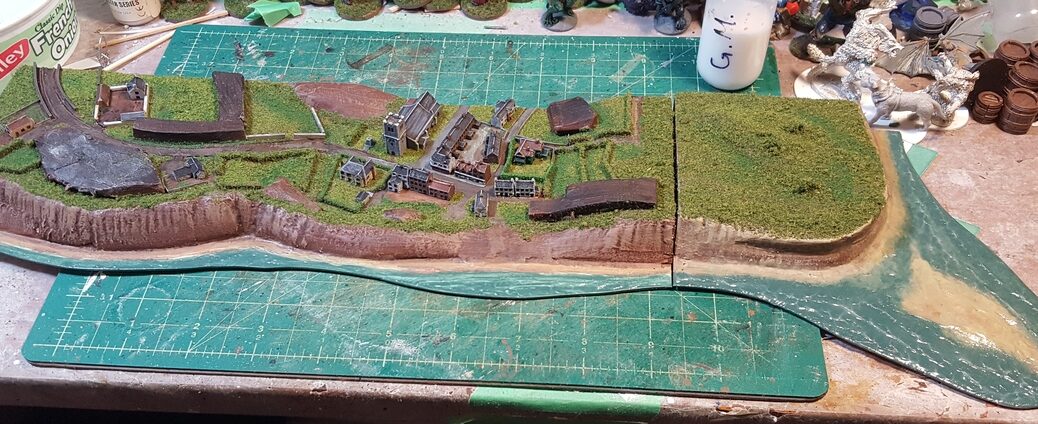
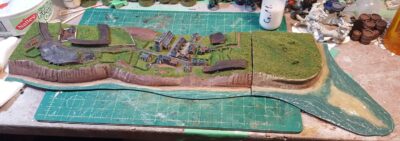
The first coastline segments are done, barring a tiny amount of touchup here and there.

coastline overview
Overview of the coastline and other bits. Click for larger.

The sandbank off the headland still needs some paint and the waves done, and I need to do a bit of drybrushing along all the cliff segments to get a better colour match along the whole thing.

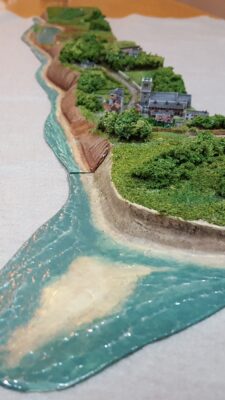
headland
Low level view of the coastline, starting from the headland. Click for larger.
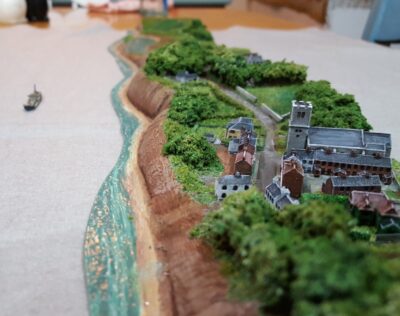
village
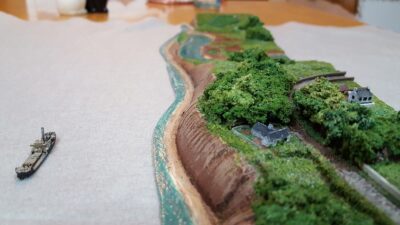
Low over the coastline, approaching the village. Click for larger.
farmland
Over the village and looking at the farms and countryside beyond. Click for larger.
river
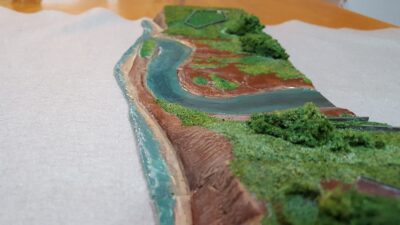
The last part of the finished coastline features a lazy tidal river and mudflats.

I’m planning on running this 1/1200 naval game and a big 28mm Pulp Alley game at Trumpeter Salute 2020 in April (the 17th through 19th) so I doubt I’ll do more coastal segments until after that, but in the future I do want to do several more segments, enough eventually to have one side of a table as solid coastline, so six or more feet.

Now on to the tiny ships!

A Headland for Tiny Ships

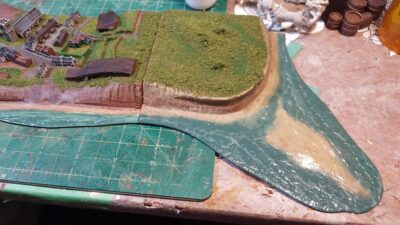
Cranked out a headland for my coastal terrain, so we can have the coastline end on-table without looking super-weird. It’s designed to go on either end of the modules, so that constrained the design considerably, but I like how it worked out.

headland in bare plaster
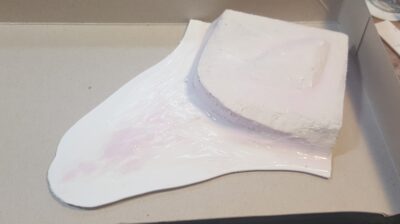
Basic headland before painting. See text for details, click for larger.


As with the larger coastal sections, the base is 1mm (.040″) plastic card cut down and sanded, with a chunk of half-inch styrofoam insulation for the land. I used a couple of different grades of sandpaper to shape the landform, including the slightly undercut eroding cliff faces, which I really like the look of.

After that I covered the whole thing with a 1:1 mix of premixed drywall plaster (the pink stuff) and white glue, smoothing and shaping it with my fingers to cover the styrofoam, smooth out the sanding marks on the cliffs, and shape the sandbank in front of the point.

painted finished point
The headland basically finished. Click for larger.

Painting and gloss gel for wave effects went fairly quickly, with a dose of my usual flock mixes on the land side. Because this headland section has to connect to any end of the other coastal sections, and I (deliberately) didn’t run roads off the ends that limited what I could realistically put on this piece. So it’s just scrub, cliffs, and ocean.

headland in context with village
The headland next to the village module. Click for larger.

Finally, a quick shot of the new headland next to the village module, which is still awaiting woodland sections. I can see I need to do a little bit more drybrushing on all the cliff sections together to match them up, but otherwise everything looks good together. The gap between the modules is less obvious when they’re properly in place; here the headland is tipping off the edge of my cutting mat and making the gap look giant!

I’ve had a bit of setback with the river section – glue accident while putting flock down – so it’s back to finishing that off in the next few days then I need to actually do the wood canopy sections to call this round of tiny naval terrain finished!

I have to admit to being straight-up intimidated to start painting the 1:1200 Last Square coastal naval boats. They’re tinier than anything I’ve painted in years and incredibly detailed. I’m not kidding when I say I own 28mm figures with cruder details than these tiny, tiny ships, most of which can balance on a fingertip.