
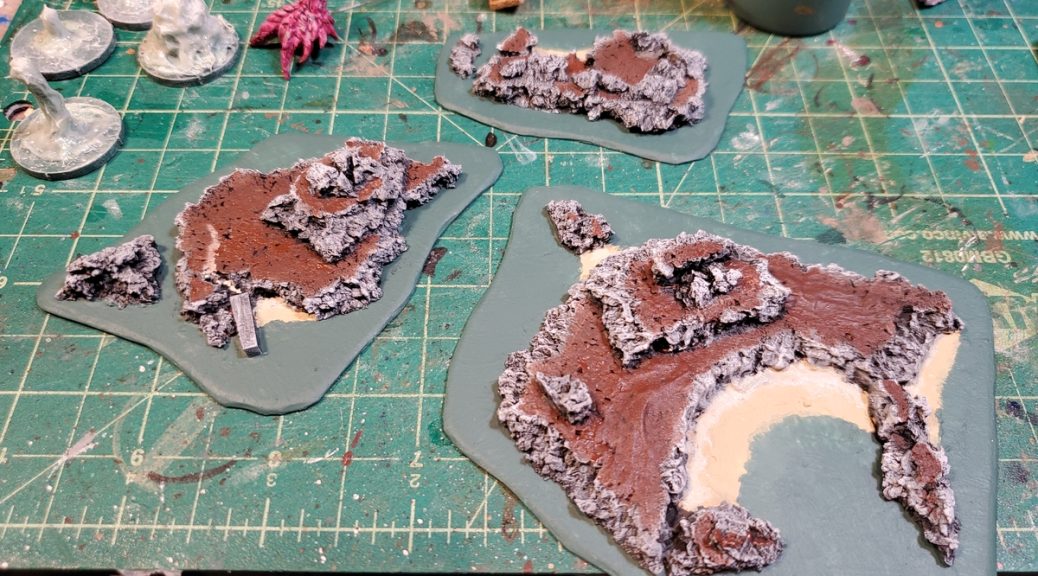
To round out the current run of small scale scenery for coastal naval games I decided on a trio of islands, one of them with a lighthouse.
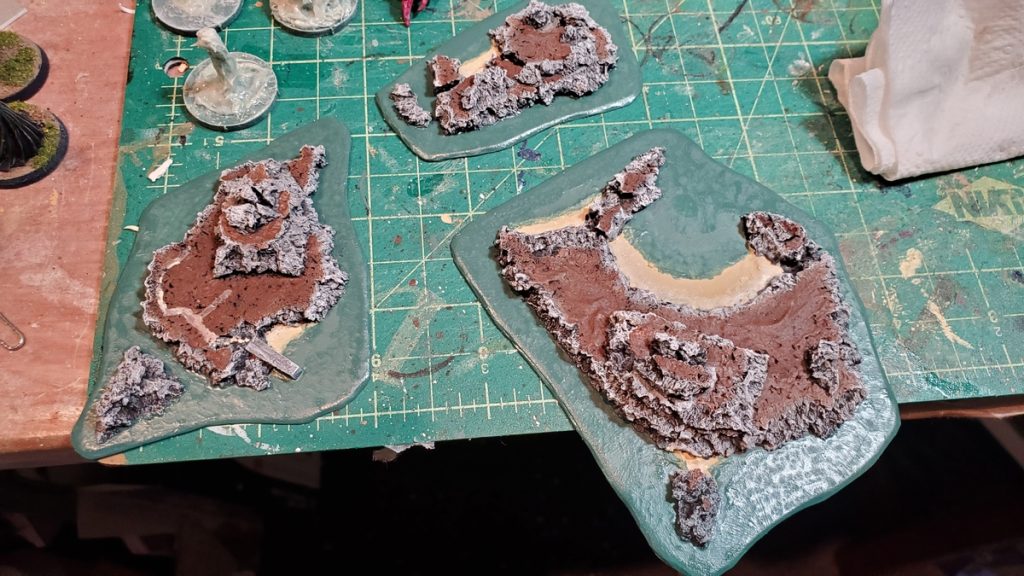
As with the rest of these small scale naval terrain pieces the base is .040/1mm styrene plastic card, bought in bulk from my local plastic supplier, with the edges shaped and sanded.
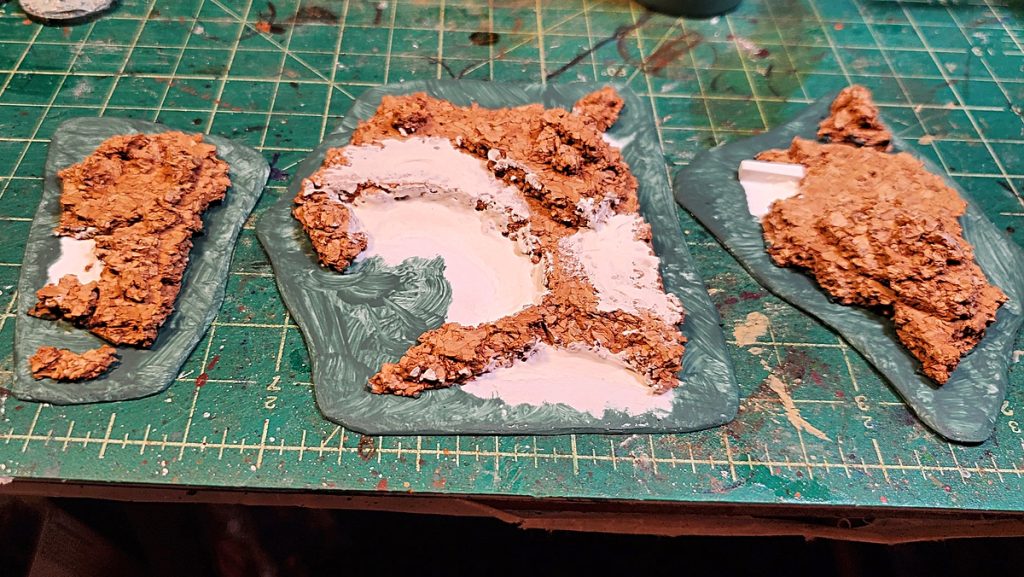
The basic structure was more quarter inch cork board, in larger pieces than I used for the rocks. I broke pieces of cork by hand and shaped the edges mostly with my fingernails.
The beaches are premixed patching plaster, applied with a wet sculpting tool and mostly smoothed with a wet fingertip. The concrete jetty on the mid-sized island is a little sliver of styrene plastic square rod.
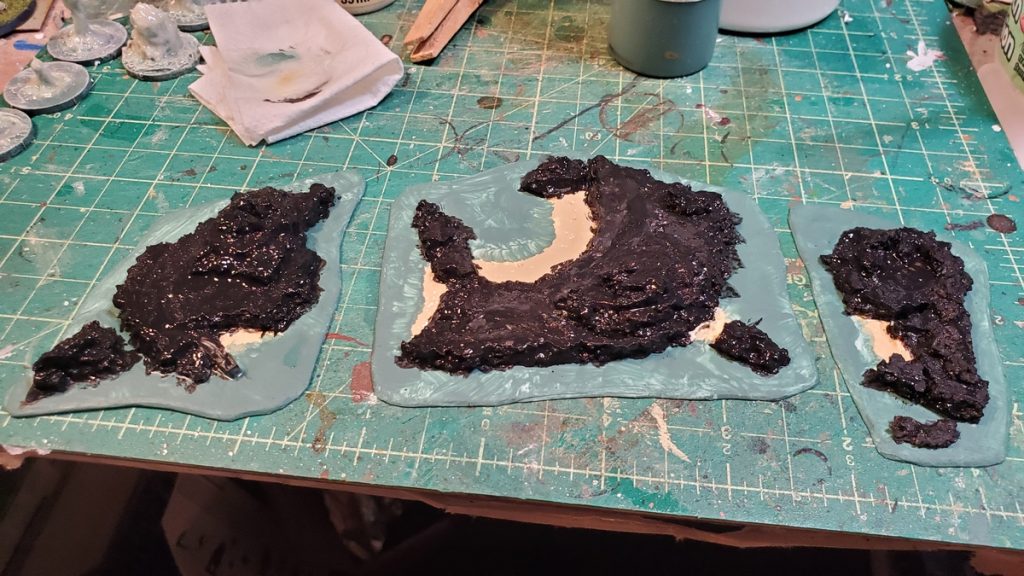
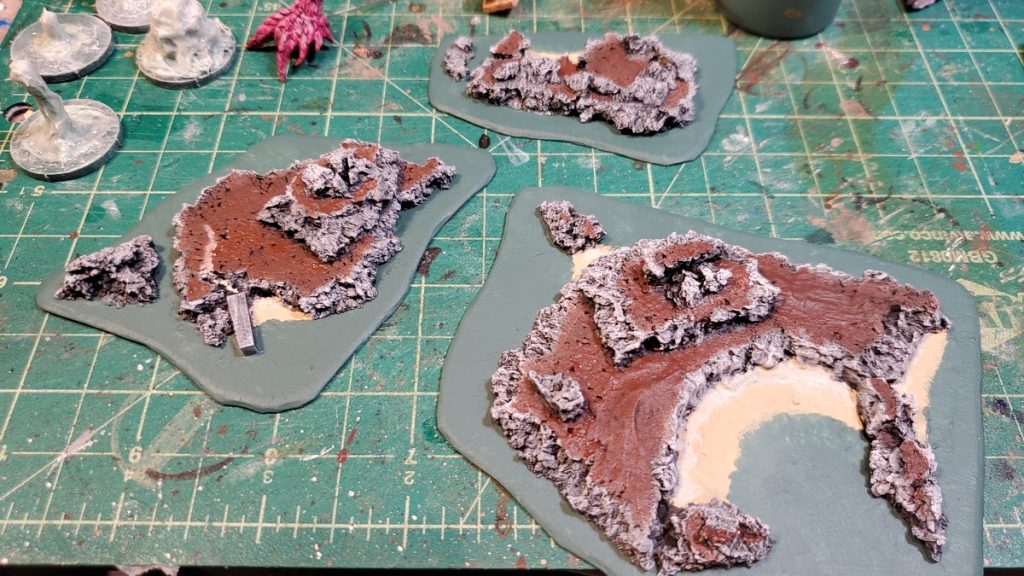
The paint is my usual ocean scenery set – a blue-green for the water, Camel and Parchment for dark and light sand, and the rocks were drybrushed up from black with a dark grey, a pale grey, and finally pure white. The flattish areas of the islands that will eventually be flocked green were painted brown.
For drybrushing, incidentally, I highly recommend heading to your local dollar store/pound shop/etc and getting a set of cheap makeup brushes. They’re fantastic for drybrushing and available in a variety of sizes.
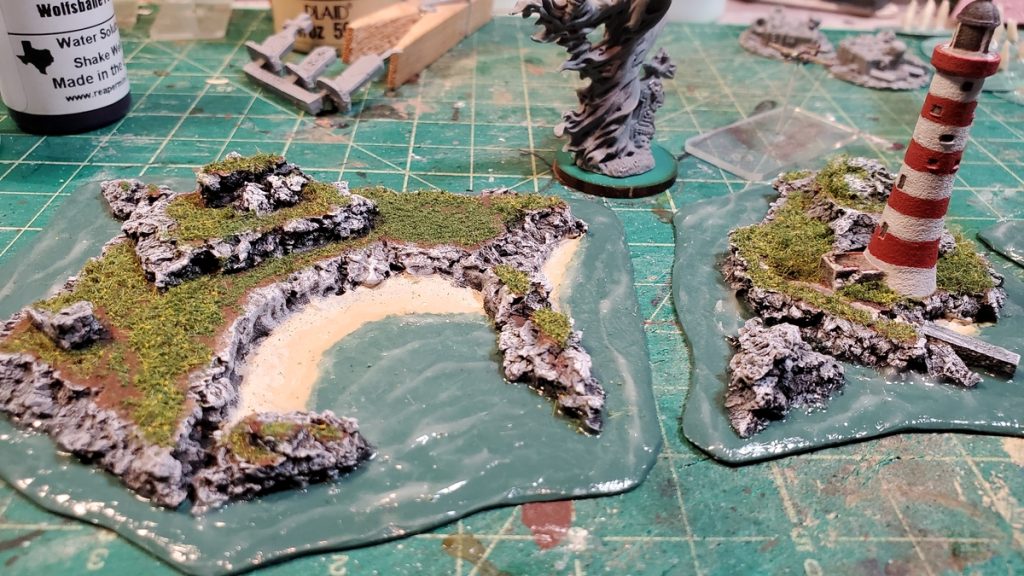
The water got the usual treatment, several coats of gloss varnish with a minimum of 24hrs drying time between each coat, and then acrylic gloss gel for waves and water texture, as detailed in the previous articles in this series. After all the water stuff was thoroughly dry I attached the lighthouse with superglue and did a quick flocking job with two or three different flock mixes.
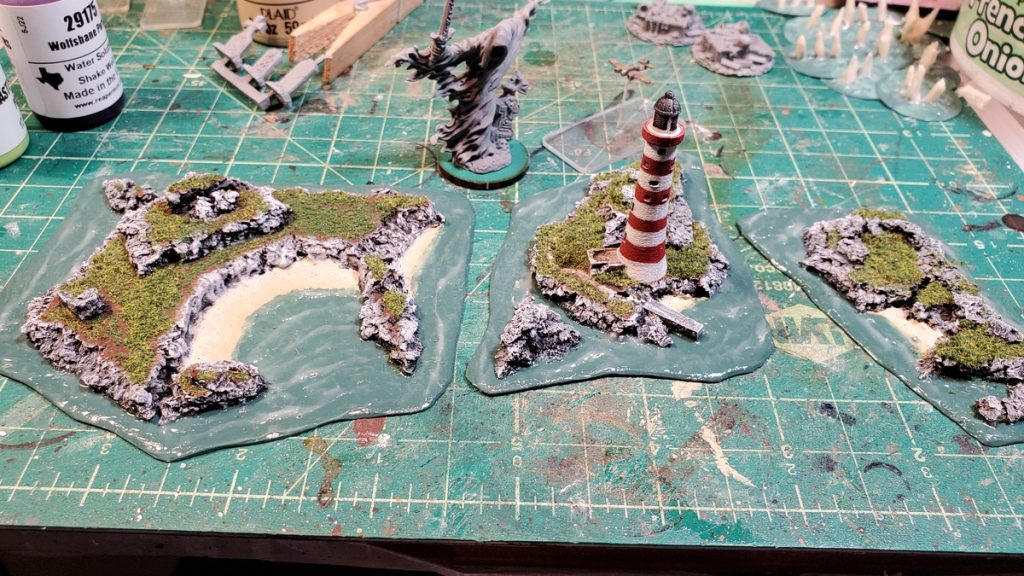
The lighthouse on the middle sized island is Brigade Model’s Small Scale Scenics Beachy Head lighthouse. The real thing sits directly in the water, not on an island, but it’s a nice generic looking large lighthouse, regardless!
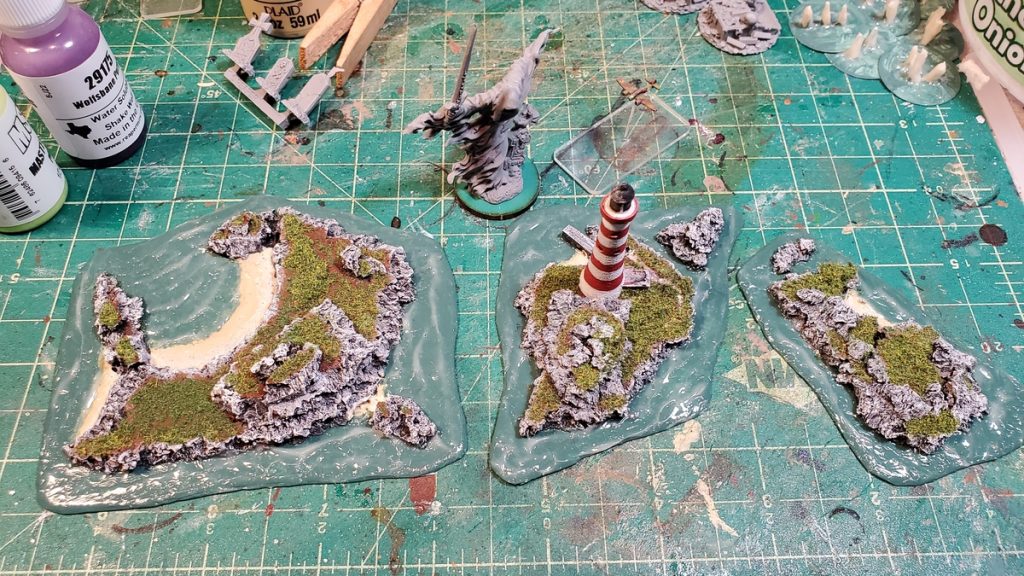
These took a bit longer than I’d planned, due mostly to drying times of all the paint, water effects, and such, but they came out great and I look forward to them being a damned nuisance during 1/1200 naval games for many years to come!