(Or, The Workbench This Week, 12 April 2020, also known as the 43rd of Marprilay, Blursday the Somethingth of Pandemic)
Strange times, faithful readers. Strange and stressful, and one of my stress responses is to flit from project to project, starting things and then flitting off before they get very far.
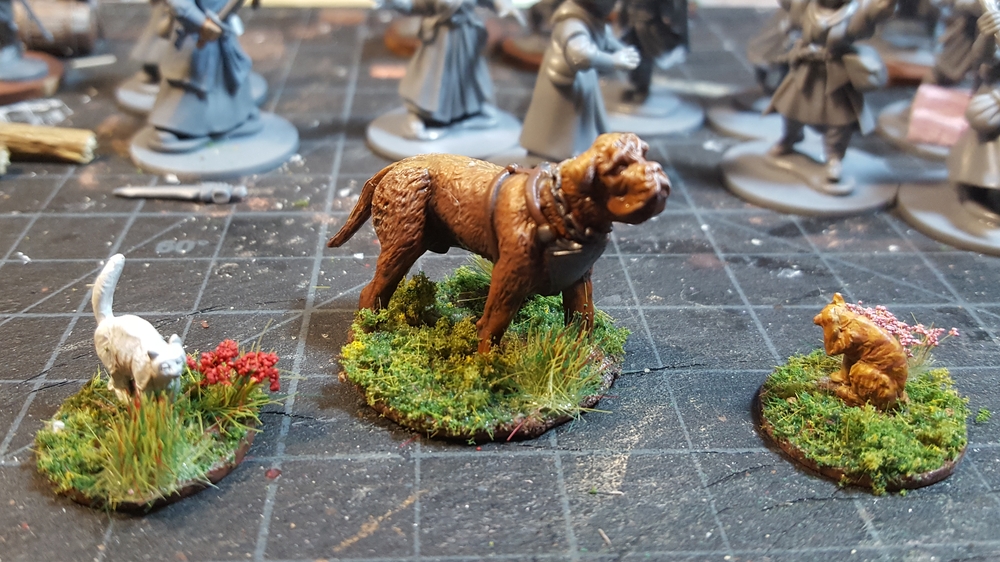
This long Easter weekend, though, I’ve been nudging myself to actually move a few things noticeably closer to actual completion. The first small sign of this is the three critters below, two cats (from Eureka, I think) and a Reaper War Dog finally moved along to the flocking-and-base-detailing stages.

The cats have been on the edges of my painting table for almost exactly five years now, as my email archives tell me I made the Eureka USA order for them (and other stuff) back in March 2015. There’s another two of them somewhere in the “nominally in progress” mountain somewhere, but this white cat and the orange tabby will have to do for now.
No idea how they’ll be used in games yet… maybe I’ll come up with a Pulp Alley games that involves chasing cats around a quaint English village looking for a clue one of them has attached to their collar. No gunfire, you’ll scare the cats into hiding!
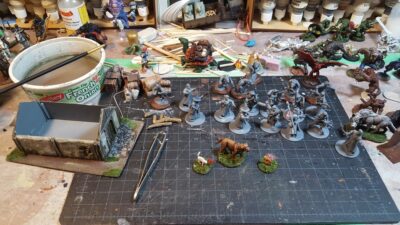
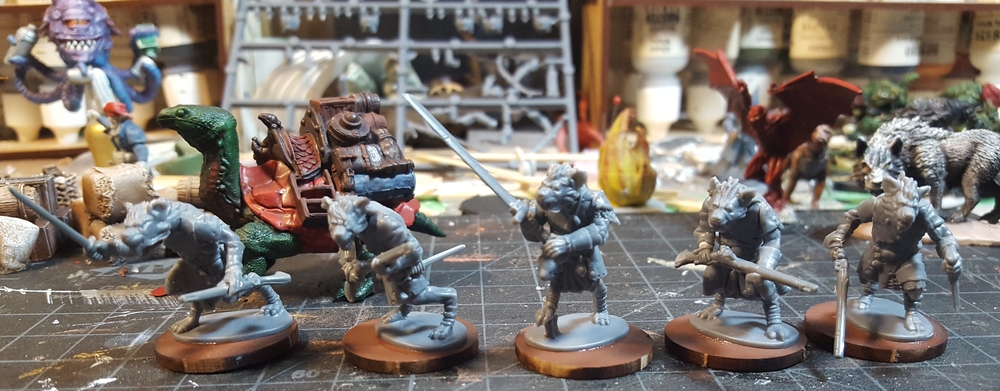
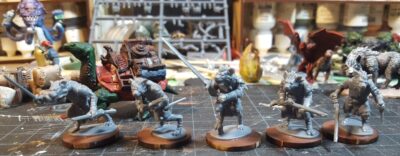
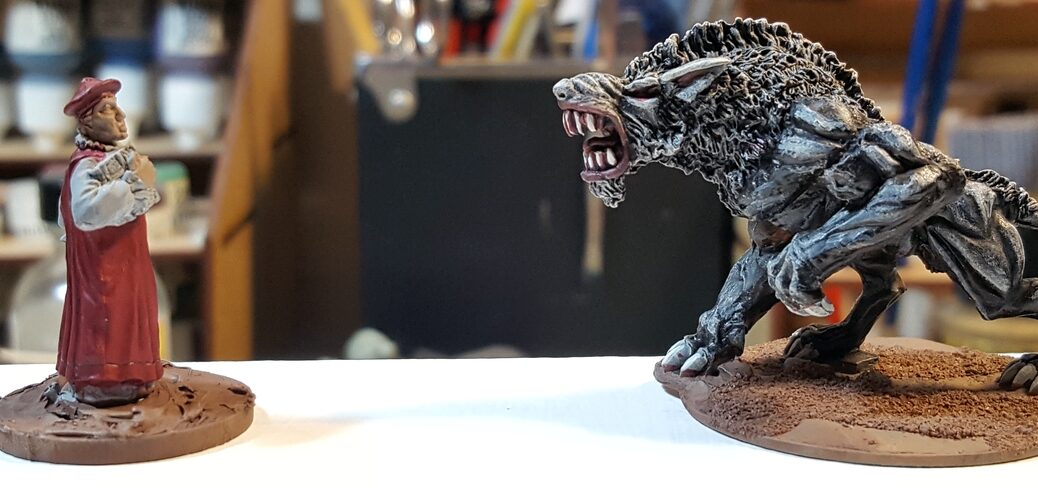
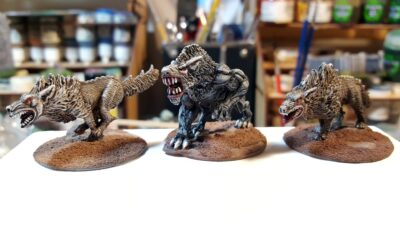
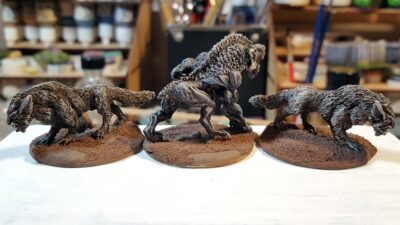
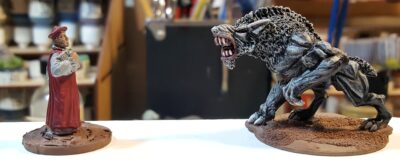
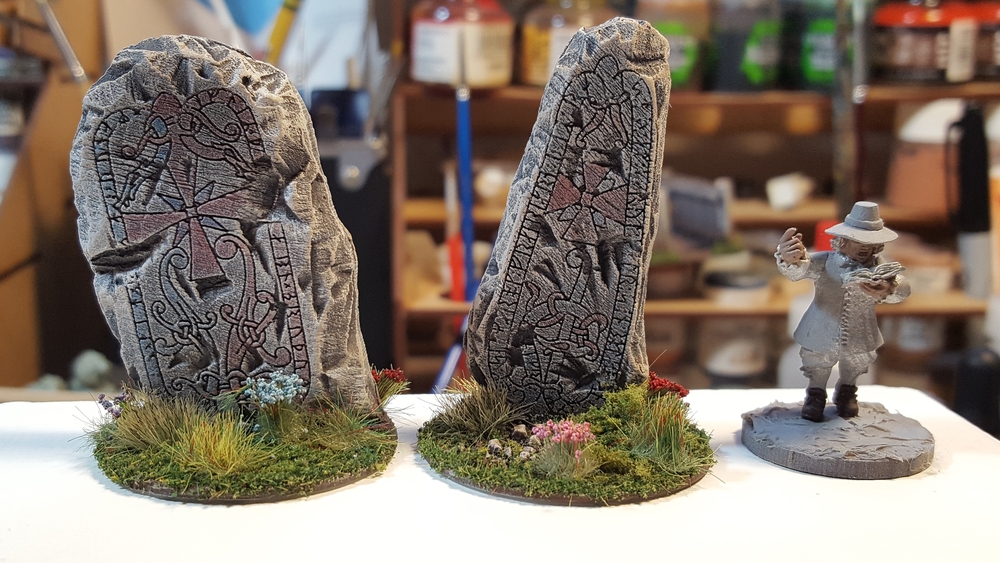
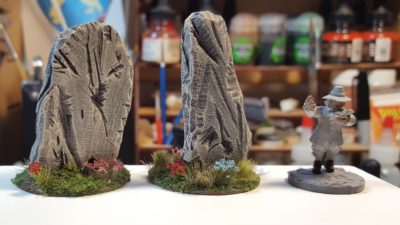
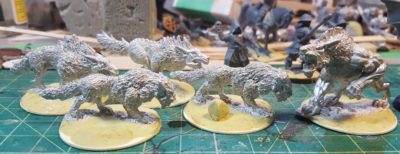
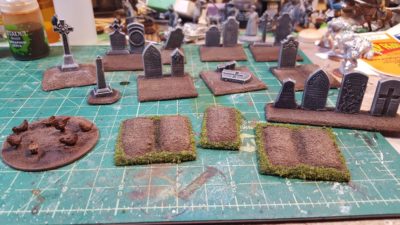
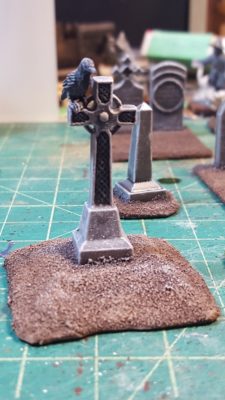
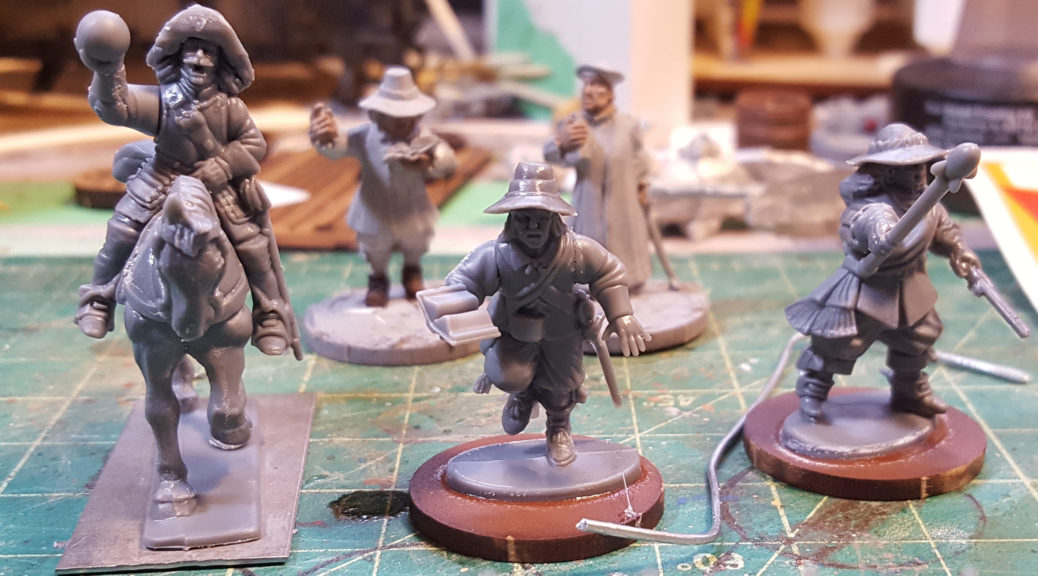
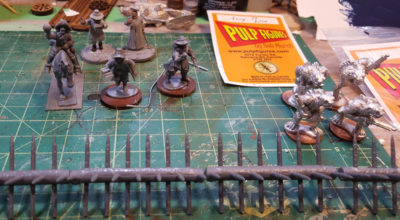
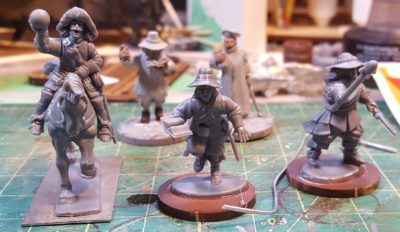
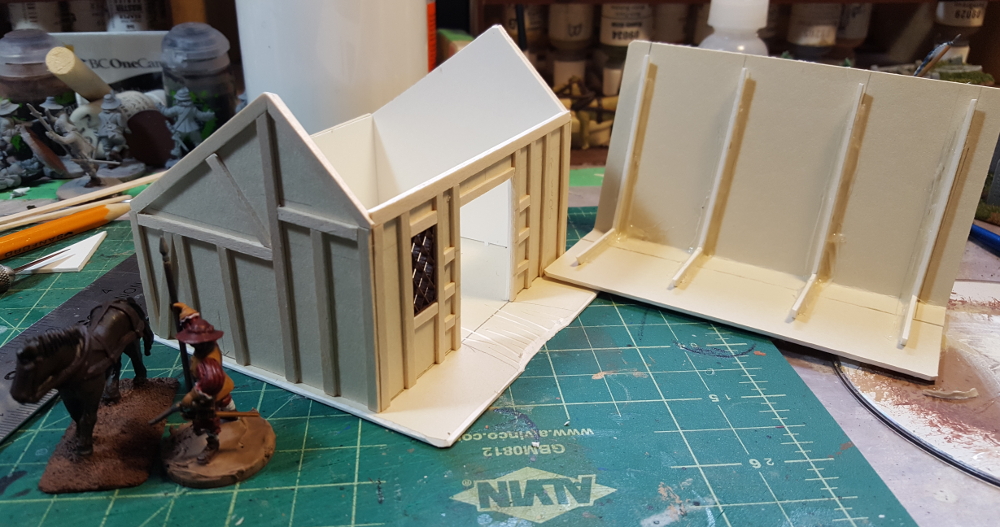
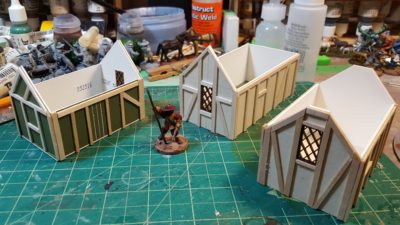
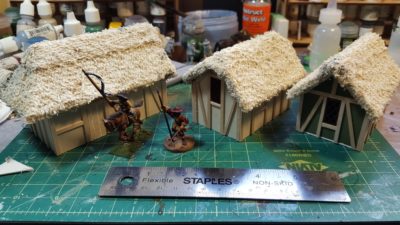
So what else is on the rest of the workbench, hopefully lurching closer to completion? A whole mix of stuff (surprise…)! I’m quite please with the progress I’ve made on the nice little Renedra Wattle & Daub Outbuilding, some long-neglected ECW cuirassier are seeing basing progress, I’ve been building some Frostgrave wizards and soliders as mentioned in my last post, and the whole mess of werewolves (over on the far right of the photo above) are meandering onward.
Stay home, stay safe, attempt to stay sane, and I hope you and yours are well.