Tag Archives: ship

Tiny Boats and Even Tinier Planes

When I did my first WW2 coastal order to Last Square back in November 2019, well over six months ago now, I added a pack of British Beaufighter/Beaufort and a pack of German Ju88 for the heck of it, chosen because both types of aircraft show up in the maritime strike role for most of the war with various loadouts.

I got them, looked at them, was dumbstruck by the insanely minute size of the things, and put them aside to paint the boats up instead. Having just finished (most of) the second order of Last Square coastal naval boats and being in a get-stuff-finished mood, I decided to have another look at the tiny tiny planes and figure out how to mount and paint them.

I recalled reading about using plastic broom bristles for masts and antenna previously, so I decided to test this out for creating flying stands suitable for tiny planes. I used the same 40mmx20mm thin acrylic bases I’m using for most of my boats, because I’ve got them, and I happened to have a micro-drill-bit in my tool stash almost perfectly the same size as the bristles I harvested off our household broom.
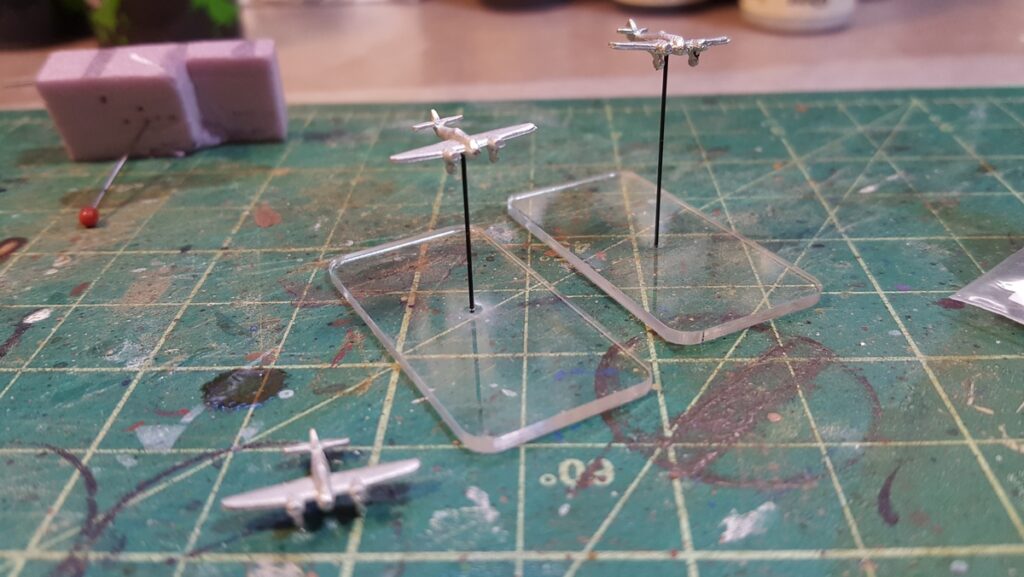
RAF Bristol Beauforts/Beaufighters, two mounted and one left loose. Click for larger.

I kept the flying heights fairly short, about one inch maximum, which means these planes are all coming in at wavetop height, pretty much, which seems to make sense when attacking small coastal vessels and is way, way easier to store than taller possibly more realistic height stands!
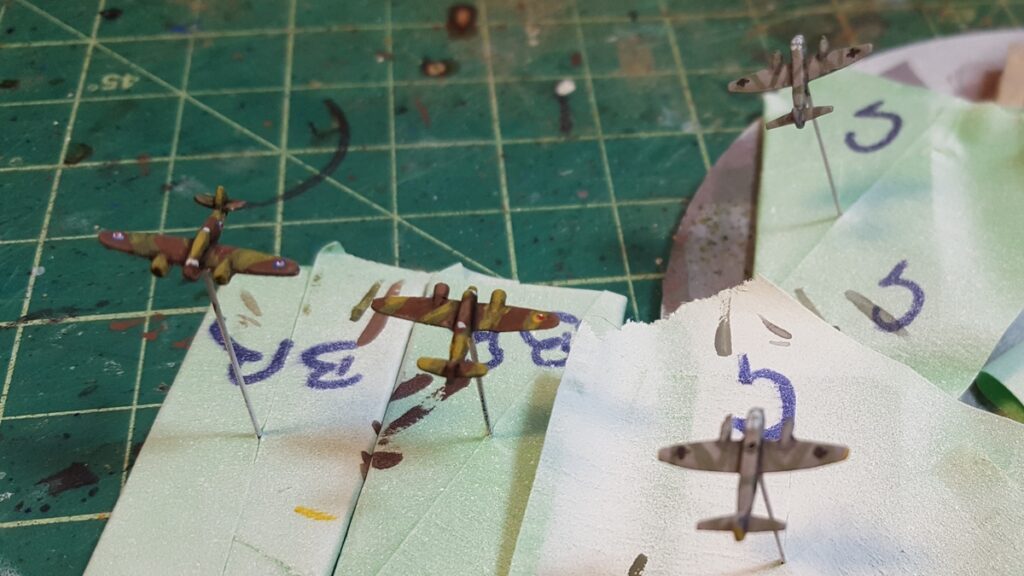
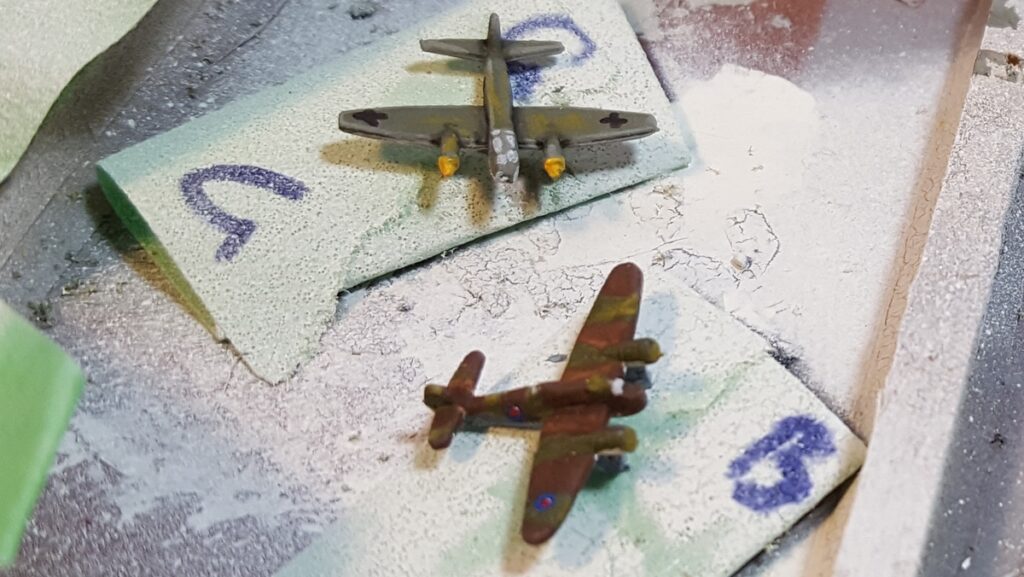
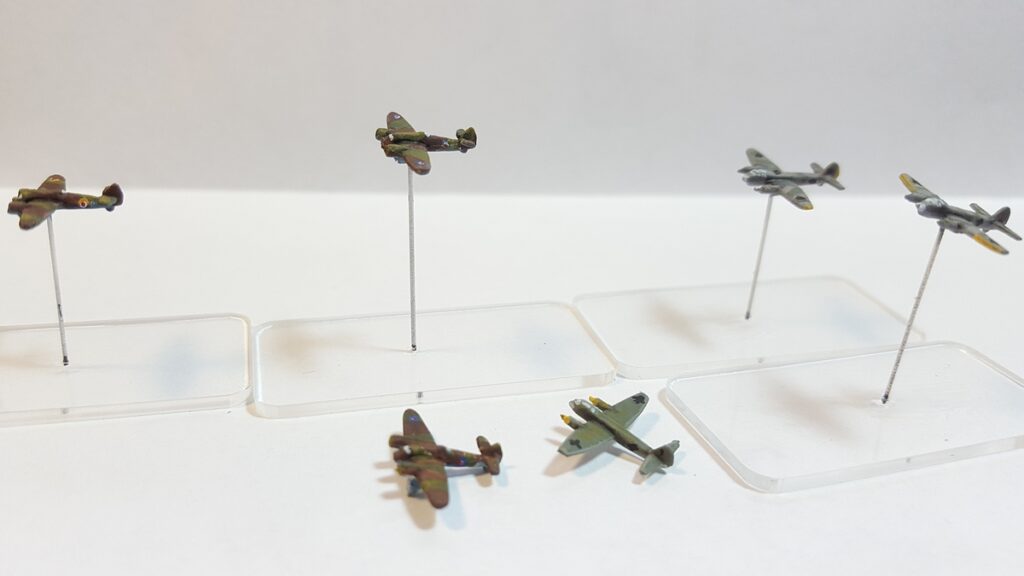
Two Beaufighters and two Ju88 mostly done, including recognizable national insignia on these tiny, tiny planes. Click for larger.
Extreme closeup of the unmounted Beaufighter and Ju88. I’m pleased with the look of the canopies, especially on the German Ju88 with their big “greenhouse” canopies covering most of the front end. Click for larger.

Painting Notes

All my current paints are from the Reaper Master Paints series. All six planes got a white primer, and then for the RAF I used Muddy Brown and Military Green for the topside camo; the underside is Heather Blue mixed with Rainy Grey which seems like a good match for the RAF “sky blue” grey-blue underside paint.

The Germans were a mix of Rainy Grey and Muddy Olive 1:1 for the all-over base coat, with two of the Ju88s getting slightly darker grey-green camo added with some additional Stone Grey added to the Rainy Grey/Muddy Olive mix.

I adding some highlighting along edges mostly by mixing a bit of Rainy Grey into the relevant base colour, and the Germans got some yellow recognition patches with Marigold Yellow. I also used some Games Workshop Nuln Oil (black) and Agrax Earthshade (brown) washes, especially along the roots of the wings.

The German iron crosses are Walnut Brown, a lovely almost-black that I use all the time instead of actual Pure Black.

The RAF roundels are Marigold Yellow, Sapphire Blue, Pure White, and Carnage Red.

Windows and cockpit canopies were picked out with Ghost White, a blue-tinted off-white.
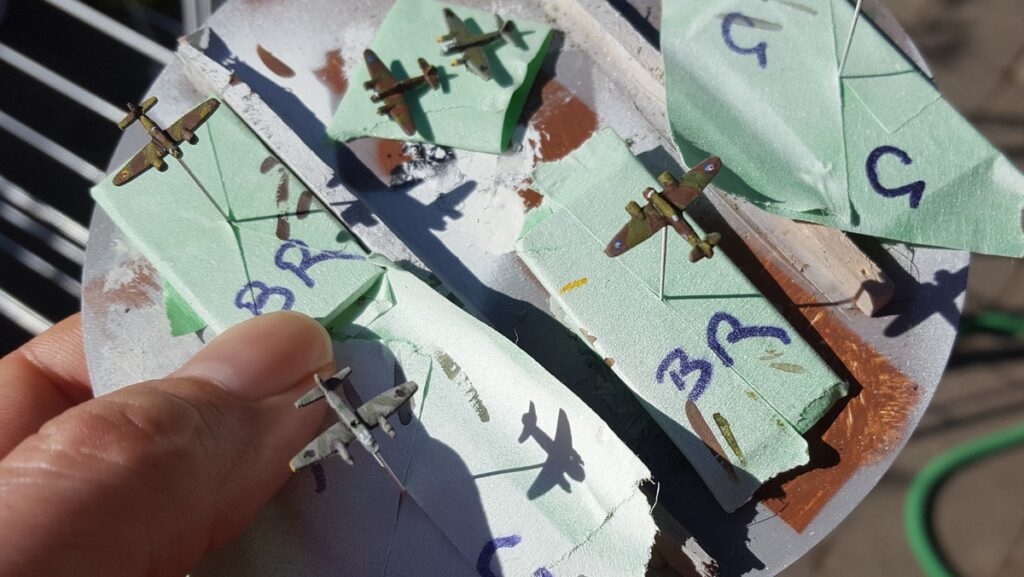
For scale, I made sure to take this photo with my thumb “in the way”. That’s a standard CD I’m using to hold the planes, just for additional scale. These things are seriously tiny. Click for larger.
Side views, RAF Beauforts/Beaufighters on the left and Luftwaffe Ju88 on the right. Click for larger.
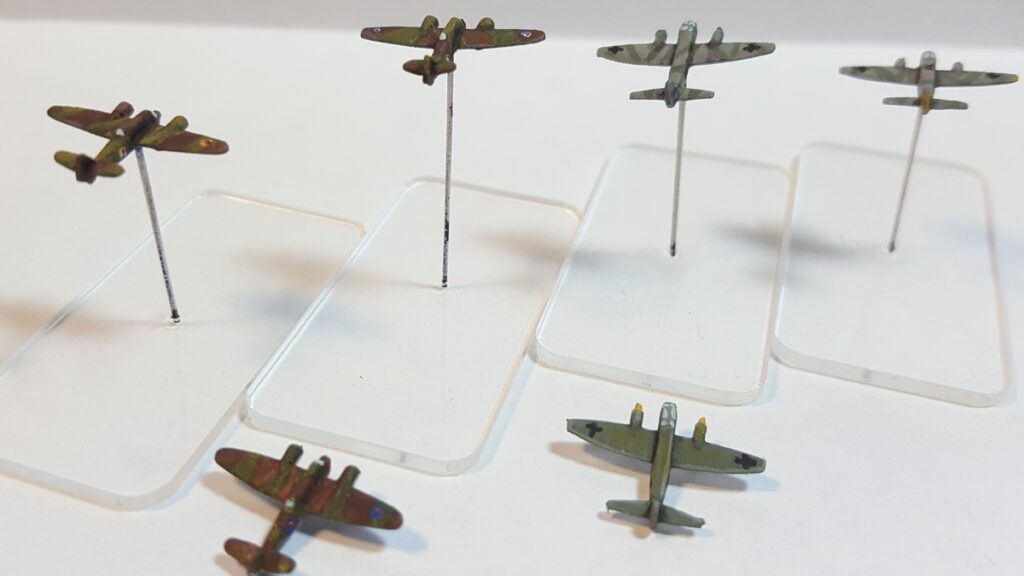
Tail end view, Beaufort/Beaufighter left, Ju88 to the right. Click for larger.
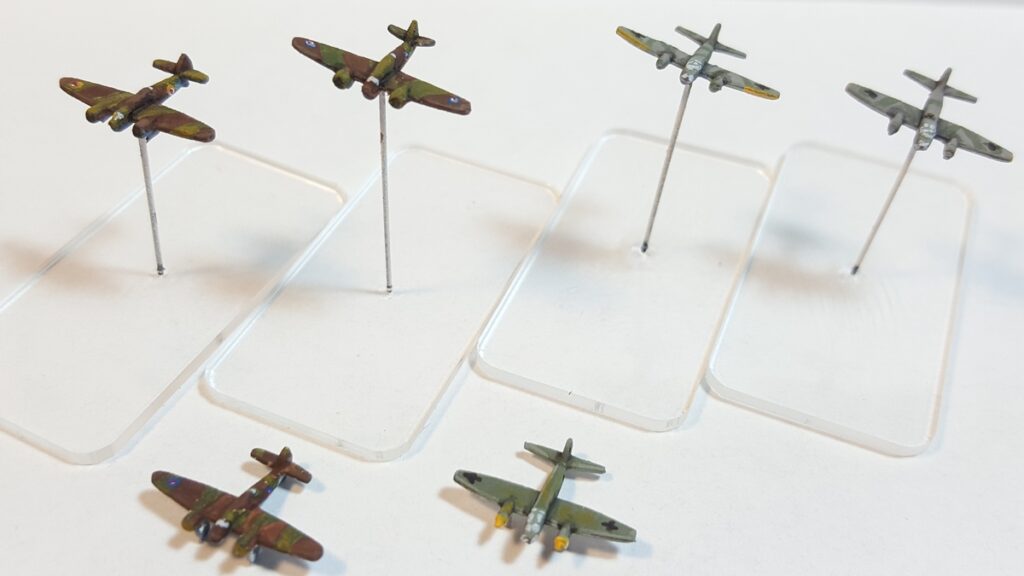
Forward view, same arrangement as previous. Click for larger.

Aircraft don’t actually play a huge role in most of the engagements coastal naval vessels find themselves involved in, so I don’t think I’ll be adding to my collection of tiny aircraft anytime particularly soon, but these turned out to be fun to paint and they ended up way better looking than I was thinking they would, given the diminutive size of the things!

A Motor Yacht, Part Four

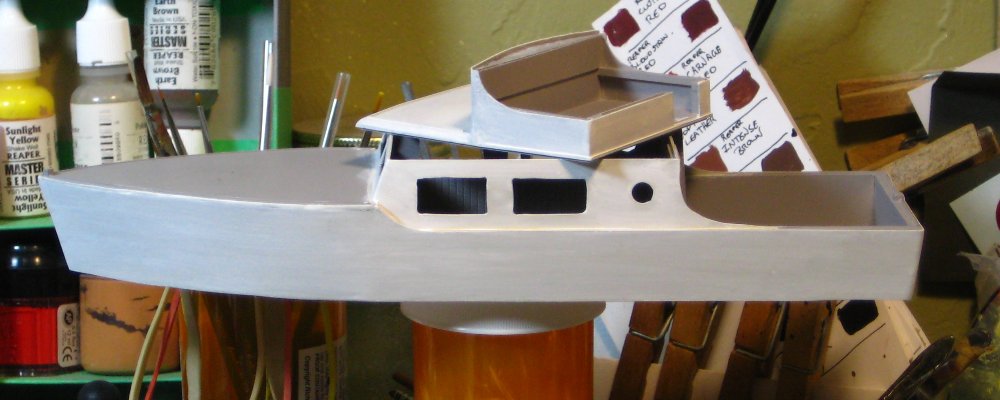
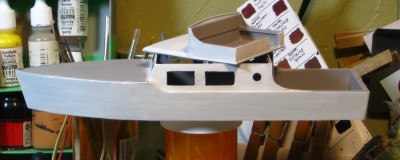
Just to prove that there really is progress being made around here, despite the relative quiet on the blogging front, here’s a fairly bad late night photo of the motor yacht, with it’s second coat of white paint applied!

boat
Motor yacht, with paint on it! Click for full size.

Because of the board expanses of plain, untextured surfaces on this thing, and the tendency of those broad expanses to show brush strokes really well, I’m using very diluted paint, pretty much just using layers of washes to get colour onto the thing. It means a couple of coats to get a good colour, but also no visible brush strokes!

I’m going to do the bow and rear decks dark, glossy wood, and then pick out the railings and other details either in white or in brass — haven’t decided which yet.

A Motor Yacht, Part Three

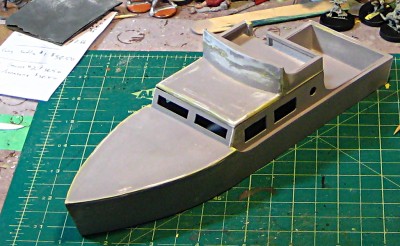
Slow but steady progress on the 28mm pulp motor yacht. I hit it with a light coat of grey primer, to better show the seams and bits that needed additional putty and sanding work — that sort of thing shows up so much better under a thin coat of primer than it does in the blindingly-white bare plastic!

I’ve re-done the edge of the bow deck around the curve of the bow, and several areas on the cabin roof and around the flying bridge. Here’s a pair of low-res after dark images showing the boat in it’s current state.

boat1
Easier to take photos of now it’s not blinding white, too. Low quality image, but click for larger.

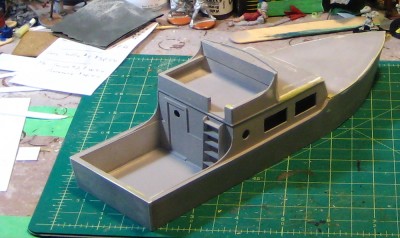
The cabin roof/flying bridge assembly is still removable, and I glued a 1.25″ washer to the roof then skinned over it with another layer of styrene plastic. With that ballast and reinforcement, the roof is a lot more solid and stays in place much more easily. It also visually makes the boat seem more solid, somehow.

boat2
Stern quarter view. Low quality image but click for slightly larger.

The rear view shows the cabin door and the ladder up to the flying bridge. The three round windows started out with a hand-spun drill bit, then got carefully and slowly reamed out with a sharp Xacto blade. I thought about doing window frames or something around them, but ultimately decided the boat would have to manage without in the interests of my own sanity!

Second, proper coat of primer tonight, then paint later this week. The paint scheme is going to be pretty simple — white hull and walls, glossy wooden decking — so it should be fairly quick to paint up.

A Long-Neglected Project Gets Dusted Off

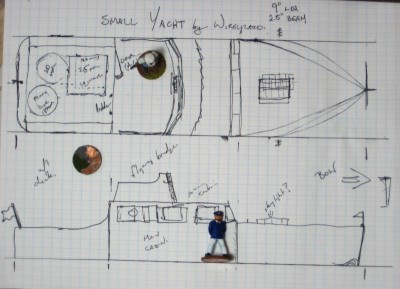
Back in the long-lost days of mid-2009 (OK, four years back…) a contest called “Build Something” was held over on the excellent Lead Adventure Forum, with the contest theme of “Transportation”. I decided to build a small motor yacht/large powerboat sort of boat for pulp gaming, taking inspiration from and got as far as cutting the base of the hull, the cabin walls and the sides of the stern out of styrene plastic before inspiration fled and I moved on to other projects.

boat plan
The now-lost original plan, from October 2009. Click for larger.

Lots of other projects, in the intervening years, but I never actually threw out the barely-started boat, it just gathered dust and got used as an impromptu container for scrap wood and other bits. Late last week I finally got around to cleaning up my long-neglected hobby bench, didn’t feel like painting, and decided to dust off the motor yacht instead of starting an entirely new project. I still have a large amount of styrene plastic (plastic card) hanging around, so it was still the material of choice for this project.

I’ve added frames to the bow and a deck, then added a removable roof to the cabin and a flying bridge on top of that.

boat1
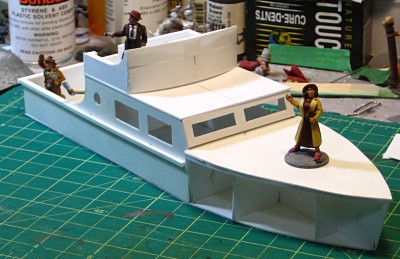
The boat restarted, October 2013. Click for larger.

The hull sides will be the next big step. I’m planning on doing each side with a single long strip of styrene, and then use putty up at the bow to properly form the actual point of the bow.

After that there’s still a lot of detail work and cleanup to do. Door and window frames, a ladder up to the flying bridge, and a lot of putty to smooth things out and hide seams.

boat2
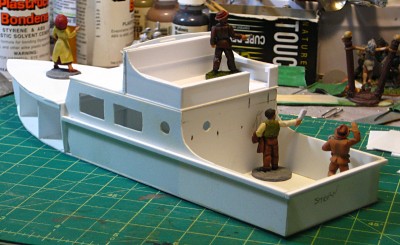
From the stern quarter. Scale provided by 28mm Pulp Figures reporters. Click for larger.

This last photo shows the curves in the aft end of the boat quite nicely. I’m going to use steel wire for railings on the sides and back of the flying bridge, and might put a removable canopy over the rear deck. Also need to come up with a name, to be painted across the stern in large gold letters!