Started another Russian farmhouse on Boxing Day evening, this one slightly bigger than the first at 4″x2″.
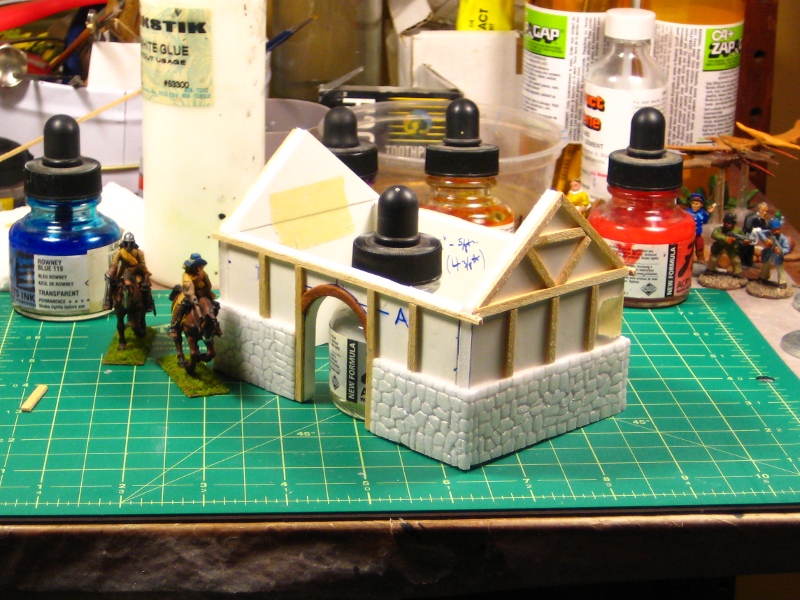
I mentioned in the previous article that I used coffee stir sticks for the wood siding. The workbench photo below should explain some of how I’ve been doing these buildings.
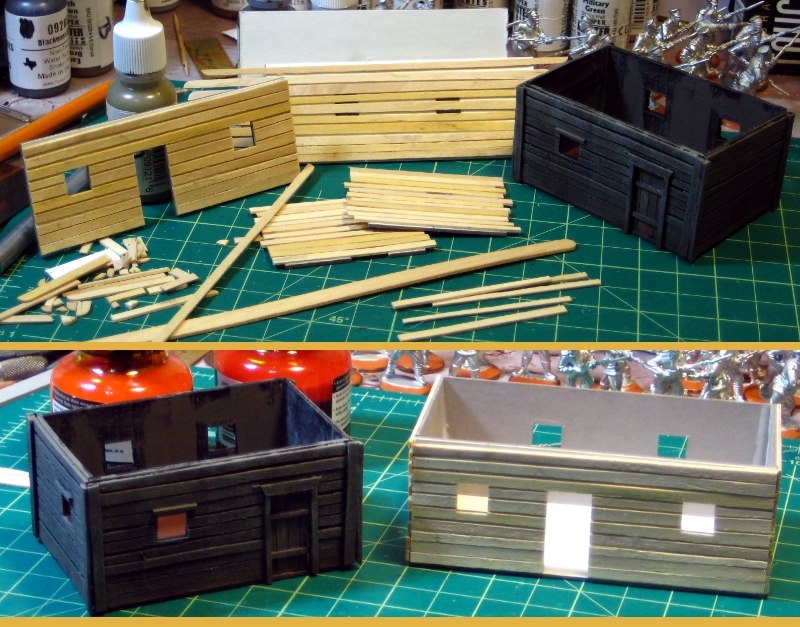
Basically, I split stir sticks lengthwise, then glue them along mattboard walls I’ve already cut the doors and windows out of. It’s easier to go back afterward and cut the stir sticks out of the openings than it is to premeasure! You can see one long side already trimmed above, and the other three sides waiting for trimming.
Incidentally, for this kind of trimming, I highly recommend an X-Acto #17 chisel blade instead of the classic scalpel blade (the #11 blade). Being able to cut straight down makes clean cuts in the windows easier, and it’s an easy way to trim thin wood and other strip materials.
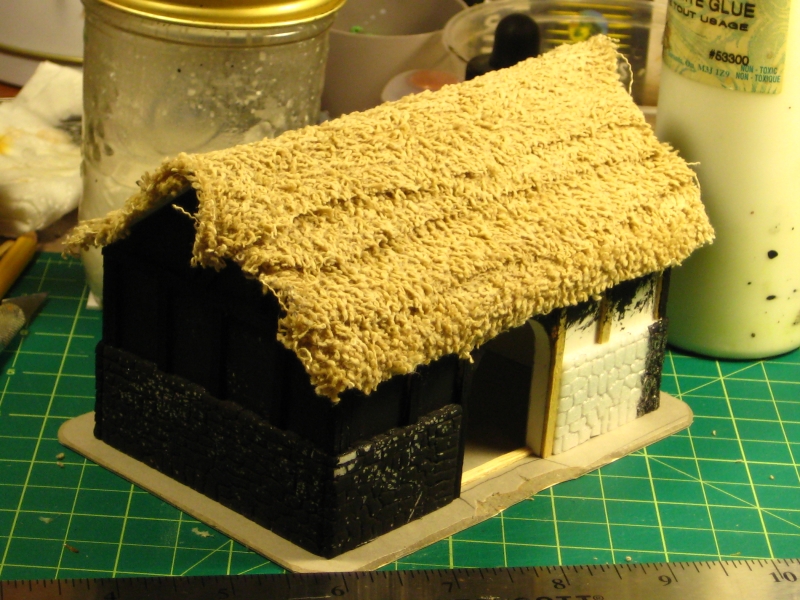
The second photo of the pair above shows the new house with the walls assembled but no trim addded yet, and the first hut finished, except for the roof which is drying off-camera.
I’ve already assembled the thatch roof for the new building, and didn’t get any WiP photos of that, but I”ll try to get some progress photos of the next thatch roof I make, I promise. It is kind of difficult to smear glue everywhere and handle a camera, though…
Off for a week tomorrow, so see you all next year!