For my naval gaming I knew I needed a proper mat eventually; I thought about doing up a sheet of grey felt with spraypaint and such, but then I found the Cold Waters mat from Cigar Box Battles and figured it was worth the investment.
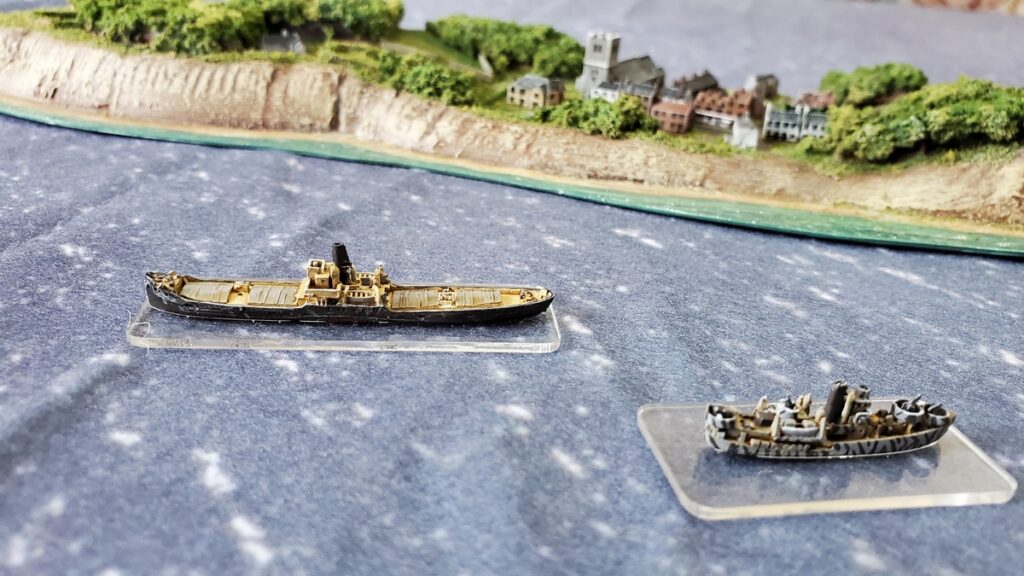
A lot of mats are designed for Mediterranean or tropical games (pirates!) or the Pacific and are way too blue or blue/green for the North Sea or English Channel where all of our WW2 small boat stuff has taken place so far. The Cold Waters mat is described as “the perfect mat to use with your North Sea WW1 Jutland fleets” and the colour looked good, so I decided to order it.
I ordered the mat February 1st and it showed up on the 20th from wherever it is in the US that Cigar Box Battles are based. I didn’t get a shipping notification or tracking number, oddly, which I was expecting given the cost of the thing. No matter, it made it, and a three week turnaround is good in normal circumstances, nevermind our current COVID-FUBAR’d postal mess!
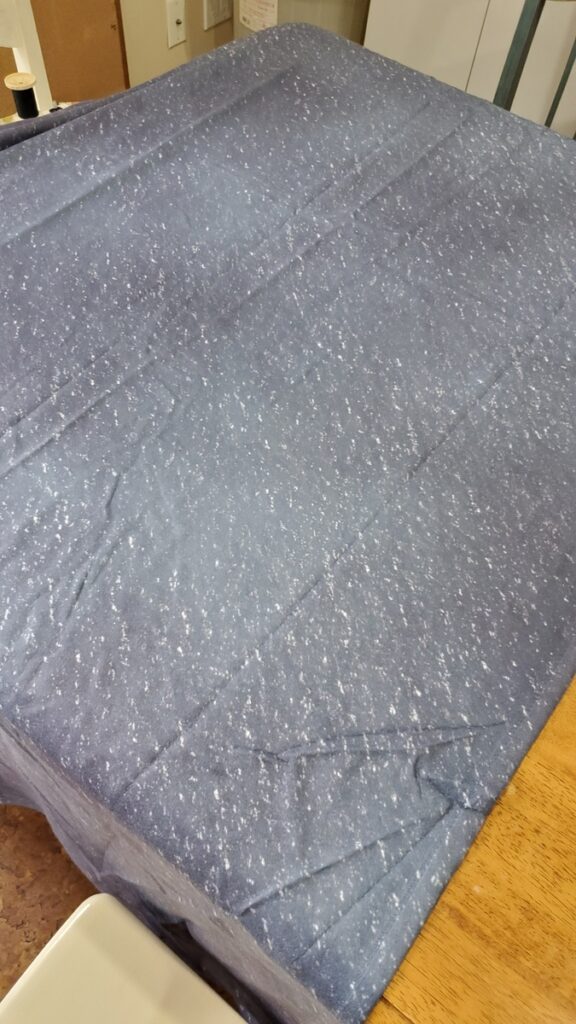
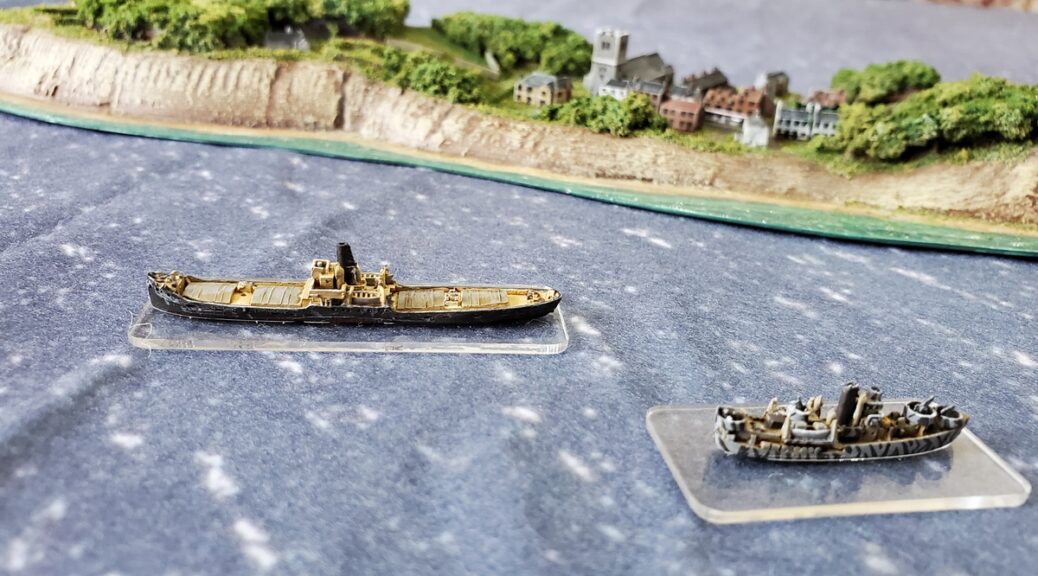
Honestly the mat looks even better in person than in the photos on the Cigar Box website. The colour varies randomly across the mat from quite a dark blue to a lighter grey-blue, with whitecaps across it in the fairly consistent pattern you’d expect. There’s no obvious repeats of the pattern created by lazy graphic design, which is definitely not the case with some of the other sea mats out there.
The mat is a lightweight fleece blanket material and only printed on one side, which is fine. The fabric has a bit of a shine to it, again just fine on a seascape, and just a bit of fleece fuzz texture. It lays nicely flat, no curling at the corners or edges, and the creases you can see in the photos are about the largest on the whole thing right now. I’ll iron it eventually, and then store it either rolled around something or crumpled up loosely so it doesn’t get long straight creases in it again.
I think it’ll stand up to years of gaming use, and according to Cigar Box it’s washable in case someone does spill on it once in-person gaming is a thing again.
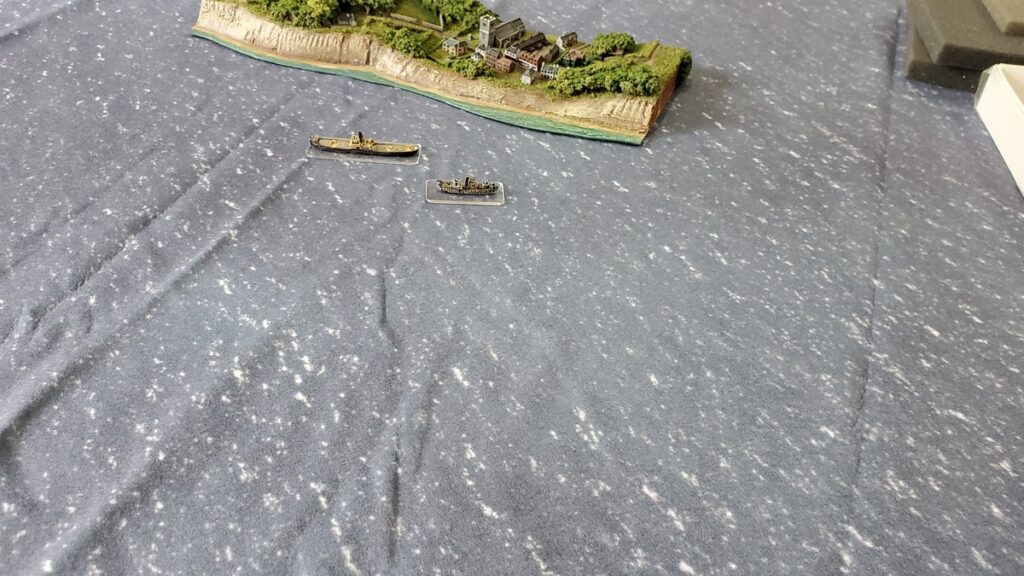
The mat has fairly flat seams along each edge; if you were laying several out overlapping the ridge along the edges wouldn’t be too disruptive even with small ship models. It’s advertised as “4 x 6 Plus” which I think means it’s four to six inches bigger than that in each direction; I’ve not actually bothered to measure yet.
Absolutely a good value and solid looking product, with good shipping times. I’m not sure when I’ll next need a mat for something else, but Cigar Box will be on the shortlist if and when I do!