File this one under “long neglected projects finally finished”, I guess. I’ve finally based, painted, and finished the last of the Renedra gravestones I started way back in February 2013, which were actually purchased in December 2012.
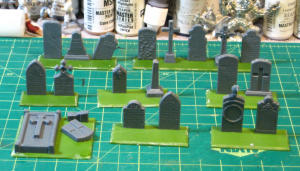
Back in 2013 half of them (one of the two identical sprues) got cleaned up, based, sand added to the bases, and grey primed, and that was it. For more than five years.
In early 2018 I pulled the 2013 bits out of storage and got them painted up and flocked fairly quickly for the game I ran at Trumpeter Salute 2018.
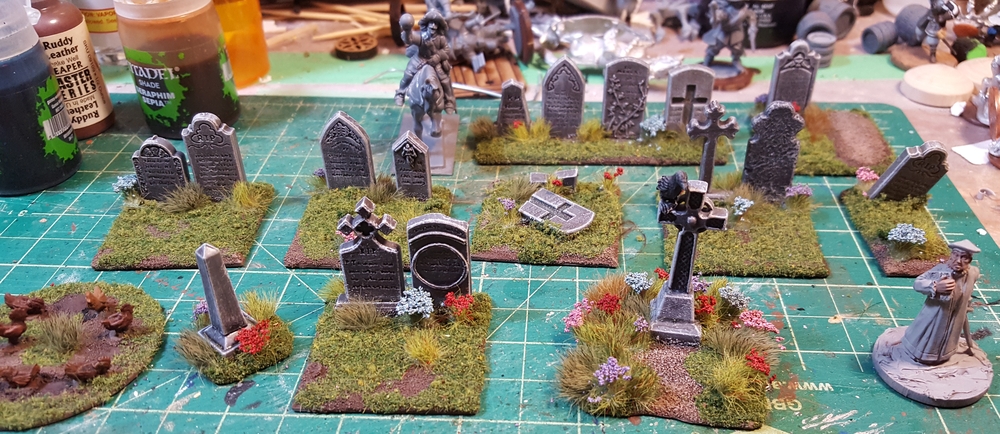
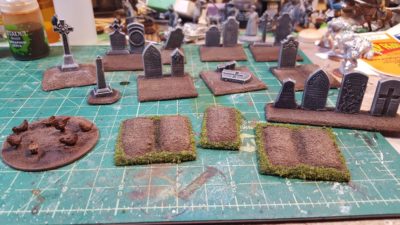
The paintjob was pretty simple. I hit all of them with a wash (GW Nuln Oil or Earthshade), then drybrushed and scrubbed various other colours across the stones. Two different shades of grey, some dark green, two shades of tan, and two shades of off-white applied in different amounts to different stones give a bit of variation to each stone.
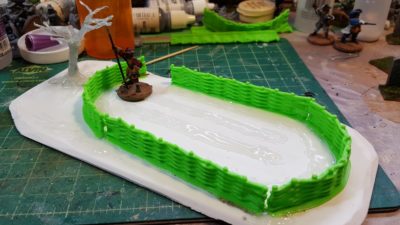
Finally, this week I’ve pulled the second sprue out and got them all based up.
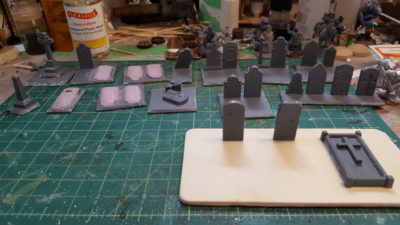
The bases are all leftovers from various Warlord ECW plastic box sets. I think the newer stuff is from the Firelock Infantry box and the older from either the regular infantry or cavalry box. Waste not, want not, and I wasn’t ever going to use them for figures! The freshly dug graves (great potential plot points!) are just scrap styrofoam glued down and then sanded.
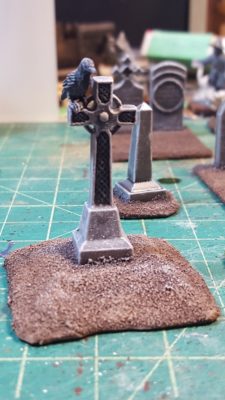
I’ve used the Celtic cross and some of the base pedestal bits to create a roadside cross or shrine. Just the thing to lurk on a dark and misty moor or something!
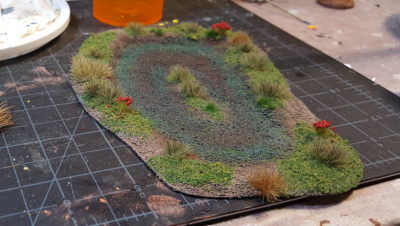
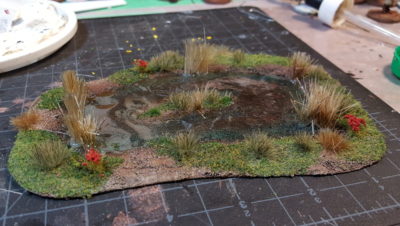
Finally, I used Rain City Hobbies tufts and flowers to add some detail and interest over my usual mix of flock. I really like the little pops of colour the flowers provide, and they’re becoming a standard feature on my scenery, especially the English Civil War items.

Should you want your own gravestones the two-sprue set is still available from Renedra which is definitely not always the case when coming back to some products after this long. Hopefully you take less than seven years to get yours ready for the tabletop!