We played a lot of Gaslands in 2020/2021 when COVID restrictions meant we couldn’t game in person, because Gaslands is fairly simple to organize over webcam, and we kind of burned out on it.
Then we took Gaslands to Trumpeter Salute 2023 back in April, because it’s also really easy to set up pickup games for, and our pair of great chaotic games re-ignited our interest!
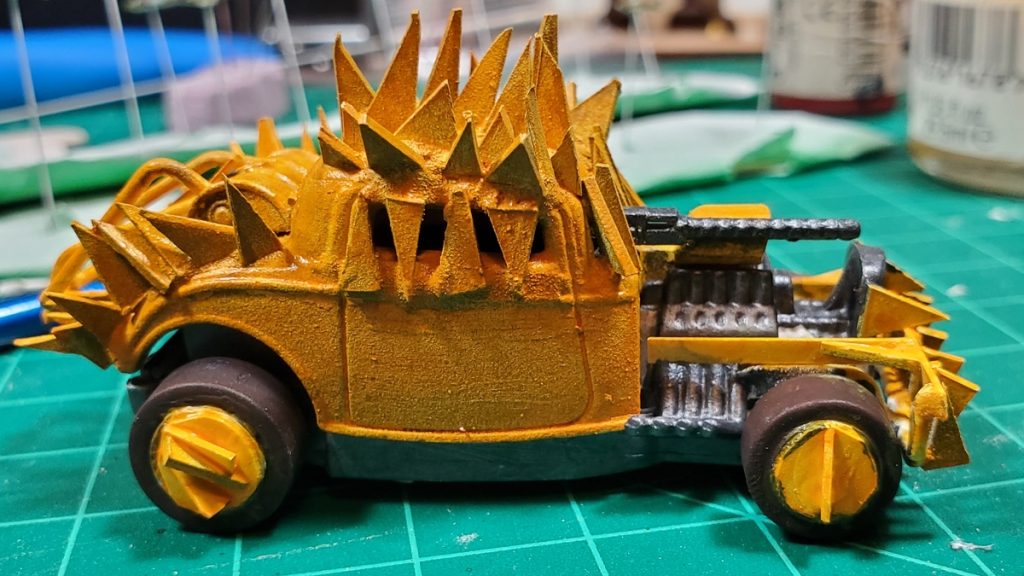
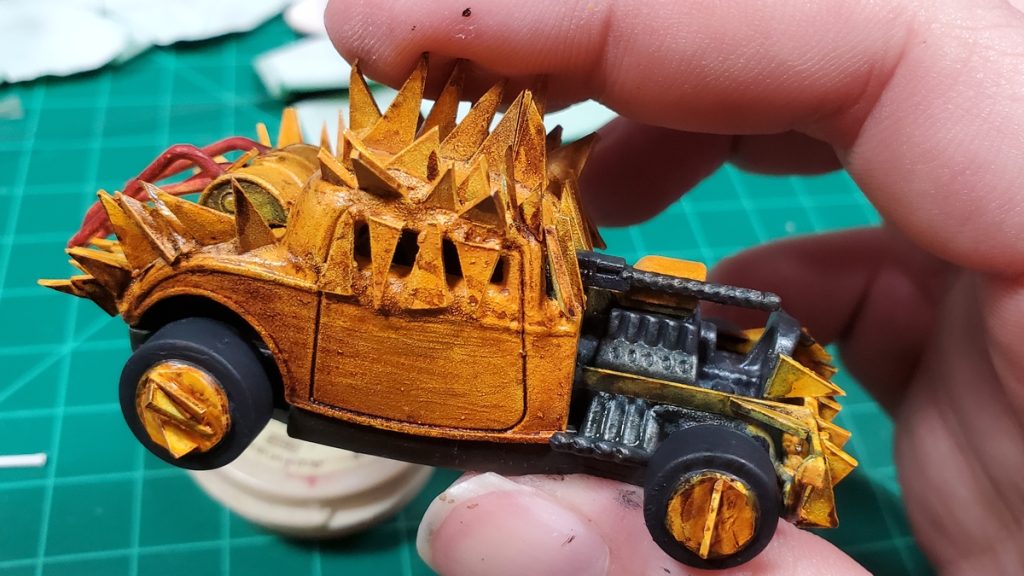
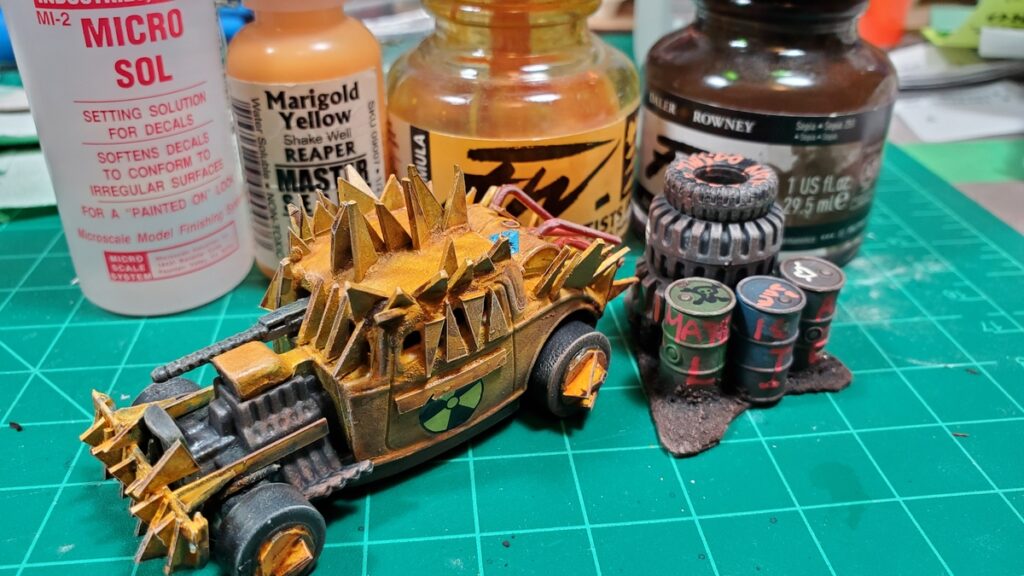
I’ve cranked through a trio of new cars since Salute, and then moved onto a new set of three cars. Two of the first set had been partially converted back in 2020/2021 and then neglected (and apparently I took no photos of them…) and the ’34 Ford hotrod was a new purchase while we were in Vancouver for Trumpeter.
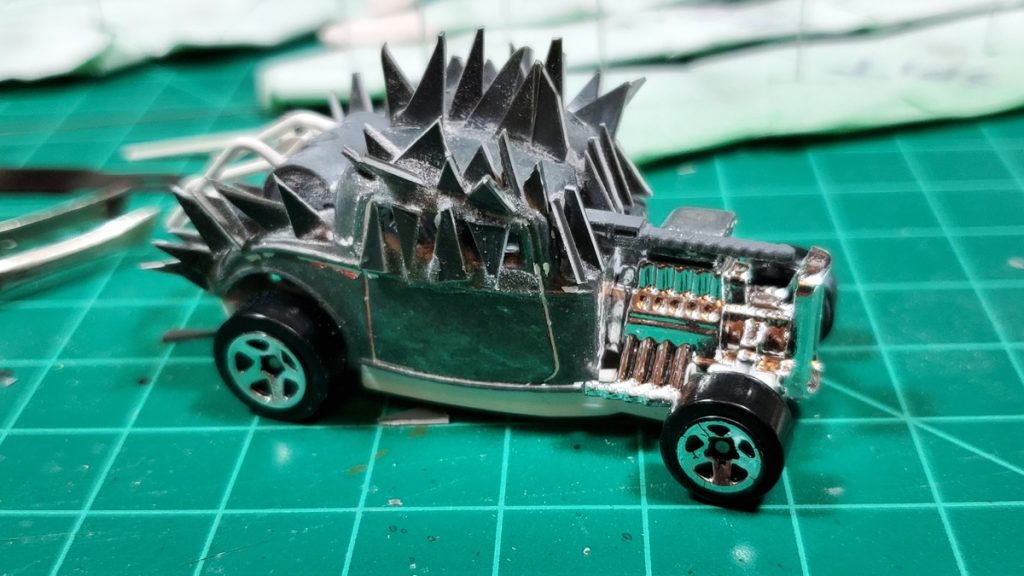
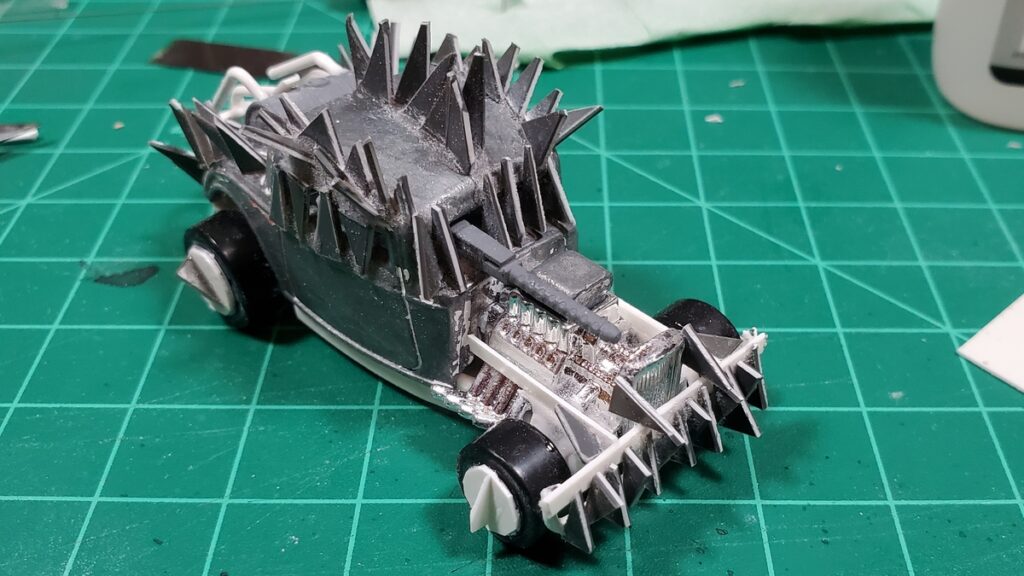

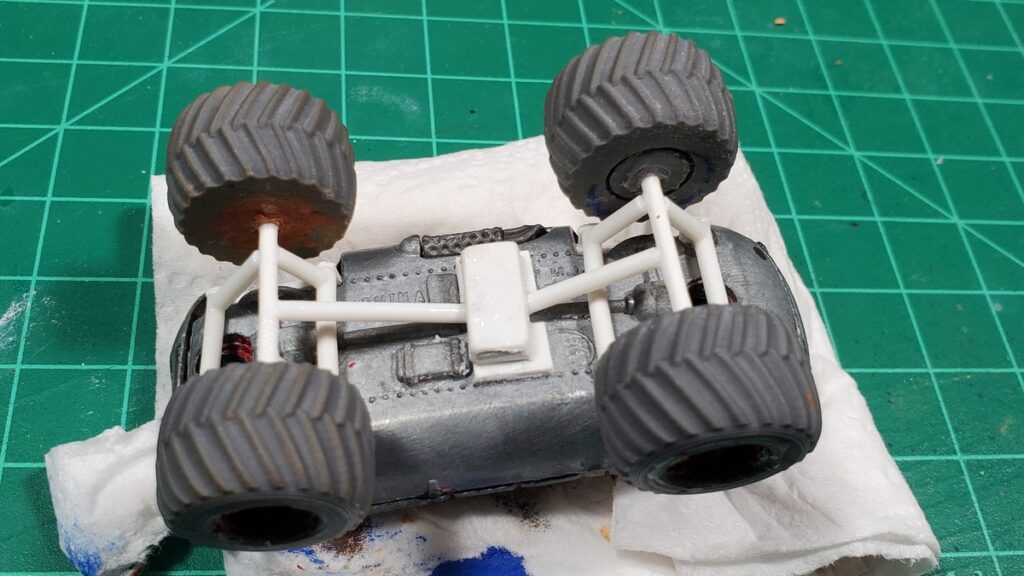
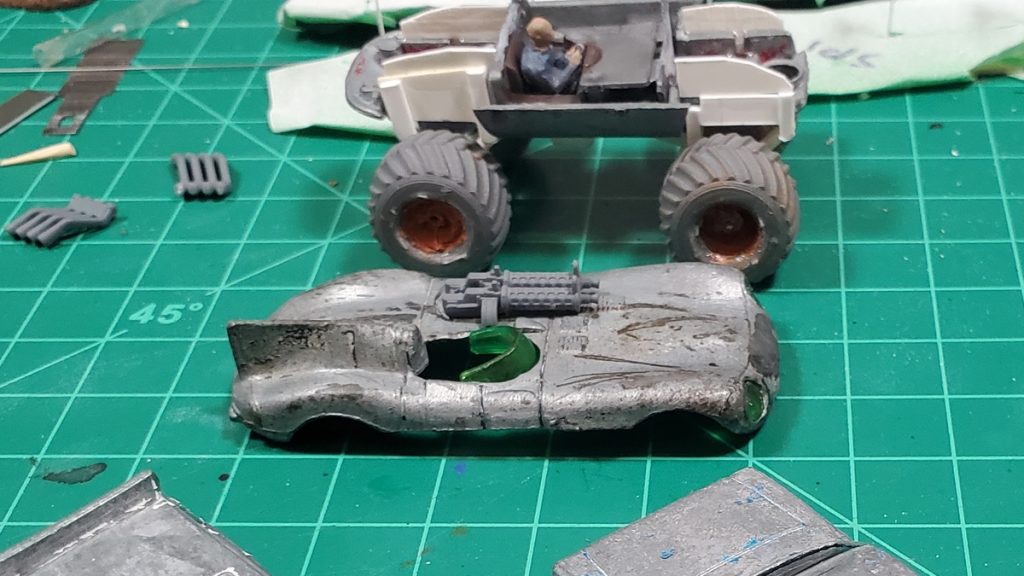
The second trio of cars include another sports car all spiked up, a rally car up-armoured, and a Jaguar D-type converted into a monster truck. The Jag was the most complex conversion I’ve done for Gaslands yet, and started with a set of 3d printed monster truck wheels.
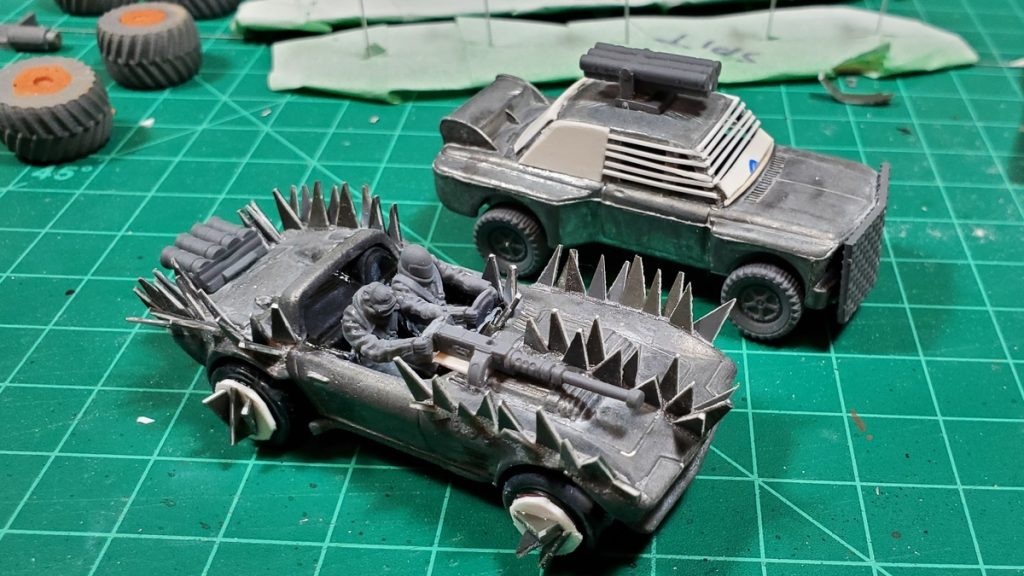

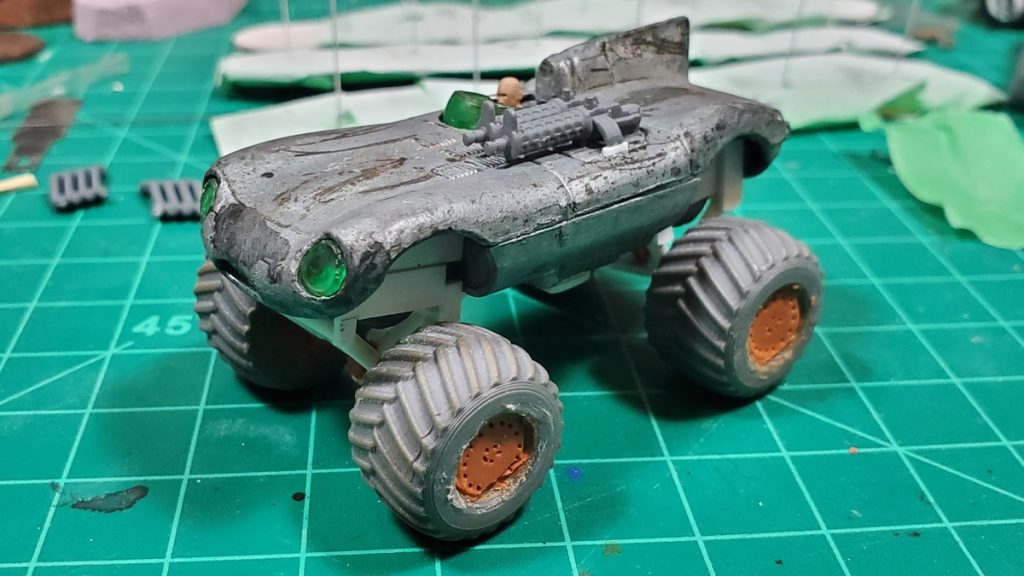
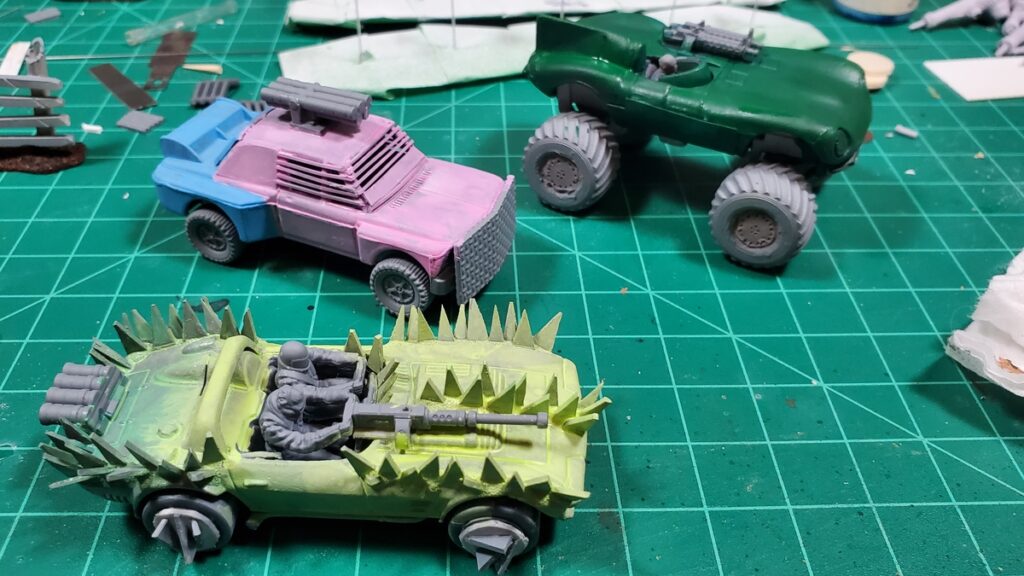
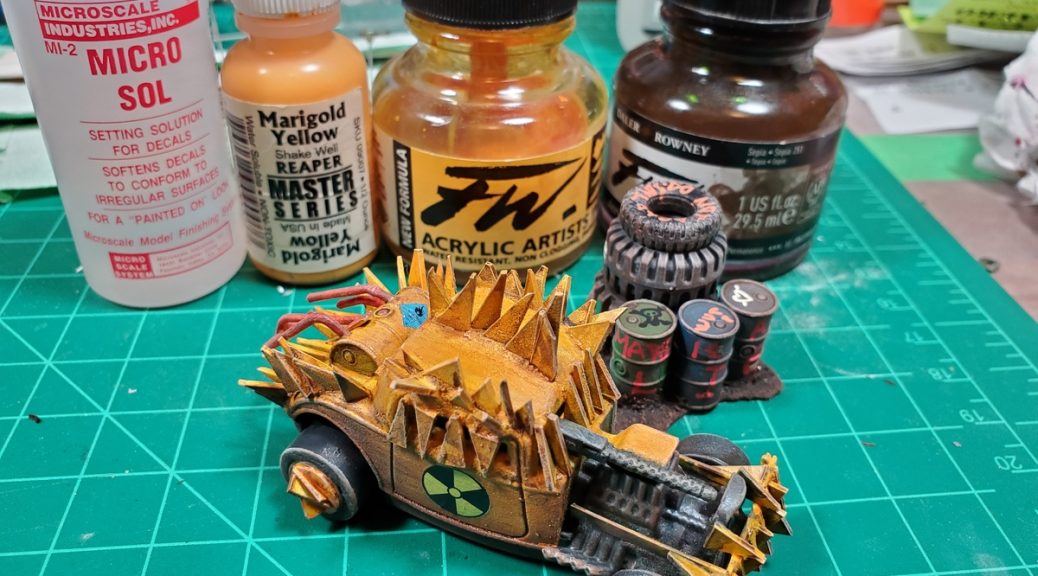
The basecoats are coming along nicely. The Jag is starting as British Racing Green, the spiked sports car is a gloriously weird yellow/green that Reaper calls Dungeon Slime, and the rocket rally car seems to have gotten trans pride colours, because why the hell not? Lots of weathering to do still, of course!
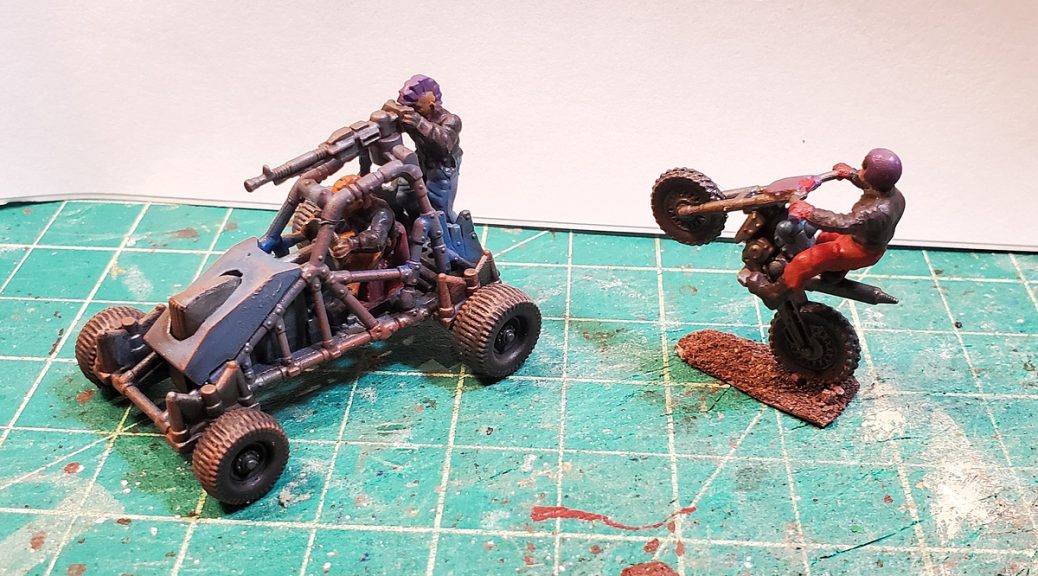
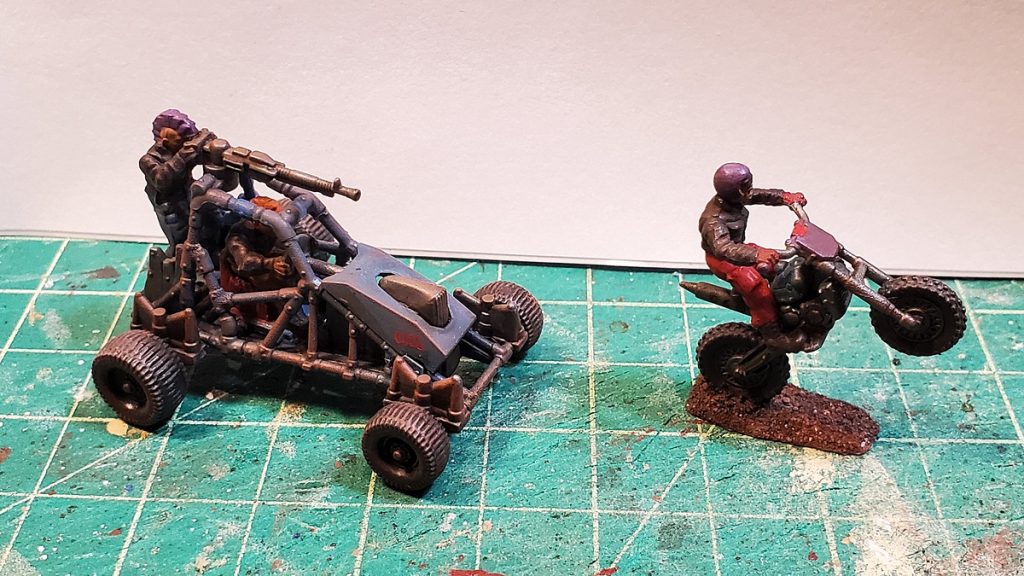
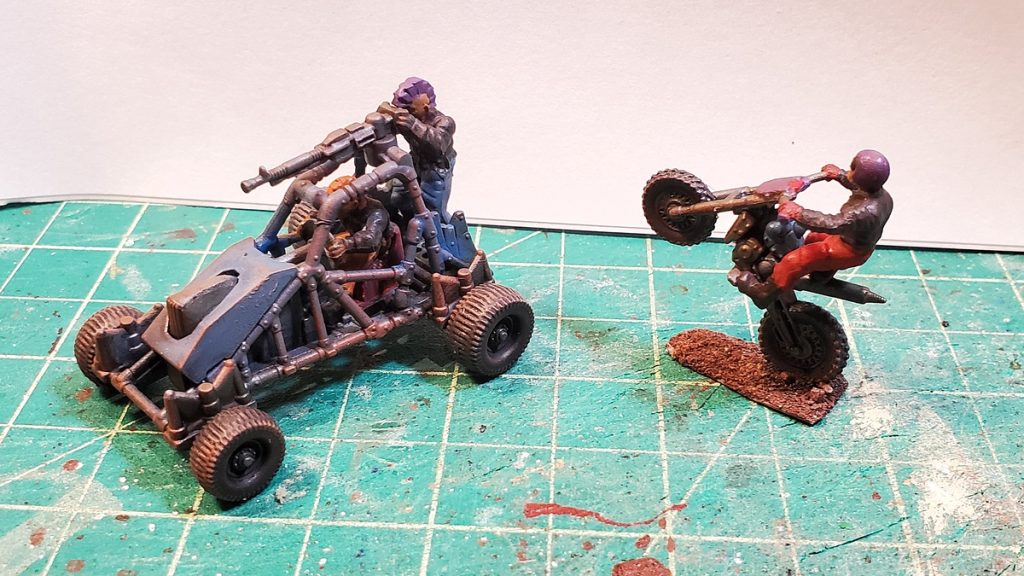
These three done will give me eight or so cars, a buggy, and three bikes for Gaslands just in my own collection. I have ideas for a heavy truck conversion starting with mashing together two big American 60s/70s Yank tanks, but I think I’ll switch gears slightly after this trio is done.