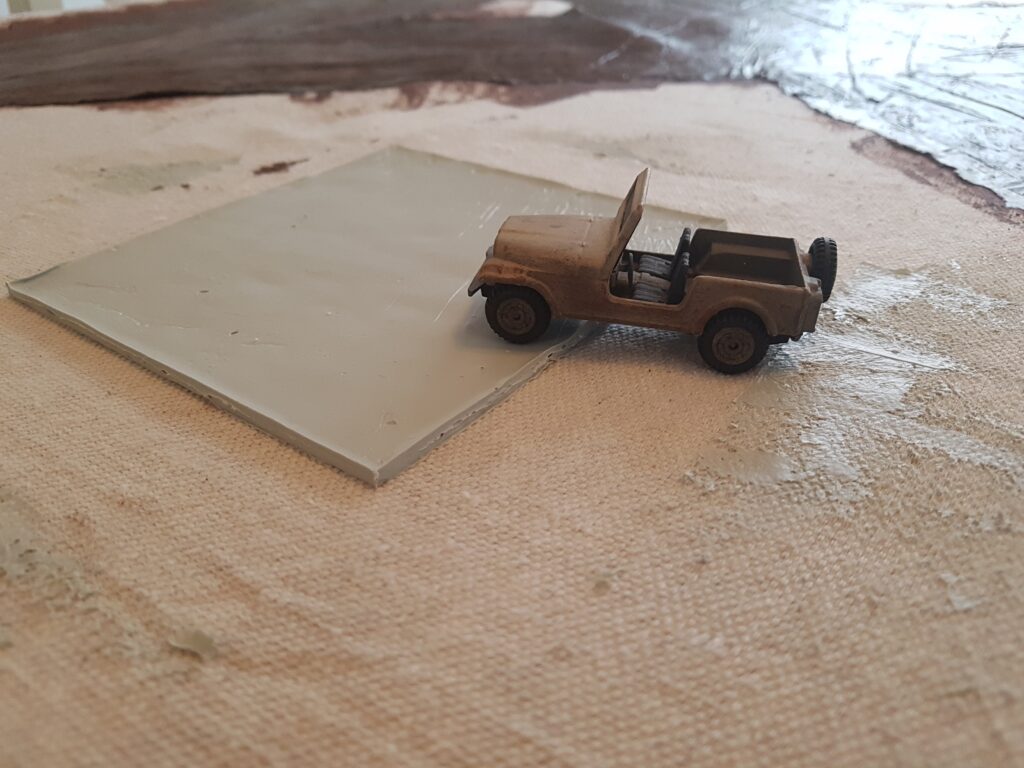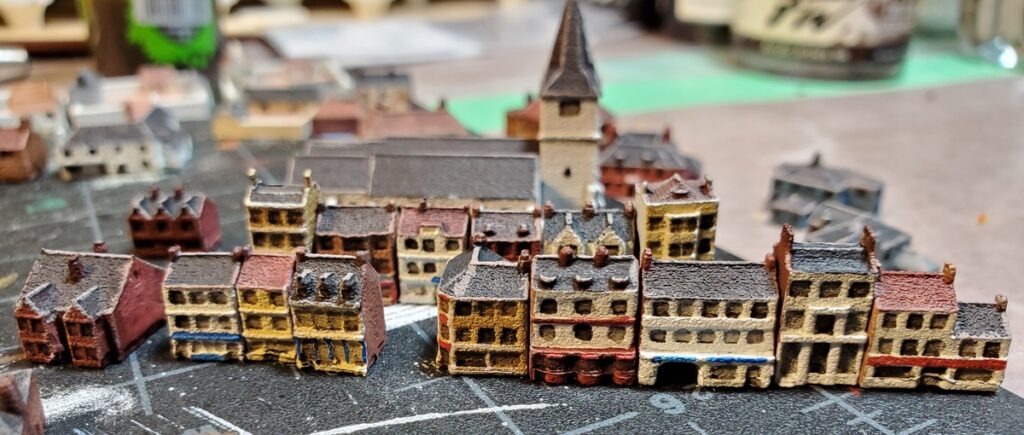
Reading through the rules, I realized that Gaslands Refuelled has rules for jump ramps and jumping, so naturally I had to scratchbuild a pair of ramps to make a dangerous lunatic game even more dangerous and lunatic!
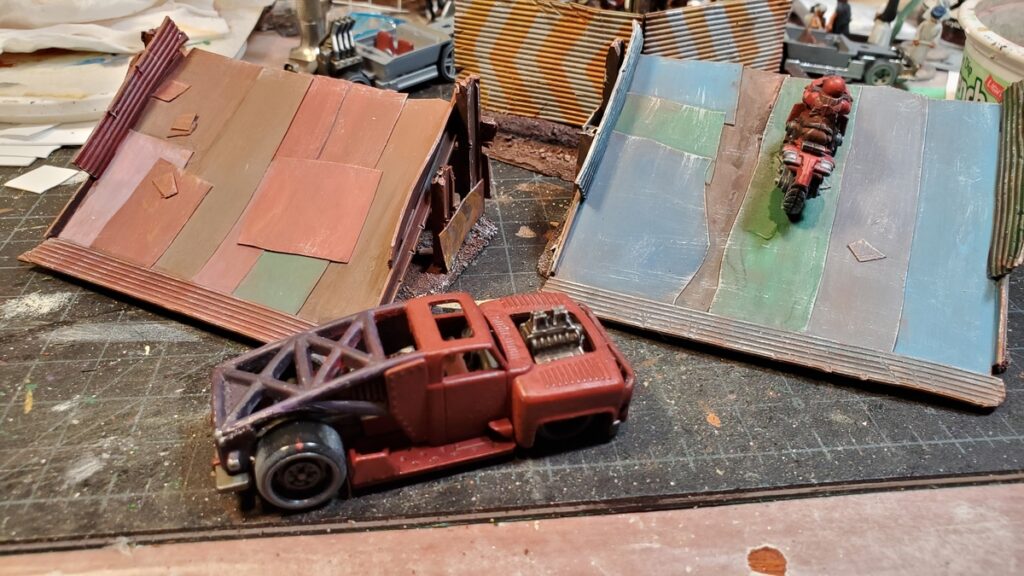
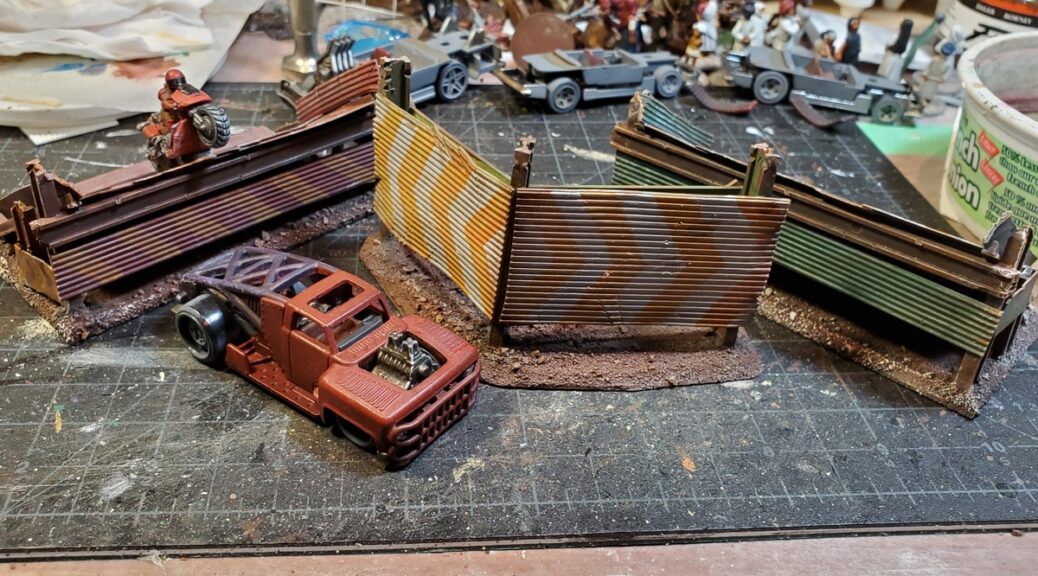
The two ramps are about 4 inches wide. They’re based on scraps of 1/8th plastic board and mostly made of random bits of styrene plastic. The big beams are from Plastruct and I’m pretty sure they’re leftover from the model railroad we had when I was in junior high in the first half of the 1990s… that’s more than long enough to have something in your Bin Of Interesting Parts before using them!
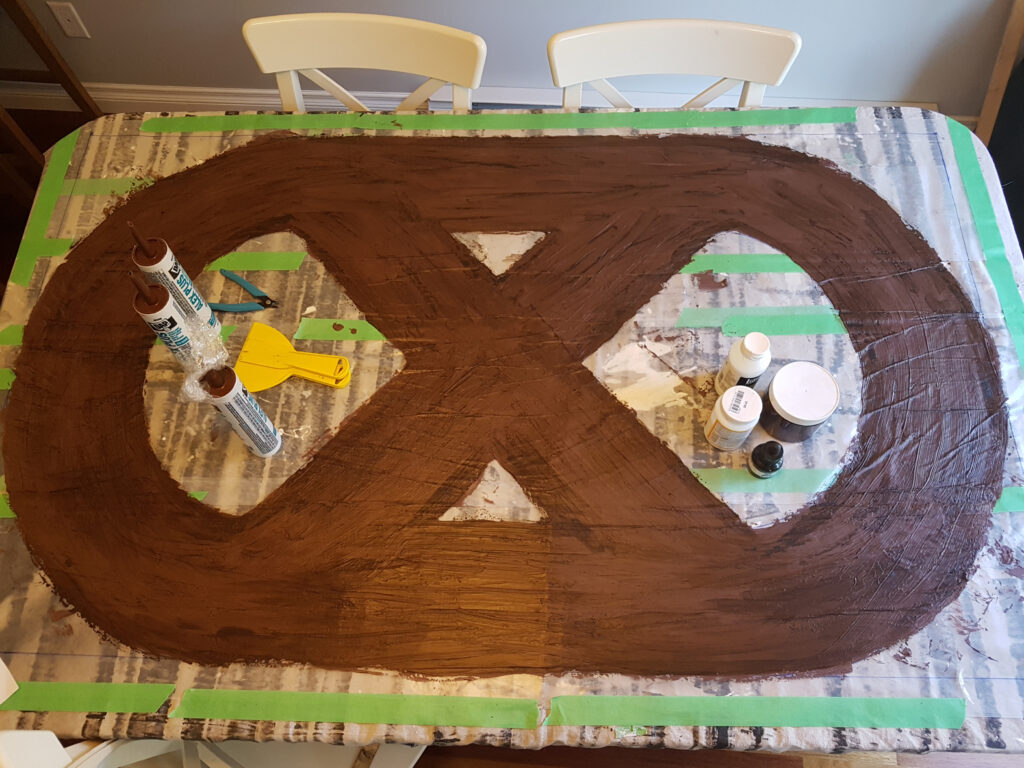
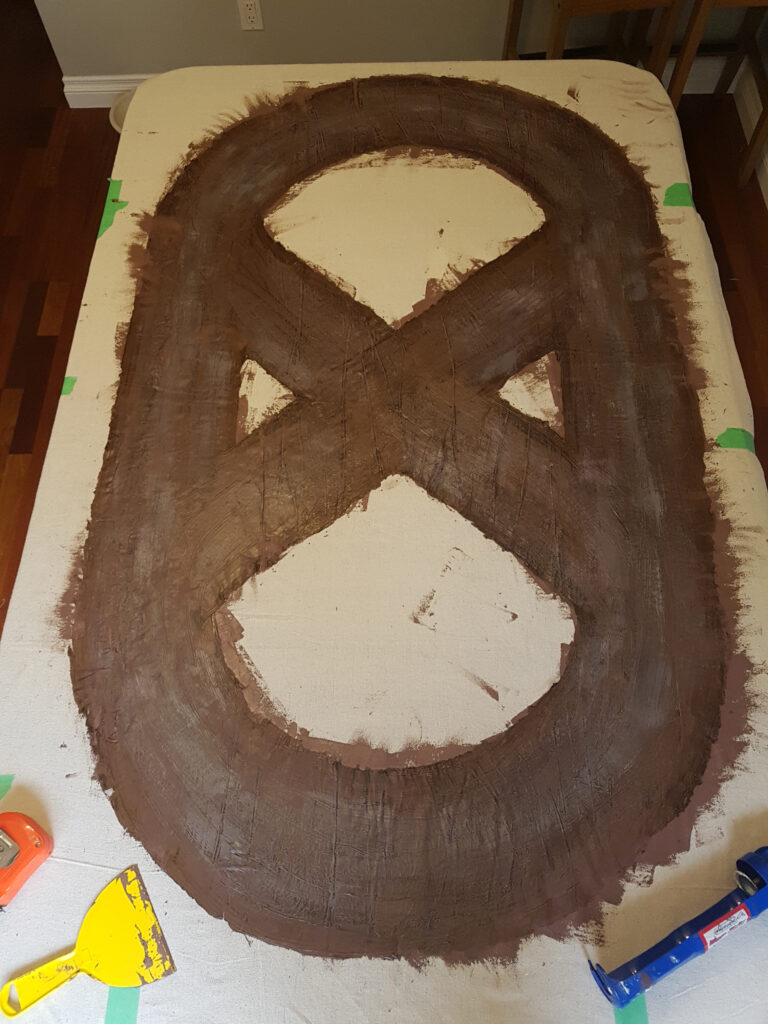
The great thing about the mostly-post-apocalyptic Gaslands setting is that nothing has to be really cleanly constructed or painted, so I just layered sheets of styrene up until it looked right, and used pliers and a knife to attack various bits, warp them, and chew the corners off.
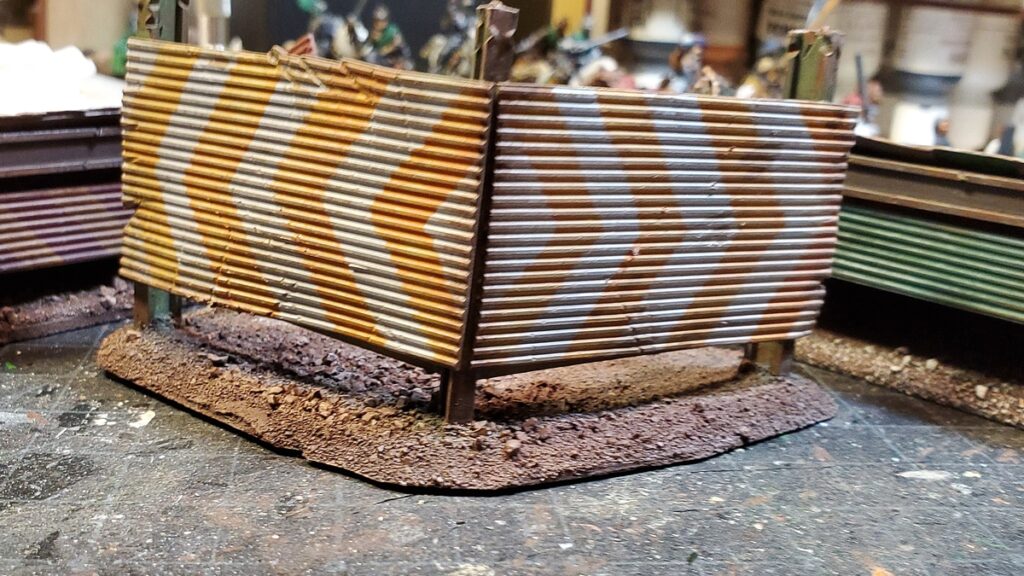
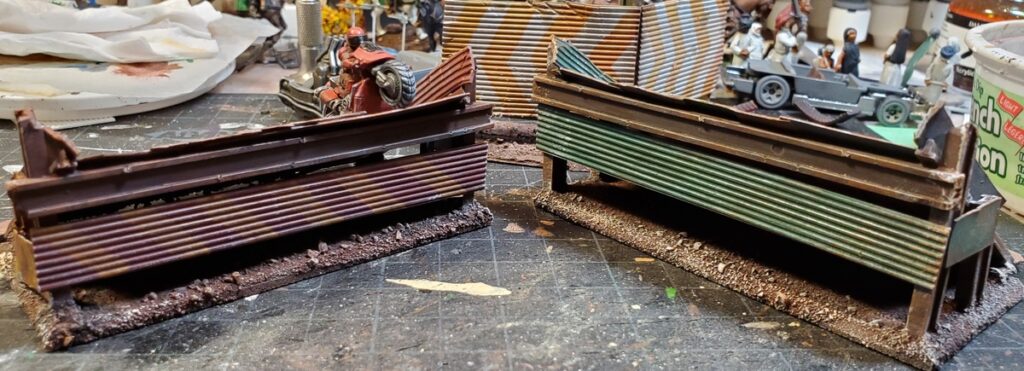
The billboard/crash barrier piece started as a way to use up the leftover stub of heavy I-beam I had left over after the ramps were done; it’s based on more scrap 1/8th plastic board and roughed up the same way. It got orange and white hazard stripes on the fronts, because, well, why not?

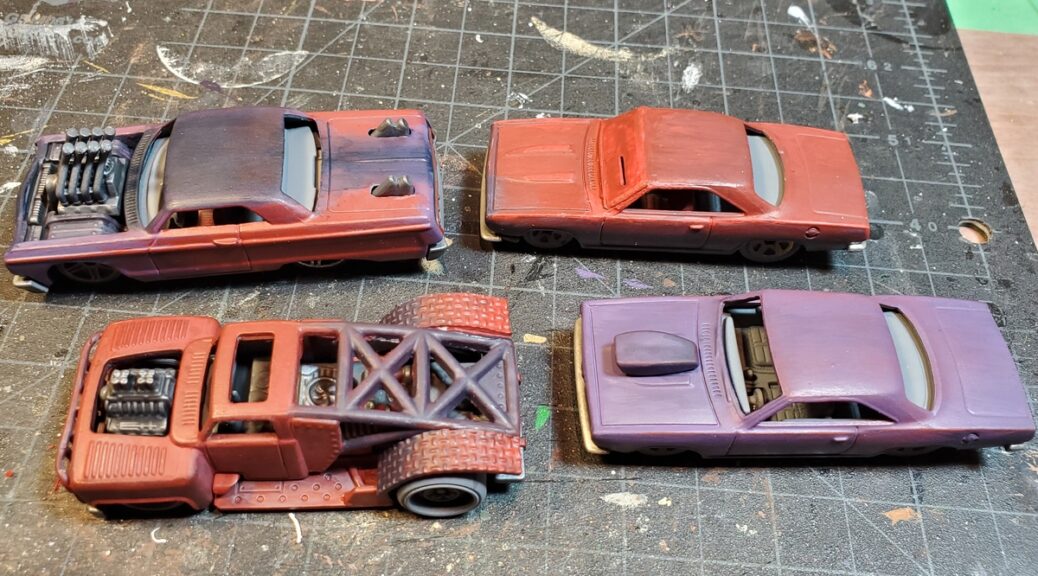
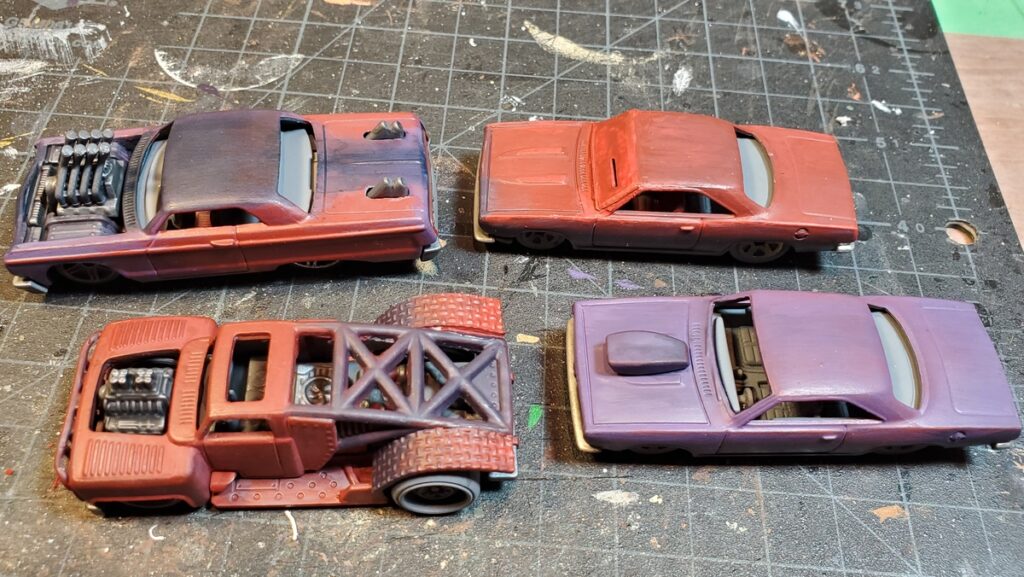
I’ve got four cars and a motorbike in progress; the first coat of primer on several of the cars didn’t take so they’re in paint stripper to get reset back to bare metal. I’ll probably fish them out this weekend to scrub them down and reprime.
We’re back in lockdown here for at least another ten days and realistically probably longer, because the second wave of COVID is well and truly here. Stay well, stay safe, ignore the goddamn idiot ratlicking anti-mask morons, and when we’re able to game in person again, hopefully there won’t be any gaps around the gaming table.
Oh, and happy American Thanksgiving to any American readers!