I’ve posted links to horse painting articles and tutorials before, including the exhaustive “horse of a different colour” series over at Trouble at t’Mill. Mike even gives you some rough math on what colours any given troop/regiment/herd/group of horses should be: “One tip – if you’re batch painting, the maths works out roughly that you should pick out your hero horses that are going to be fancy colours, then split about a quarter of the rest off and earmark them for chestnuts, split a quarter of the leftovers from those off and earmark them as blacks, and paint the rest (which should be a bit over half) bay. The further back in history you go, the fewer chestnuts you’ll probably have.”
But what about the riders? Unarmoured or mostly unarmoured riders provide obvious opportunity for colour, depending on the army or era you’re modelling, but if it’s knights or early 17th Century cuirassier in full plate it’s all going to be silver/grey metal armour, right?
Armour can, in fact, be lots of colours than just “shiny metal”. It probably should be, in fact. Blacking, russeting, or even painting seems to have been fairly common. Keeping armour “white” (shiny) was a lot of work on an ongoing basis so a lot of munition-grade ordinary armour was finished in some way.
A lot of the armour in museums that’s shiny these days probably shouldn’t be. As the Wallace Collection says on their website about one partial suit of 17th C armour, “Like the others of its group, this one originally had a ‘black-from-the-hammer’ finish, but was polished bright comparatively recently, almost certainly in the 19th century.” Another thing we can blame the Victorian era for!
Russeting, blacking, and other forms of surface finish are done with various oils, acids, and other chemicals along with heat to seal the surface of the metal and protect it from rust and other corrosion. An interesting and informative thread over on My Armory (an arms/armour collector and creator forum) talks about various historic and modern treatments and the various shades that can be achieved. One essay on russeting I found uses modern Clorox bleach and baby oil!
There’s a great essay on the Met about decoration and surface treatment of armour. From that essay:
Heating metal produces a coloration of the surface, which changes from yellow to purple to deep blue as the heat increases. When taken out of the fire at a particular temperature, the metal retains this color. Considerable skill is required to achieve a consistent and even heat-patination of large areas (e.g., a breastplate) or groups of objects (e.g., a complete armor, 32.130.6
). The favored color for armor, edged weapons, and firearm barrels was a deep blue, in a process is referred to as “bluing.” A range of colors could also be produced chemically, using a variety of different recipes, such as a rich brown color that was popular on firearm barrels in the late eighteenth and nineteenth century. Besides being attractive, patination and painting also inhibit rust on metal surfaces.
The entire Wallace Collection website is well worth looking through, by the way. It includes a huge collection of arms and armour through the ages, and a really well organized Advanced Search function to make things (slightly!) easier to find.
Also from the Wallace Collection is a “black and white” set of cavalry armour, almost certainly from an officer, with distinctive polished/silver bands around the edges of otherwise blackened armour. The Wallace writeup say, “Most military armours worn by lower-ranking troopers or infantrymen were left ‘black from the hammer’, that is, the metal was worked only up to the point when the armour would function as required. The surface finish was left black and hammer-marked. Bodies of cavalry wearing such armour were therefore often described as ‘Schwarze Reiter’- black riders. The armours of officers commanding groups of men armed in this way often had the bands and borders of their armour polished bright, producing the distinctive visual effect characteristic of ‘black and white’ armours.”
For a straight-up painted helmet, this one is 15th C, much earlier than the period I’m currently concerned with, but had red and white (now discoloured almost to yellow) paint that is still colourful and must have been spectacular when it was new. I don’t think, from what I’ve seen, that full on painted armour was still current by the mid-17th C, but blacked, blued, russeted, and even gilded surface treatments were certainly in regular use.
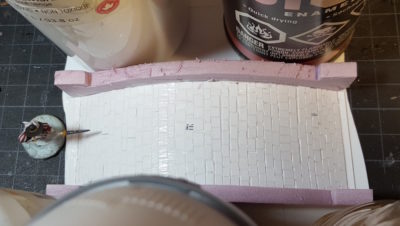
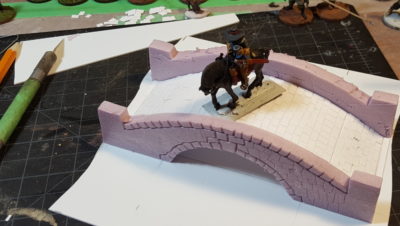
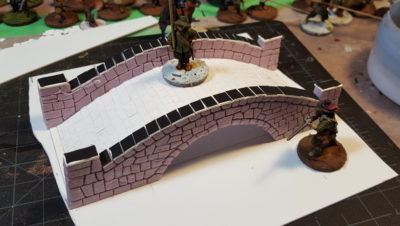
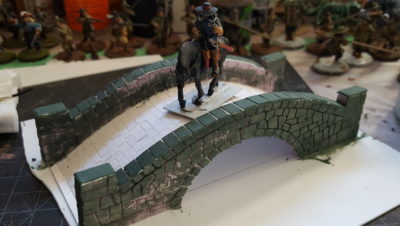
When it comes to miniature painting and armour, I’m thinking that the best way to represent coloured armour would be a metallic base coat and then inks or washes over that. I’m going to do some experimenting on the six cuirassier current on my painting bench and will report back!
Incidentally, if someone managed to save a copy of the Games Workshop article from back in 2011 I once linked to here I’d love to have it. I recall it opened with joking about how the author just painted all horses brown until his daughter told him his horses were boring, or similar!